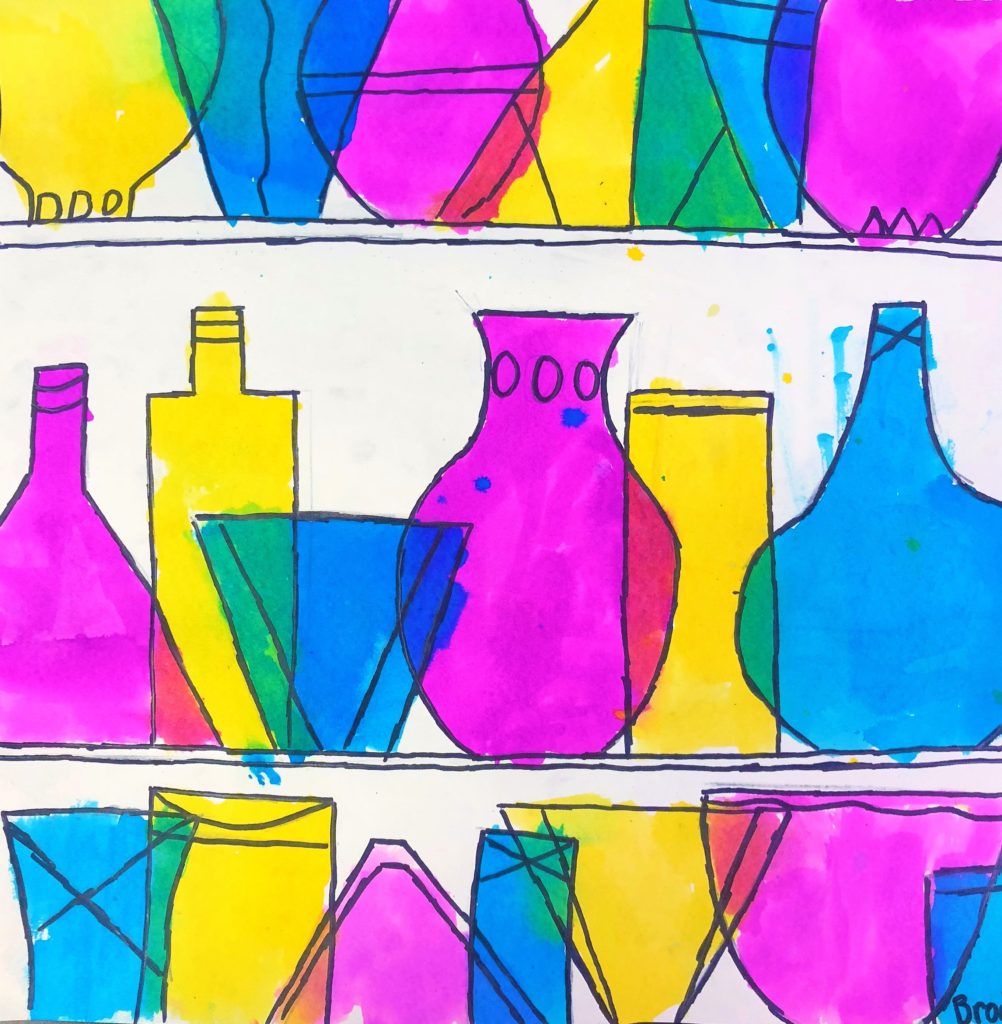
This dynamic middle school lesson fully supports the element of color theory and the fascinating history of colored glassware art. This project covers Common Core Standards for Math for grade 5 which can be found at the end of the lesson.
Grade Level
4th, 5th, 6th – The examples in this lesson are by 5th graders
Objective
In this Middle School Colored Glassware lesson, students will design glass jars using color theory.
Time
3 – 60 min lessons
Materials
- Pencils
- Rulers
- 12×18 Watercolor paper – Canson XL Series Watercolor Textured Paper Pad for Paint, Pencil, Ink, Charcoal, Pastel, and Acrylic, Fold Over, 140 Pound, 12 x 18 Inch, 30 Sheets
- Brushes – Acrylic Paint Brush Set, 1 Packs / 10 pcs Nylon Hair Brushes for All Purpose Oil Watercolor Painting Artist Professional Kits
- Liquid Water Colors: Yellow, Turquoise and Magenta – Sargent Art 22-6010 10-Count 8-Ounce Watercolor Magic Set
- Or this mini version for homeschooling – Sargent Art 22-6210 10-Count 4-Ounce Watercolor Magic
- Kleenex for blotting paint
- Black Sharpie Marker – Sharpie Permanent Marker, Fine Point, Black, Pack of 5
Inspiration/Artist
I was inspired to make this project from this site Arteascuola: Click Here
Instruction with Questions
Day 1
Show a couple of videos. I like all of these, but depending on what background they have about color theory, you may only need a couple of them. After watching them, have a discussion reviewing what they learned.
Youtube: The Colors Song | The Colours Song | Scratch Garden: Click Here
Beginning Graphic Design: Color: Click Here
Elements of Art: Color | KQED Arts: Click Here
Brain Games – Visible Spectrum: Click Here
Use this Color Theory for kids inspired by Disney PowerPoint Presentation: Click Here
Another idea is to use this color wheel and have them color in the areas with the appropriate color. Click Here for the PDF
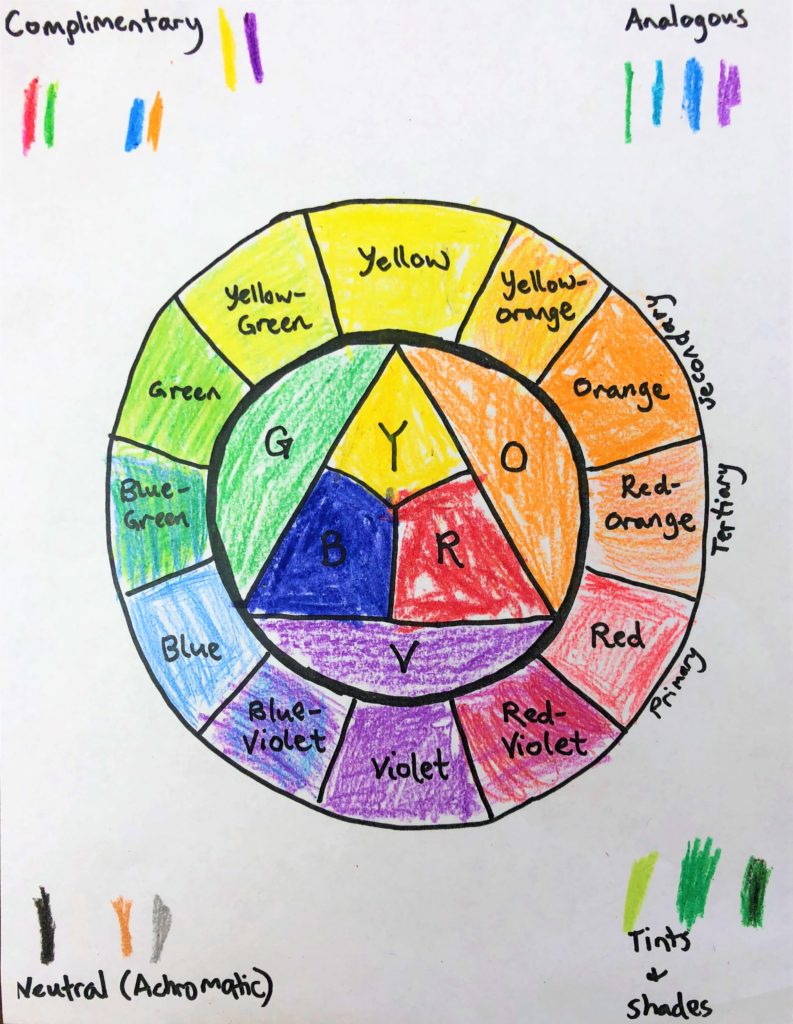
An alternate plan would be to have students cut up magazines to find colors for each area of the template.
Day 2
Today there are additional videos specific to glass blowing that I found on Youtube.
history of glass: Click Here
History of Glass Blowing: Click Here
The most satisfying videos in the world | glass making satisfying video: Click Here
I recommend the lesson found on Arteascuola’s site, however, I did a few different steps with mine.
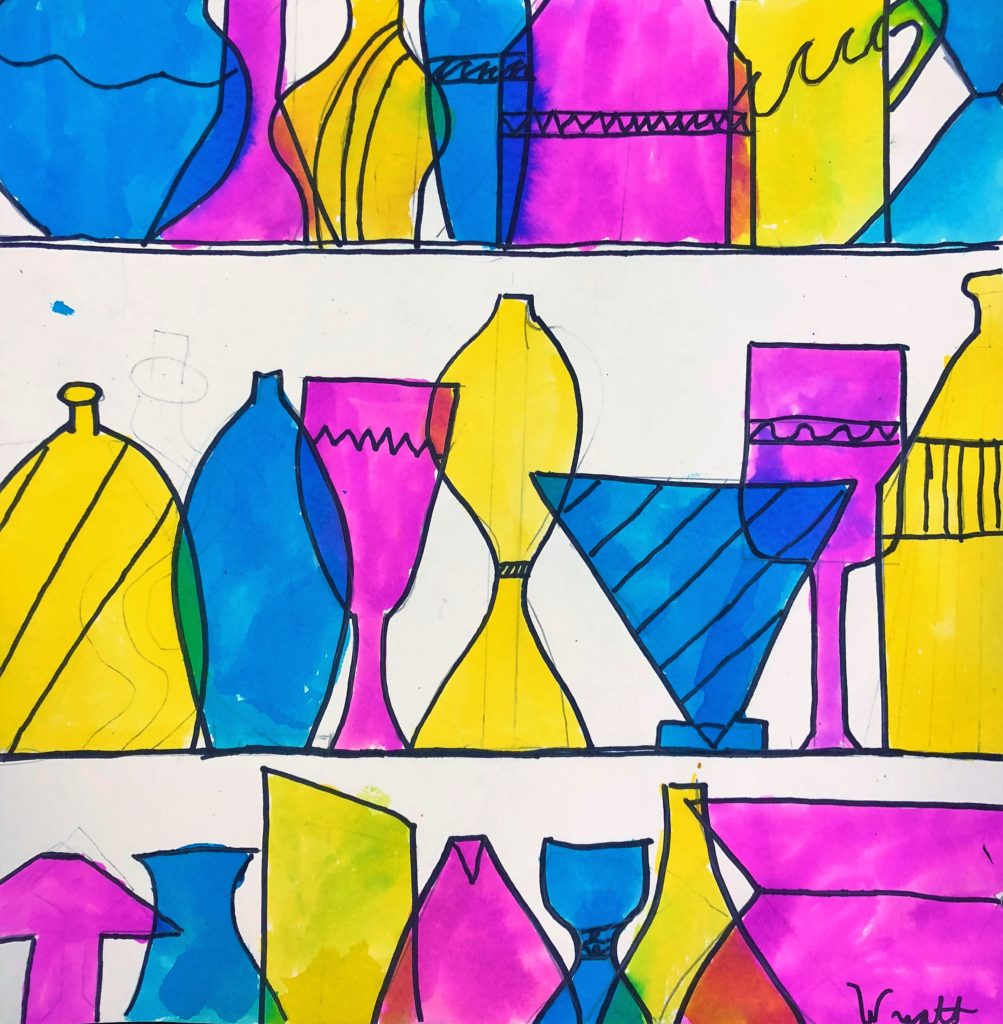
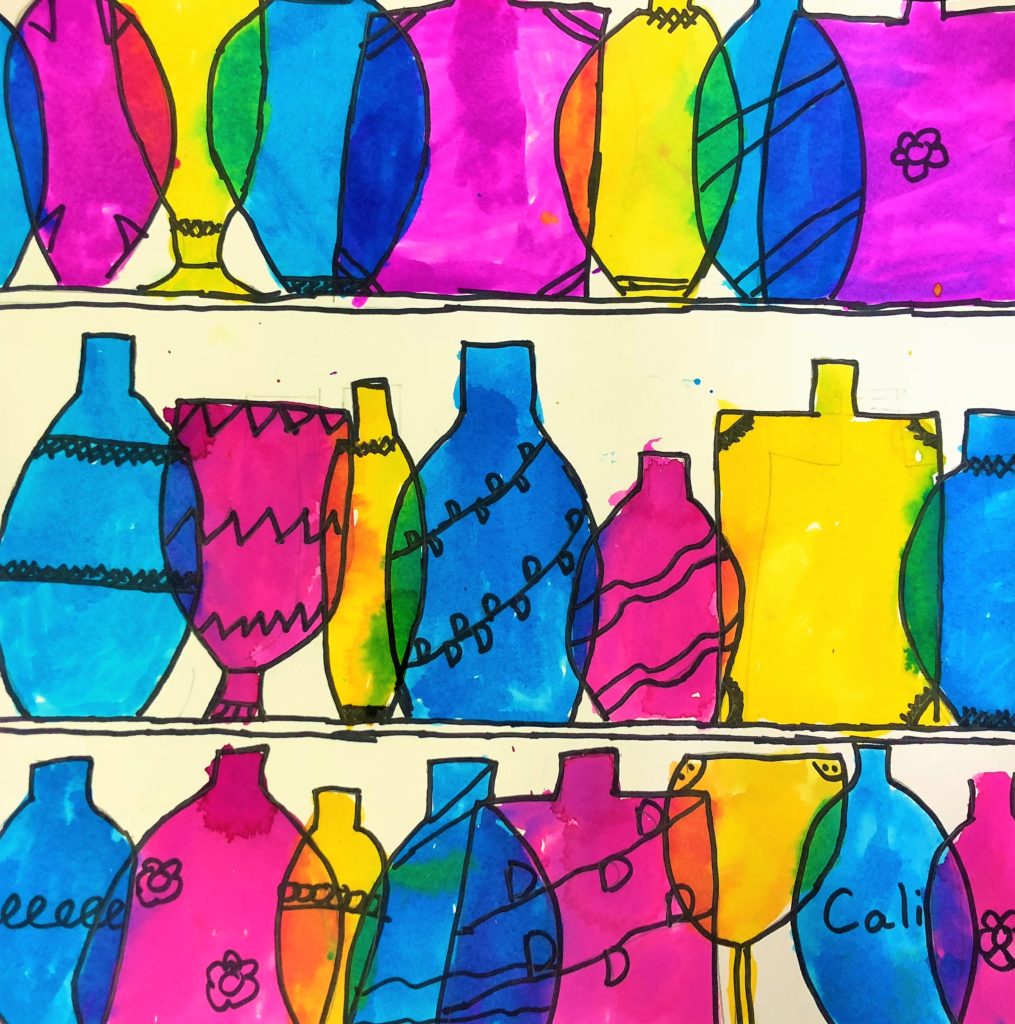
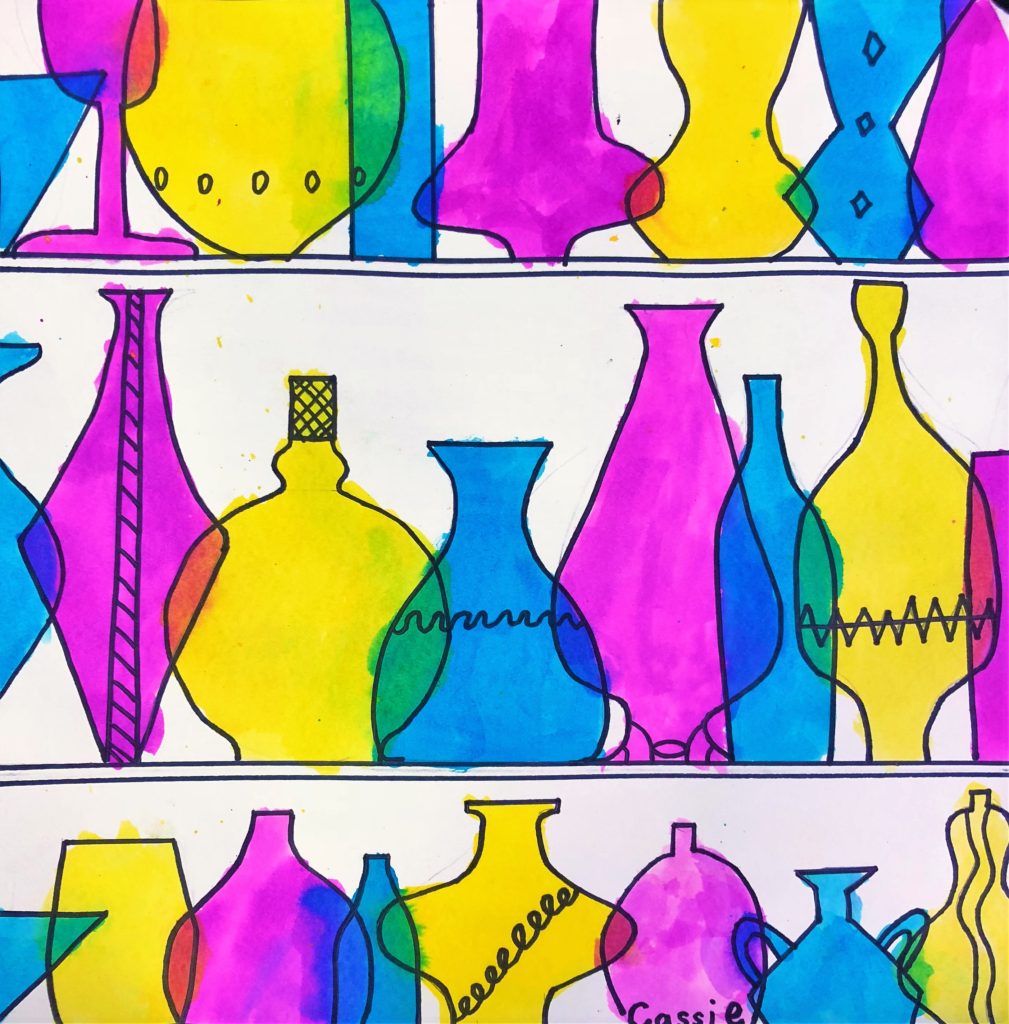
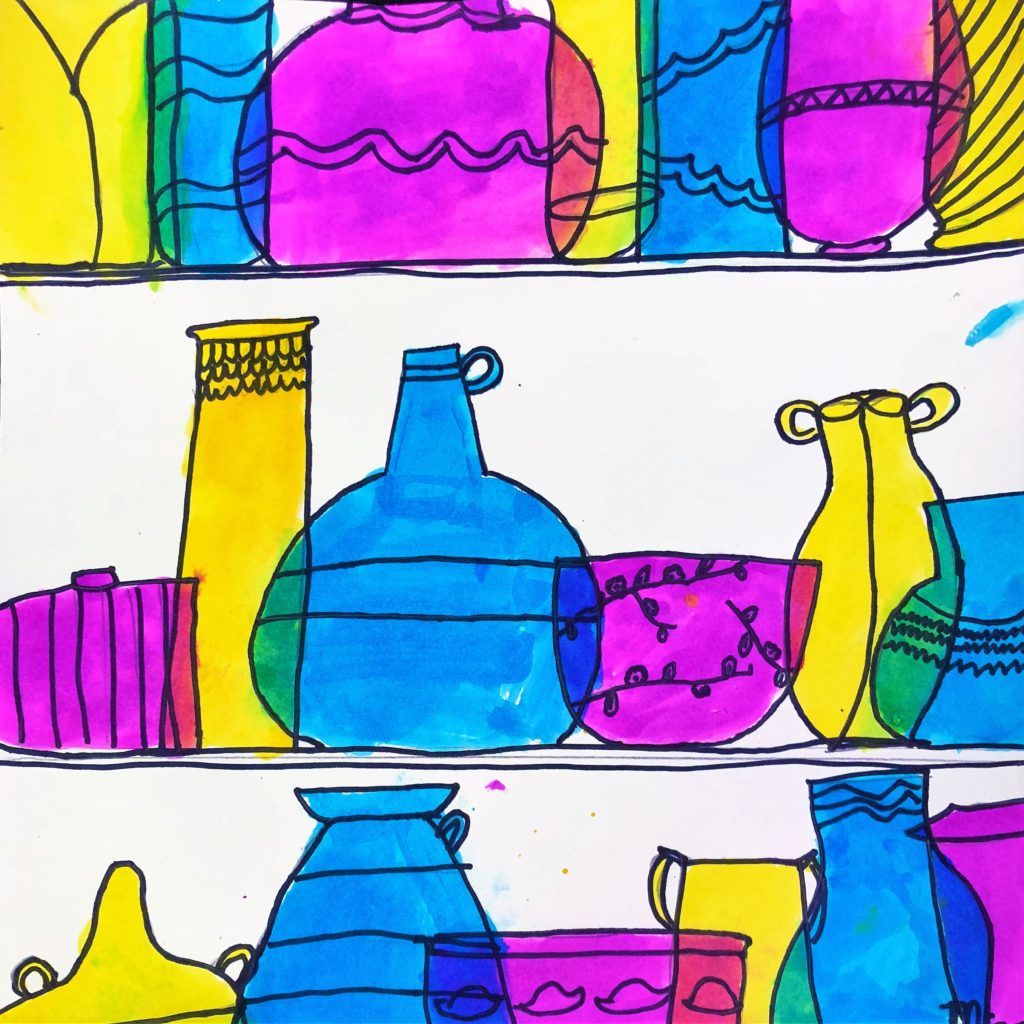
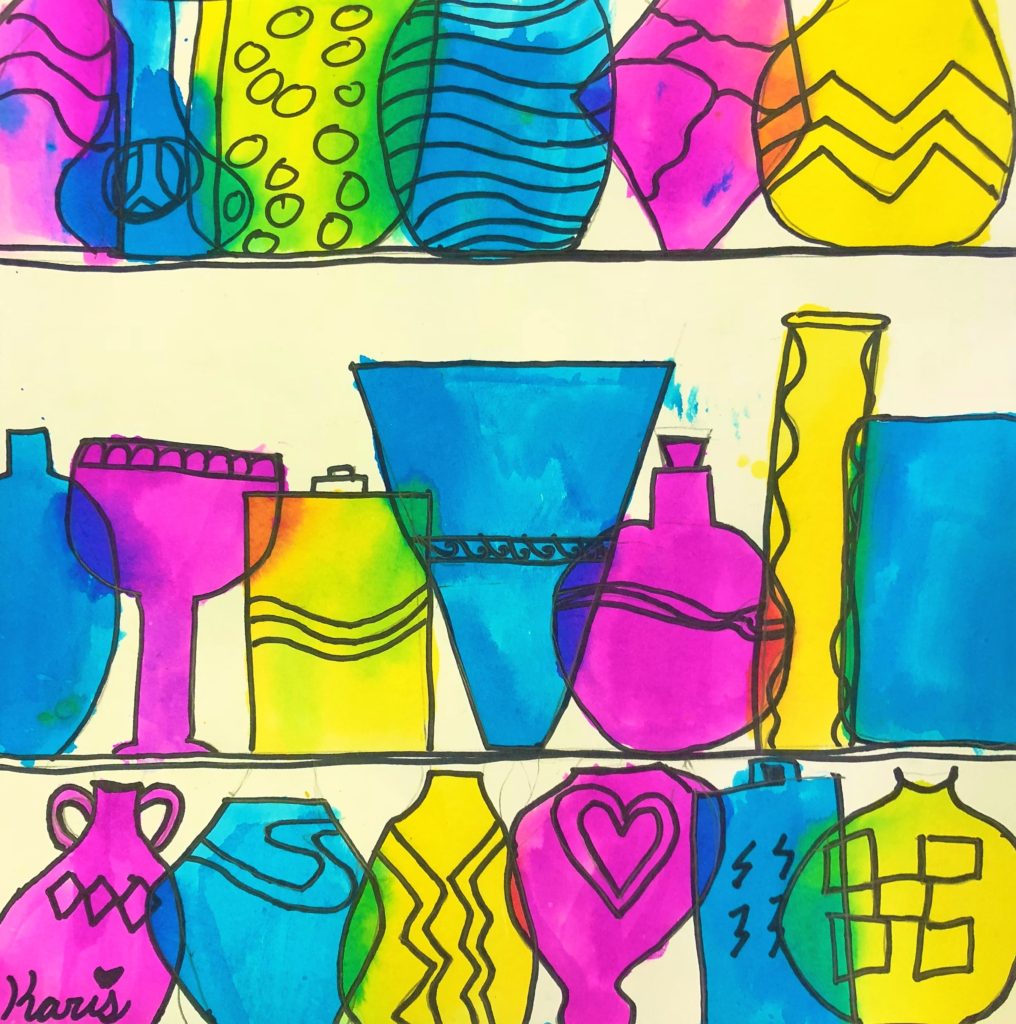
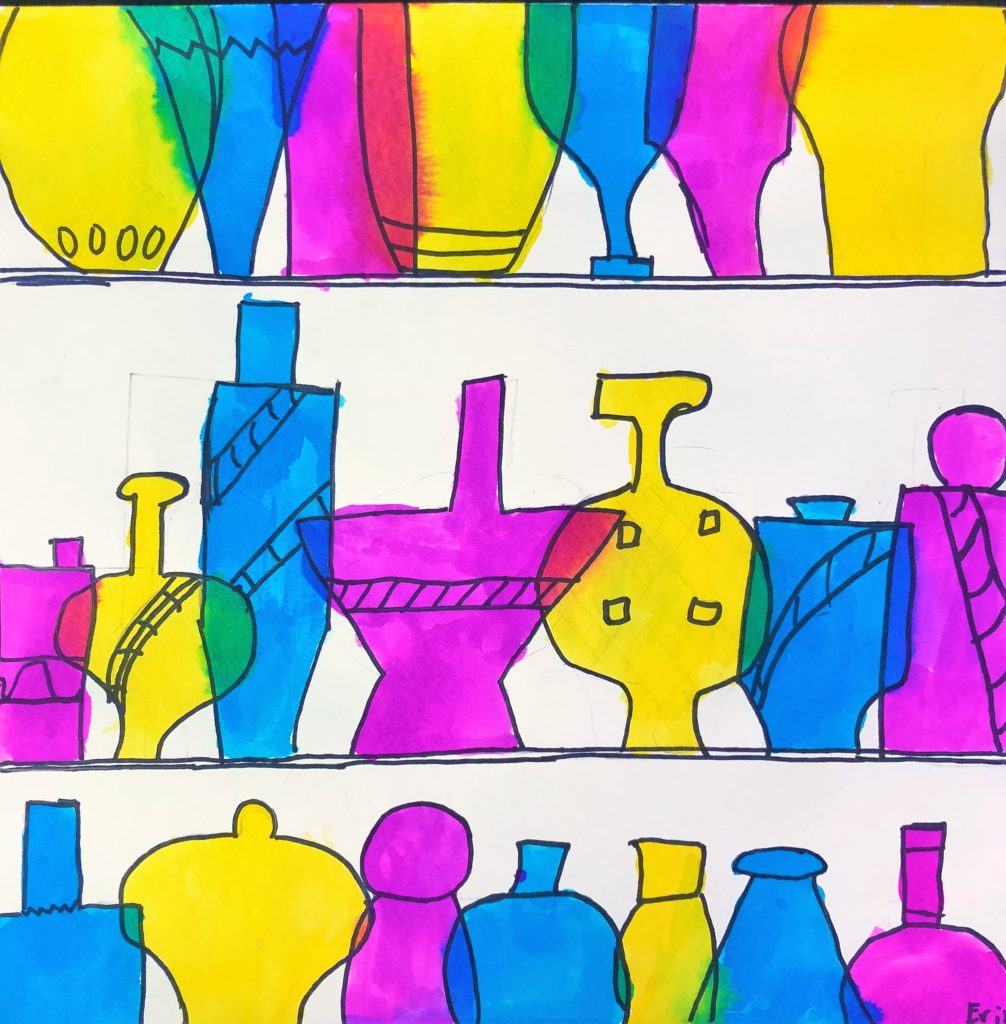
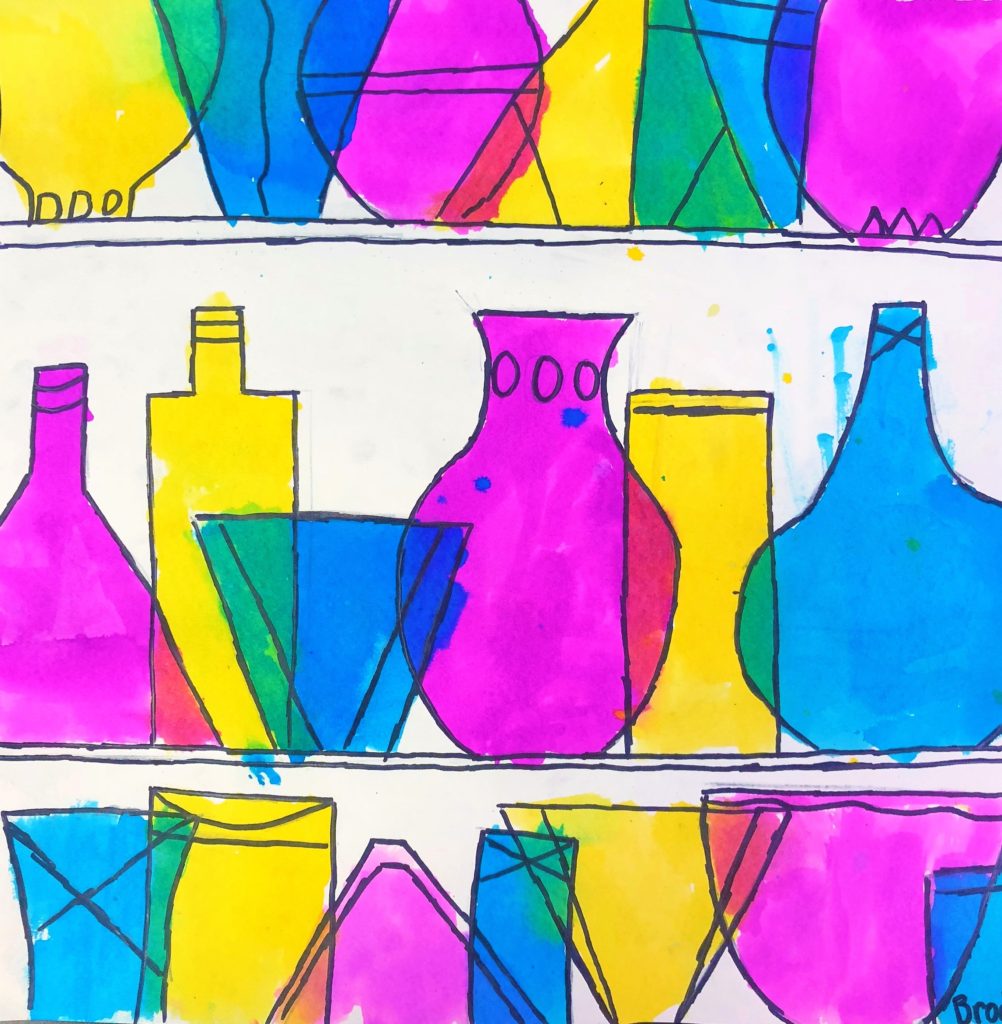
Below are some bullet points to point out, before drawing any glassware. I recommend showing some of my student, or from Arteascuola’s site for reference. I highly recommend that once students review this list, they use this day for practice.
- Different shapes, sizes and heights
- Sitting on the middle and top shelf, not floating above it
- On top shelf – only show the bottom
- On bottom shelf – only show the top
- Jars should partially go off of each edge of the sides of the page
- They should overlap
- 6-8 jars per shelf
- Create space around the jars
- Start in the middle and overlap moving toward outside of page
- No words on the jars
- Simple line decorations
- Jars are symmetrical
I also pass out this worksheet for reference for jar shapes.
Day 3
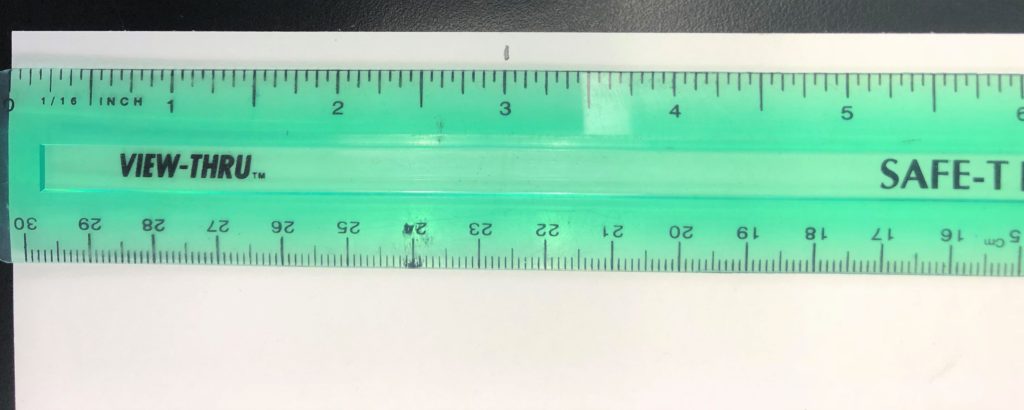
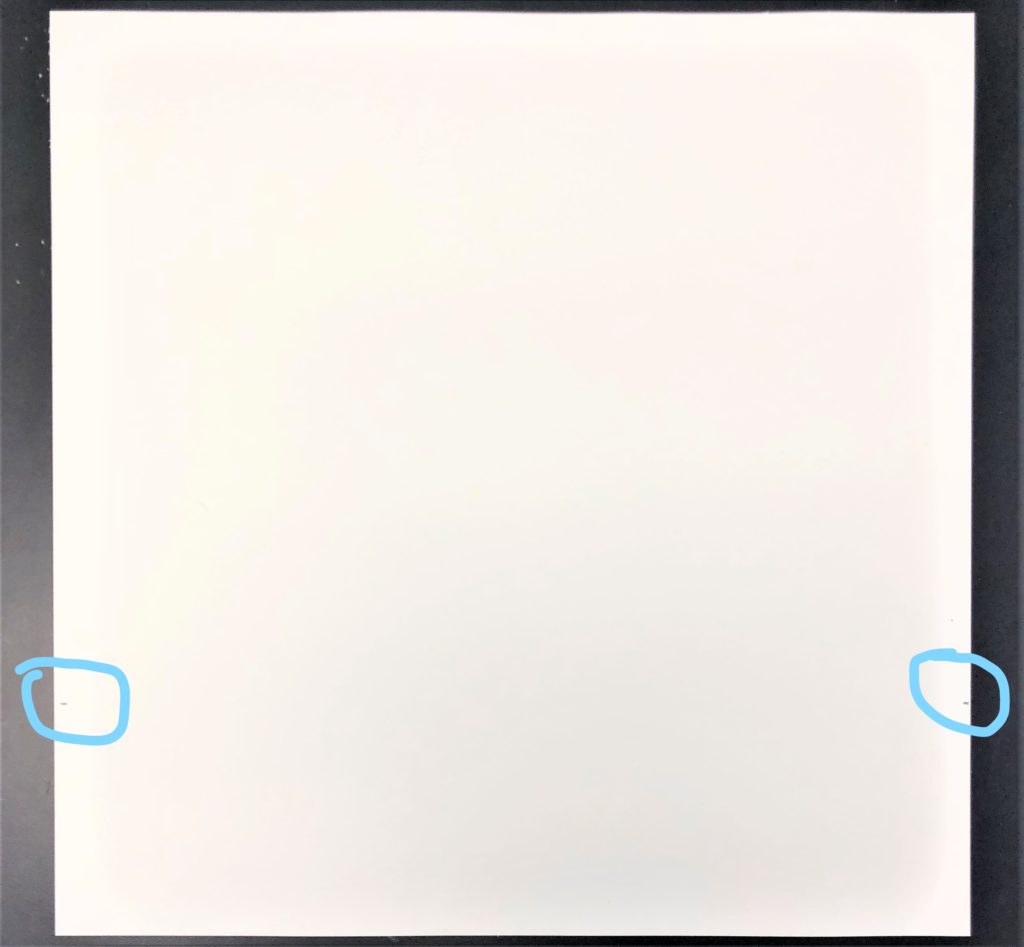
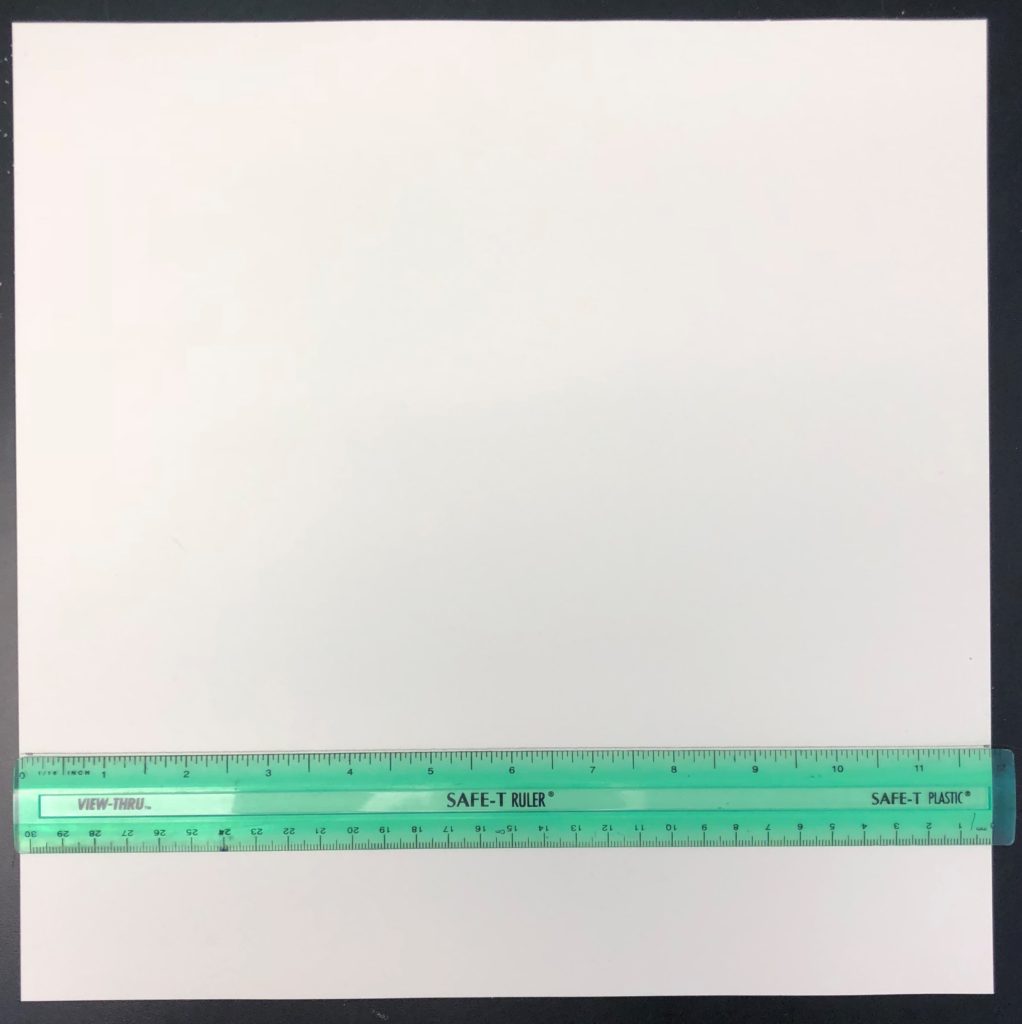
On a 12×12 size piece of watercolor cut from a 12×18 size, have students measure approximately 3 inches from the bottom on each side, mark it, and then draw a line across.
Then repeat these steps for the top.

Next, students will add another line so that the shelves have thickness.
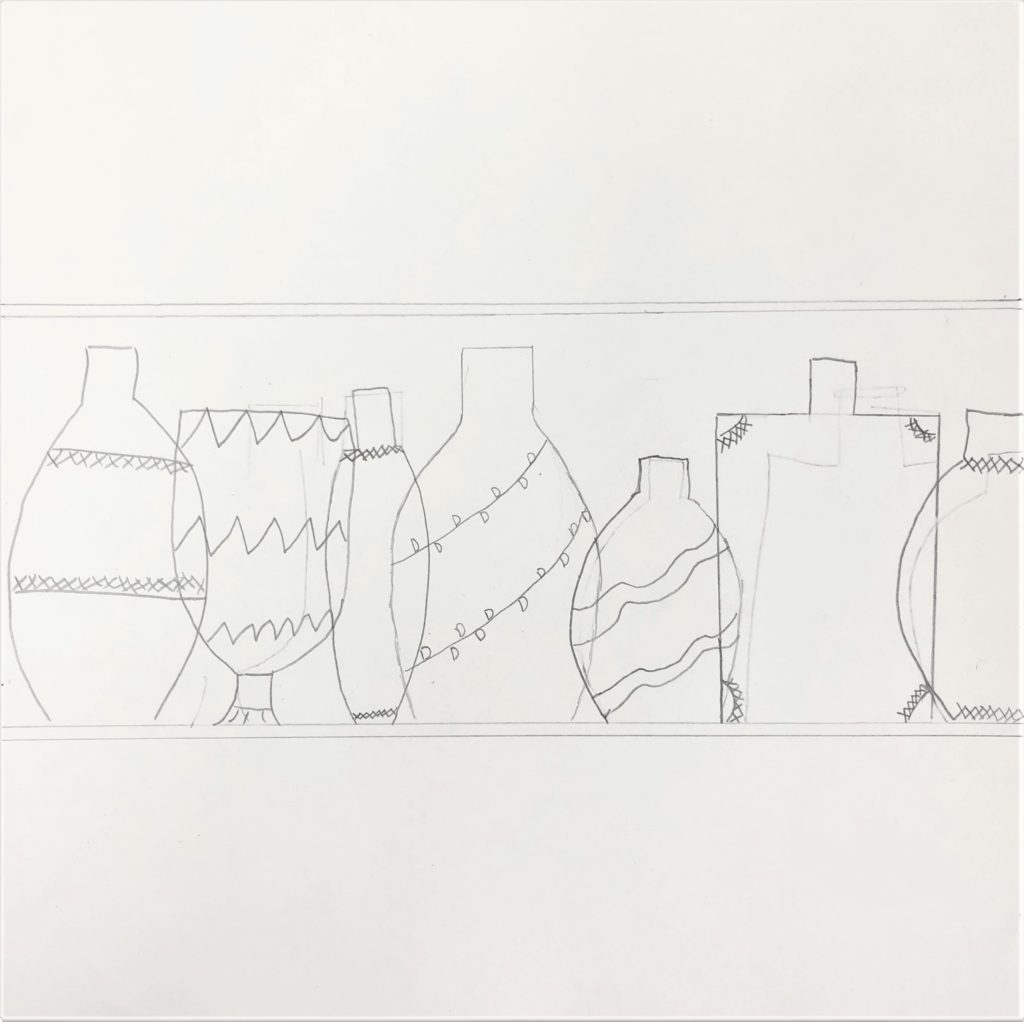
It is important to start in the center so the students become comfortable with the size, shape, overlap and symmetry of the glassware. Once these pieces are sketched in, students should re-evaluate the list of bullet points to see if they have met the requirements set forth.
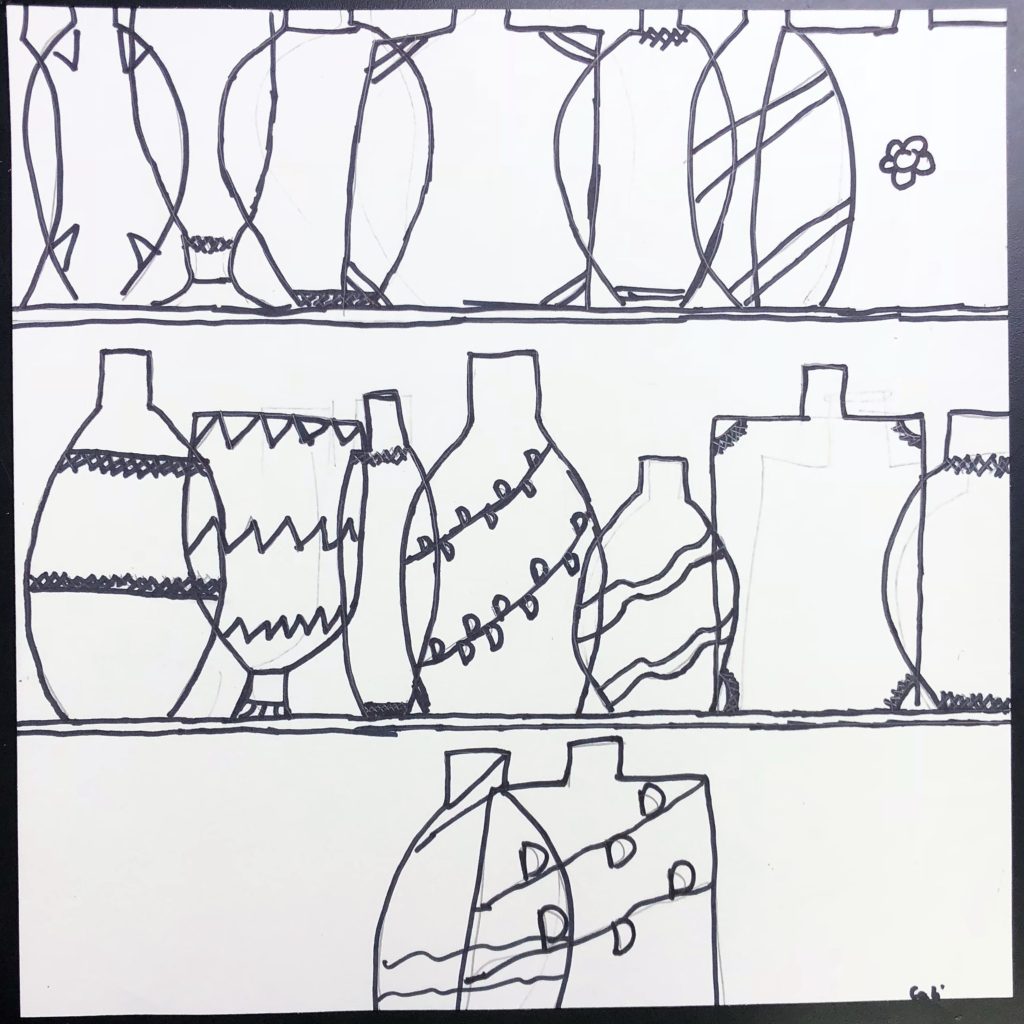
Once glassware is penciled in, they are copied with sharpie marker.
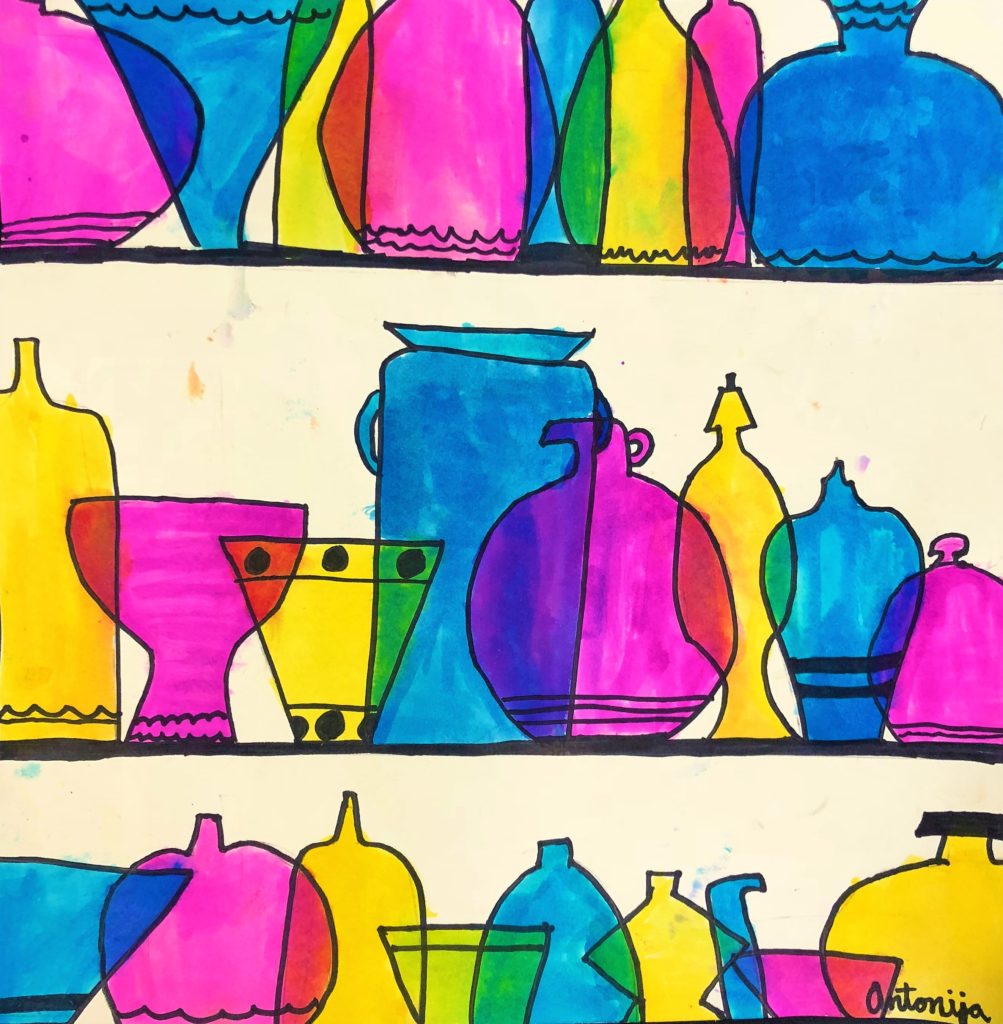
Finally, the glassware is painted. I used only yellow, turquoise and magenta liquid watercolors. By layering the colors, secondary colors emerge. I highly recommend allowing a color to dry before adding another color on top.
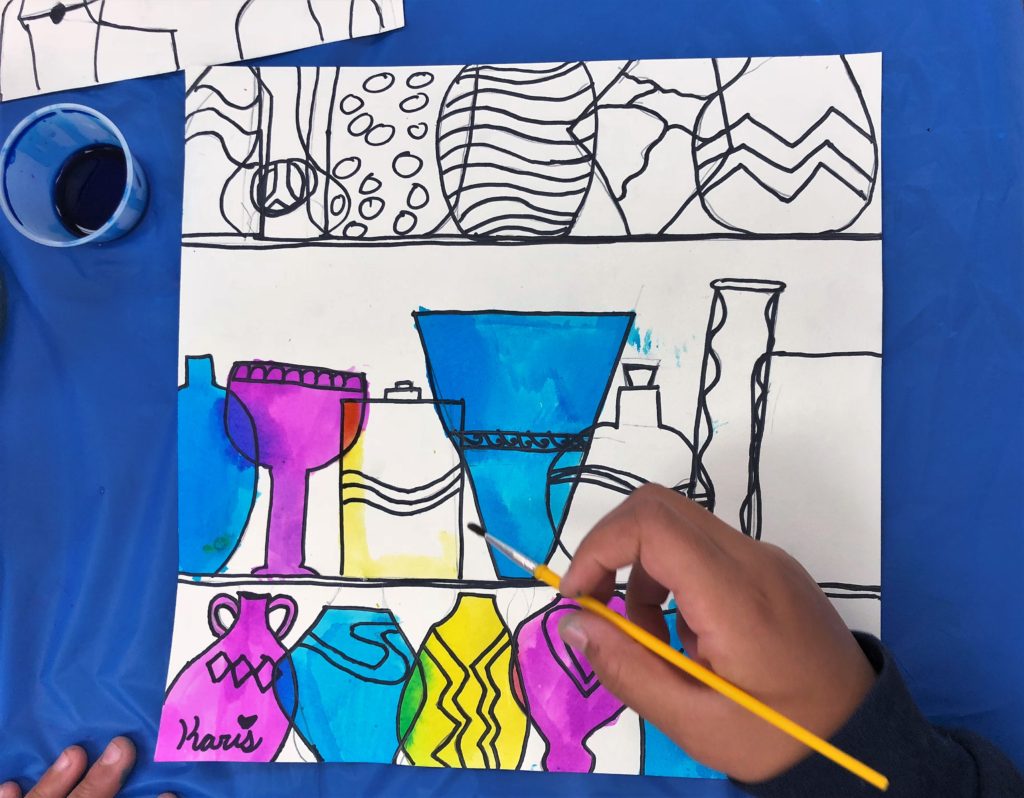
Here are some finished Middle School Colored Glassware pieces!
Common Core Standards
5th Grade – Math – Measurement and Data
Convert like measurement units within a given measurement system.
- Convert among different-sized standard measurement units within a given measurement system (e.g., convert 5 cm to 0.05 m), and use these conversions in solving multi-step, real-world problems.
Represent and interpret data. - Make a line plot to display a data set of measurements in fractions of a unit (1/2, 1/4, 1/8). Use operations on fractions for this grade to solve problems involving information presented in line plots. For example, given different measurements of liquid in identical beakers, find the amount of liquid each beaker would contain if the total amount in all the beakers were redistributed equally.
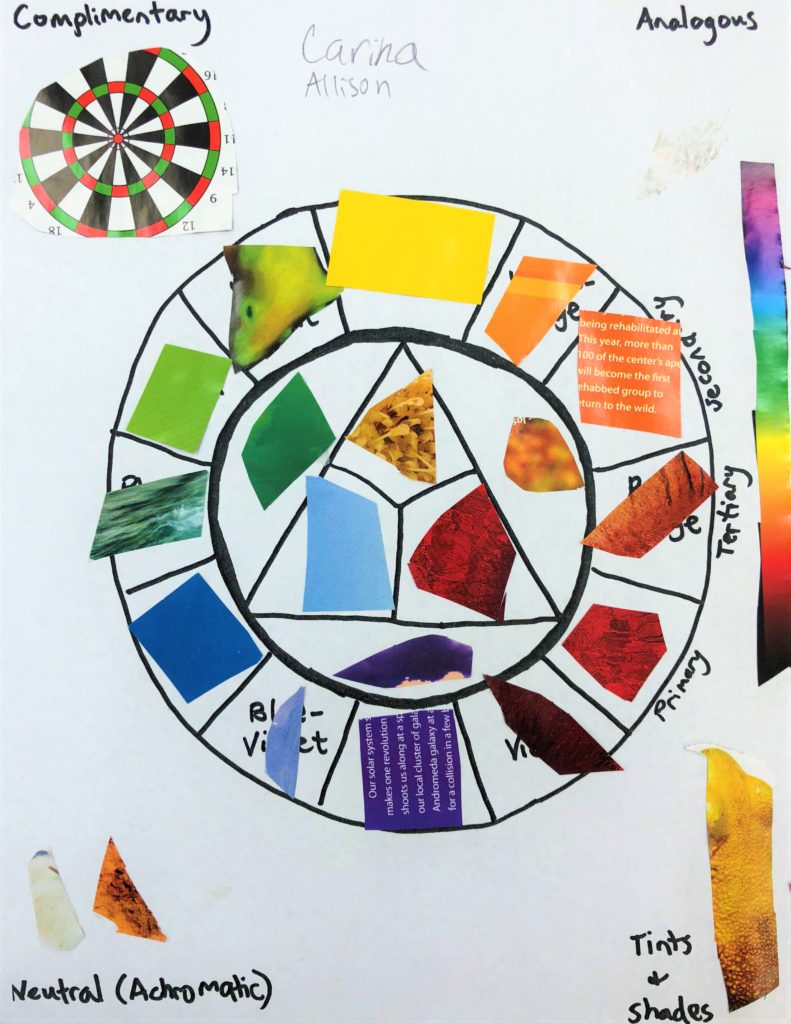
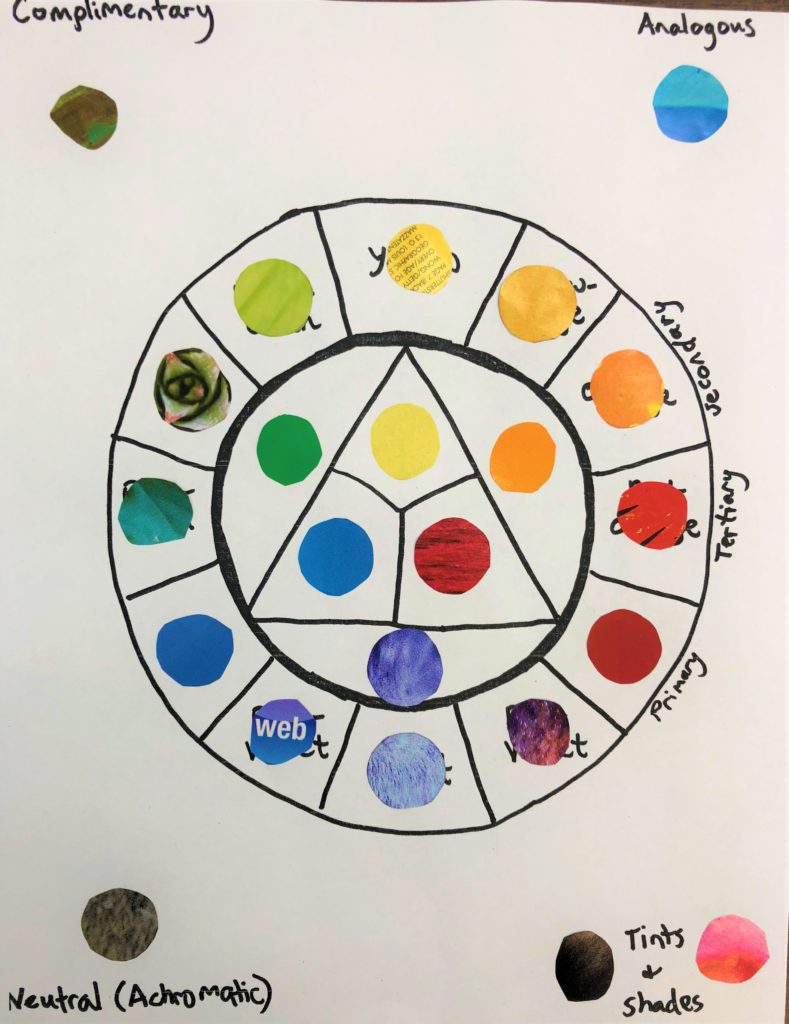

You could link the origin of this work. The idea comes from my website arteascuola.com . You can find the lesson here, I did it in 2013, I saw you linked my website, but may you mention the right link please? Thanks https://arteascuola.com/2013/02/murano-glassware-shelf/
Thank you for reaching out. I apologize for that mistake. I have fixed the link and added the name of your site. You can see it here. Thank you for inspiring so many great lessons! https://leahnewtonart.com/2019/08/12/middle-school-colored-glassware-art-lesson-project-for-kids/