Middle school students will use color theory in this creative color wheel project. Designing individual parts to make a creative whole is so fun! This project covers Common Core Standards for Math for grade 7 which can be found at the end of the lesson.
Grade Level
5th, 6th, 7th, 8th grades- The examples in this lesson are by 7th graders
Objective
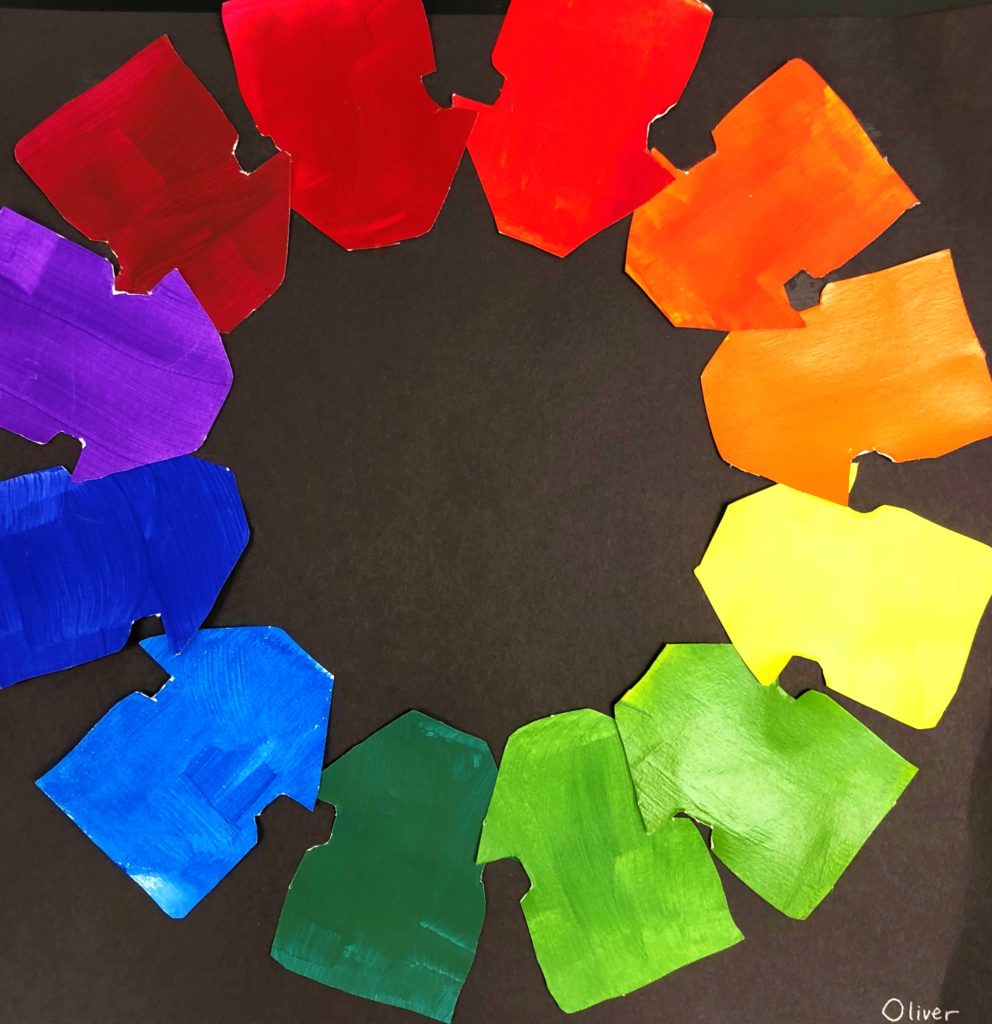
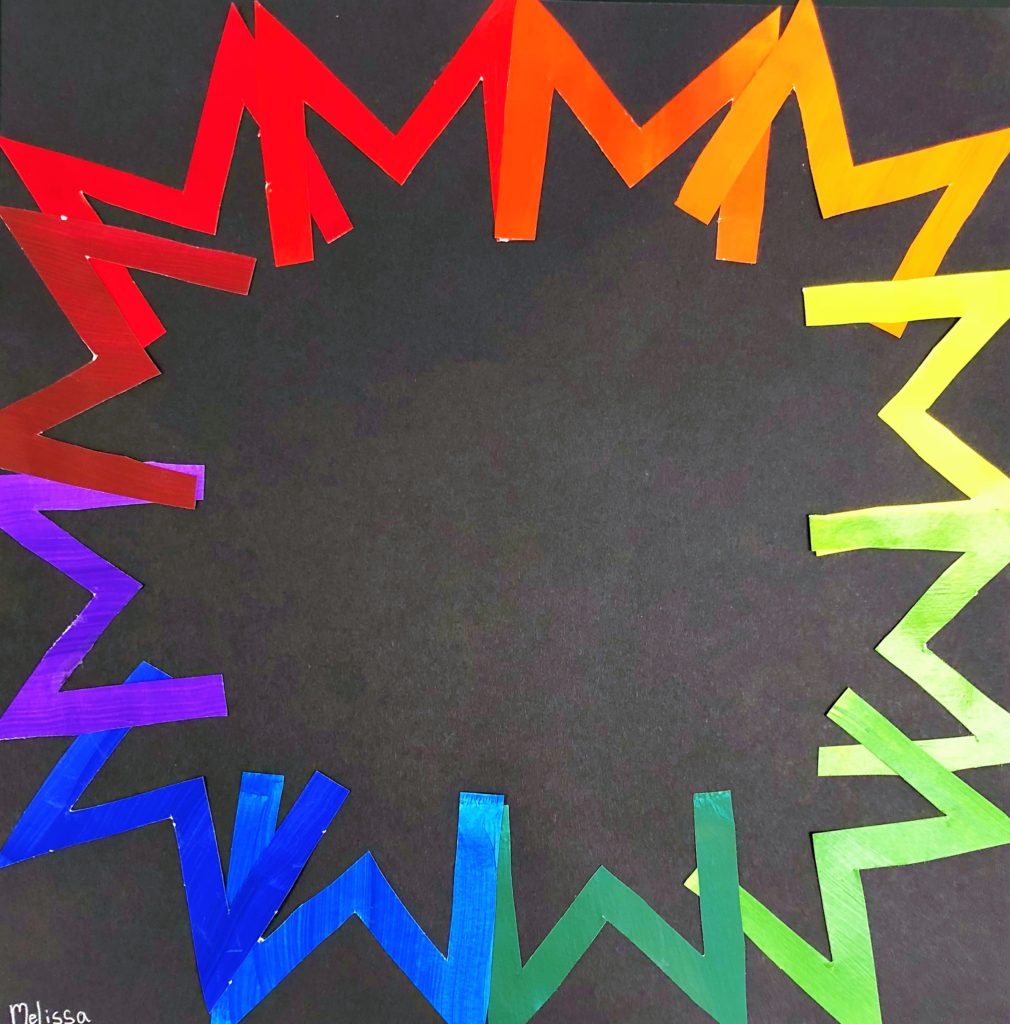
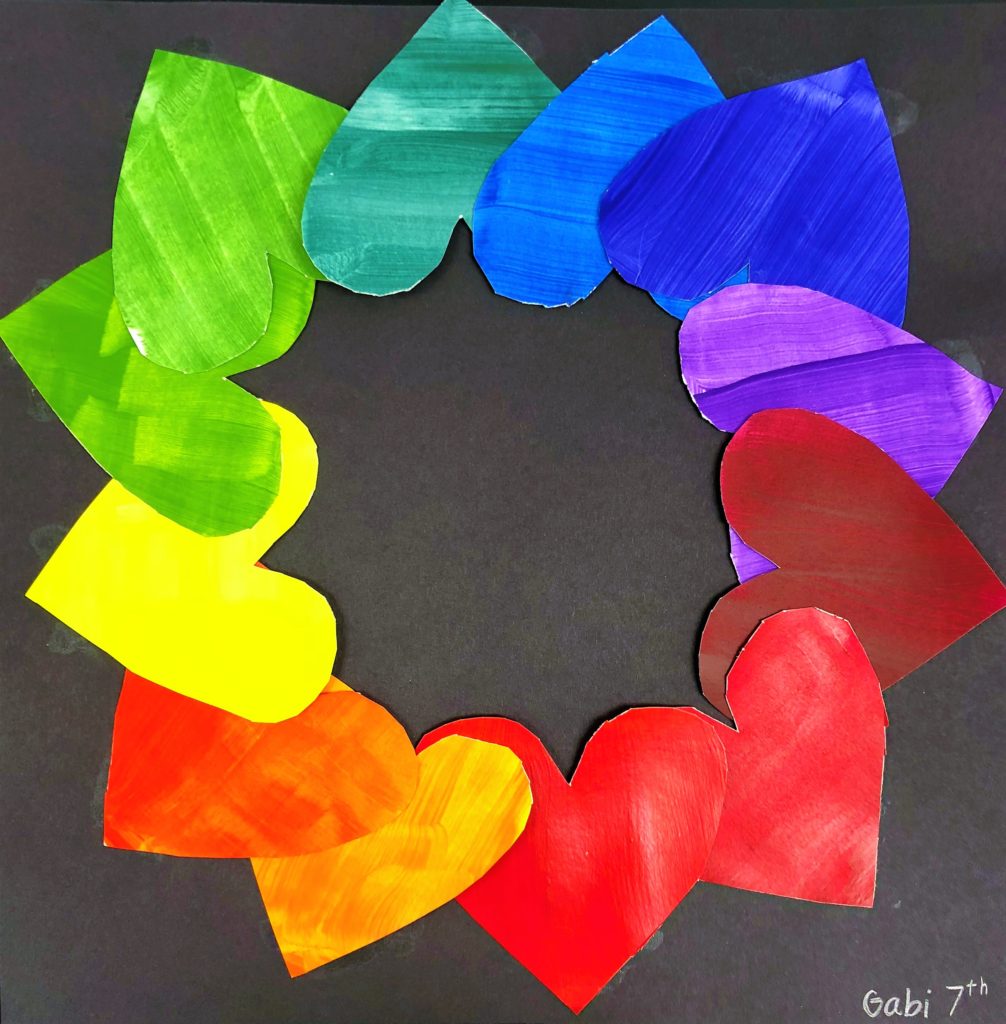
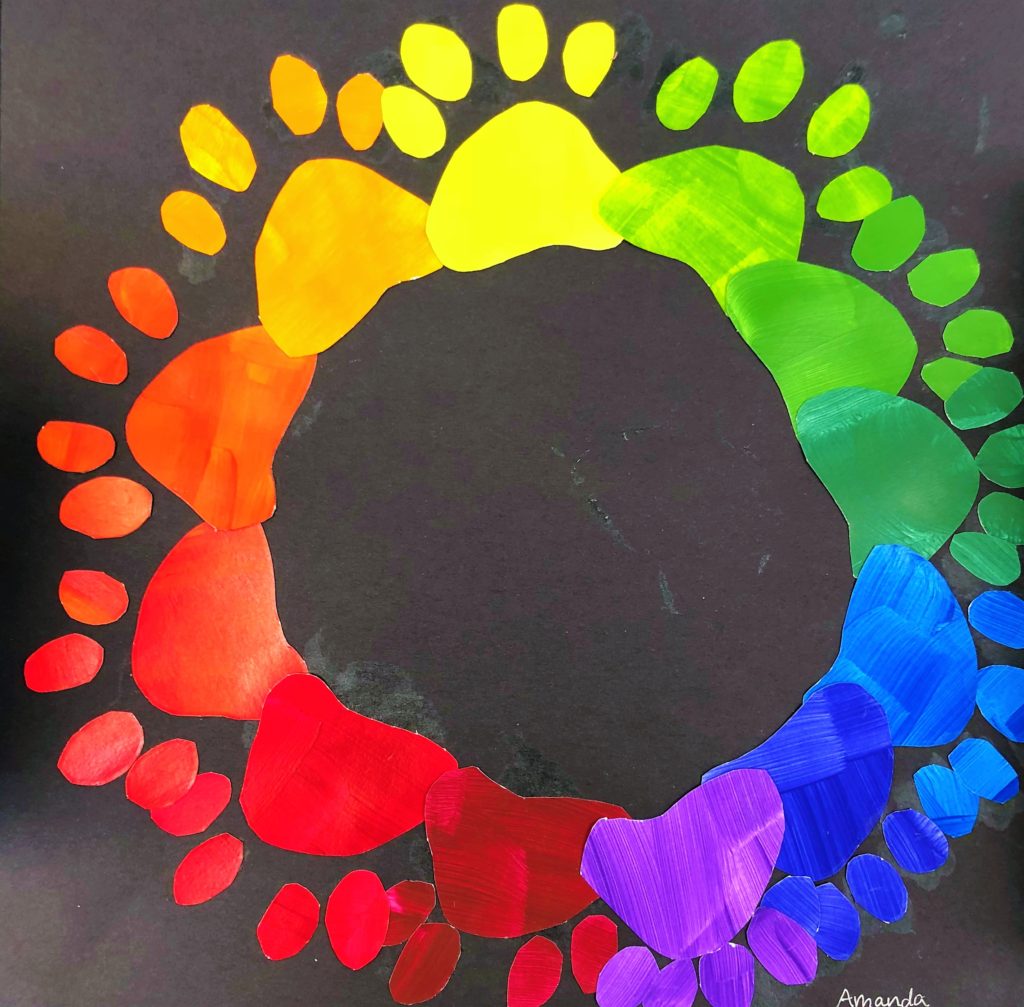
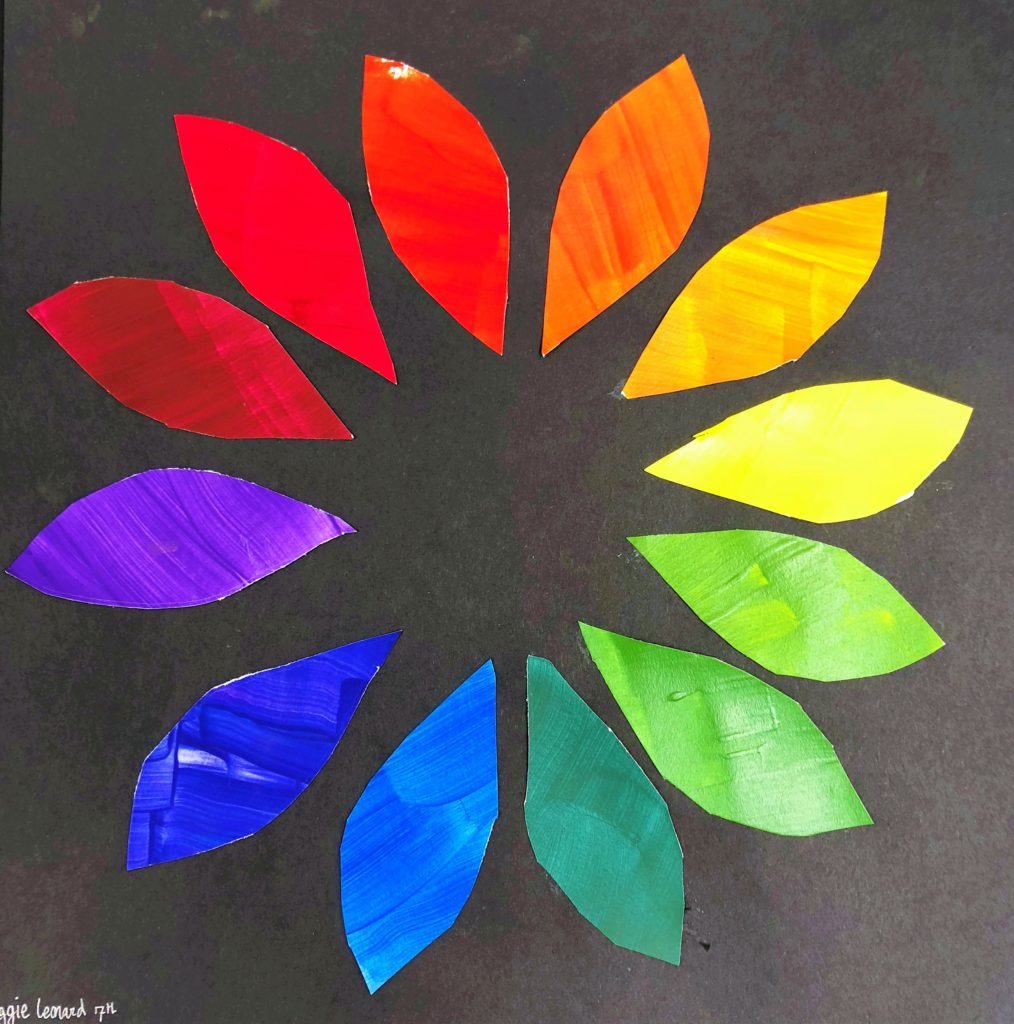
In this Creative Color Wheel lesson, students will design a creative color wheel using primary, secondary and tertiary colors.
Time
3 – 60 min lessons
Materials
- Pencils
- Red, Orange, Yellow, Green, Blue, Purple Acrylic Paint. Acrylic Paint – Crayola Washable Kids Paint Set, 10 Count
- 12×18 Watercolor paper – Canson XL Series Watercolor Textured Paper Pad for Paint, Pencil, Ink, Charcoal, Pastel, and Acrylic, Fold Over, 140 Pound, 12 x 18 Inch, 30 Sheets
- Brushes – Acrylic Paint Brush Set, 1 Packs / 10 pcs Nylon Hair Brushes for All Purpose Oil Watercolor Painting Artist Professional Kits
- Rulers (yard and foot if possible)
- Scissors
- Black – Tru-Ray Sulphite Construction Paper, 12 x 18 Inches, Black, 50 Sheets – 054150
Inspiration/Artist
I was inspired to make this project from this site: Click Here
Instruction with Questions
Day 1
Show a couple of videos. I like all of these, but depending on what background they have about color theory, you may only need a couple of them. After watching them, have a discussion reviewing what they learned.
Youtube: The Colors Song | The Colours Song | Scratch Garden: Click Here
Beginning Graphic Design: Color: Click Here
Elements of Art: Color | KQED Arts: Click Here
Brain Games – Visible Spectrum: Click Here
Use this Color Theory for kids inspired by Disney PowerPoint Presentation: Click Here
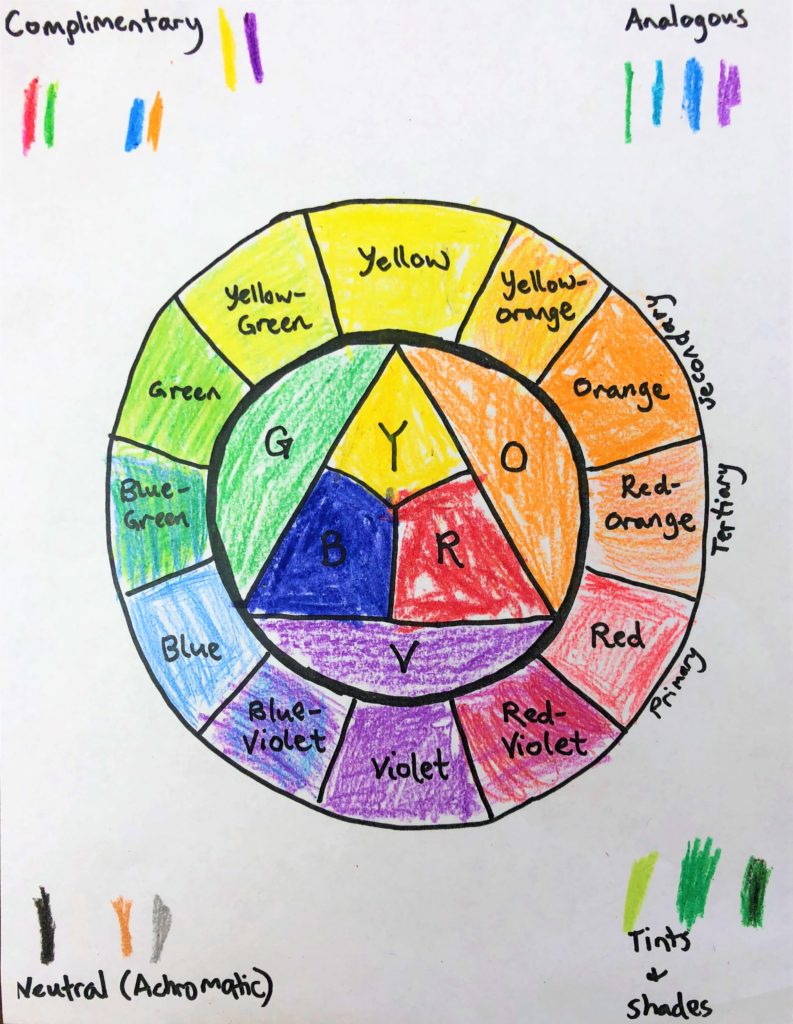
Another idea is to use this color wheel and have them color in the areas with the appropriate color. Click Here for the PDF
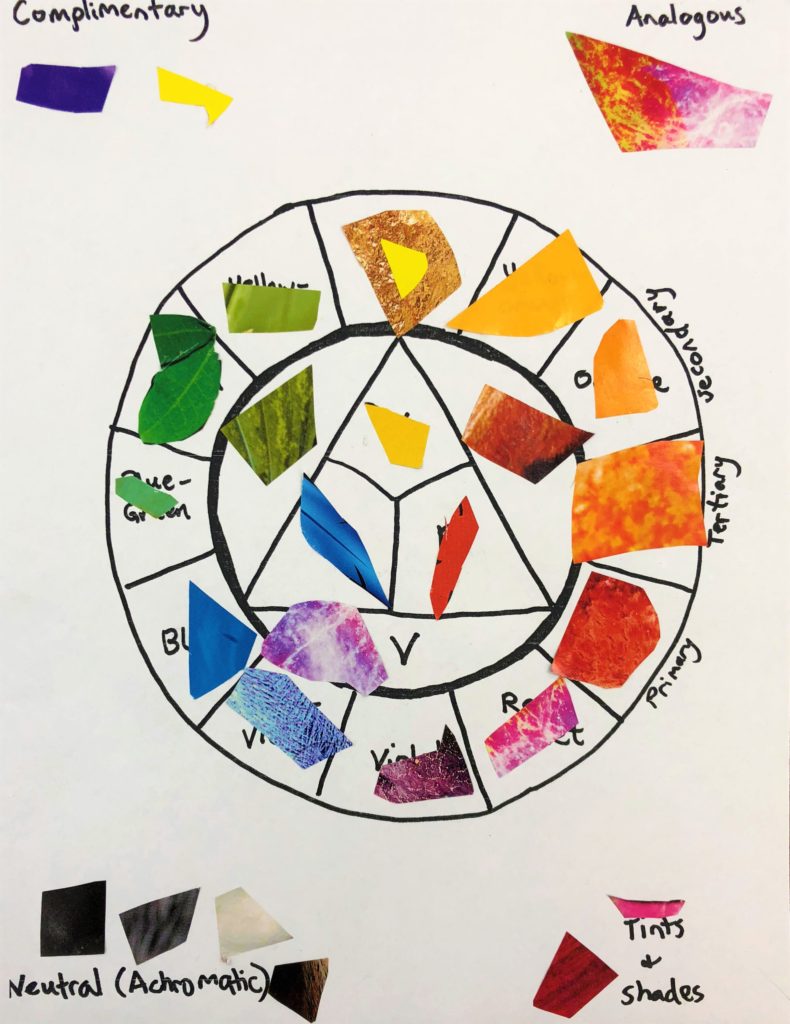
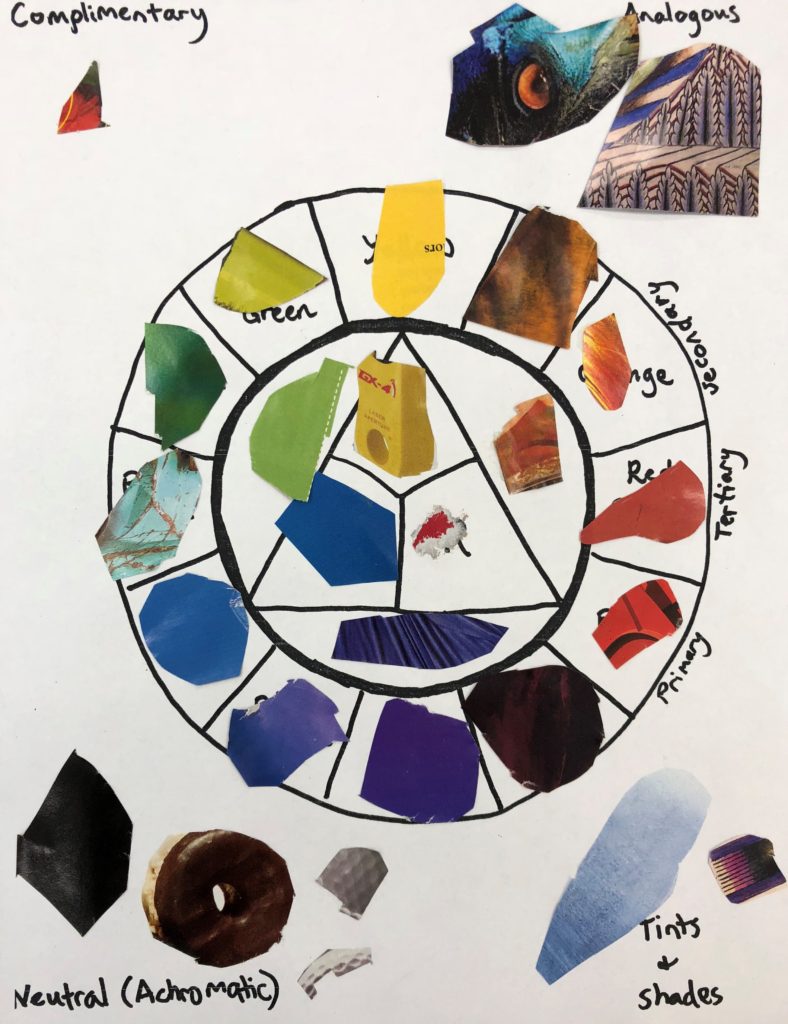
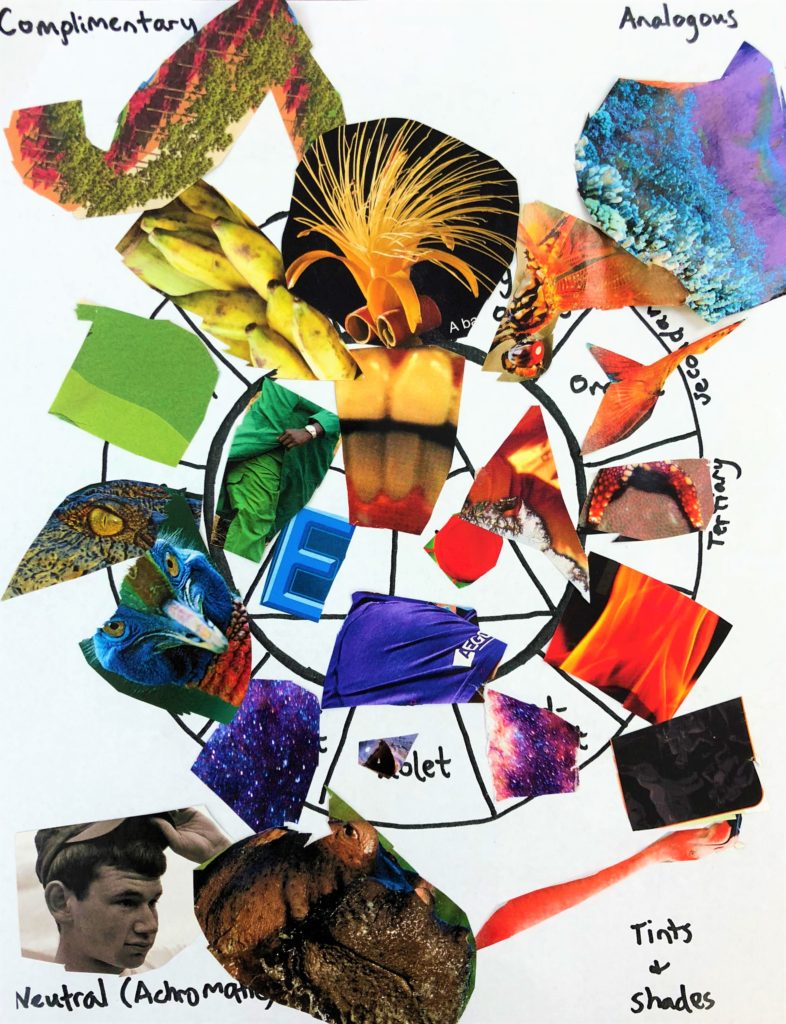
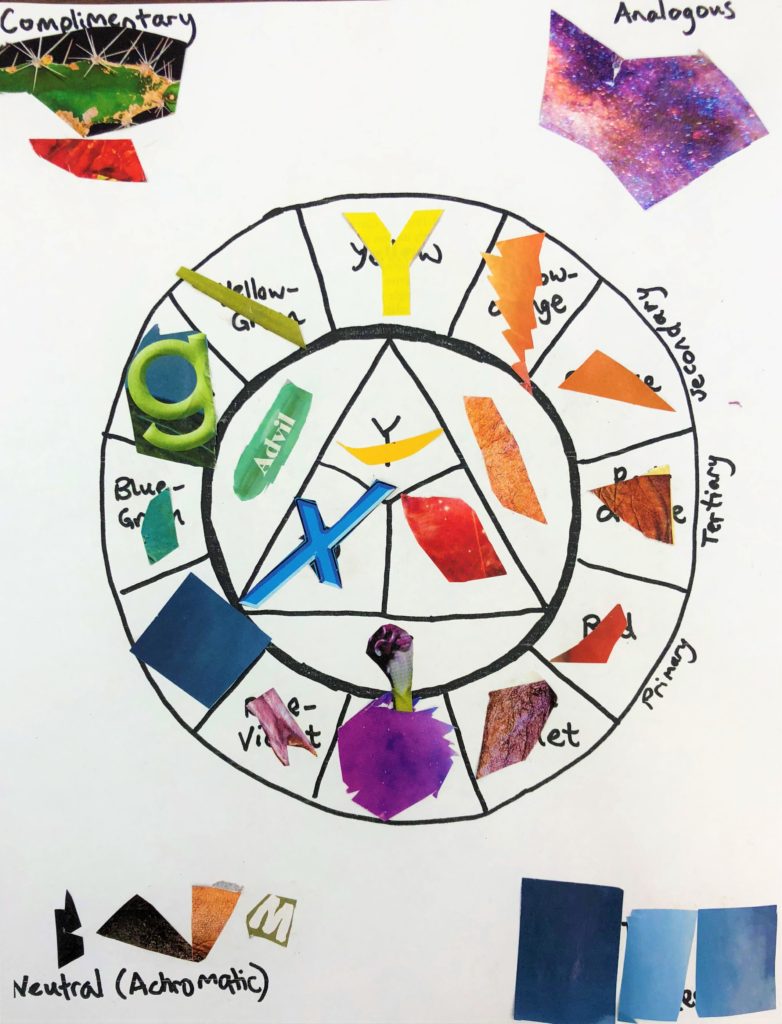
An alternate plan would be to have students cut up magazines to find colors for each area of the template.
Day 2
#1
Students divide a 12×18 size paper into three sections (4 inches apart each)
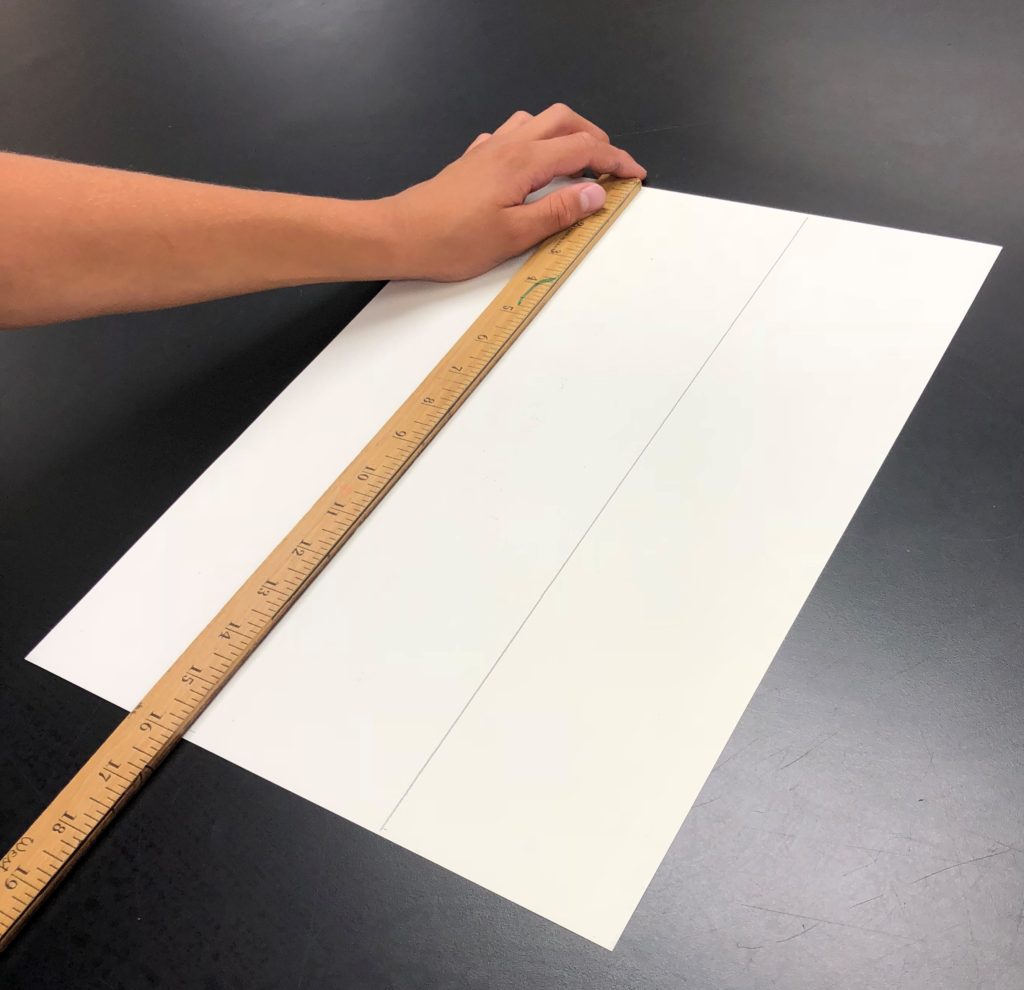
Then divide it again. They should have 12 four inch size squares.
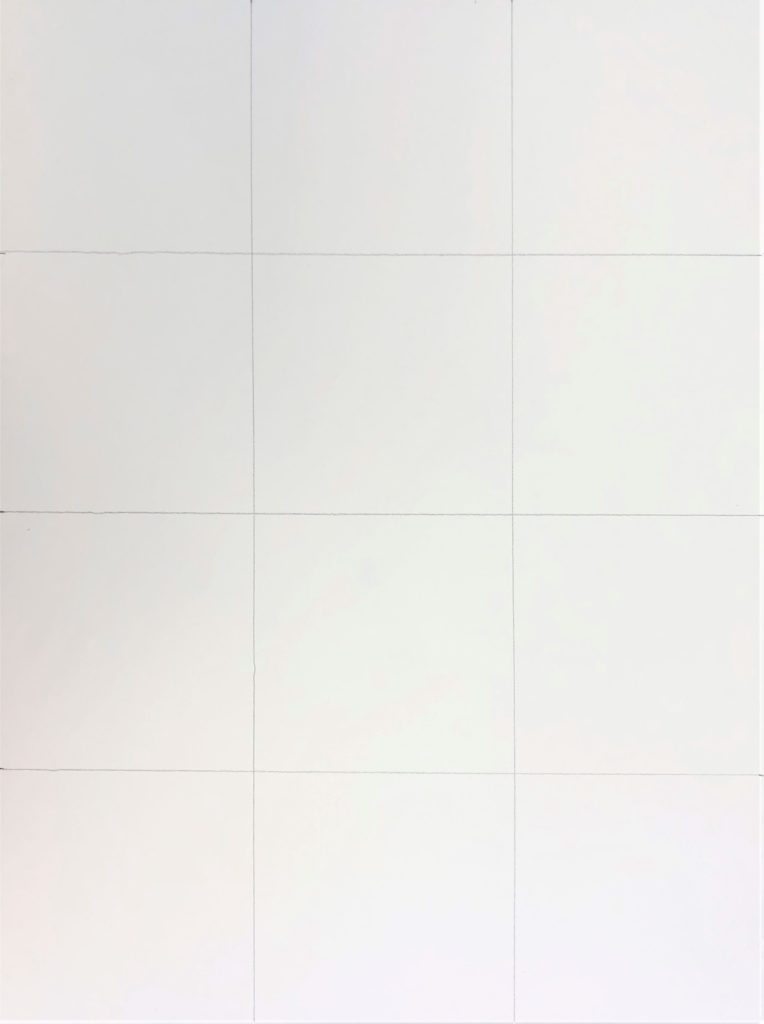
#2
In each corner you can see (in the image below) that I had them label each corner with R for Red, RO for Red Orange, O for Orange and so on. It just amazes me that some students will ask me what comes between green and blue. Hmmmm. Anyway, this is a great reinforcement of tertiary colors.
On separate paper plates, I labeled them the same way. Only due to time, and expense, I pre-mixed the colors and set them throughout the room like stations, but I think it is even better when they mix them themselves.
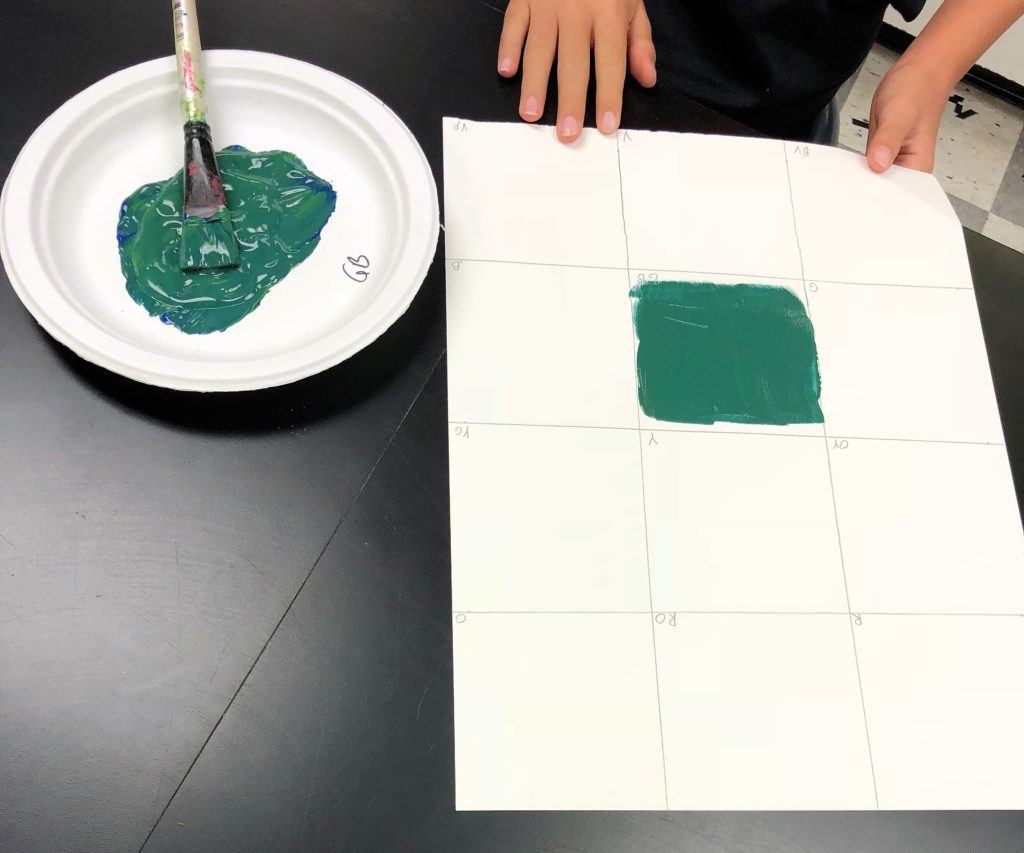
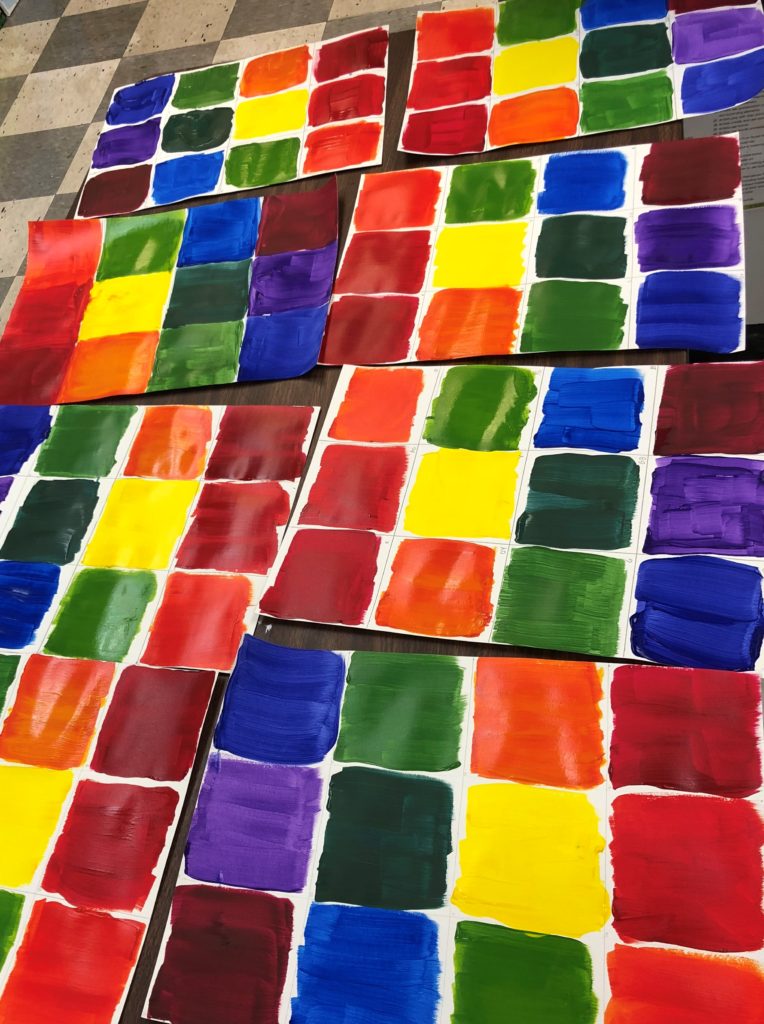
Remind them to make the paint thick but smooth. Sometimes some students went back for a second coat. As you can see from the image below, I encouraged them to leave a bit of white around each edge so the paint did not bleed or mix.
Day 3
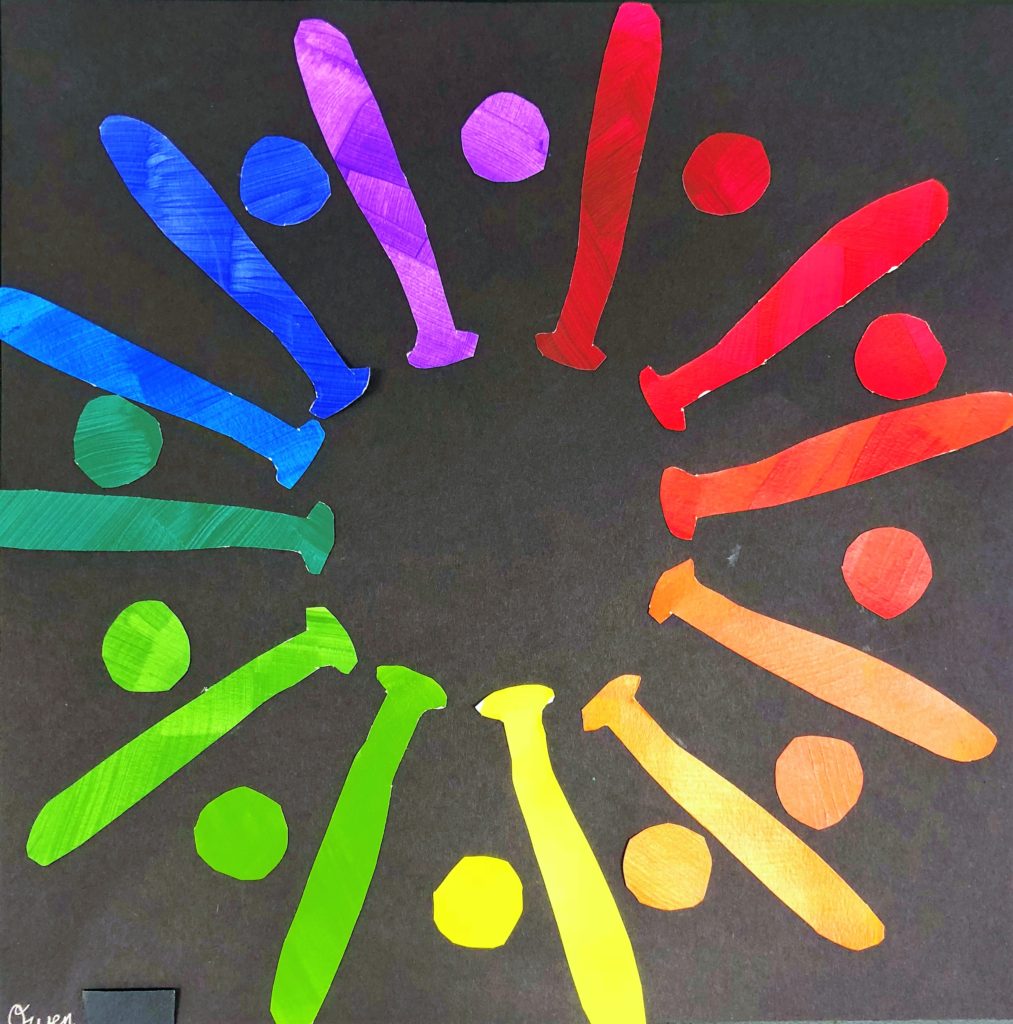
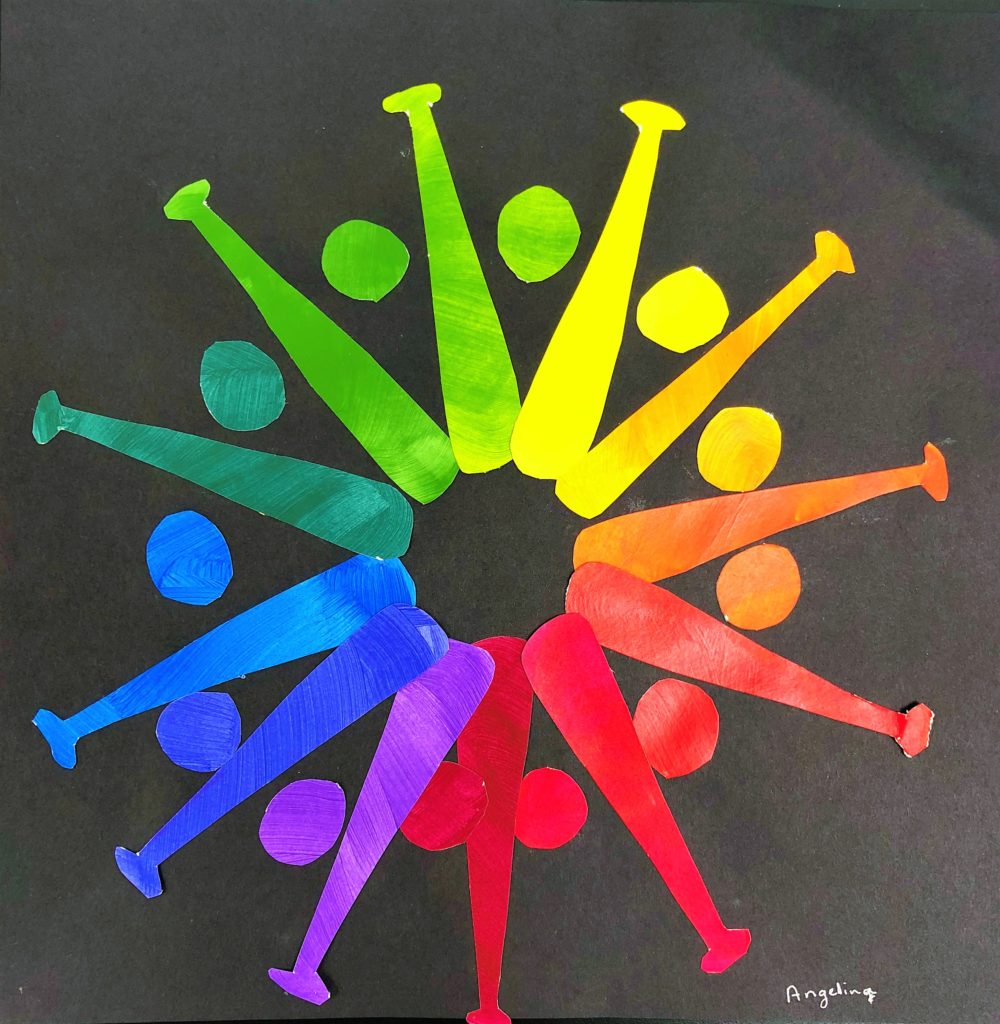
Next, on a blank 4 inch size square, preferably card stock or more watercolor paper, have them draw an image. Now that sounds pretty simple, but it actually will require some practice images first. The main thing they want to do is to make lines and designs in the image. Like a face or in this case the place the hands go on the bat and the lines on the ball. I remind them we are only doing a silhouette. Like a shadow. Only the outline. I remind them to try to fill the paper with the image. In the case of the bat, use the diagonal so the image is as large as possible. It is natural for all of us to draw “small.”
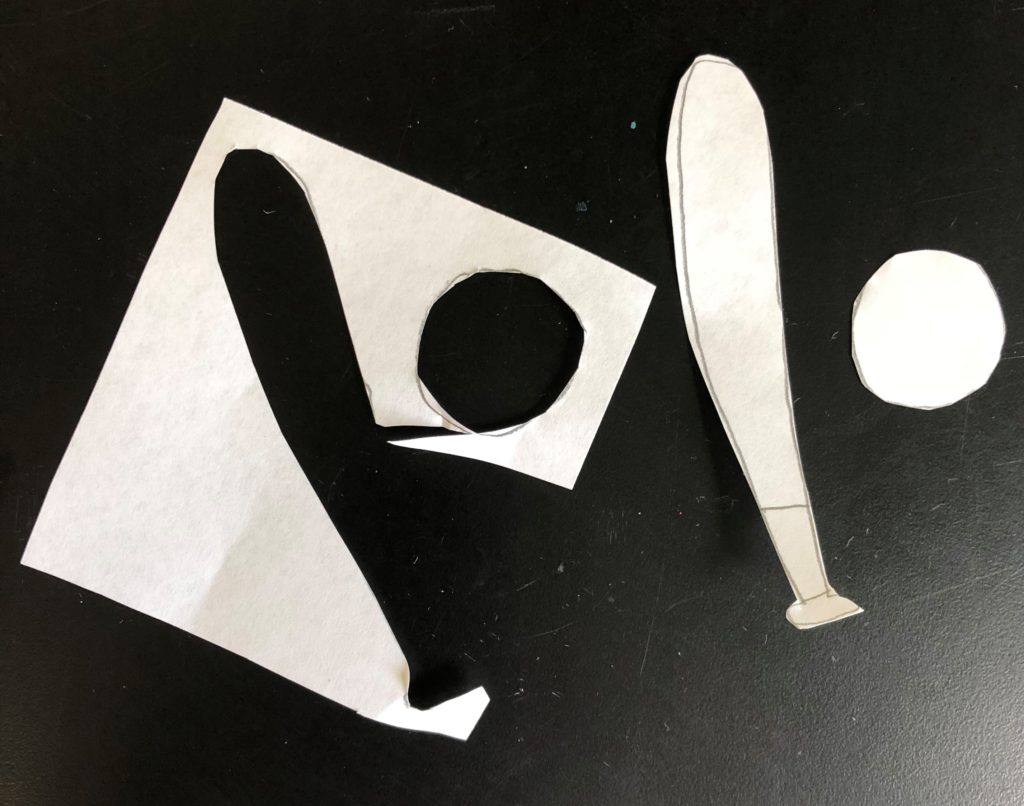
I show the students how to use a window to trace each image exactly. First have them tape their large, dry colored paper to the window with the color facing out, away from them. Then trace the image on the paper. Once they are all traced, they are cut out.
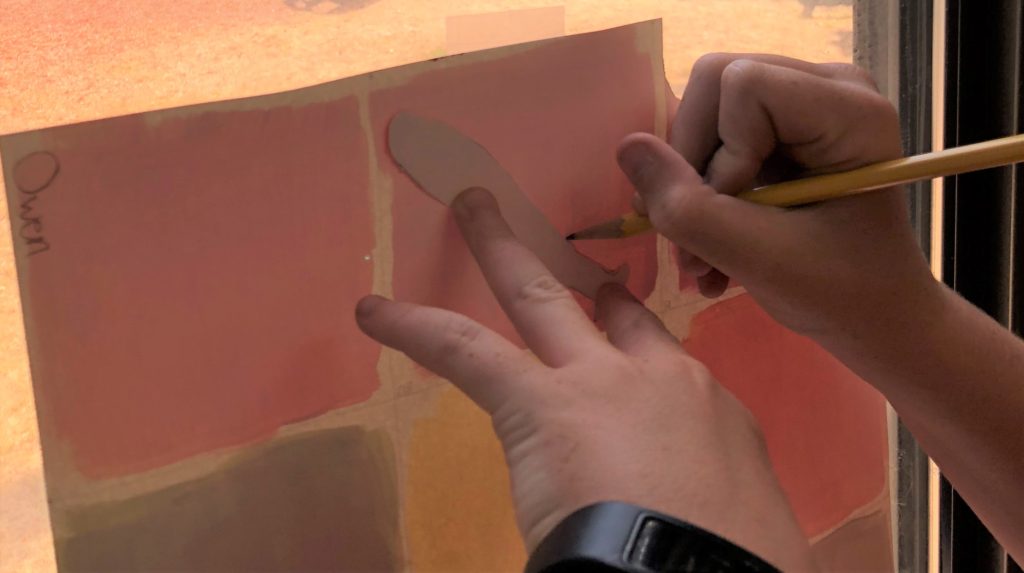
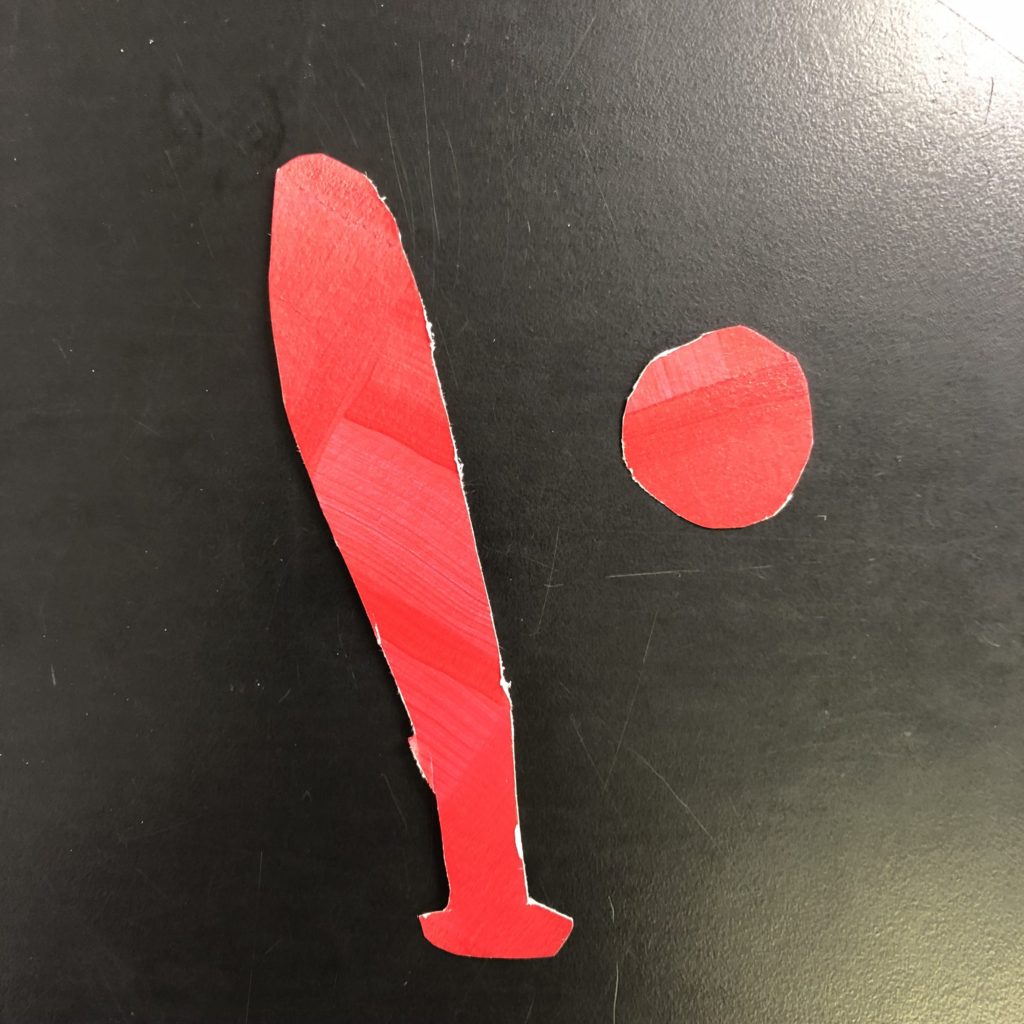
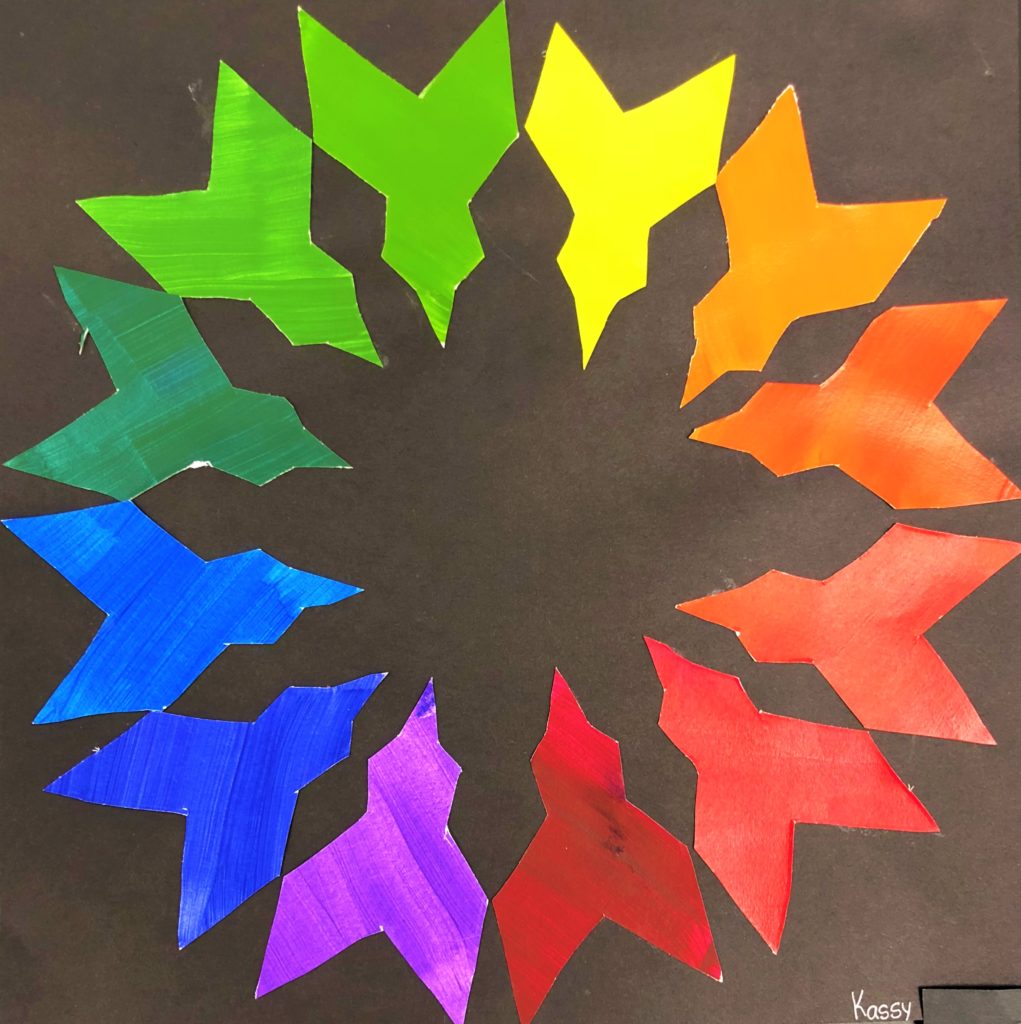
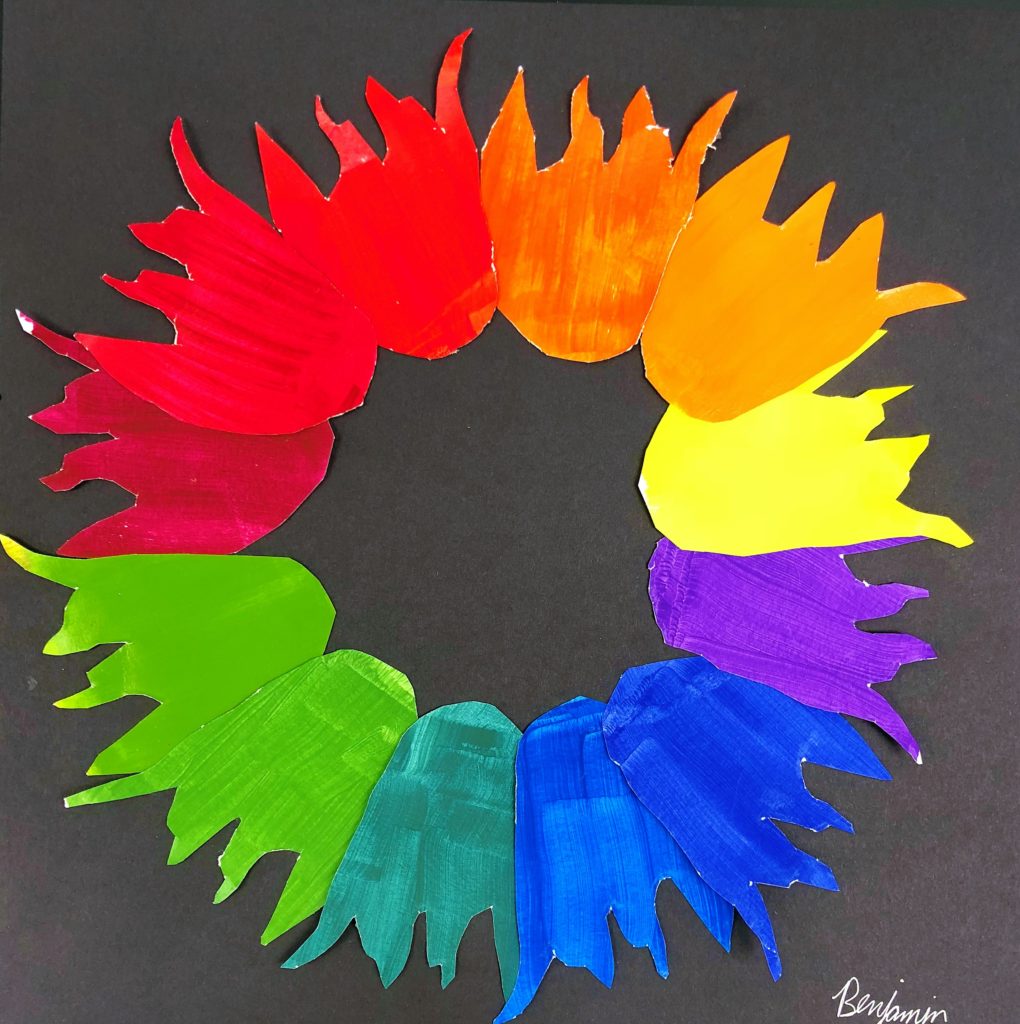
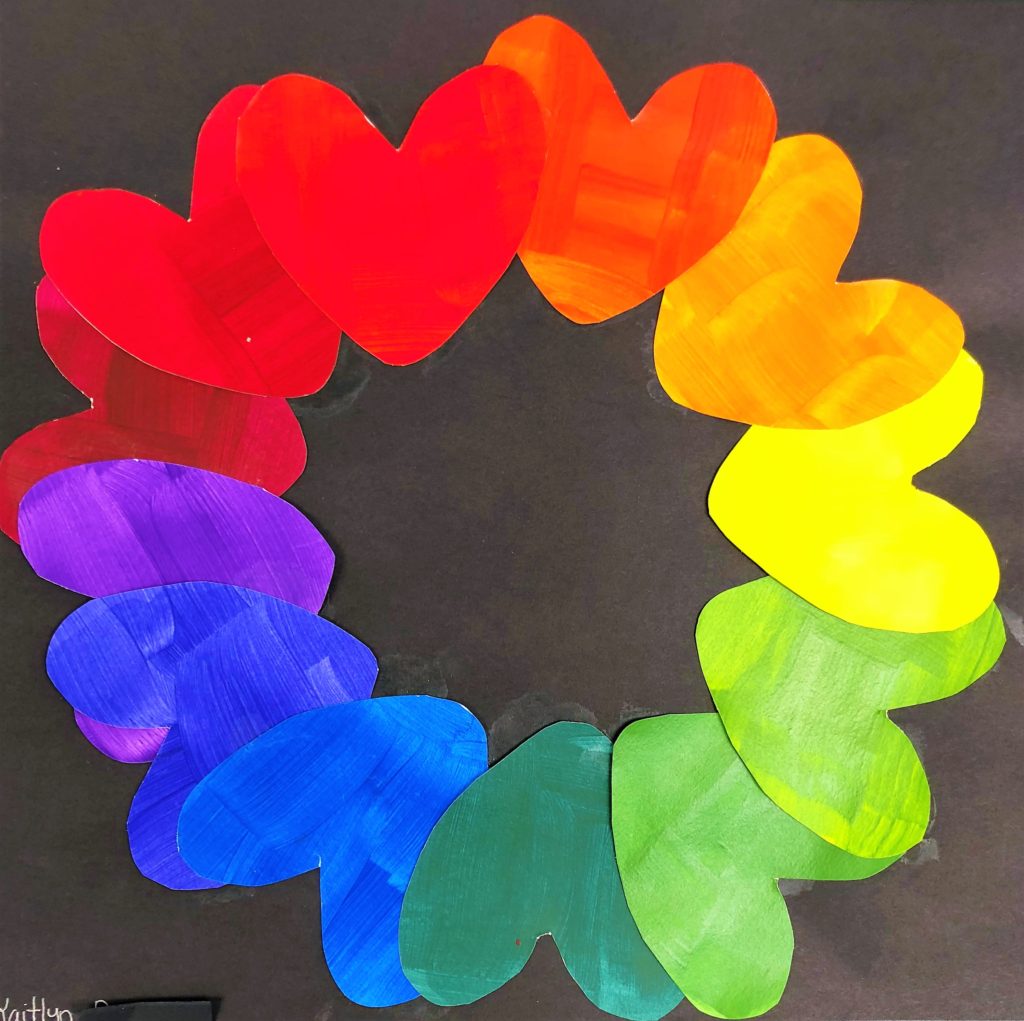
Finally, pass out pre-cut 12×12 size square black construction paper. If I did this project again, I would give them a circle to place in the middle of the paper. It is really hard to find a circle when laying out the pieces. I love the ball and bat – one student did them facing out and another student inverted them. I also love the use of paw prints to add to the design. If you have more advanced students, you could use the scraps to add a complimentary color accent onto each piece.
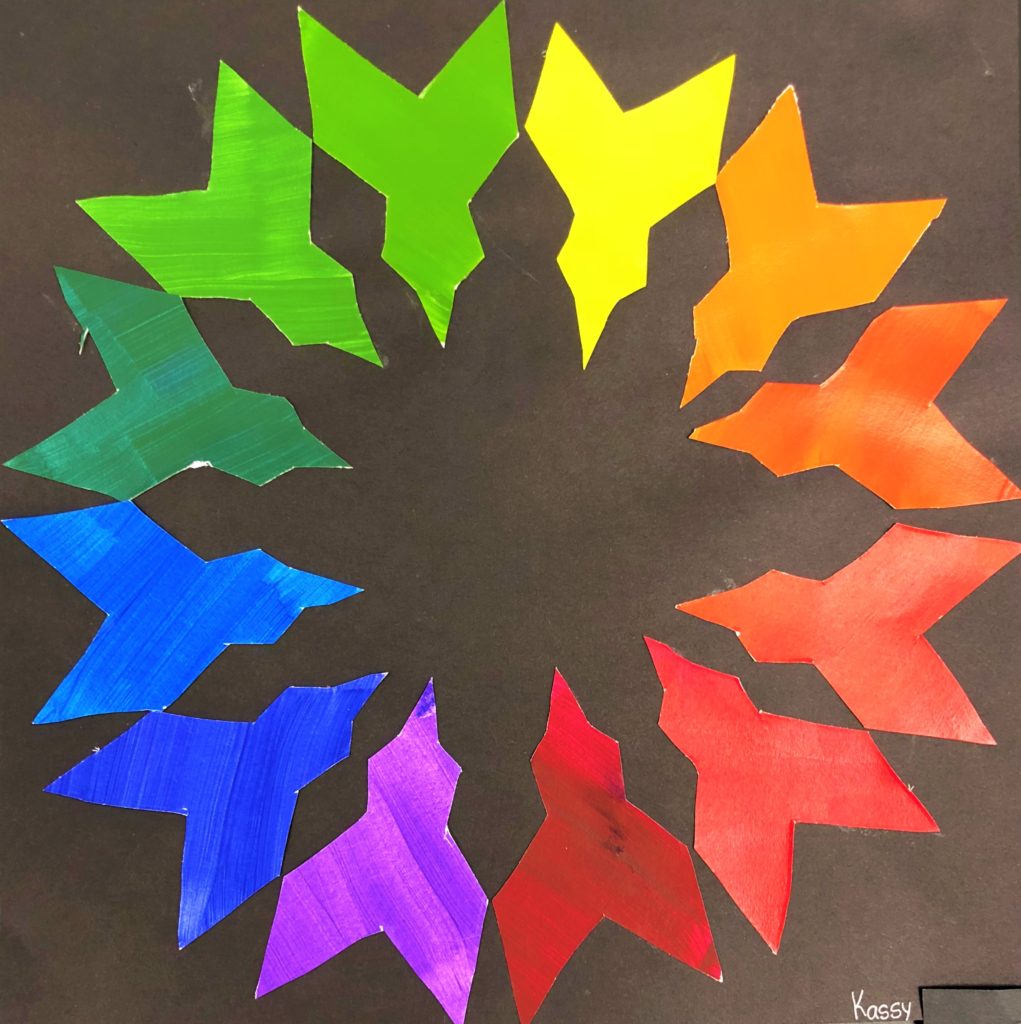
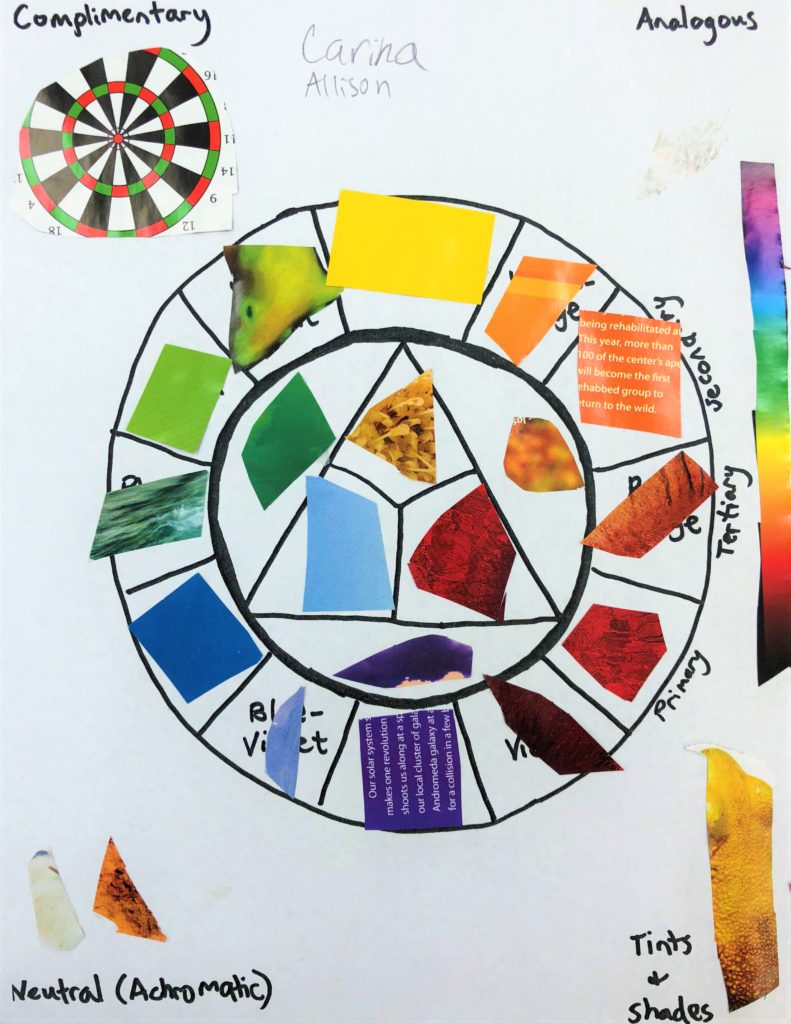
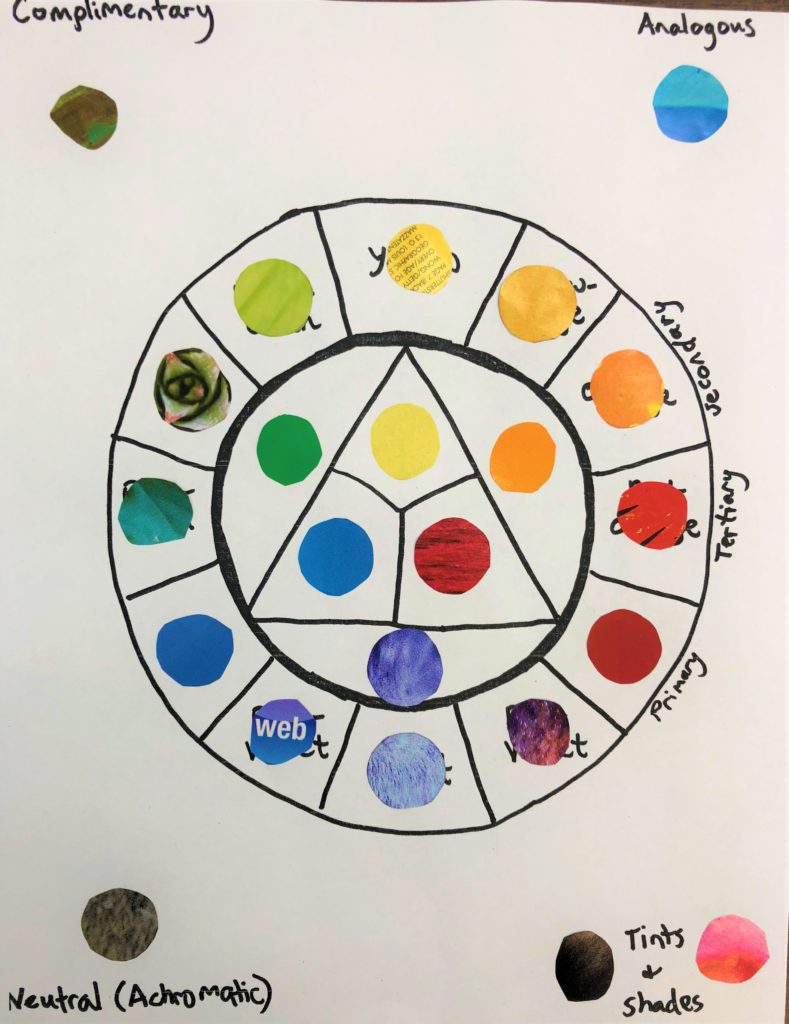
Here are some finished Creative Color Wheel pieces!
Common Core Standards
7th Grade – Math – Geometry
Draw, construct, and describe geometrical figures and describe the relationships between them.
- Solve problems involving scale drawings of geometric figures, including computing actual lengths and areas from a scale
drawing and reproducing a scale drawing at a different scale. - Draw (freehand, with ruler and protractor, and with technology) geometric shapes with given conditions. Focus on constructing triangles from three measures of angles or sides, noticing when the conditions determine a unique triangle, more than one triangle, or no triangle.
- Describe the two-dimensional figures that result from slicing three-dimensional figures, as in plane sections of right rectangular prisms and right rectangular pyramids.
Solve real-life and mathematical problems involving angle measure, area, surface area, and volume.
- Know the formulas for the area and circumference of a circle and use them to solve problems; give an informal derivation of the relationship between the circumference and area of a circle.
- Use facts about supplementary, complementary, vertical, and adjacent angles in a multi-step problem to write and solve simple equations for an unknown angle in a figure.
- Solve real-world and mathematical problems involving area, volume and surface area of two- and three-dimensional objects composed of triangles, quadrilaterals, polygons, cubes, and right prisms.

Nicee!
I absolutely love this activity! I will be using this with my middle school art class at our homeschool co-op. Thank you!
Thank you for the feedback. Let me know how it goes!
I teach 5th grade and my group this year is so creative and artistic. I am not an artist and have no artistic talent, but work hard to bring quality art projects to my classes. I have searched everywhere for a creative way to teach color. This project is amazing and thanks for sharing this for teachers like me.❤️
I am so excited you found this lesson. I hope your students enjoy it! Let me know how it goes and how else I can support you.
This is so great! We had a lot of fun with it. I let the kids mix the colours…it was chaotic and stressful for me, but when I focused on their “talk” it was all about the colours, how much of each, no that’s too green, we need more blue…etc. So the kids got a lot out of it. Thanks so much for sharing, I will definitely do this again!
I am so glad it was so successful! Let me know how else I can support you. Thank you for reaching out!
Nice idea and different from the norm! Thank you for sharing!
First off, thank you and God Bless you! Your website is an answer to my prayers. I am an American living in Finland. I got a job teaching the English classes in a bilingual program in an elementary school. In my head, I am not an elementary teacher… I am a high school English teacher who needs a job, so I feel overwhelmed and completely LOST. In my weekly schedule, I get to teach 2 hours of art to 6th graders. I thought I would start with color theory and I found your website. This… Just…. THANK YOU. Now I know what I can do on Monday… I have a place to start.
Oh my goodness I am so happy! I am so sorry for my late response. Please email me directly and I can even give you more support. leahnewtonart@gmail.com