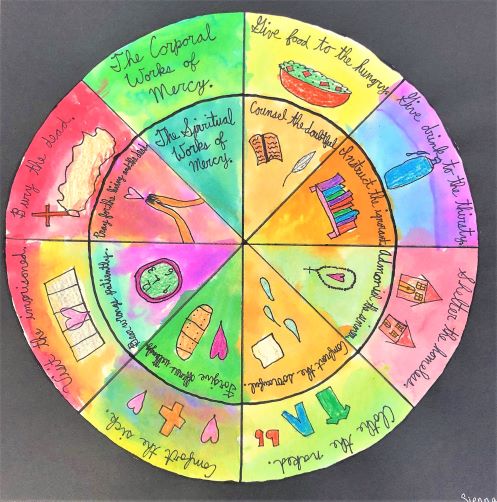
Focusing on the Works of Mercy is a fabulous way to celebrate the seasons of Lent, Holy Week and Easter. This project covers Common Core Standards for Religion for grades 4-8.
Grade Level
4th, 5th, and 6th, 7th, 8th grade. This project was created by 5th grade students.
Objective for Works of Mercy Art
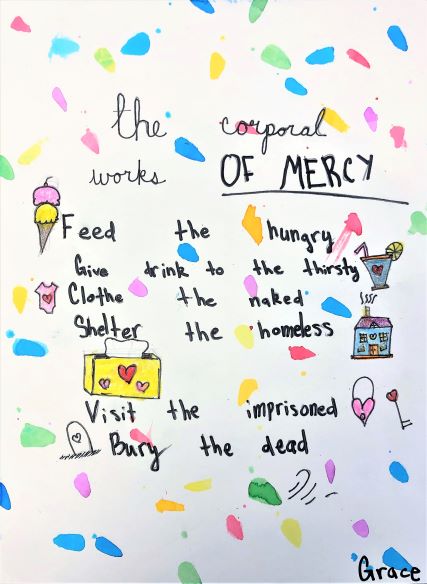
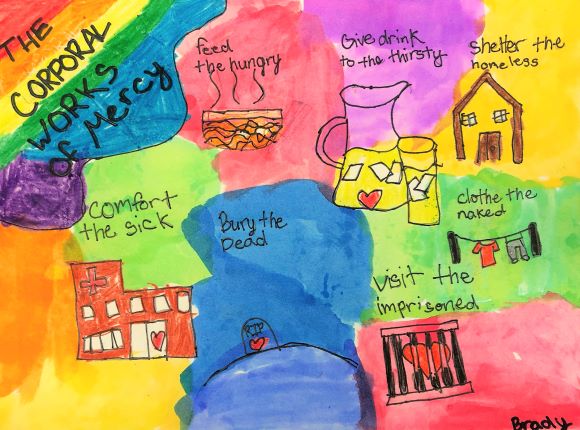
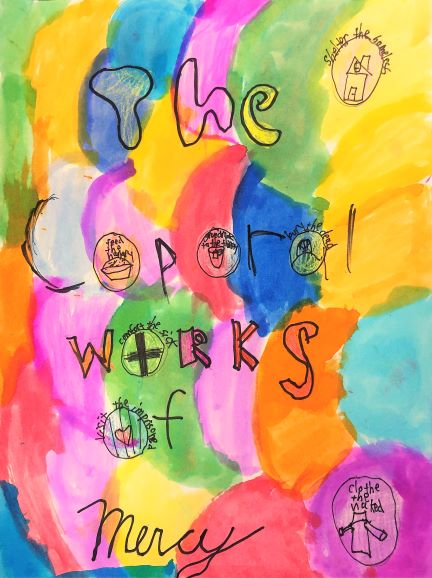
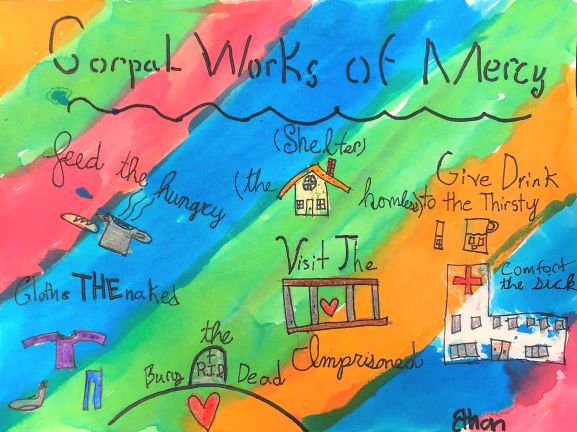
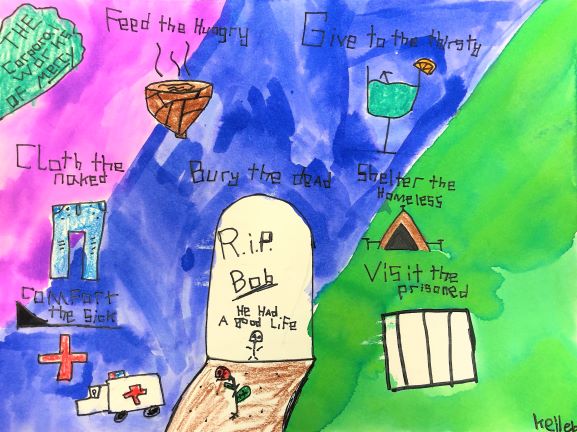
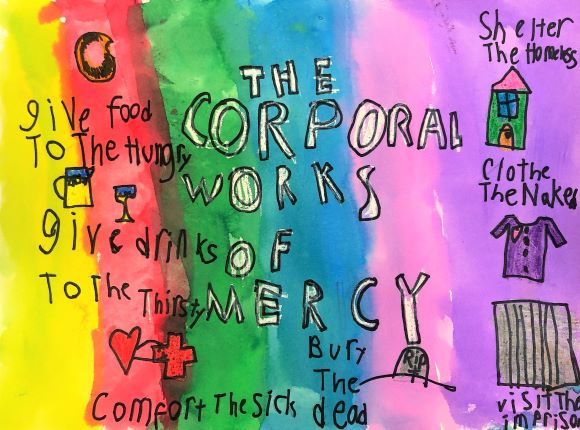
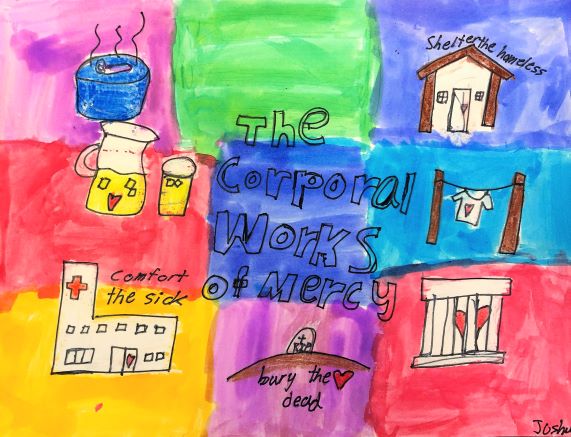
Elementary and middle school students will use the Works of Mercy in a piece of artwork. This piece may be done in a mandala or poster style.
Time
4+ – 30 min lessons
Materials
- Oil pastels – Pentel Arts Oil Pastels, 50 Color Set (PHN-50) or crayons or colored pencils
- Black Sharpie Marker – Sharpie Permanent Marker, Fine Point, Black, Pack of 5
- 12×18 Watercolor paper – Canson XL Series Watercolor Textured Paper Pad for Paint, Pencil, Ink, Charcoal, Pastel, and Acrylic, Fold Over, 140 Pound, 12 x 18 Inch, 30 Sheets
- or
- 9×12 Watercolor paper – Canson (100510941) XL Series Watercolor Pad, 9″ x 12″, Fold-Over Cover, 30 Sheets
- Black paper – (if using the mandala style artwork) – Tru-Ray – 103061 Sulphite Construction Paper, 12 x 18 Inches, Black, 50 Sheets – 054150
- Brushes – Acrylic Paint Brush Set, 1 Packs / 10 pcs Nylon Hair Brushes for All Purpose Oil Watercolor Painting Artist Professional Kits
- Liquid Water Colors – Sargent Art 22-6010 10-Count 8-Ounce Watercolor Magic Set
- Or this mini version for homeschooling – Sargent Art 22-6210 10-Count 4-Ounce Watercolor Magic
- Kleenex for blotting paint
Inspiration/Artist
I made this project up after being inspired from this awesome site Look to Him and be Radiant: Click Here
Instruction with Questions
First
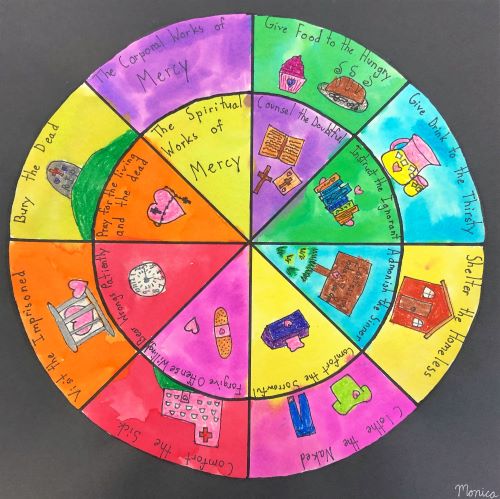
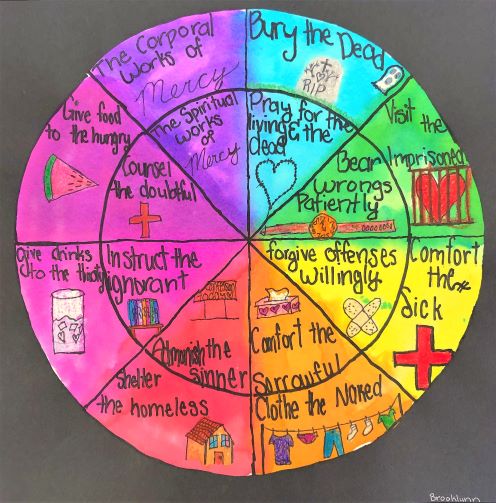
This lesson plan will focus on how to create this artwork like a mandala. You can easily just have students create their own poster arranging them in any way they choose. My examples at the end of this lesson speak to both formats.
Show students a Power Point Presentation on Mandalas:
Second
Trace the largest plate you can onto the 12×18 size watercolor paper. Cut it out. Fold it in half and then in half again and one more time. You now have eight triangles on each half of your circle. Snip off the tip of it so you now have a center mark.
On each student’s paper, trace the large circle you prepared including the center dot. Also, use the fold marks and place dots around the outer rim of their circle so they have a good guide for drawing their inside lines with a ruler. The center dot will help immensely. Use a small paper plate to trace around for the inner circle.
Third
Show them videos about the Works of Mercy
Corporal Works of Mercy | Catholic Central
Spiritual Works of Mercy | Catholic Central
Fourth
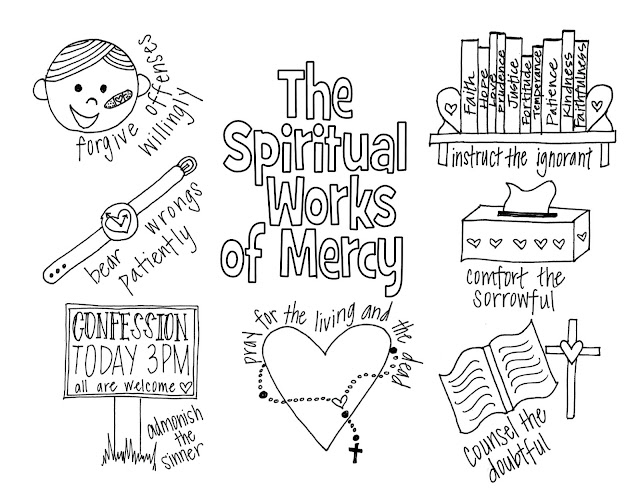
Pass out these handouts from Look to Him and be Radiant. You many choose to only focus on one set of Works or include both. I love teaching the students about how the word “corporal” mean body. So what things do we do to take care of our bodies? This helps make the whole idea make more sense. These sheets can be used as a coloring page, and also as a reference for their own drawings about each of the Works of Mercy.

Have them identify as many of the Works of Mercy as they can in the following fabulous video by Sara McLachlan.
Sarah McLachlan – World On Fire (Video)
Fifth
Students write the words in each triangle area leaving one area for the title. They draw any image they choose to represent each topic. I believe any time students draw what they are learning they will remember it better.
Next they trace over their lines with sharpie marker and color in their items with crayons or oil pastels.
Finally, they paint each triangle with liquid watercolors.
Sixth
Once it dries, have them cut out their circle and glue it onto a pre-cut piece of 12×12 black construction paper.











Leave a Reply