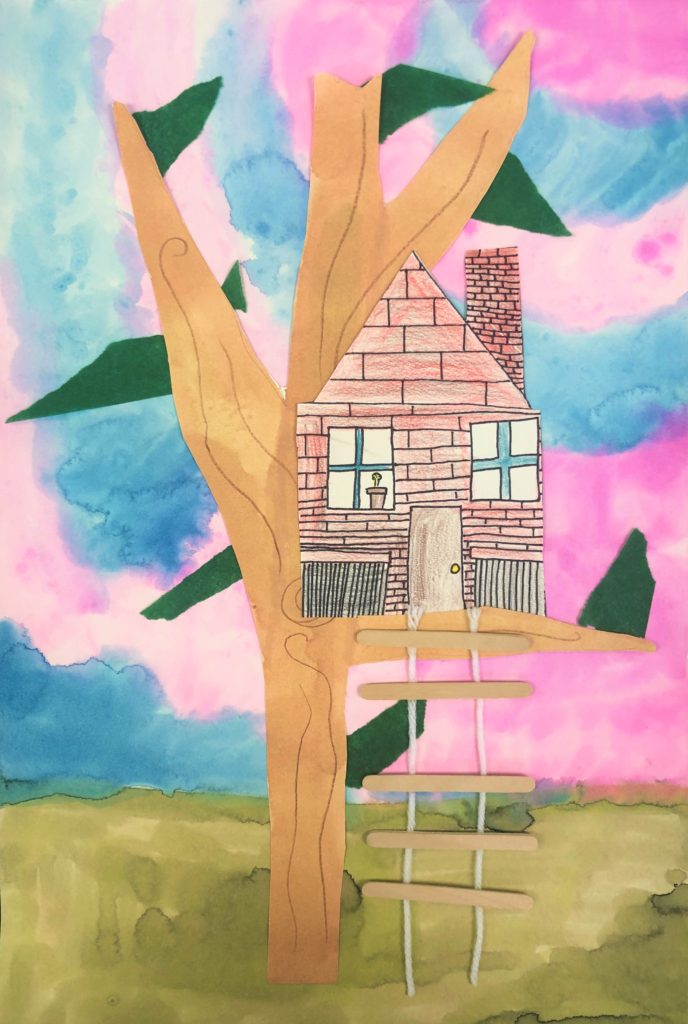
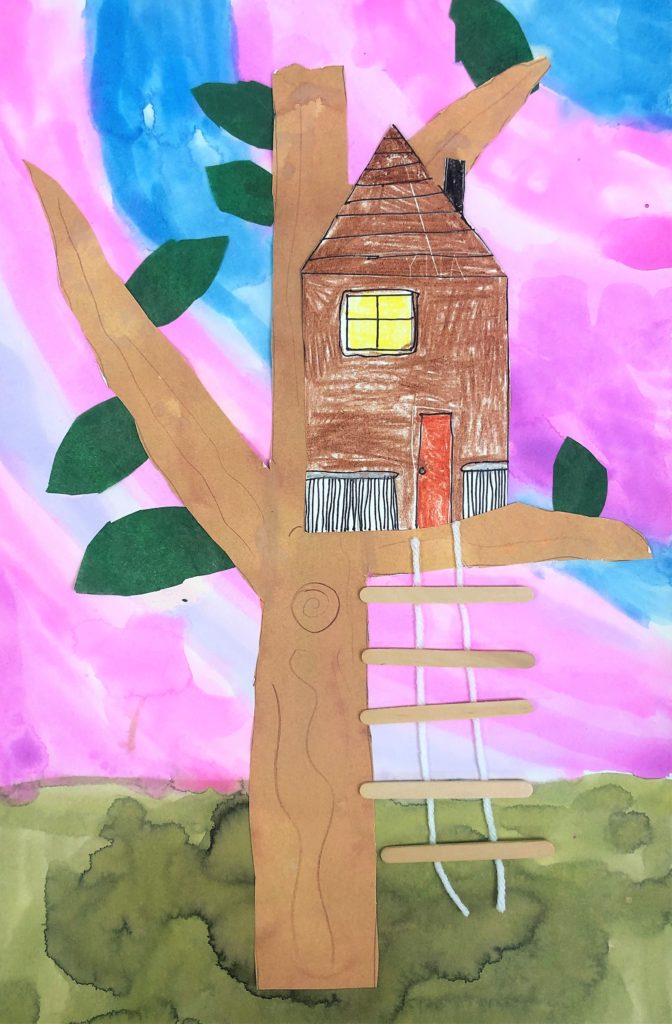
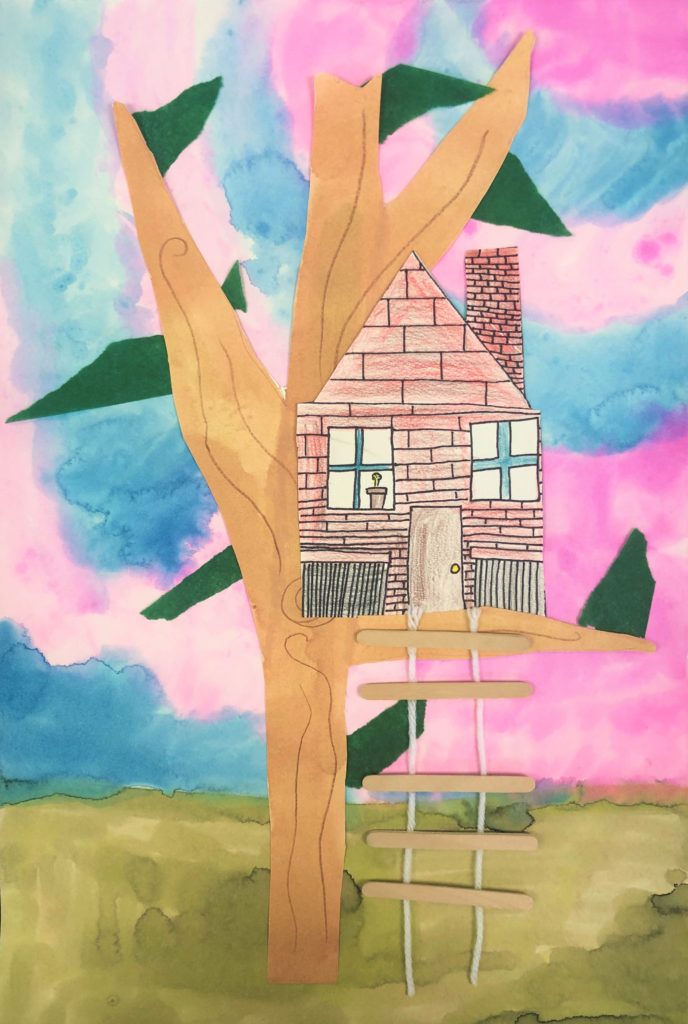
This fun Tree House Collage will inspire any child who dreams of building a fort of their own. This is an introduction for the basics of architecture.
Grade Level
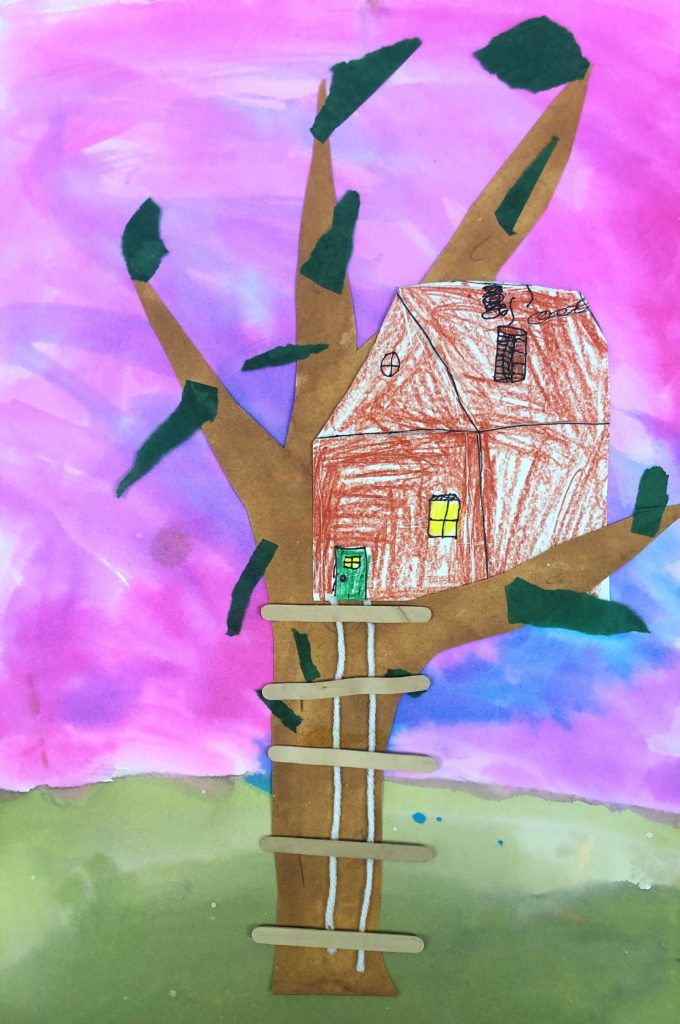
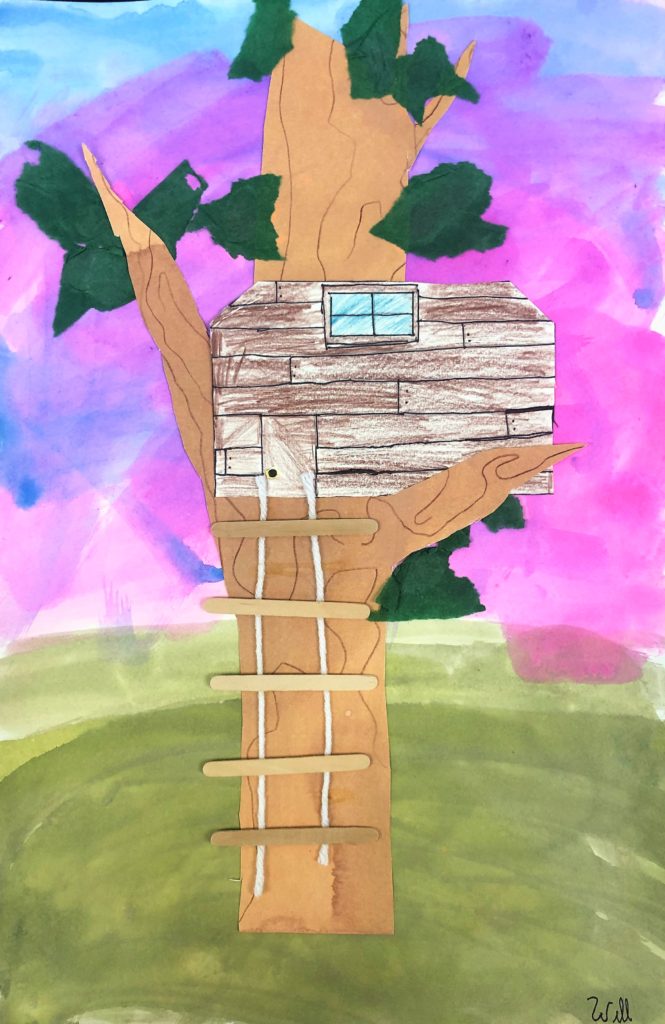
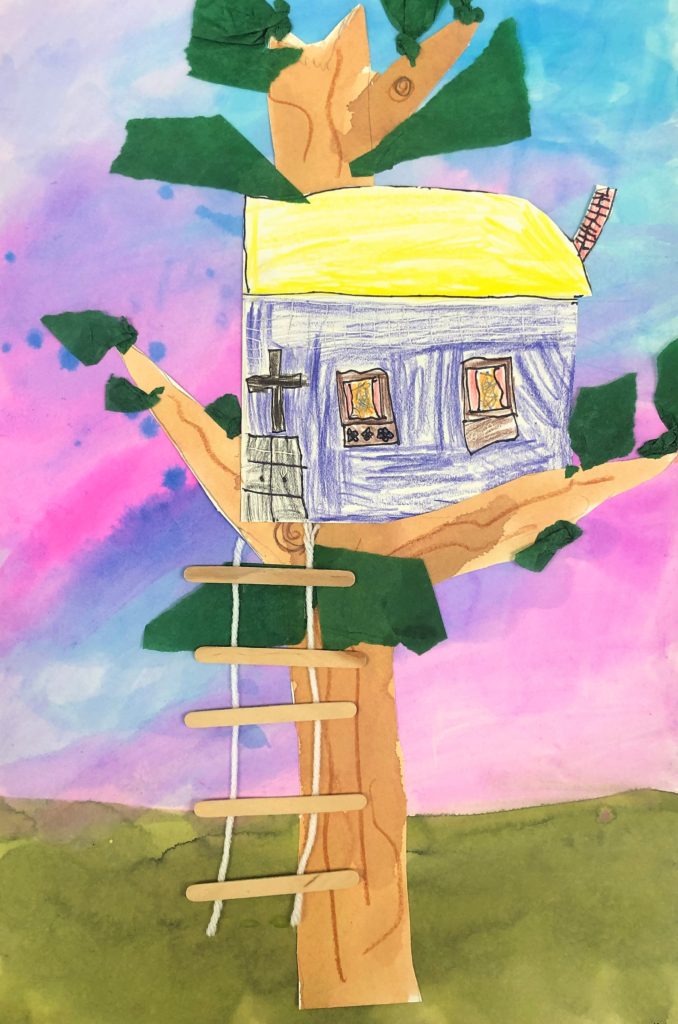
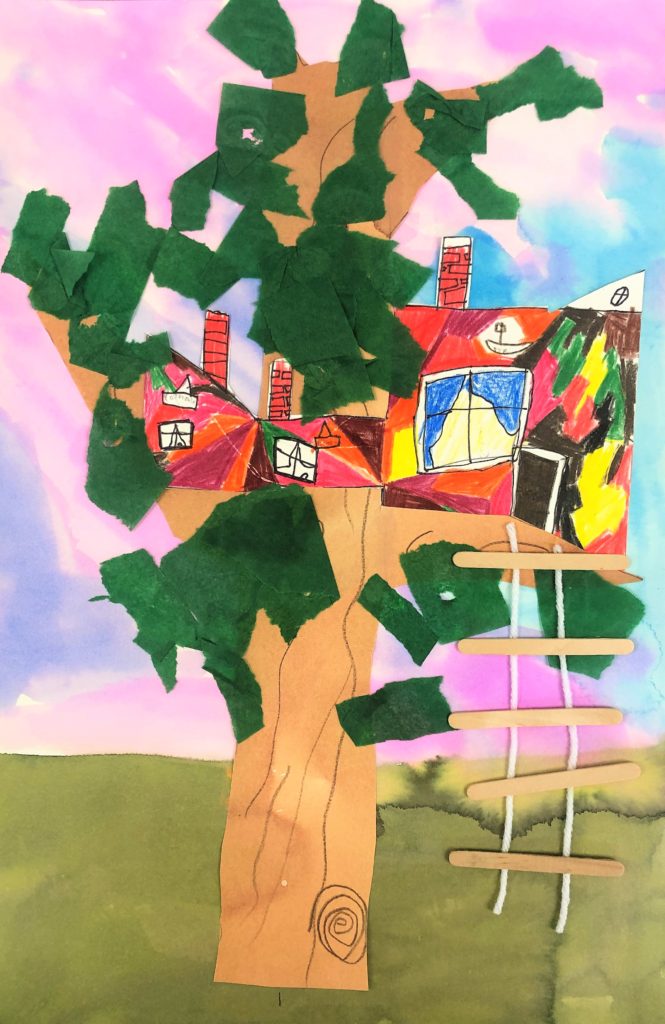
2nd, 3rd, and 4th Grades – The examples here were made by 3rd graders
Objective
In this Tree House Collage lesson, students will design a creative tree house.
Time
5 – 60 min lessons
Materials
- Pencils
- Ruler
- Crayons
- 12×18 Watercolor paper (You will need two sheets per student) – Canson XL Series Watercolor Textured Paper Pad for Paint, Pencil, Ink, Charcoal, Pastel, and Acrylic, Fold Over, 140 Pound, 12 x 18 Inch, 30 Sheets
- Brushes – Acrylic Paint Brush Set, 1 Packs / 10 pcs Nylon Hair Brushes for All Purpose Oil Watercolor Painting Artist Professional Kits
- Liquid Water Colors – Sargent Art 22-6010 10-Count 8-Ounce Watercolor Magic Set
- Or this mini version for homeschooling – Sargent Art 22-6210 10-Count 4-Ounce Watercolor Magic
- Kleenex for blotting paint
- Sharpie Marker – Sharpie Permanent Marker, Fine Point, Black, Pack of 5
- White yarn
- Small craft sticks – approximately 2-3 inches long – Perfectware 2.5” Craft PS63 Birchwood Straight Edge Mini Stick 200ct.
- Green tissue paper – Forest Sage Olive Moss Green Assorted Mixed Color Multi-Pack Tissue Paper for Flower Pom Poms Art Craft Wedding Bridal Shower Party Gift Bag Basket Filler Decoration
Inspiration/Artist
I was inspired to make this project after I saw this idea: Click Here
Instruction with Questions
Day 1
Students watch videos about Architecture and Famous Buildings around the World. These can all be found on Youtube:
I am an Architect – The History of Architecture: Click Here
How to Become an Architect? CareerBuilder Videos from funza Academy.: Click Here
10 Strangest Buildings In The World: Click Here
Famous buildings in the world – famous structures of the world: Click Here
How High Can Skyscrapers Go? – Cheddar Explores: Click Here
Day 2
Students view images of tree houses. I created this PowerPoint Presentation using images I found on Google Images. Ask students to identify what they see in the images.
- Are the houses below, in or on top of the tree? How do you know?
- What shapes do you see in the structure of the houses?
- How do you access the houses?
- Is the tree sitting on a horizon line or inside of an area?
- What details do you notice in each of the houses? Windows? Doors? Flower pots?
Pull students a few at a time to paint their background on their first piece of 12×18 watercolor paper. I provided several watercolor paint options for them to choose from. Also, include a dirty green color for your ground about 3 inches thick across the bottom of your vertical paper.
While students paint, have the rest of the class practice drawing a tree house.
Day 3
On the white board, show the steps for making the tree that their house will sit in. Since I was doing this lesson with 3rd grade students, I gave them directed steps for the same style tree. After I draw these on the board, I pass out the second piece of large 12×18 piece of watercolor paper. We do these steps again, one at a time.
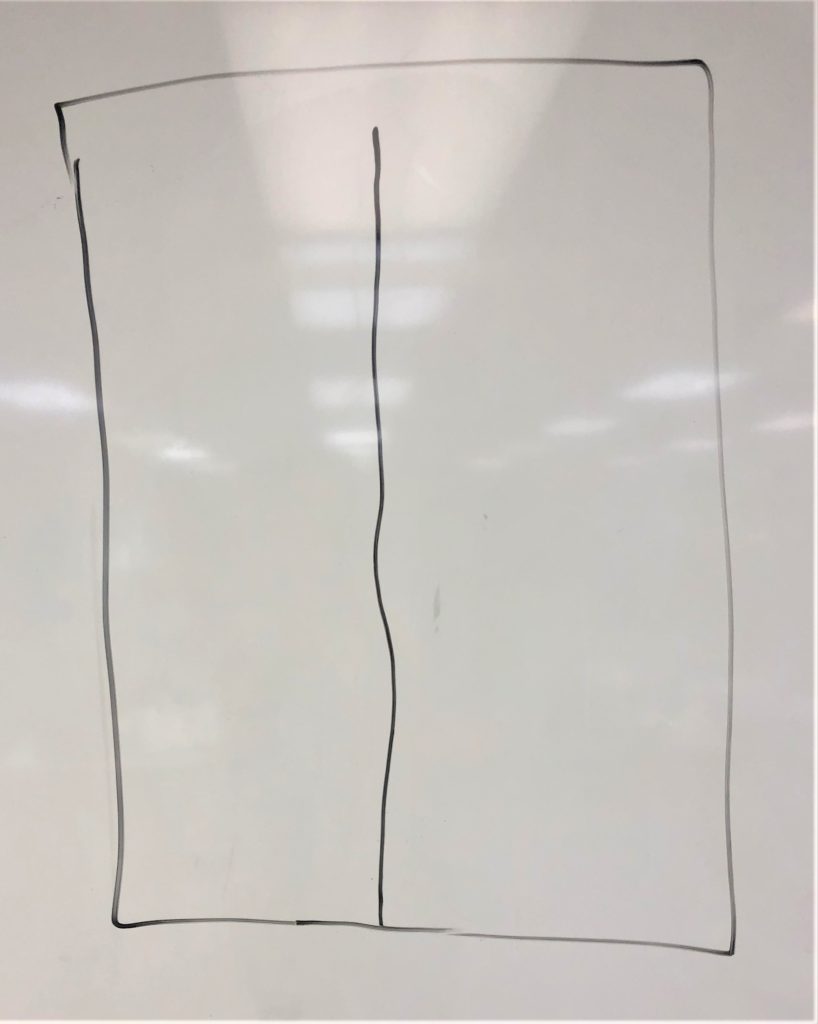
#1 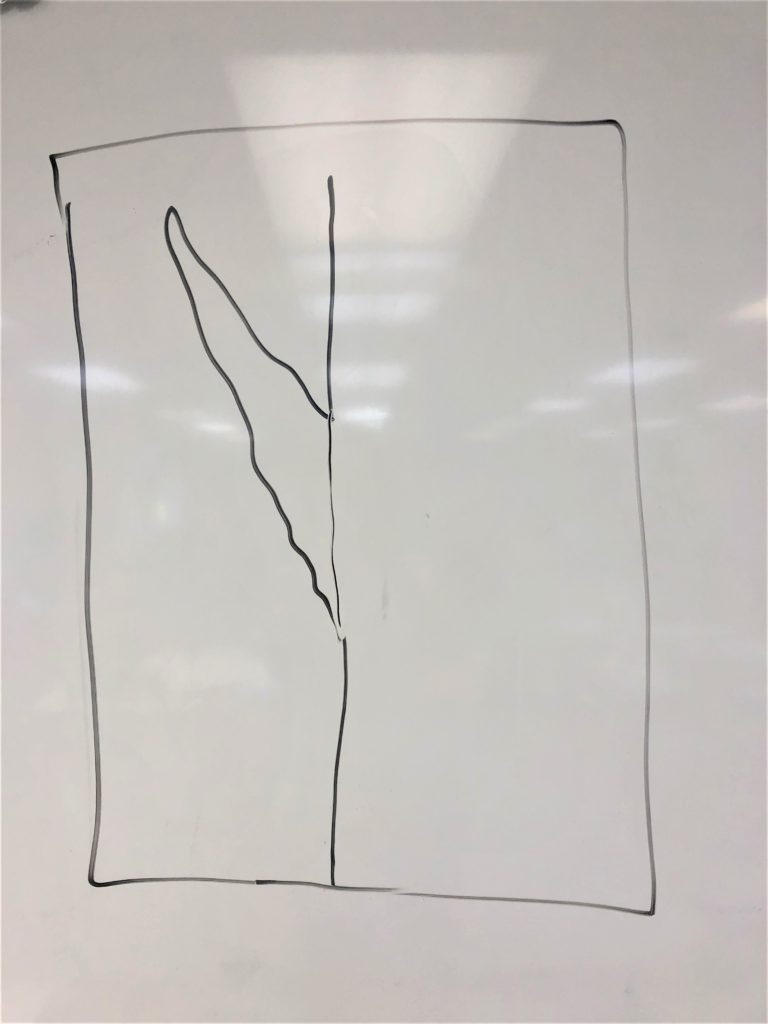
#2 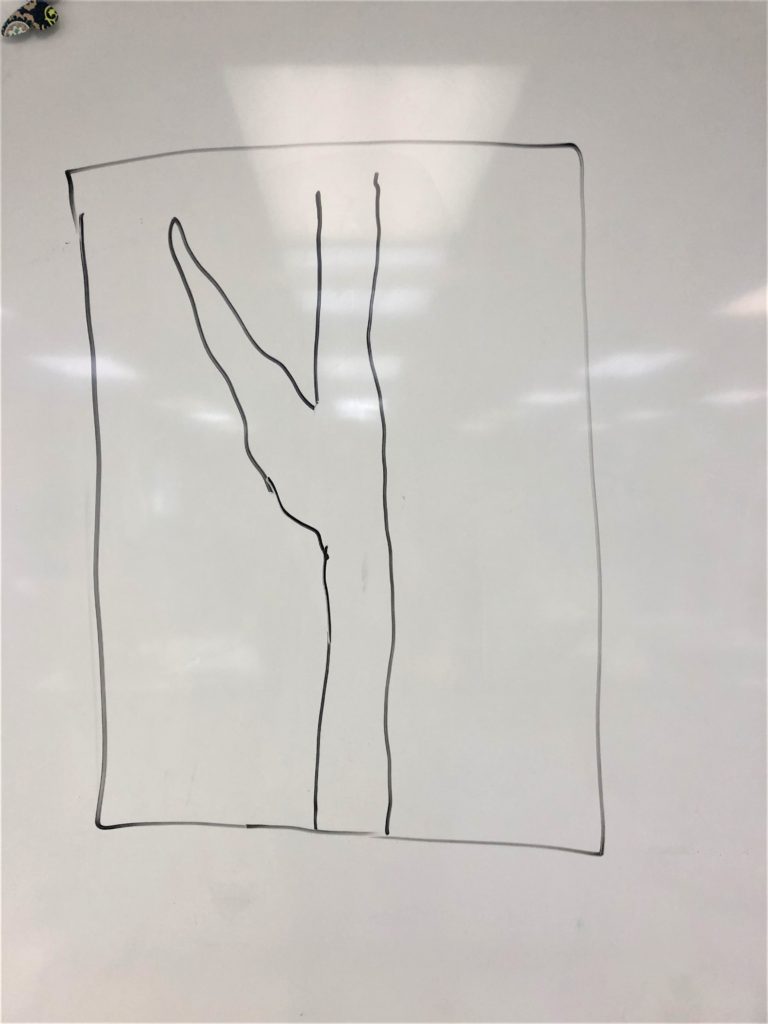
#3 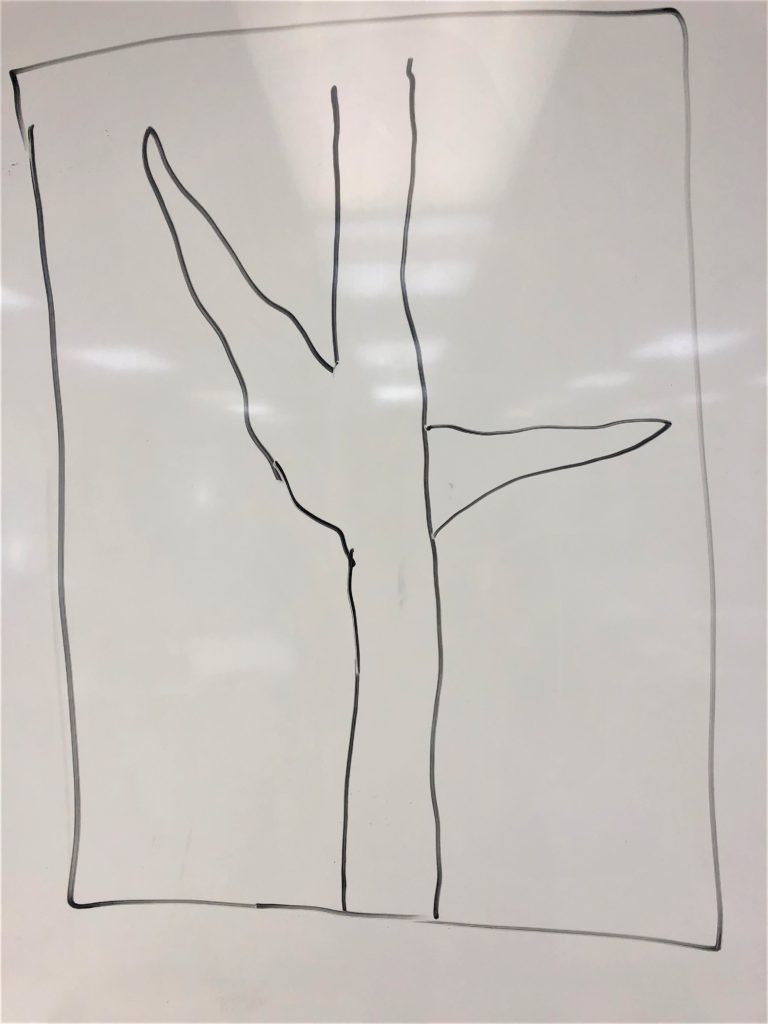
#4 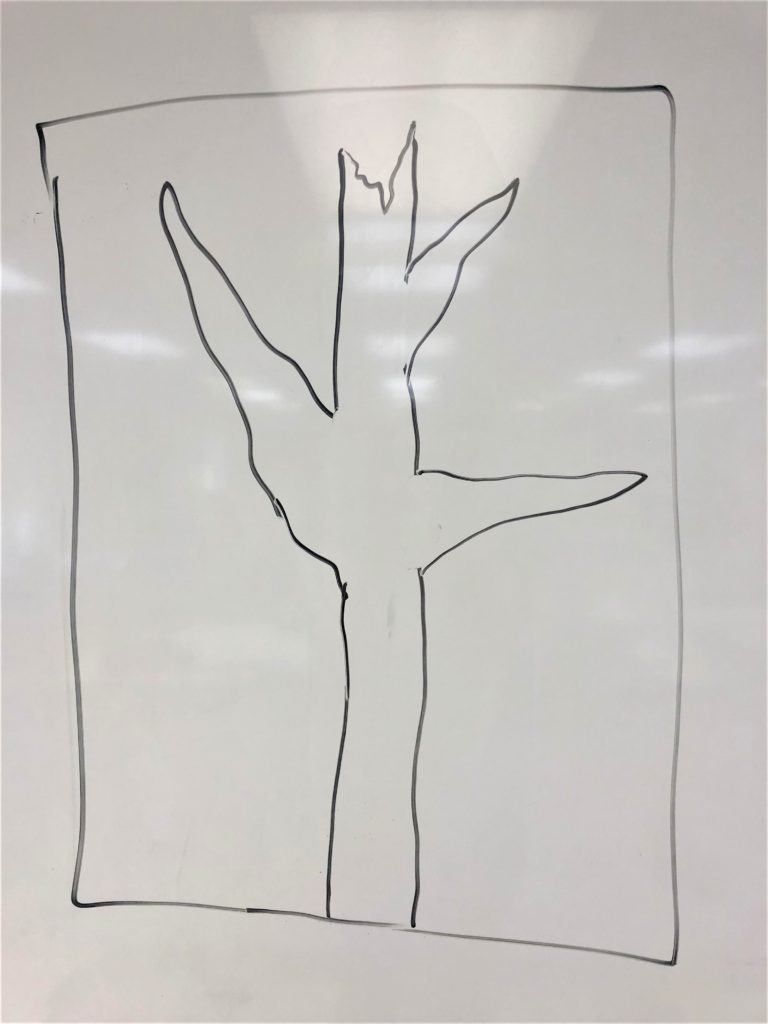
#5
Students paint their tree and set aside to dry.
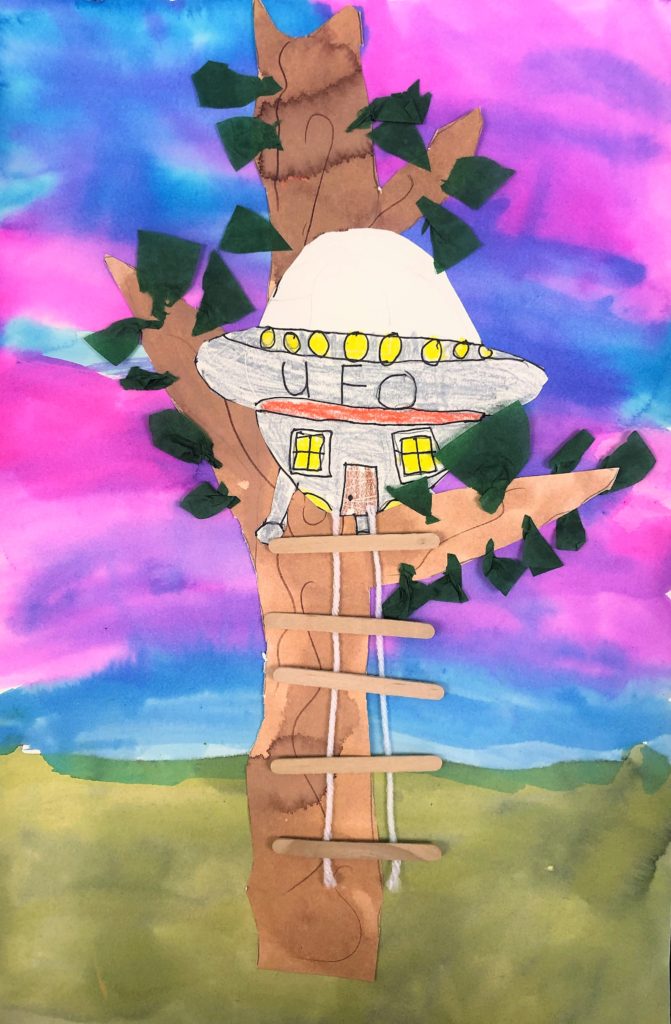
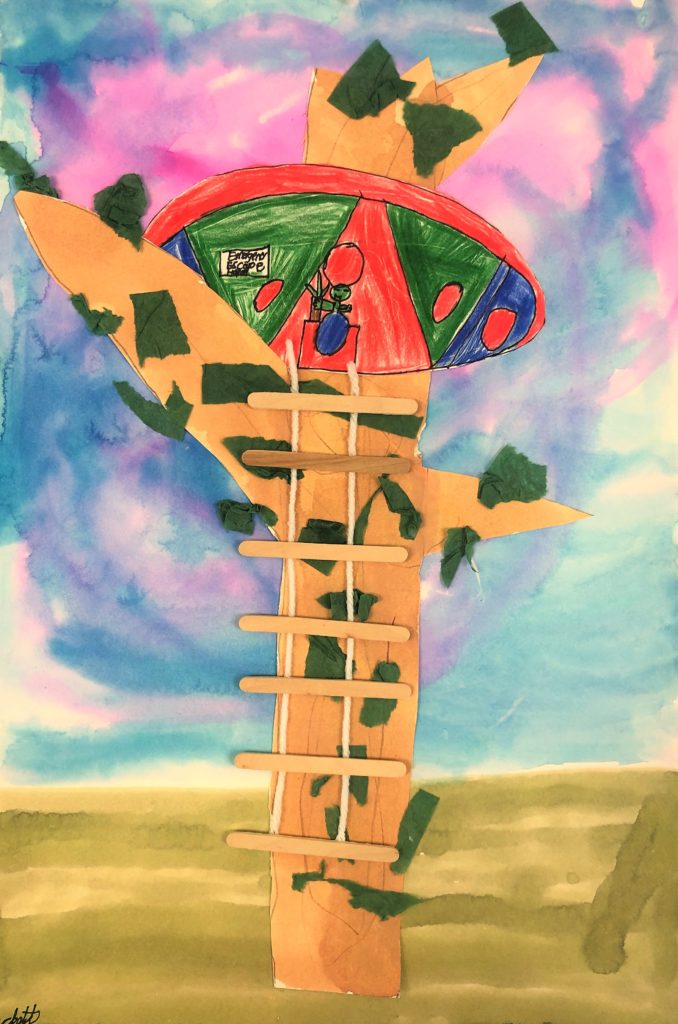
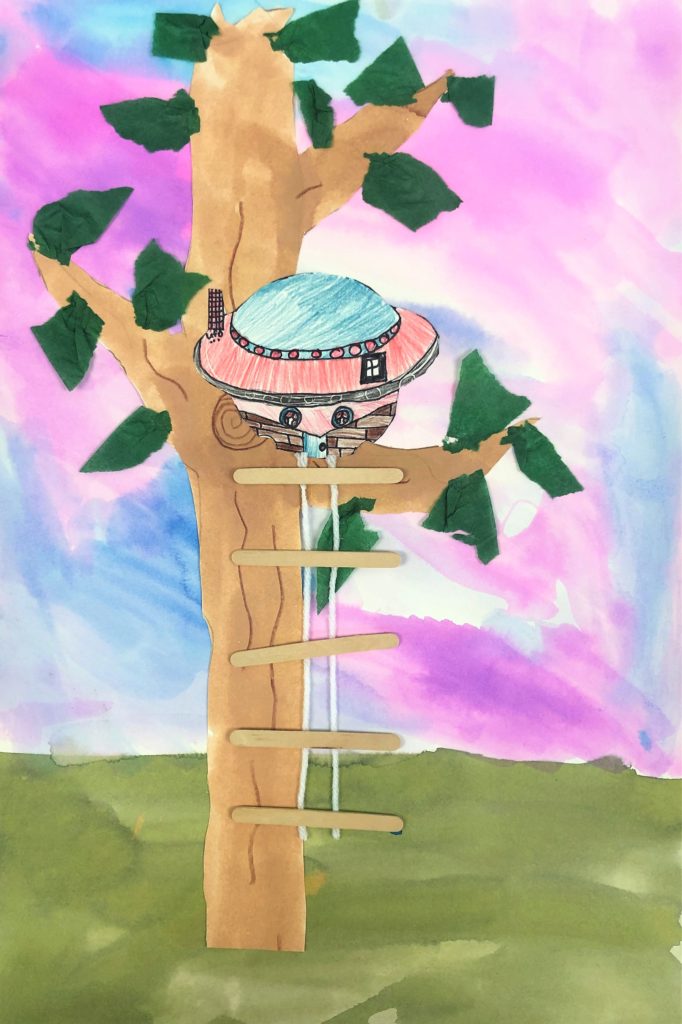
Meanwhile, pass out a pre-cut paper that is 4×6 from copy paper to practice and from watercolor paper when they are ready for the final drawing. This is the size they will use for their actual house. Emphasize how big it should be. For whatever reason, people of all ages draw things small. Show them how to use as much of the paper as possible to maximize the size. Allow them to make any shape they chose. You will see from our finished examples that some students made UFO shaped houses!
Depending on your class, this day is to make and paint the tree and practice and begin their final house.
Day 4
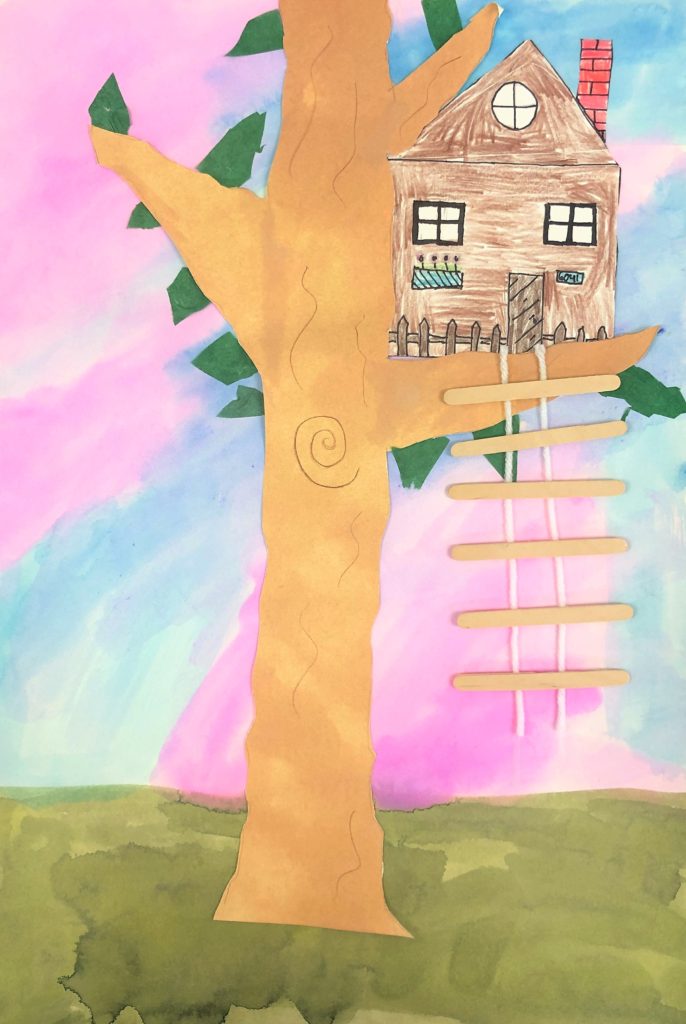
Students cut out their tree. Then, using brown oil pastels or crayons, they make designs in their trunk. Show an example on the board with a spiral in the bottom and wavy lines going through the tree.
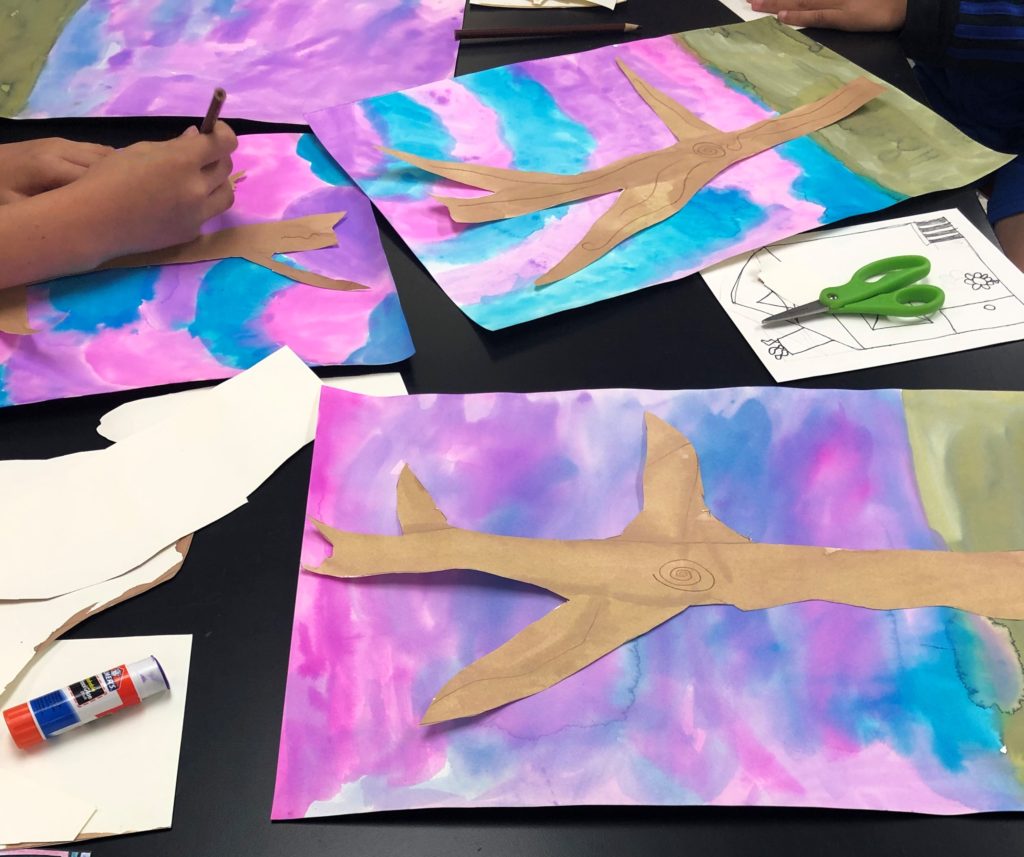
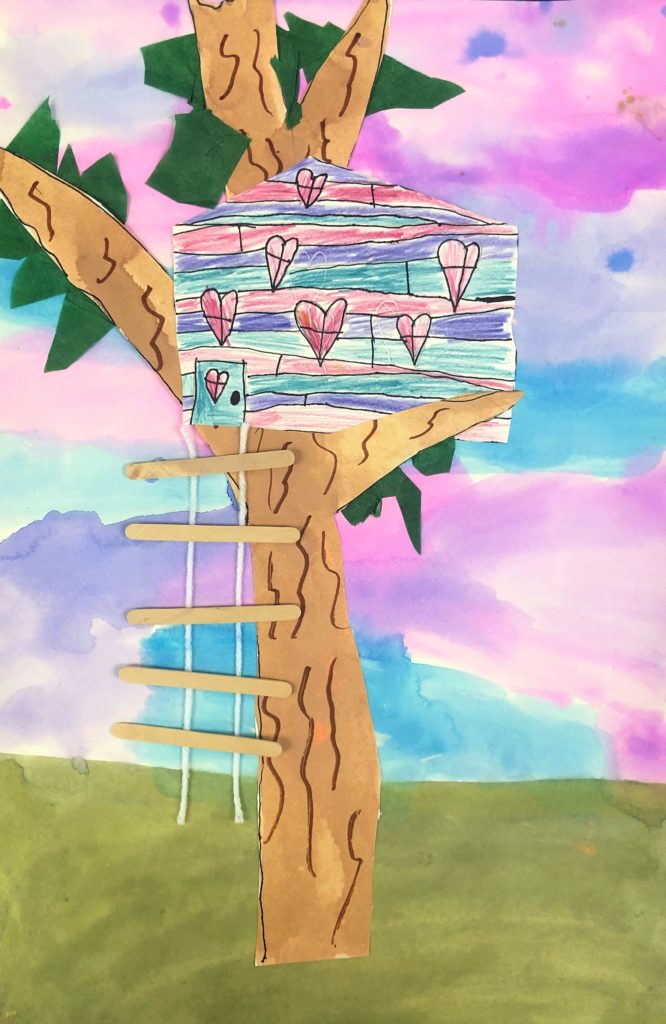
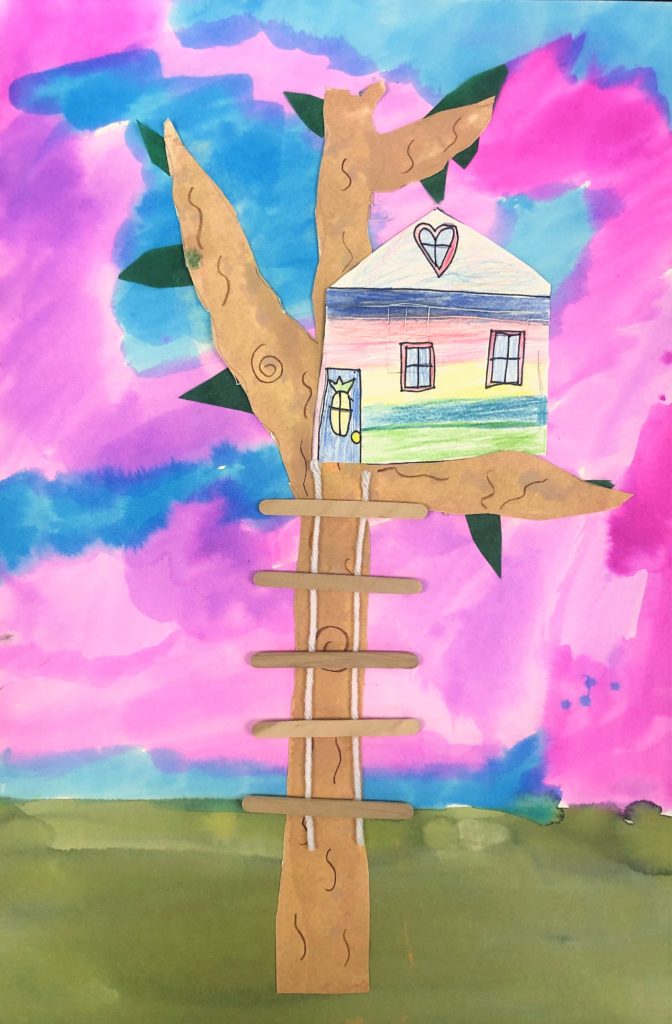
After drawing in pencil, outline the houses in sharpie and use crayons and watercolor to decorate them.
Day 5
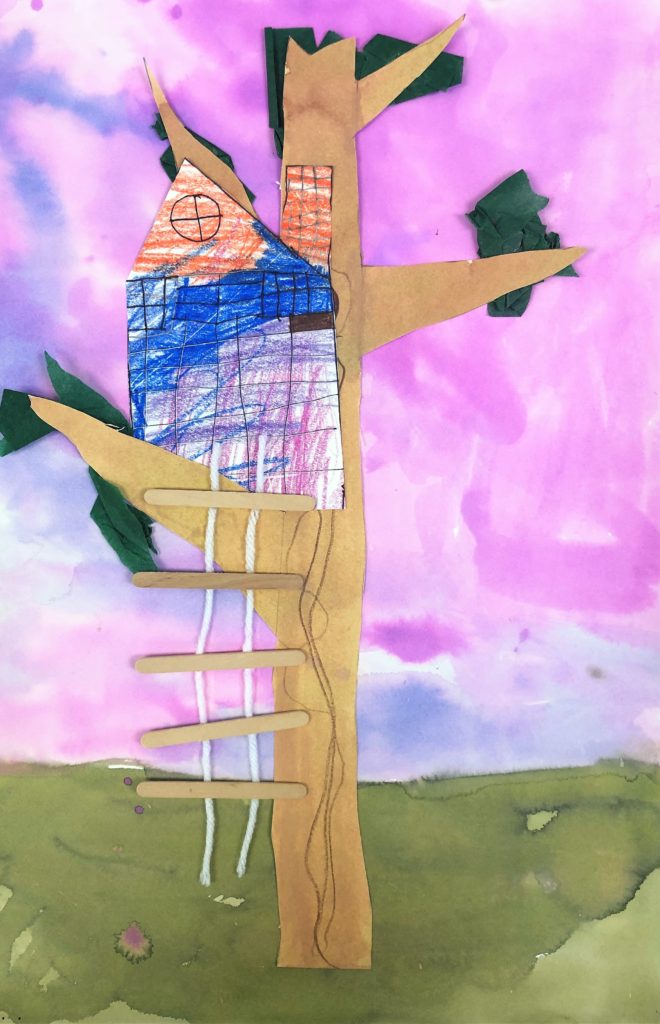
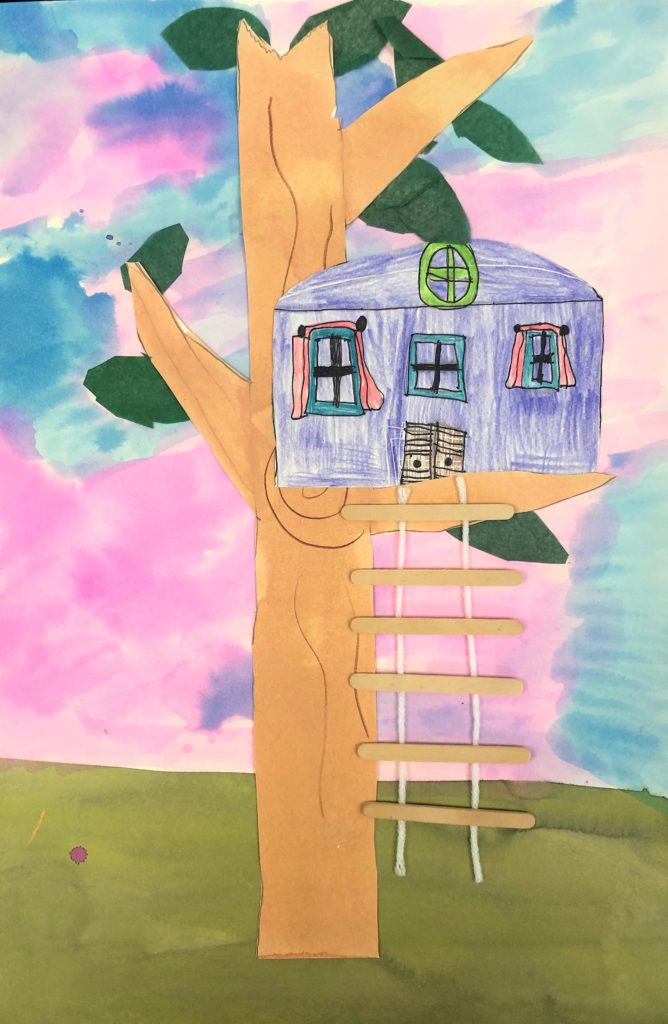
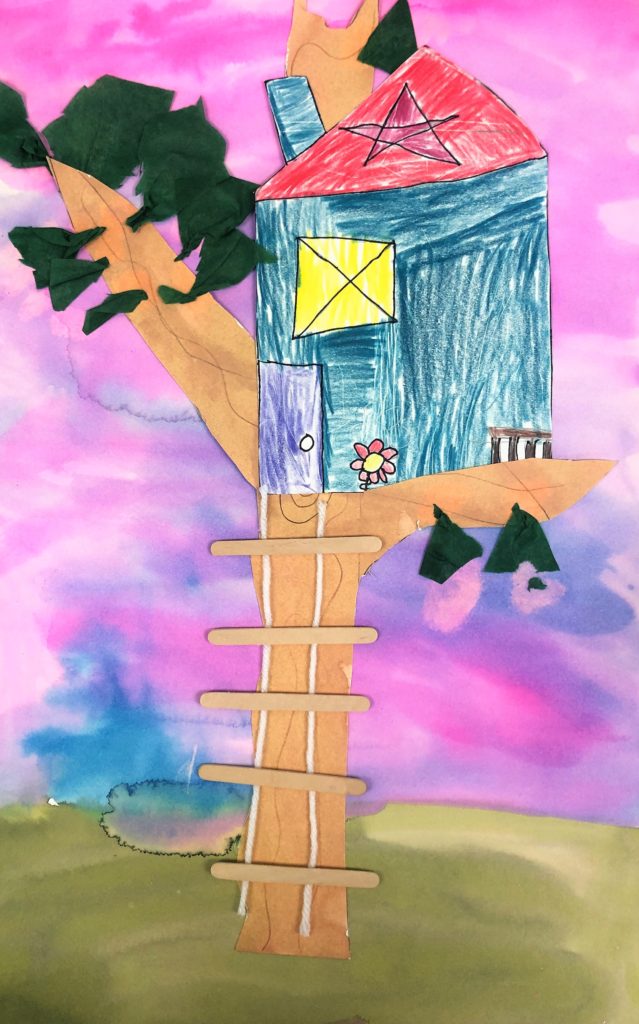
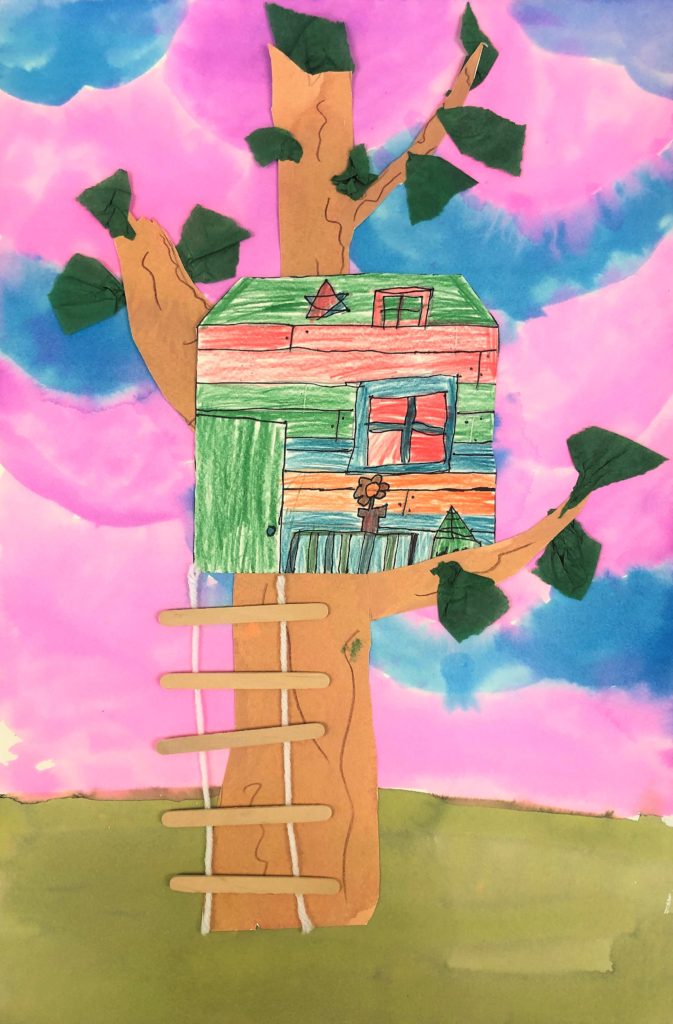
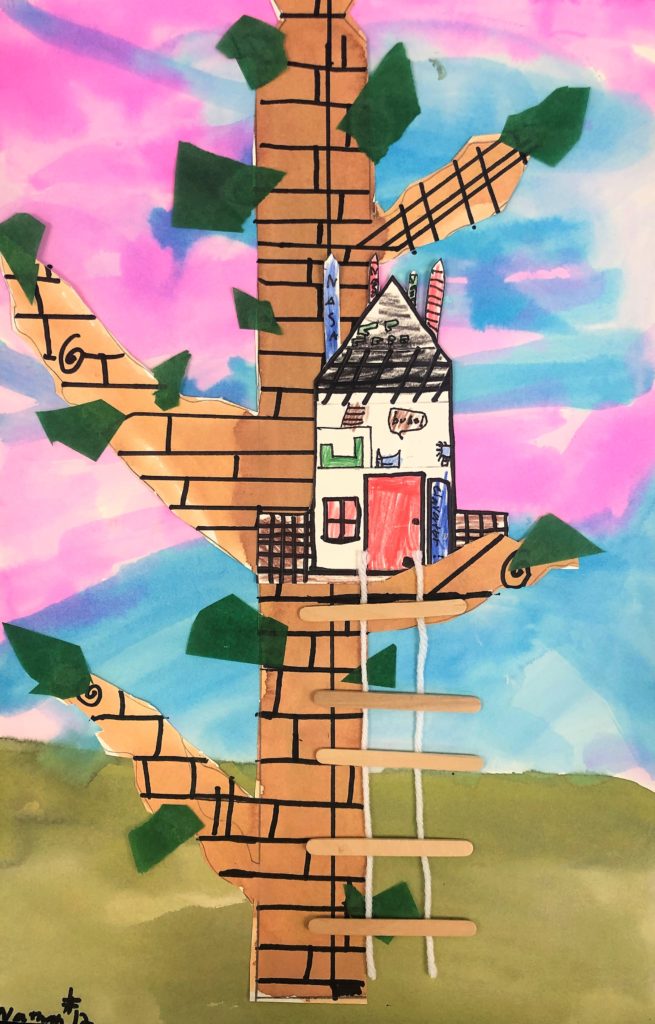
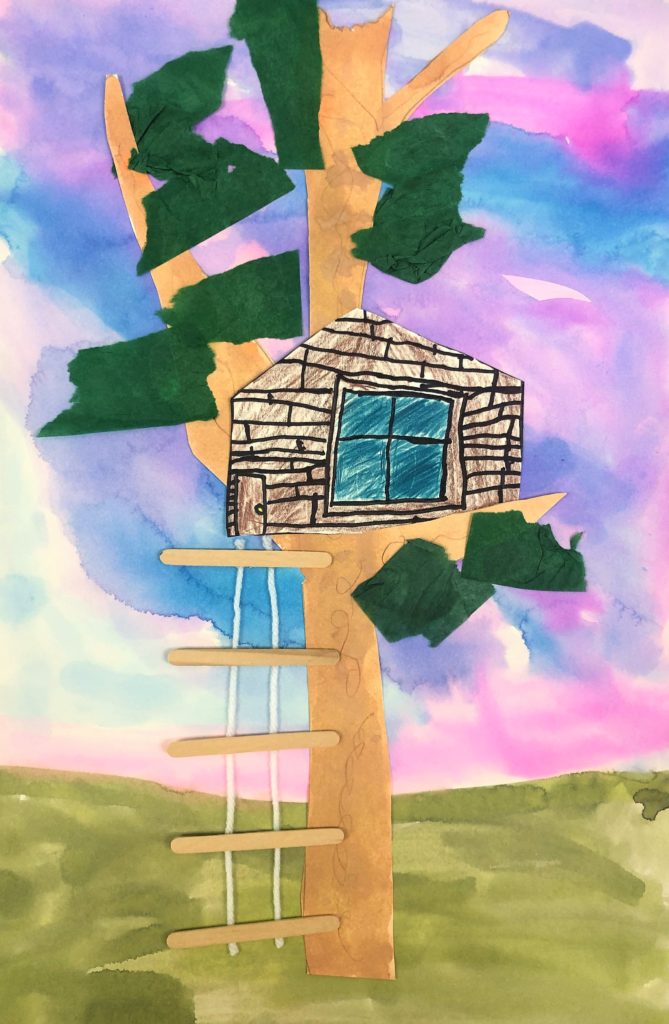
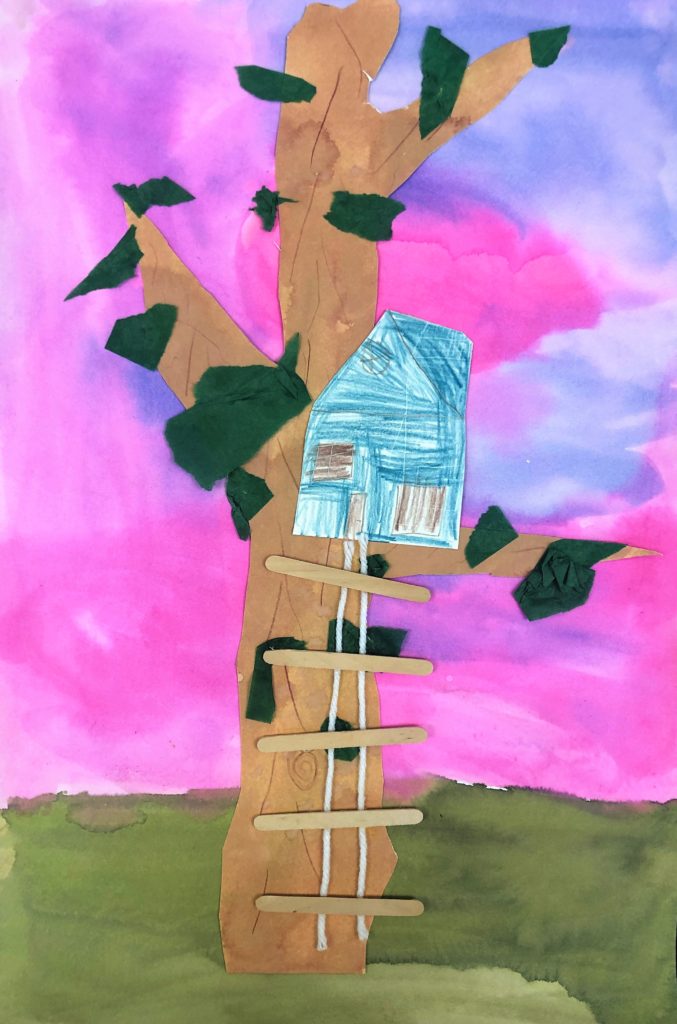
Students glue their houses onto the sticking-out branch. You may need to double check that this limb is flat close to the trunk. I showed them how to glue the house so that it looks like the branch overlaps on part of the house. This gives the illusion that the house is sitting in the tree on the branch and not just floating on the tree.
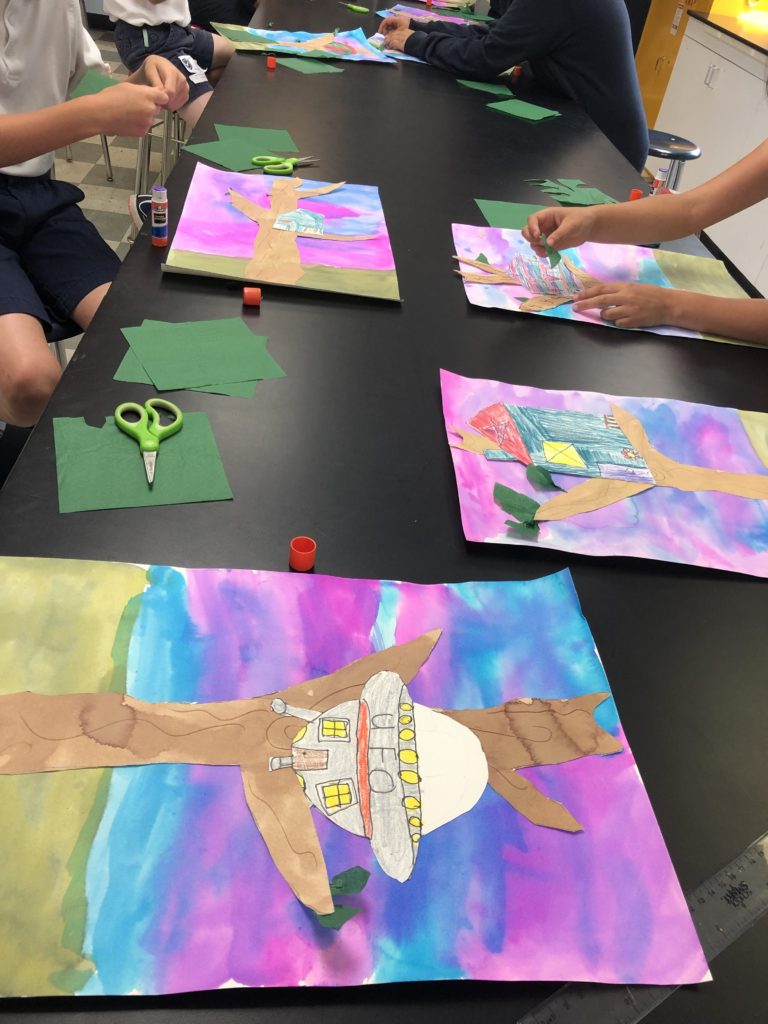
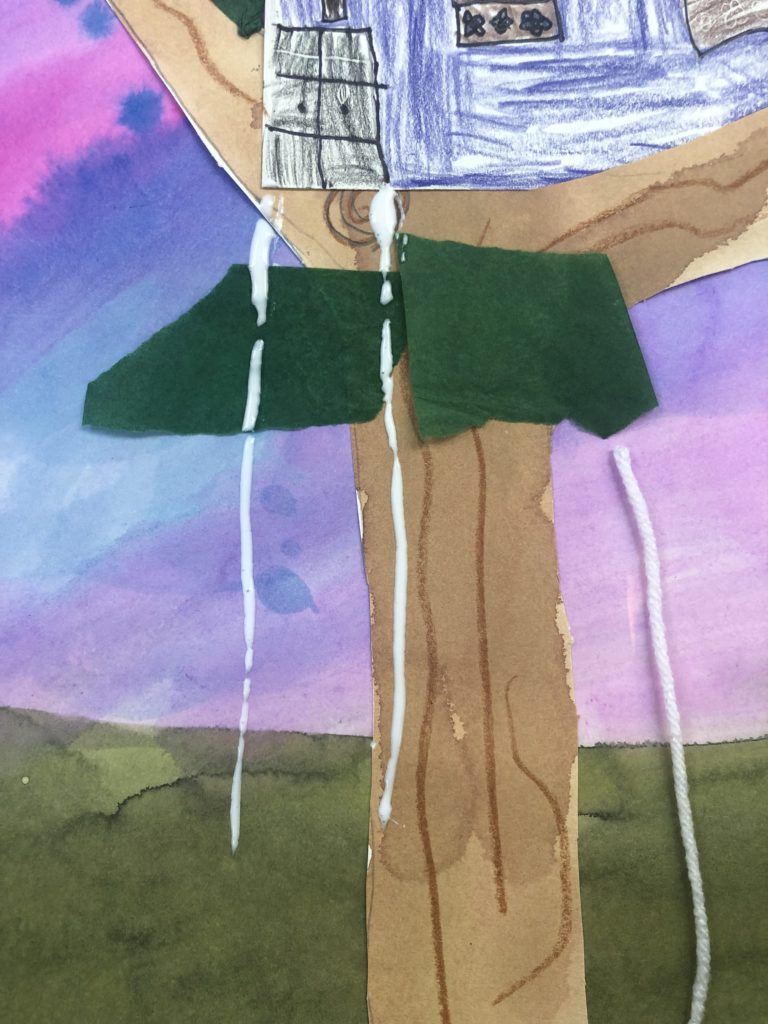
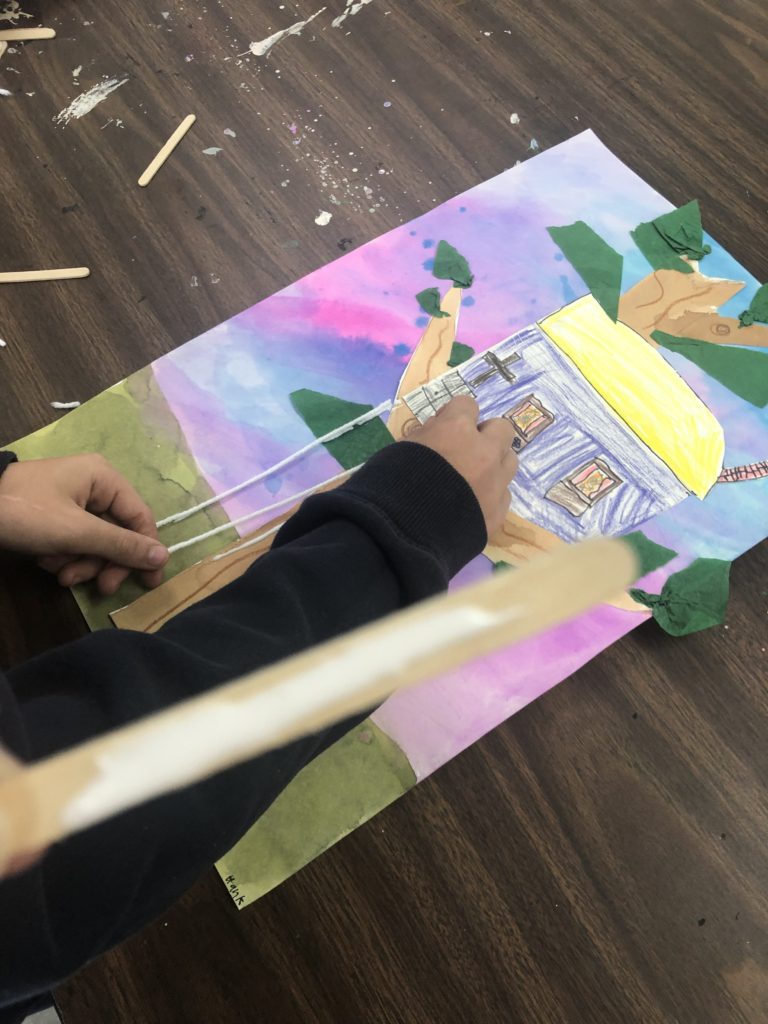
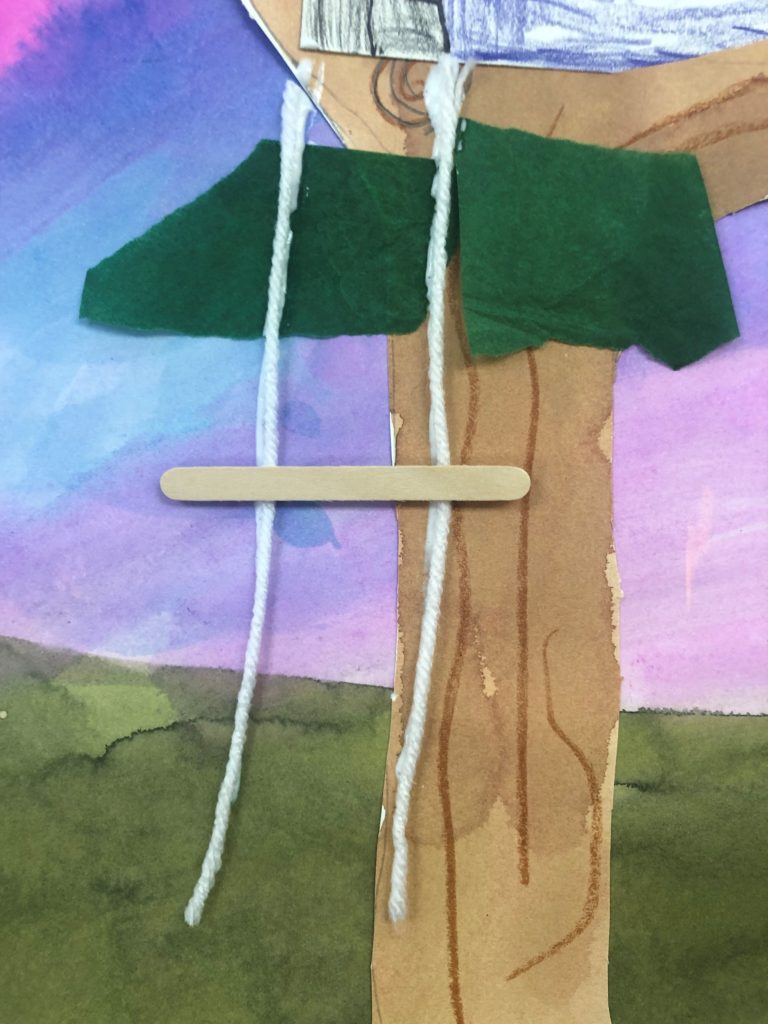
While students tear, cut and glue their leaves onto their tree, have small groups lay their ladders. Notice that the glue lines hang right under the door, and the glue goes right onto the craft sticks. For laying the sticks, show them: middle first, then top and bottom, and finally two more sticks for ladder steps 2 and 4.

[…] Tree House Collage: https://leahnewtonart.com/2019/06/13/tree-house-collage-art-lesson-project-for-kids/ […]