This fun hot cocoa collage project inspires creativity and taste buds! Middle school students will create a theme around their favorite holiday drink.
Grade Levels
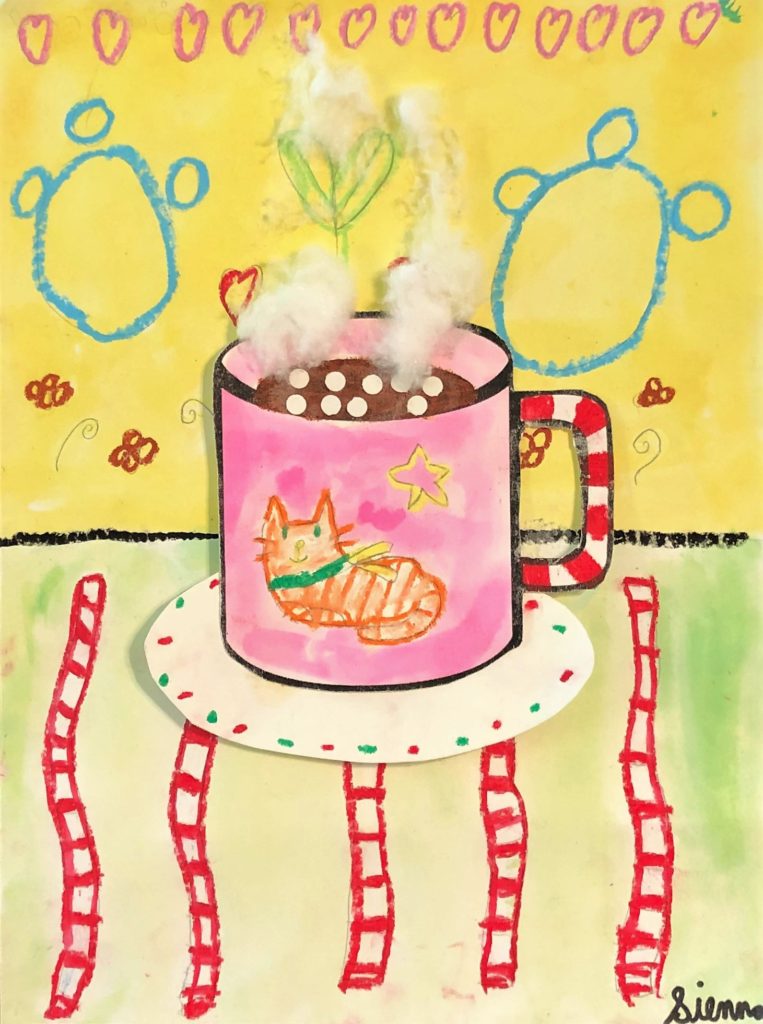
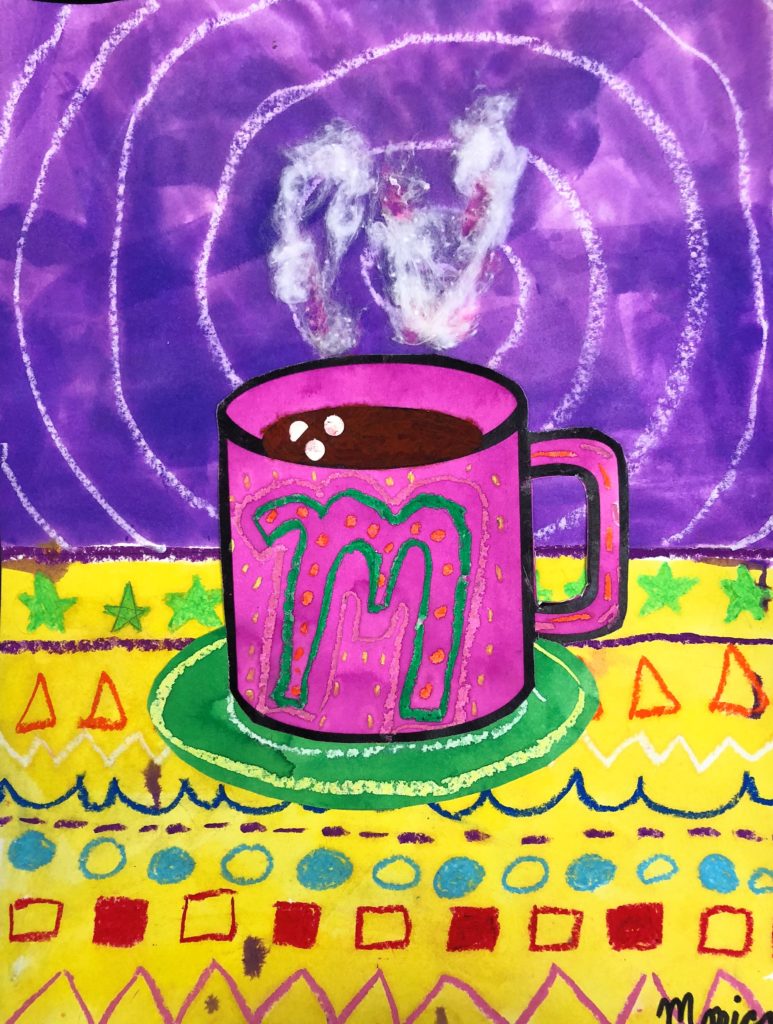
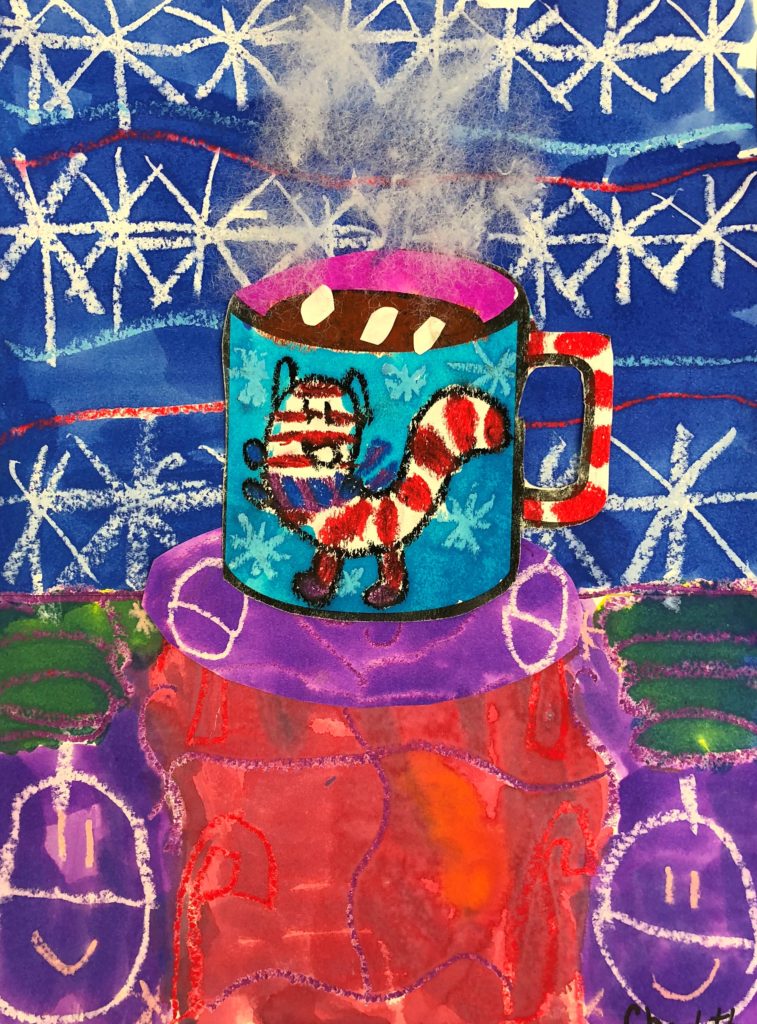
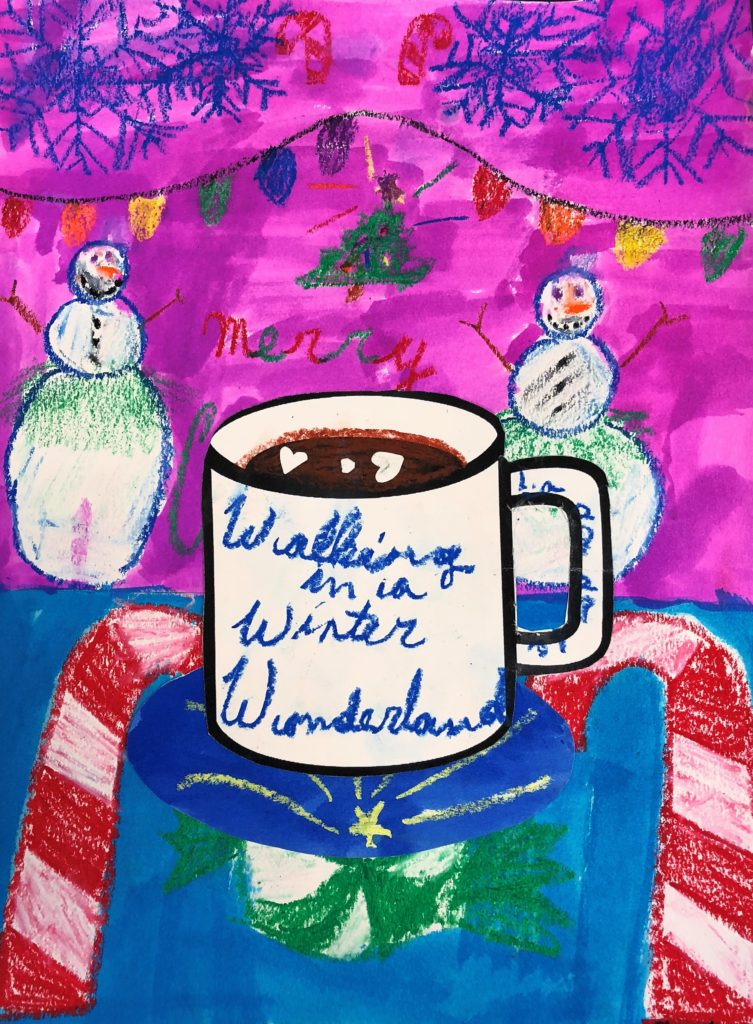
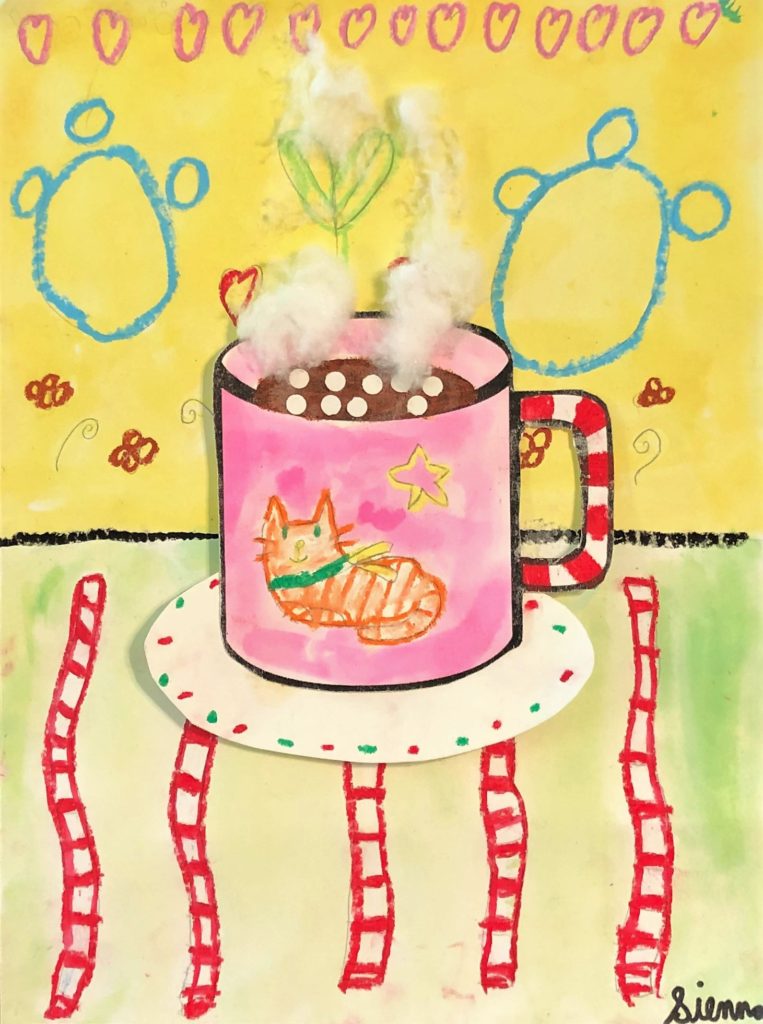
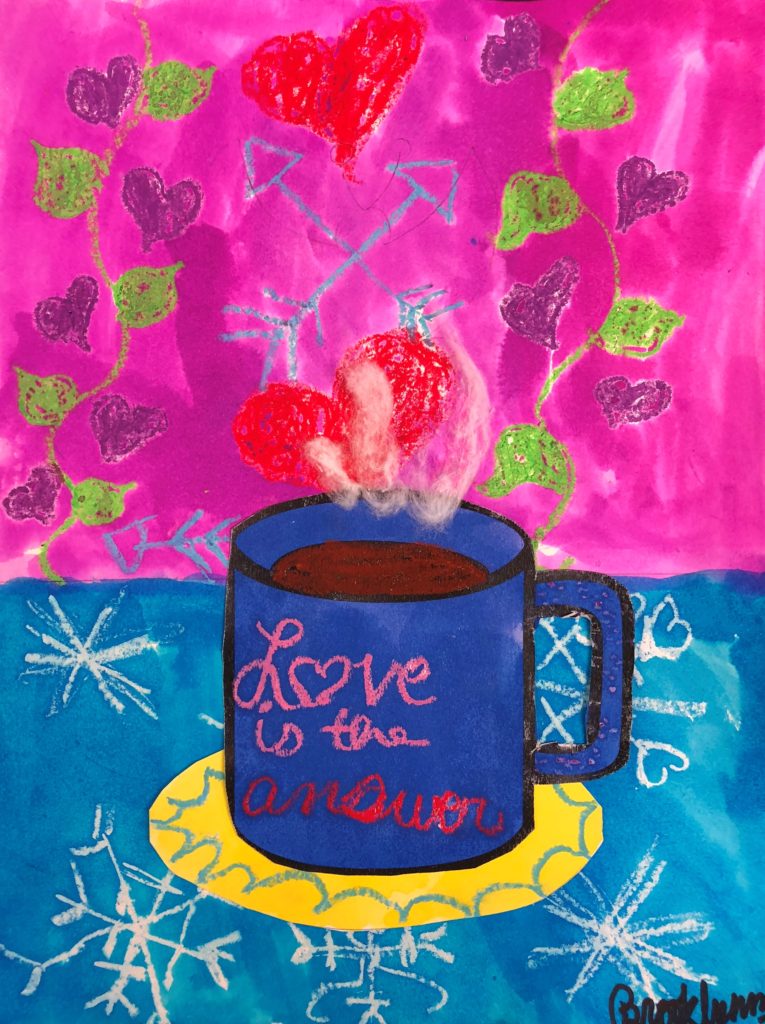
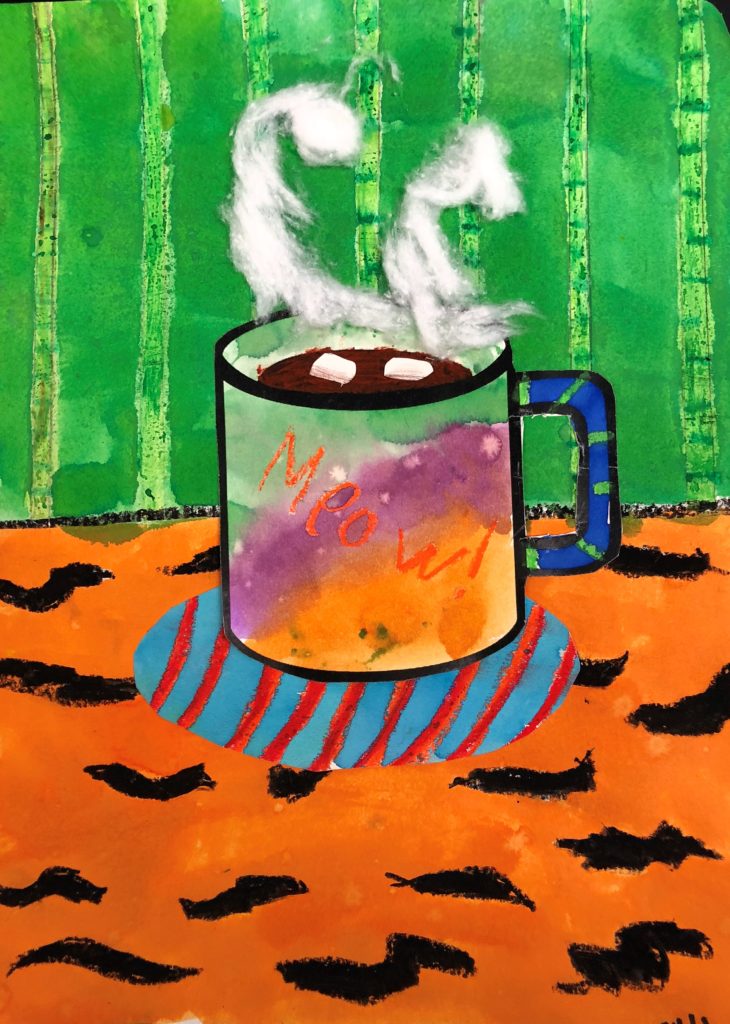
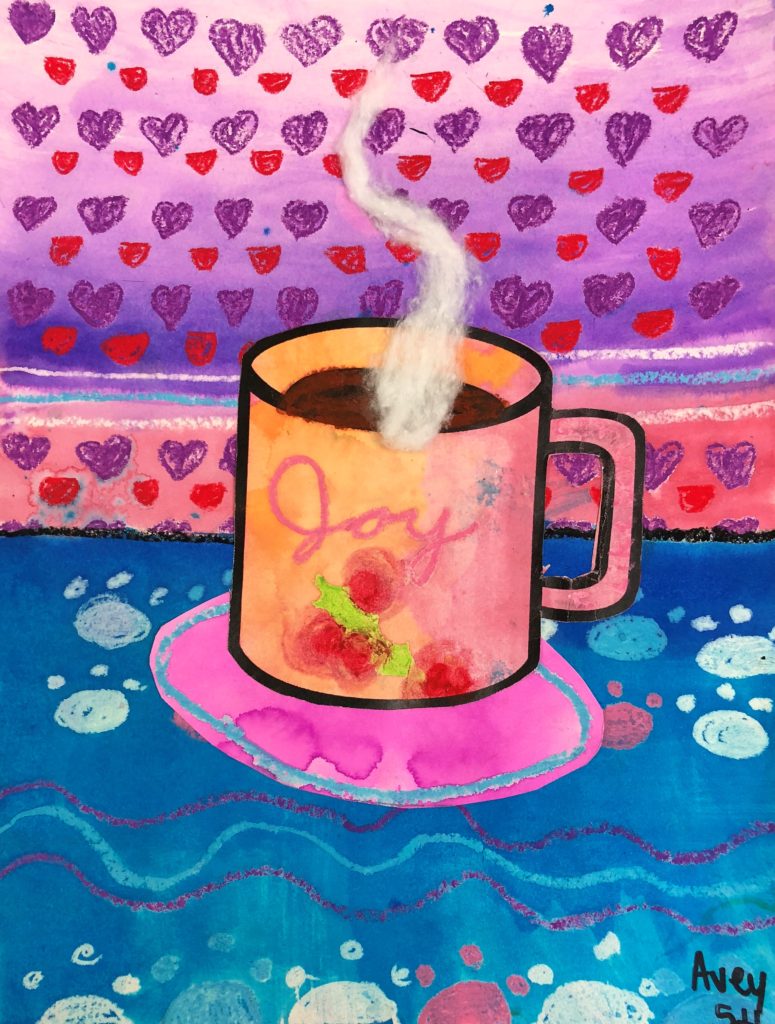
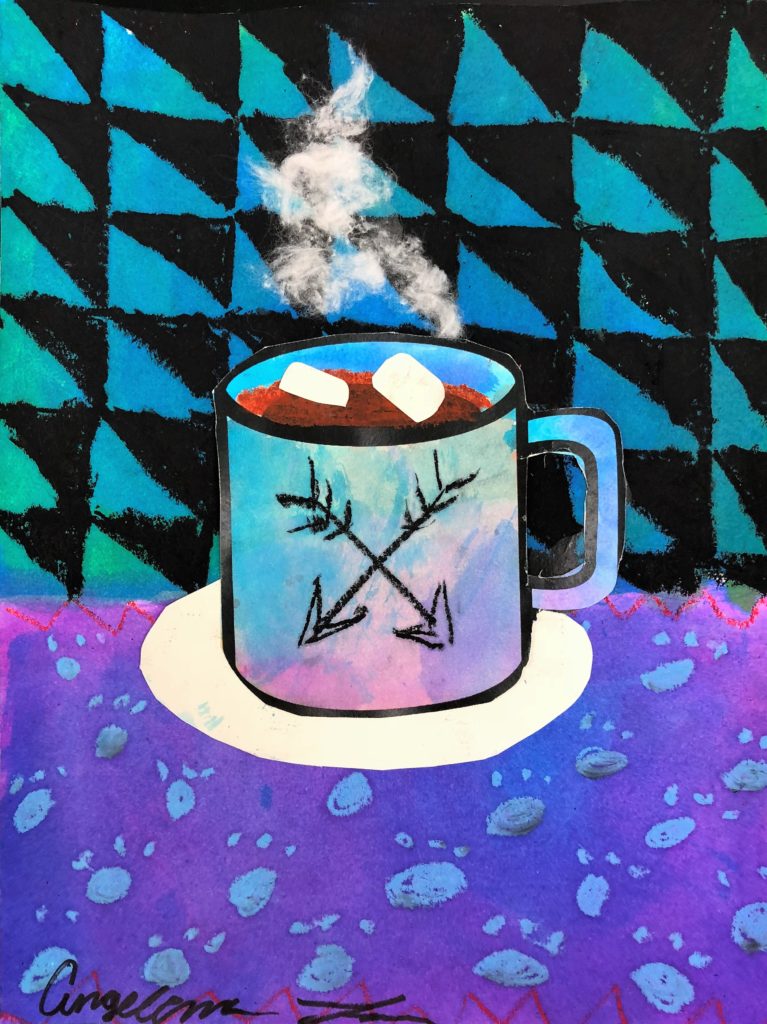
3rd, 4th, 5th, 6th – The examples in this lesson were made by 6th graders.
Objective
In this Hot Cocoa Collage lesson, students will create a collage inspired by hot cocoa.
Time
3 – 60 min lessons
Materials
- Pencils
- Scissors
- Ruler
- White cotton fuzz
- Hole Puncher
- Glue Stick – Elmer’s Glue Stick (E4062) (7 sticks)
- Oil pastels – Pentel Arts Oil Pastels, 50 Color Set (PHN-50)
- 9×12 Watercolor paper – Canson (100510941) XL Series Watercolor Pad, 9″ x 12″, Fold-Over Cover, 30 Sheets
- Brushes – Acrylic Paint Brush Set, 1 Packs / 10 pcs Nylon Hair Brushes for All Purpose Oil Watercolor Painting Artist Professional Kits
- Liquid Water Colors – Sargent Art 22-6010 10-Count 8-Ounce Watercolor Magic Set
- Or this mini version for homeschooling – Sargent Art 22-6210 10-Count 4-Ounce Watercolor Magic
- Kleenex for blotting paint
- Black Sharpie Marker – Sharpie Permanent Marker, Fine Point, Black, Pack of 5
- Mug for cocoa and plate printed on card stock paper PDF: Click Here
Inspiration/Artist
I was inspired to make this project when I saw this: Click Here.
Instruction with Questions
Day 1
Students will engage in a discussion about Mixed Media. (What do you think mixed media is?)
I created this PowerPoint Presentation about Mixed Media Art
- What makes this type of artwork unique?
- Name kinds of things can you glue onto a paper or canvas?
- Describe what else can you do to add to the artwork that doesn’t involve glue? i.e. paint, draw, color etc.
- What qualities are unique to mixed media vs. drawing, painting etc by themselves?
The fabulous thing about Mixed Media Art is that it can literally be done by any age group and with numerous types of supplies many of which you may already have, or can easily acquire for free!
Pass out a piece of 9×12 watercolor paper. Using a ruler, create a line about an inch or so below center across the page.
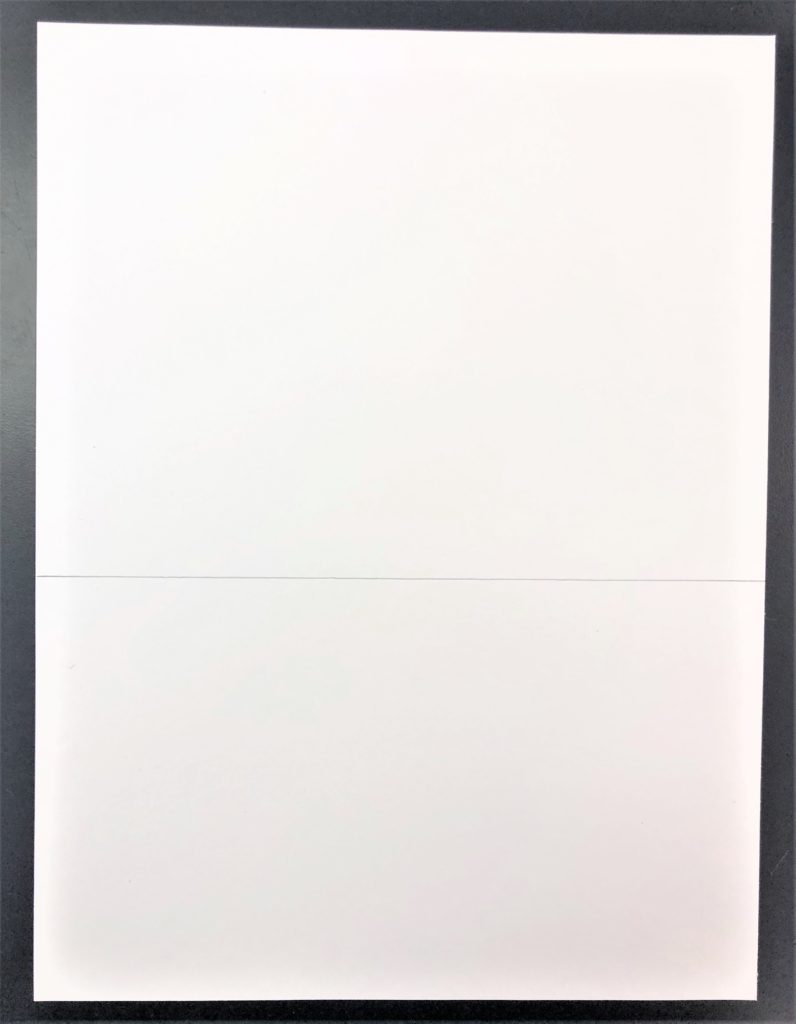
Next, guide students how to create wallpaper background and table cloth. Review the use of repetition, line and texture elements.
Day 2
Pass out the mug and plate template. One plate and mug for each student. Students continue the use of the oil pastel on their mug and plate. Brown oil pastel is added over the black ink from the copy.
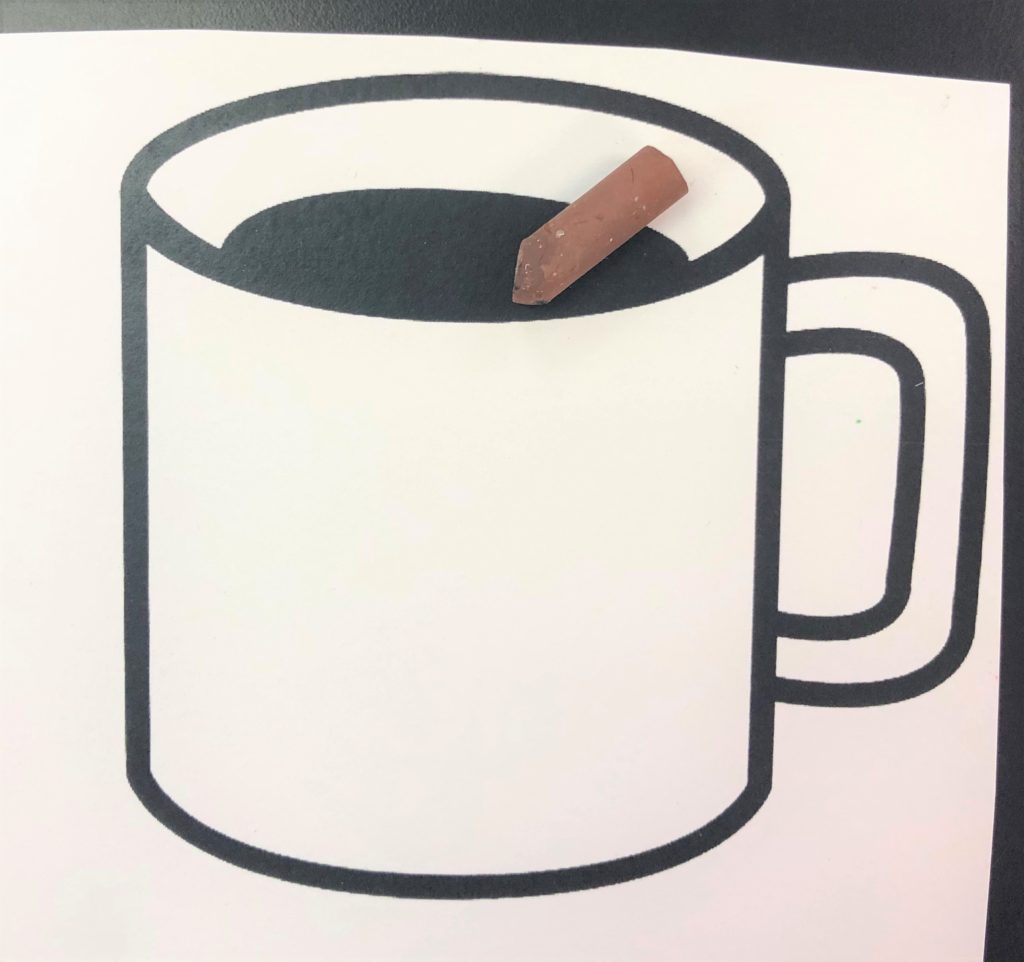
Finish all oil pastel designs. Finally, paint the project with liquid watercolors.
Day 3
Today the students will cut out and assemble the project.
I really emphasize the need to place the plate inside the table cloth area. There is always the pull to place the plate on top of the line you created. I recommend a small discussion on perspective.
A hole puncher is used to create mini marshmallows. If they prefer, they are welcome to cut their own to make larger ones I say go for it! I used the stuffing you put inside of pillows and stuffed animals to make the steam.
I think I will go make my own cup of hot cocoa right now! This sounds yummy!

Leave a Reply