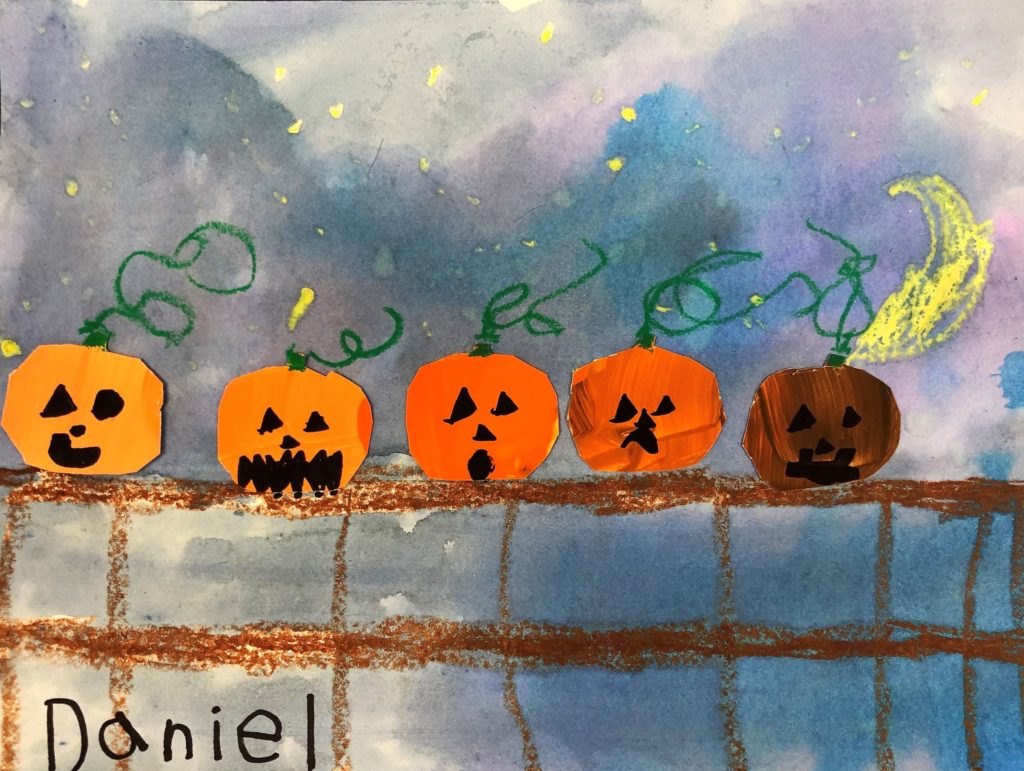
In this engaging, Halloween fun Five Pumpkins lesson, elementary students will create a project using value and emotion. This project covers Common Core Standards for Language Arts, Math and History for grades K which can be found at the end of the lesson.
Grade Level
Kindergarten, 1st, 2nd. This project was created by Kindergarten students.
Objective
In this engaging, Halloween fun Five Pumpkins lesson, elementary students will create a project using value and emotion.
Time
6 – 30 min lessons
Materials
- Oil pastels (Brown, Yellow, Green) – Pentel Arts Oil Pastels, 50 Color Set (PHN-50)
- Black Sharpie Marker – Sharpie Permanent Marker, Fine Point, Black, Pack of 5
- Glue Stick – Elmer’s Glue Stick (E4062) (7 sticks)
- (Black, White, Orange) – Crayola Washable Kids Paint Set, 10 Count
- 9×12 Watercolor paper – Canson (100510941) XL Series Watercolor Pad, 9″ x 12″, Fold-Over Cover, 30 Sheets
- Brushes – Acrylic Paint Brush Set, 1 Packs / 10 pcs Nylon Hair Brushes for All Purpose Oil Watercolor Painting Artist Professional Kits
- Liquid Water Colors – Sargent Art 22-6010 10-Count 8-Ounce Watercolor Magic Set
- Or this mini version for homeschooling – Sargent Art 22-6210 10-Count 4-Ounce Watercolor Magic
- Scissors
- Kleenex for blotting paint
- Five paper plates
Inspiration/Artist
I was inspired to make this project when I saw this post on Jamestown Elementary Art: Click Here
Instruction with Questions
Day 1
Watch the Youtube video for the Five Little Pumpkins or check out the book. I actually show the first video every day and sometimes more than two times each day. The students love it and sign along. We even made up movement to go along with it.
Five Little Pumpkins Sitting On a Gate | Halloween Songs for Kids | Pumpkin Song | The Kiboomers: Click Here
(emotions) Five Little Pumpkins | Pumpkin Song | Super Simple Songs: Click Here
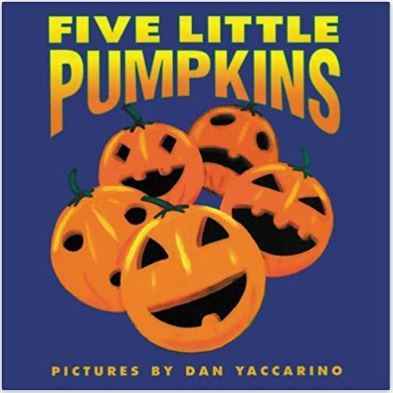
Read the book, Five Little Pumpkins – by Dan Yaccarino
Have students show with their faces how to show the emotions “happy, surprised, scared, worried, excited, angry, bored etc.”
Ask them what ways they could draw these faces. Students can draw on the white bored or give directions for the teacher to draw the examples. Keep these examples for a future resource.
Prior to Day 2
Ahead of time: use this template and print out rows of pumpkin shapes onto your watercolor paper. To use in our school photocopy machine, I need to cut the 9×12 watercolor paper down to an 8.5×11 size ahead of time. I used these from Google images. I believe I used this site for the original pumpkin: Click Here
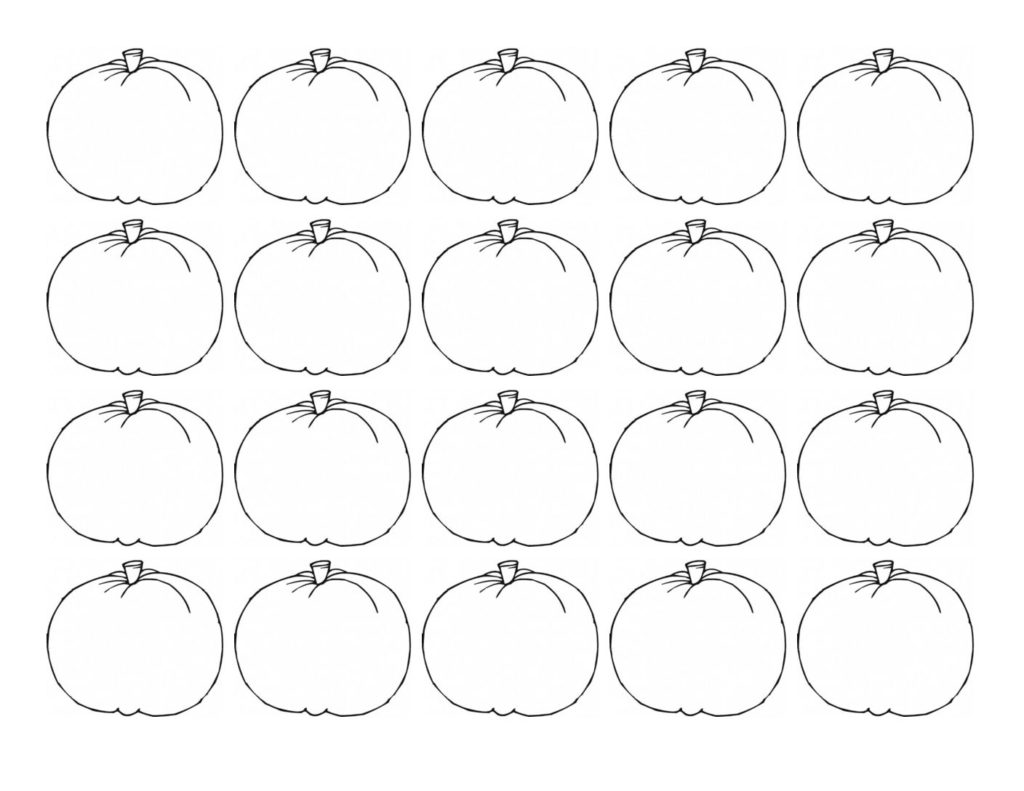
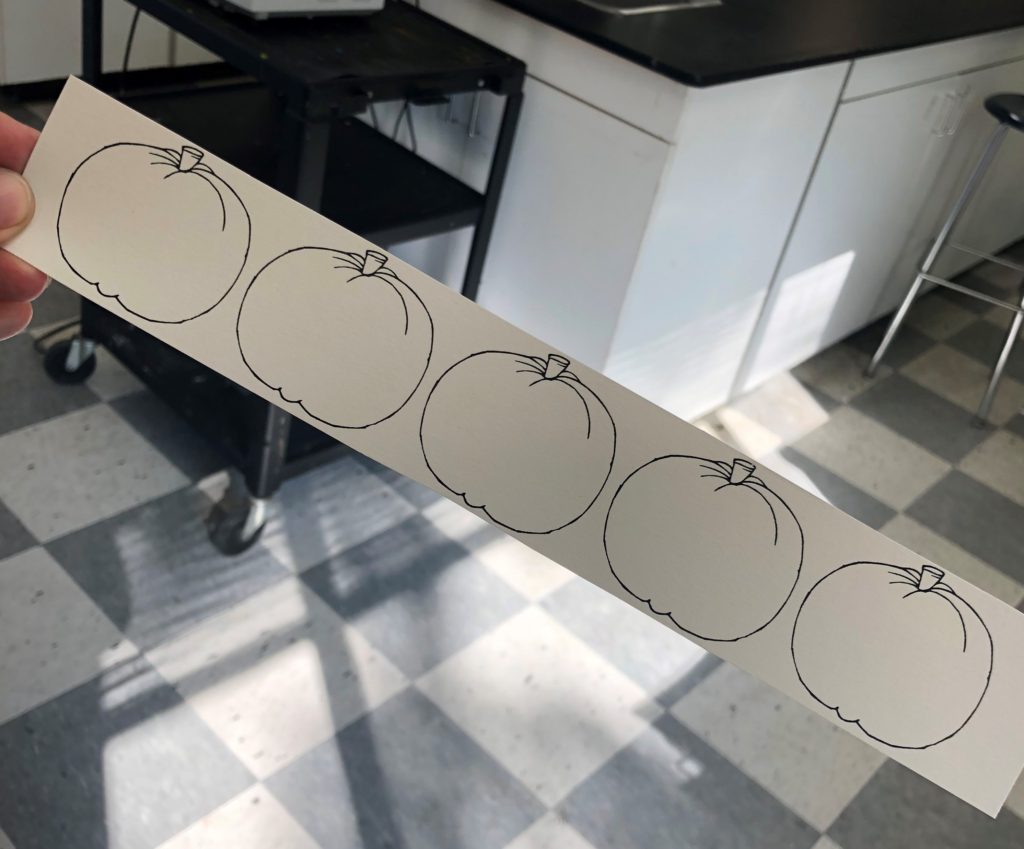
Cut a strip for each student.
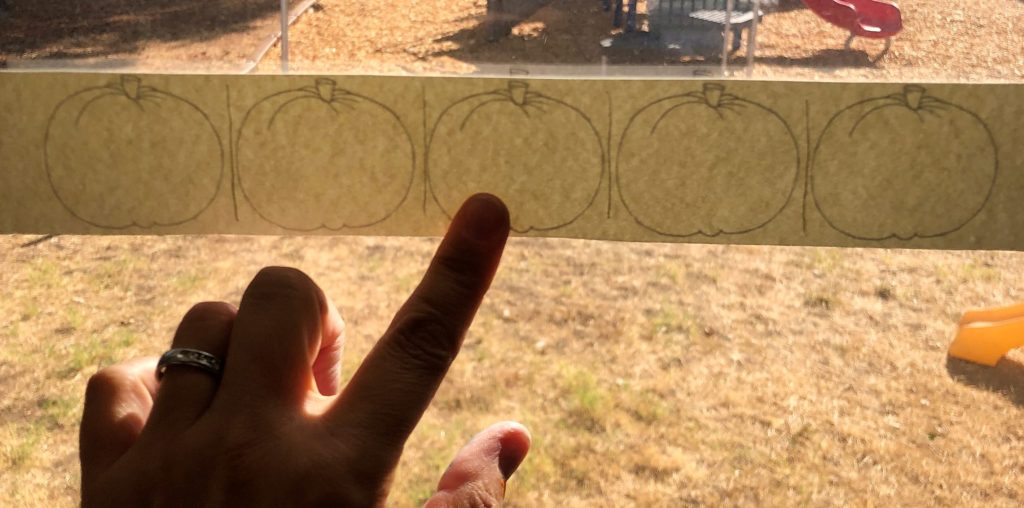
Using a window, flip the paper and so the pumpkins face away from you. Draw lines separating each pumpkin. This will give the students an idea of how big their painting area will be. I use this method so that when they cut their pumpkins out no lines will show.
Day 2
Watch these videos and discuss the element of Value. Ask students what they saw or remember from each video.
The Value Song | Art Songs | Scratch Garden: Click Here
Value: The Elements of Art: Value – KQED Arts: Click Here
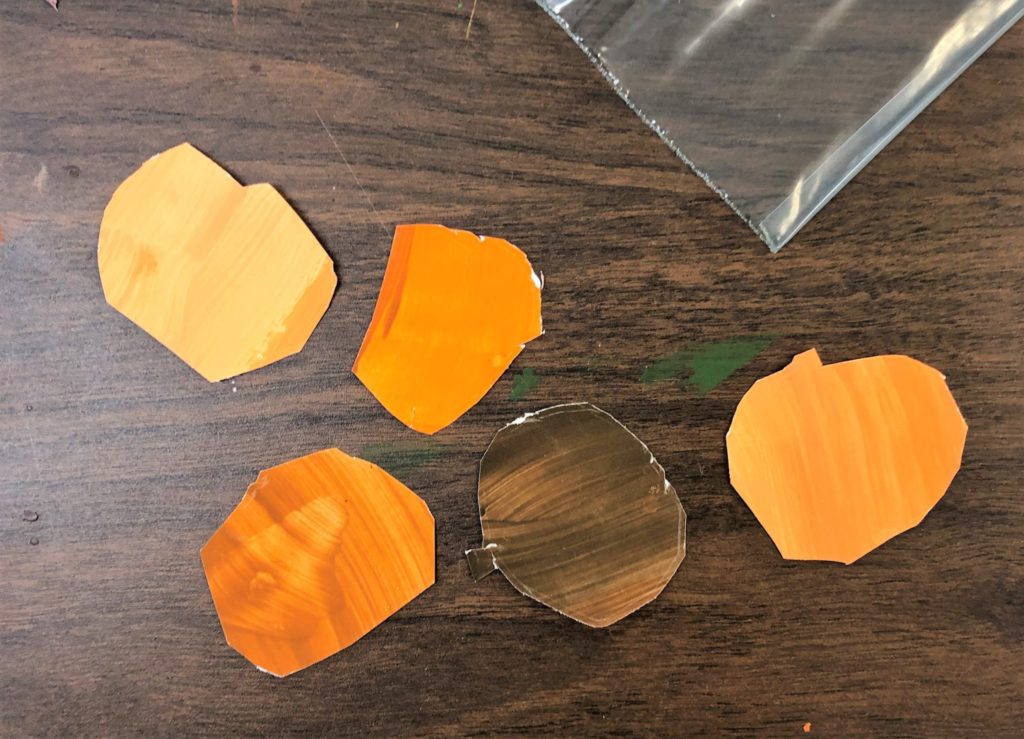
Next, mix colors using paint in front of the students. This is purely due to age and monetary resource. I use Orange and add a little white on one paper plate and then a little bit more. Next, I use orange and add black and then more black.
Place these five plates in order on a community table. Students work down the line, painting from left to right adding the paint in the given areas that you created for them. Because these strips are skinny, you can get away with having two lines on either side of the table, painting at the same time. It does not ultimately matter if they begin with dark or light. They just need to make sure they paint them in order.

Day 4
Ahead of time, on a sheet of water color paper, using pencil and ruler, draw a line across the horizontal center of the paper for each student.
Students will use a brown oil pastel and draw on that pencil line as their guide for the top of their fence.
I do an example on the board for how to make a fence. The top line is done for them. They will need to make another horizontal line below the top line. It ends up looking great when it is a little wavy like a real rickety fence. Then they make several vertical lines through the fence. I encourage them to make them thick.
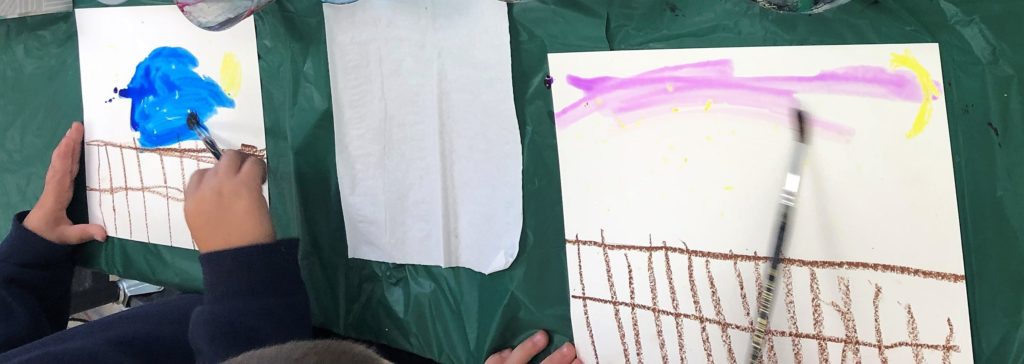
Using a yellow oil pastel ask them to make a moon (full or crescent) and stars. For stars I ask them to make hard pressed dots. These look lovely once the paint is applied.
Day 5
Today we paint. I set out Blue, Black and Purple (Violet) Liquid Watercolor paints and some clear water. I tell them to cover the entire page but not to paint on top of any color they paint. Sometimes kiddos want to paint the same area over and over again. You want to see the vibrant purple and dark blue shining through the stars. If possible encourage them to paint around the moon. Use a Kleenex to blot up pools of paint.
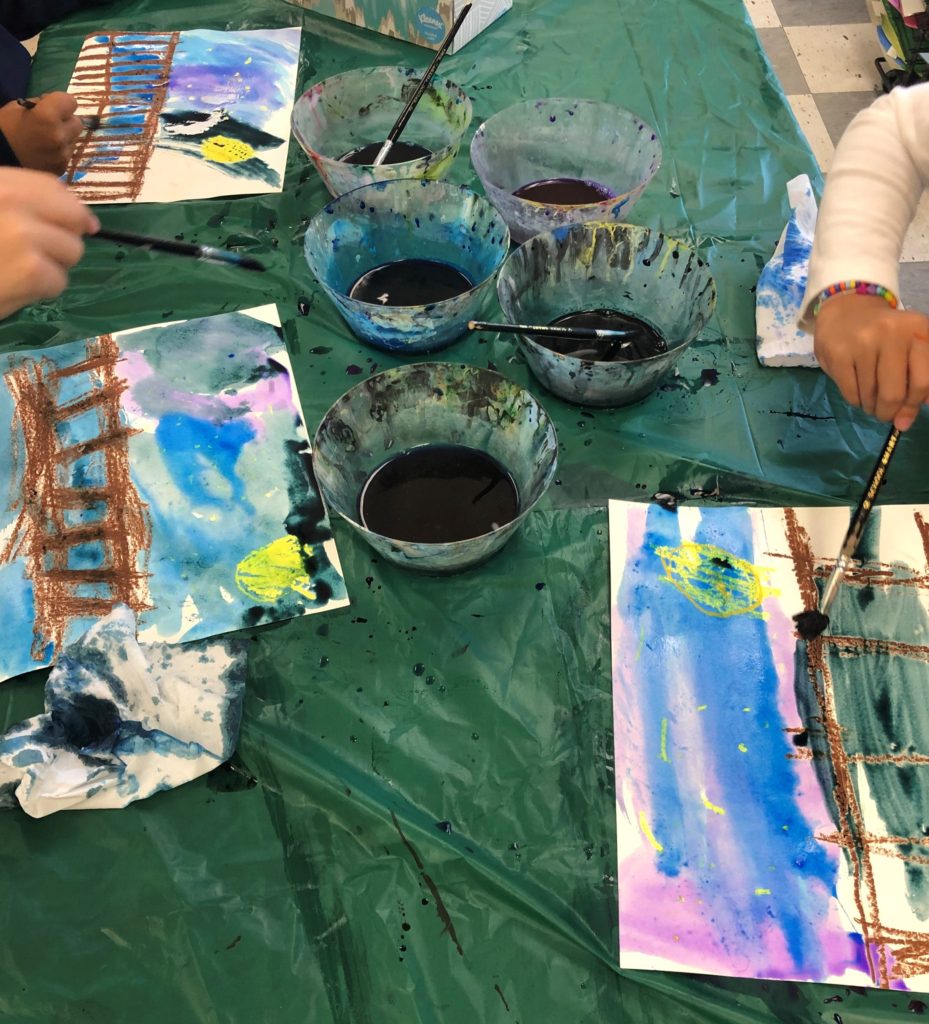
While students paint, have students who are not painting cut out their pumpkins. Have them cut on the line first for easier circle cutting. Then (remember that pumpkin shape is on the other side) cut out each pumpkin and put them in a Ziploc baggie with their name on it.

Day 6
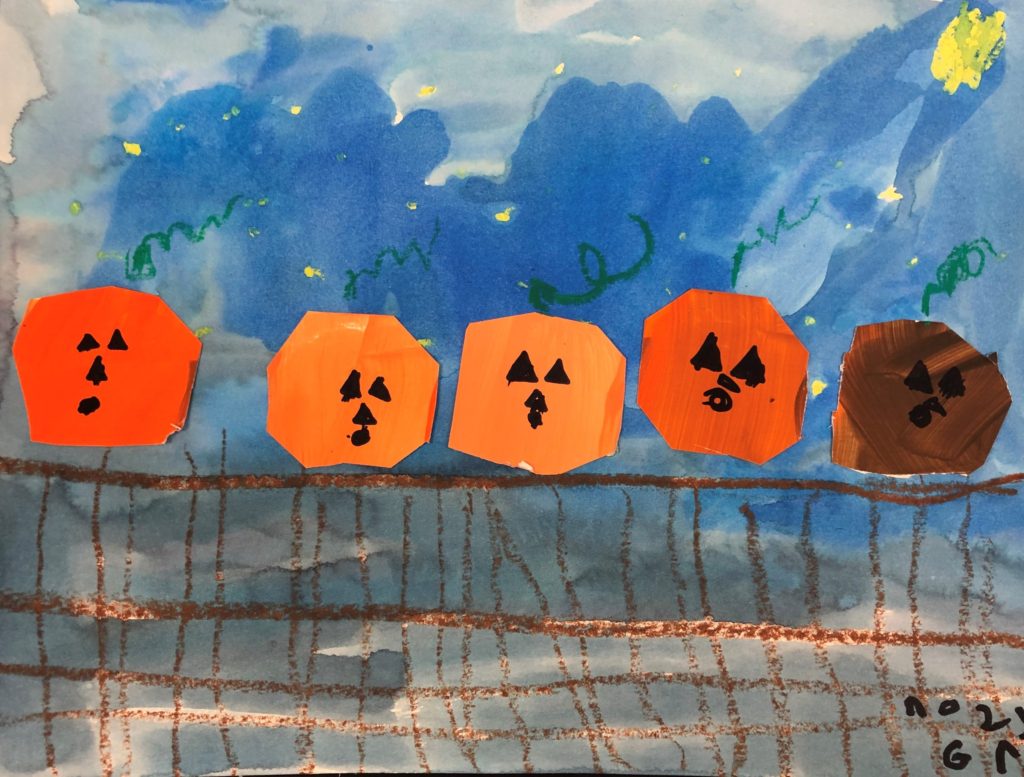
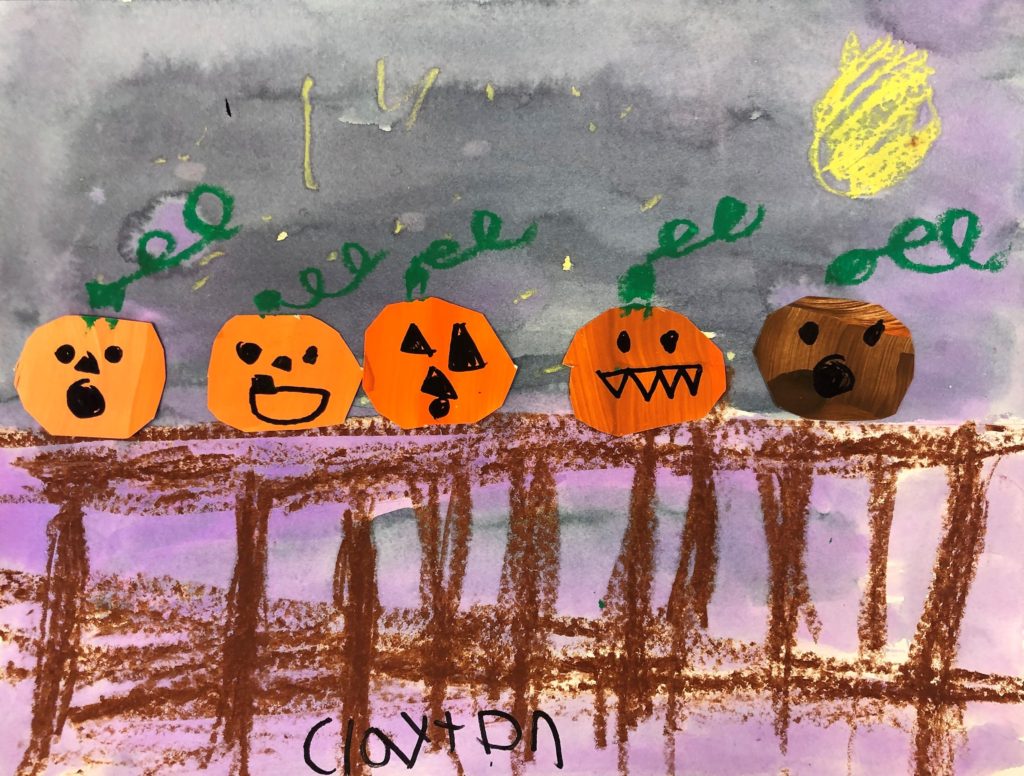
Assembly day. Ask the students to lay out their pumpkins in value order. It does not matter if the light is first or the dark, only that they are in order. I walk around the room and approve when I see it is correct and then they begin to glue down their pumpkins.
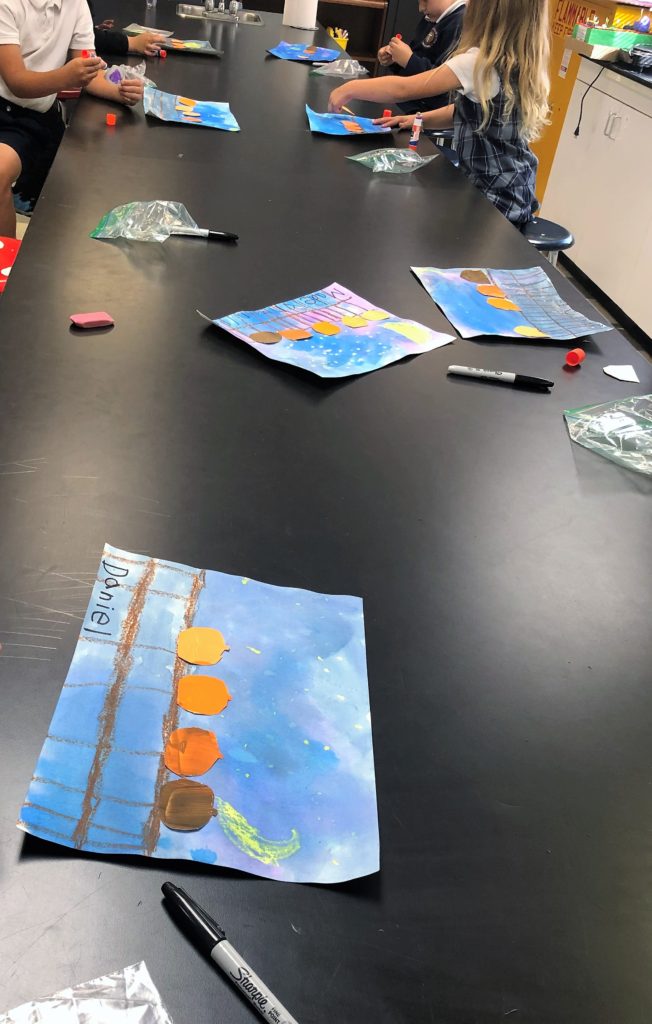
Review some of the faces they can use or have the day one brainstorming faces available for them to use as a guide. Students draw on their faces with a sharpie. Finally, they add a stem and curly vines to the top of each pumpkin using a green oil pastel.
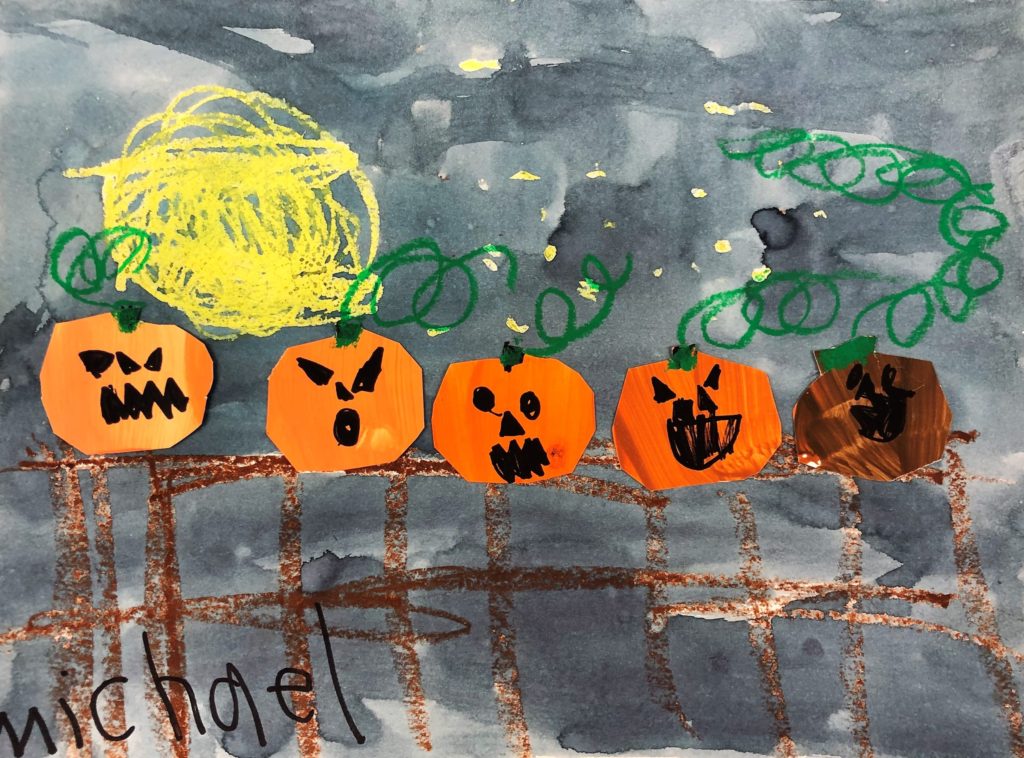
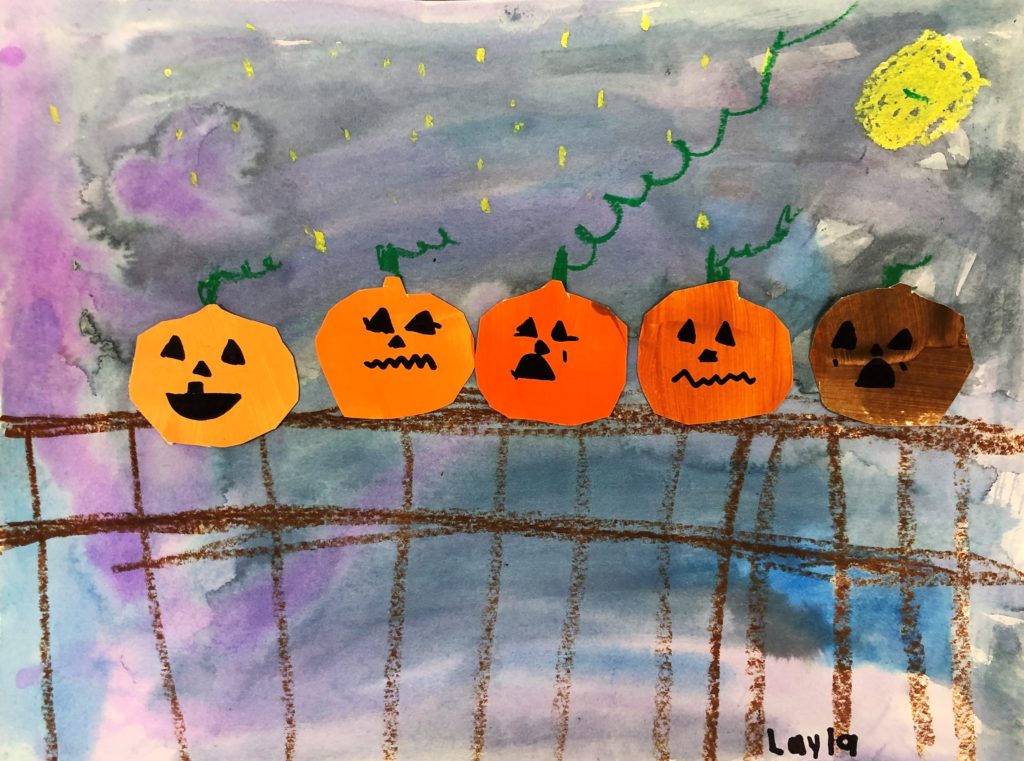
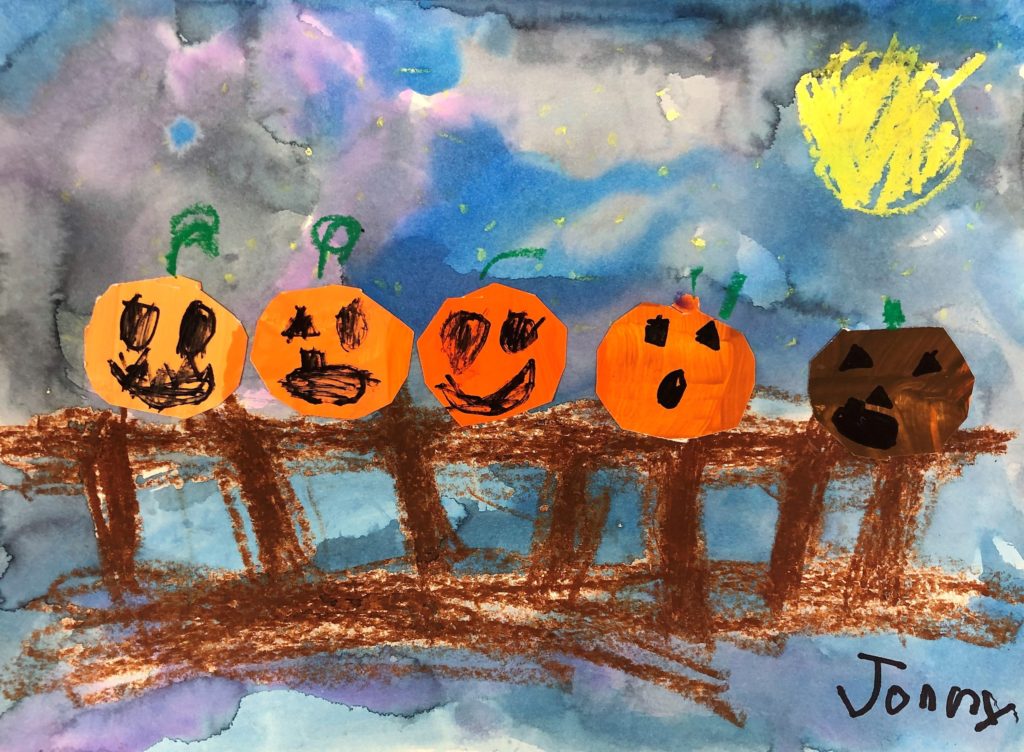
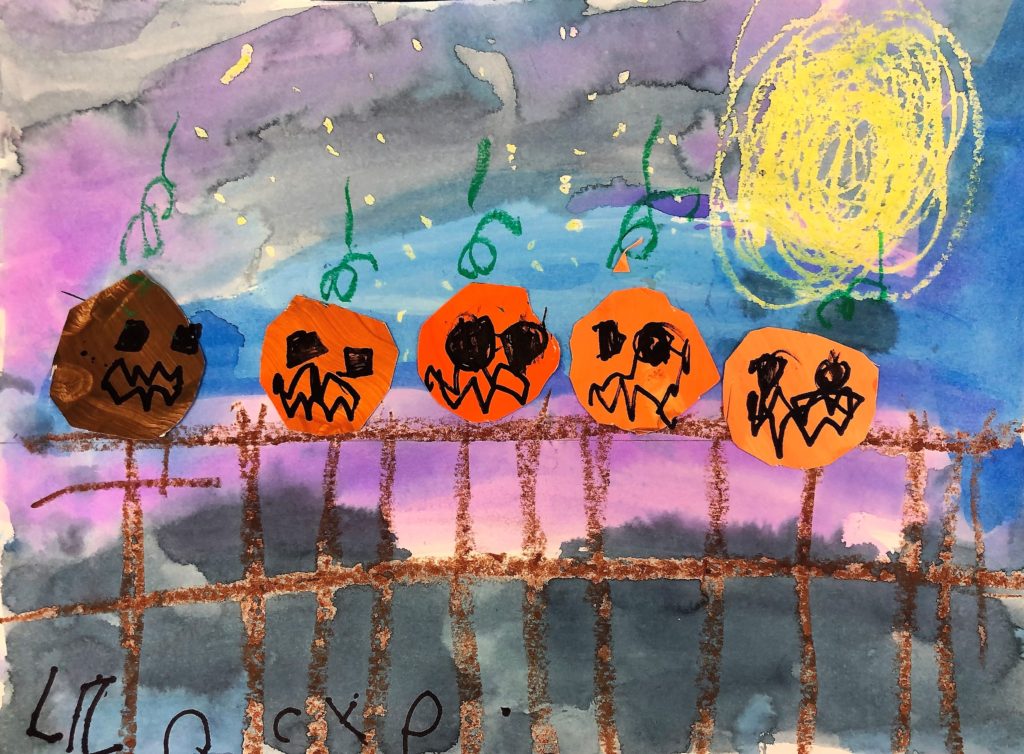
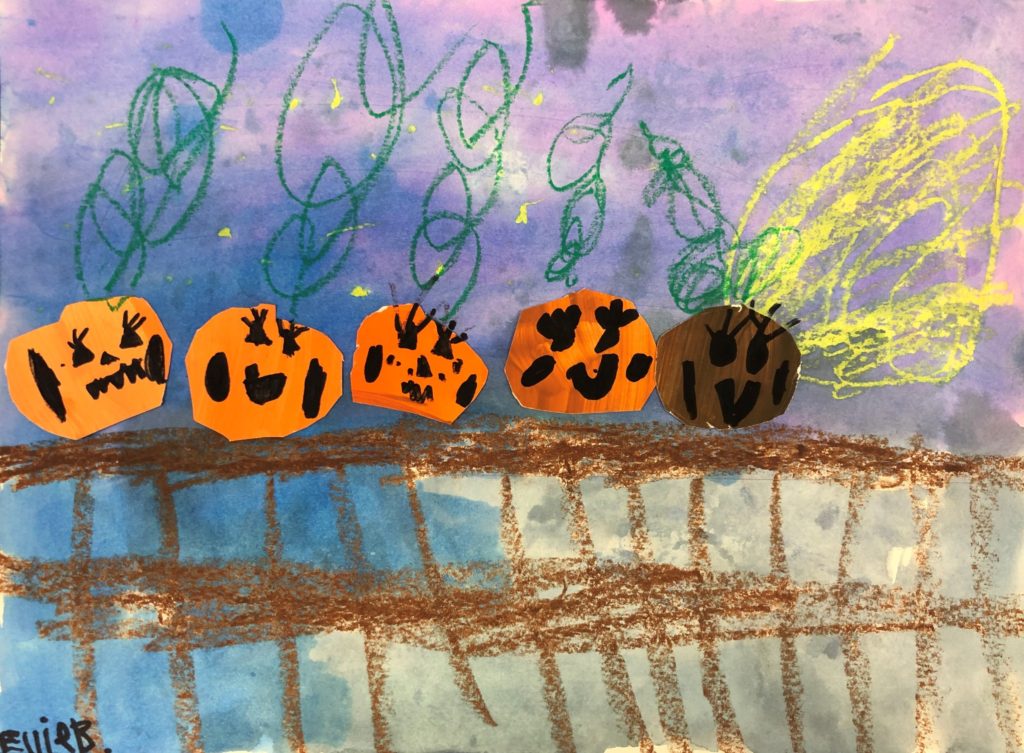
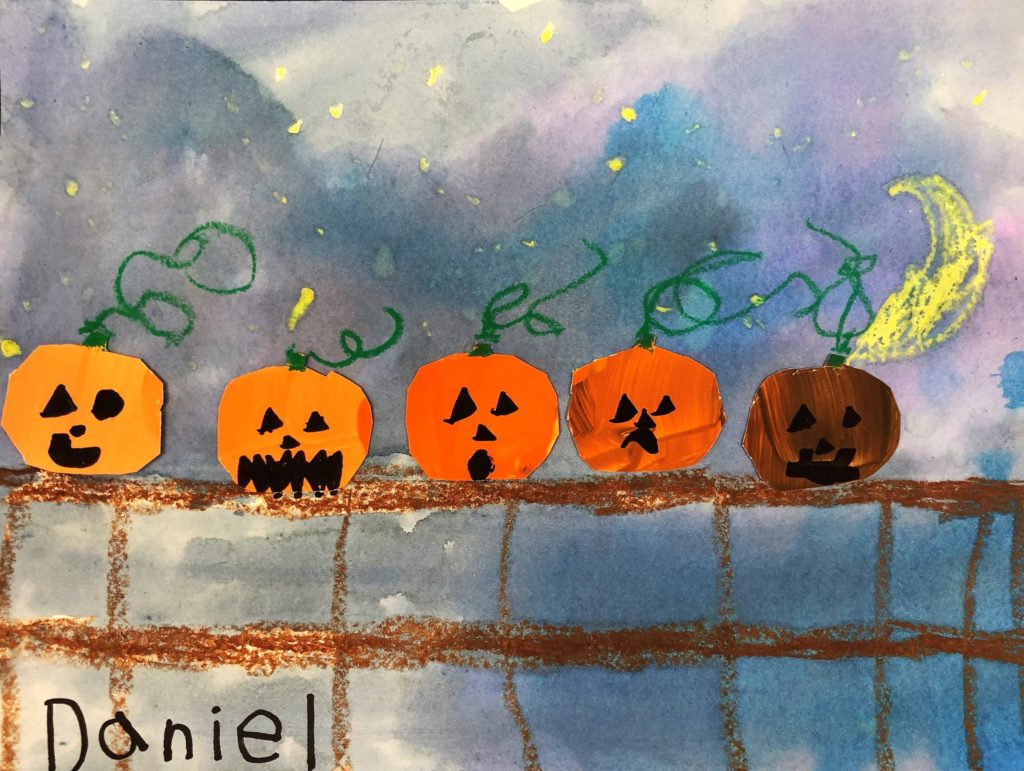
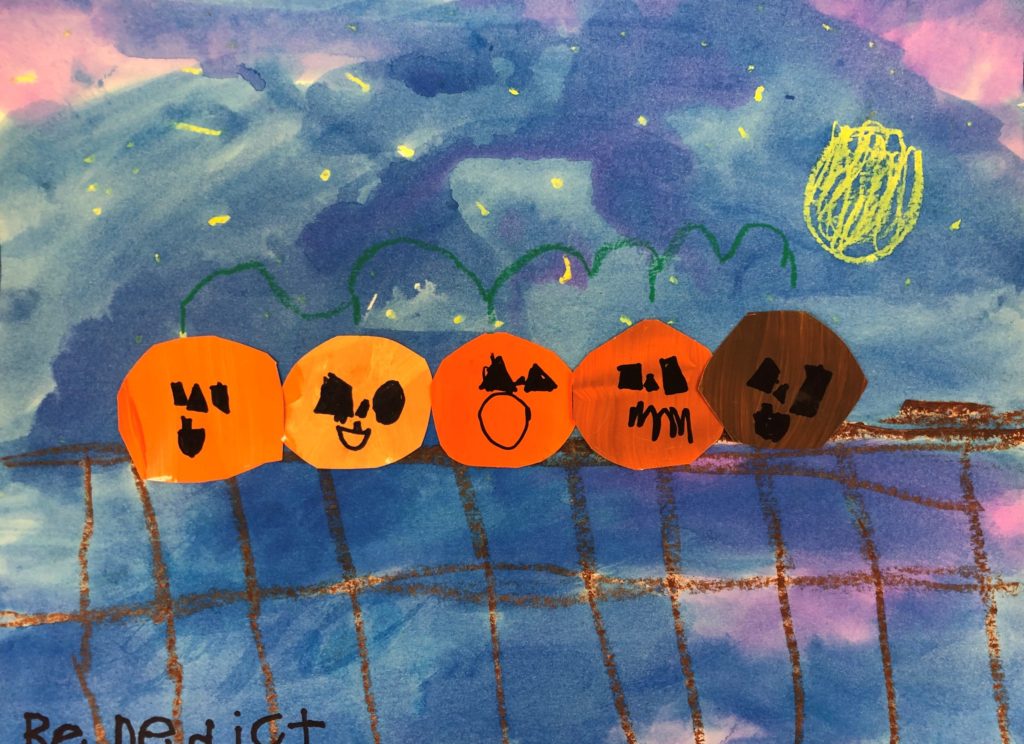
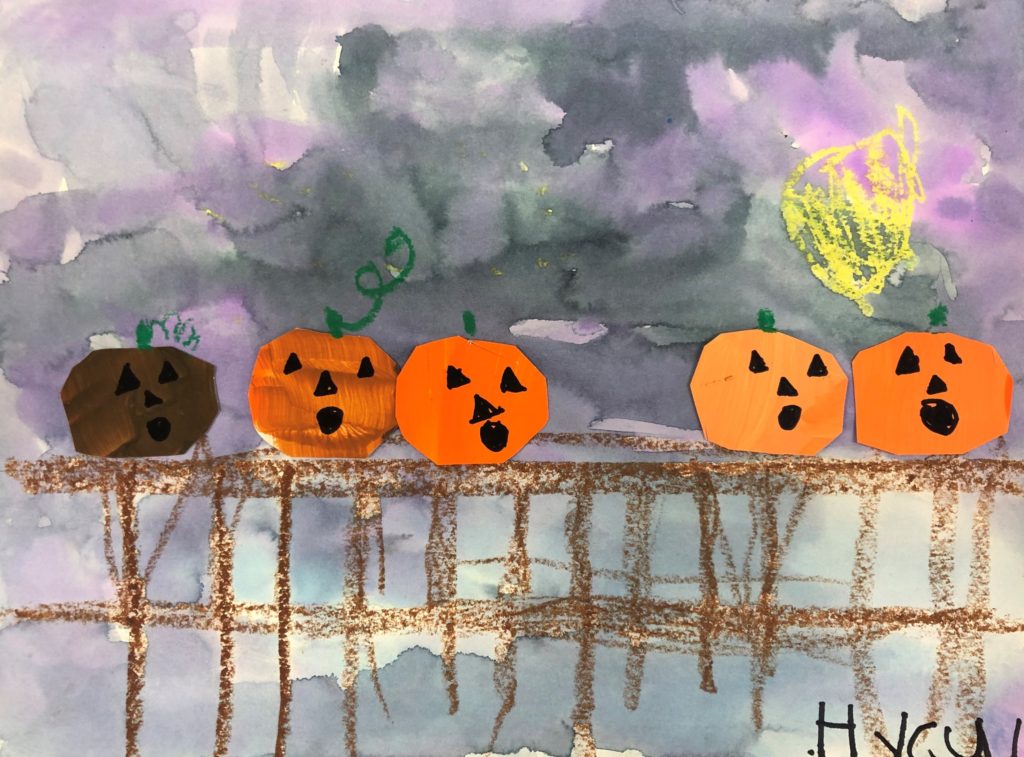
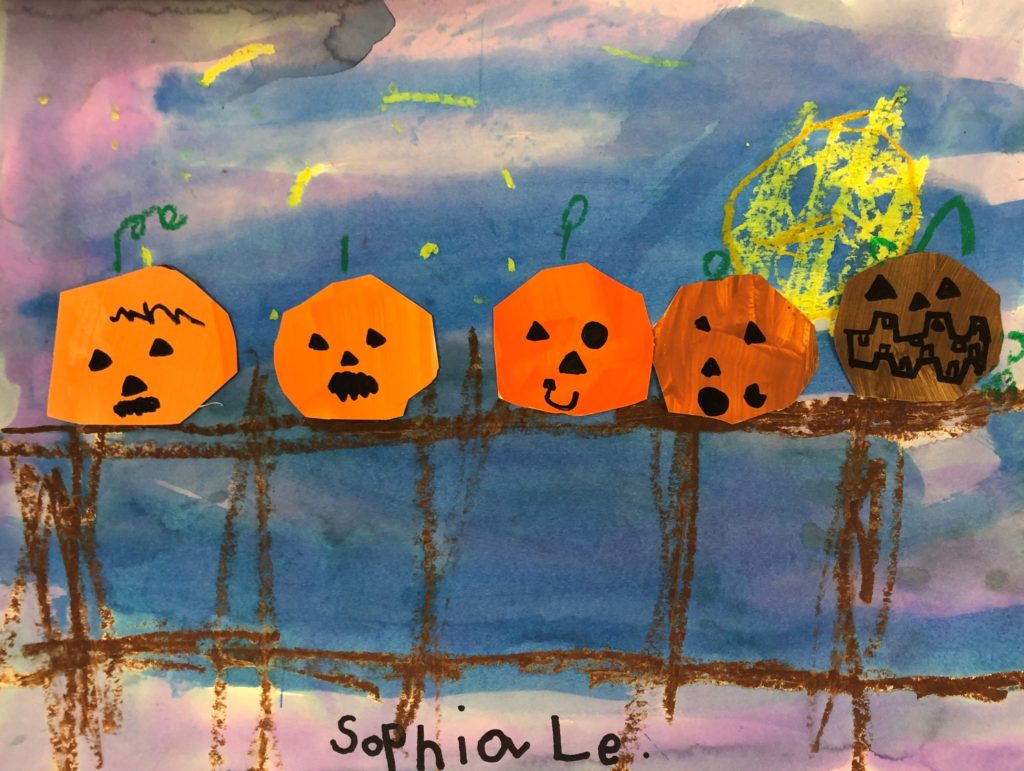
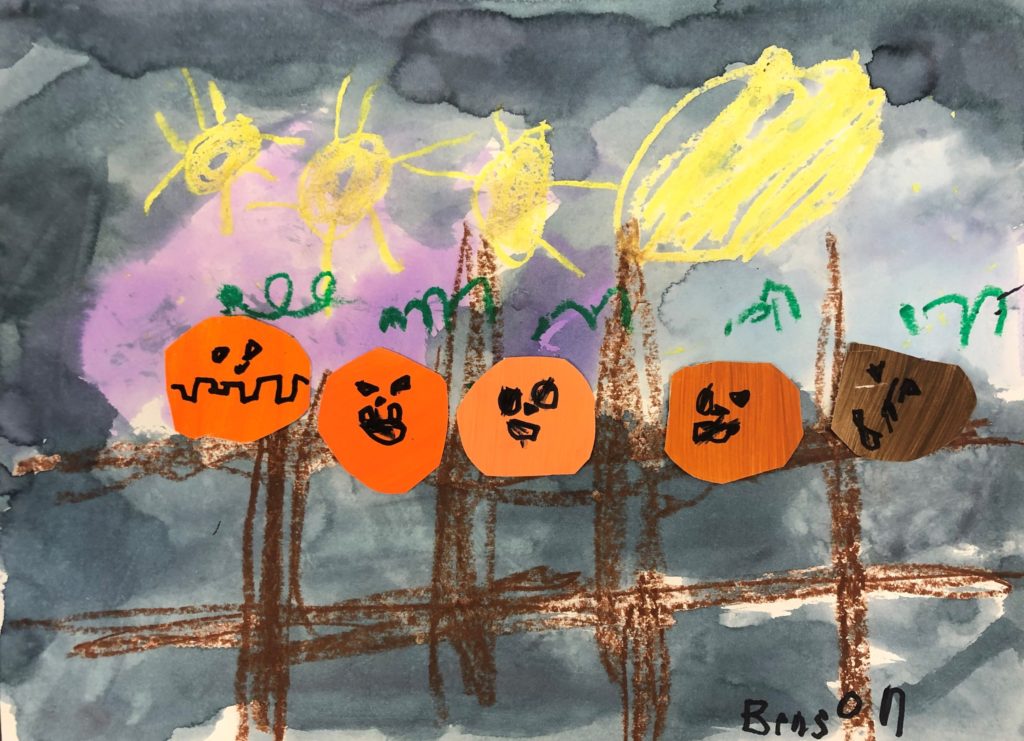
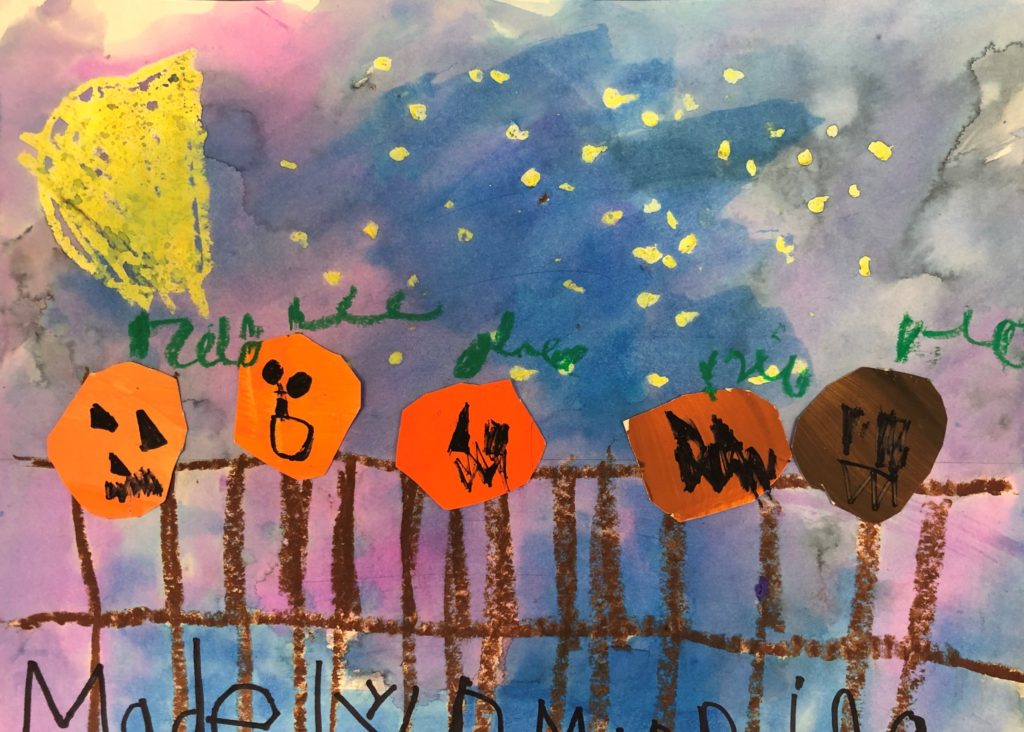
Check out these finished Five Pumpkin pieces of artwork!
Common Core Standards for Five Little Pumpkins
K-2 – Language Arts
Children’s adventure stories, folktales, legends, fables, fantasy, realistic fiction, and myth. Includes staged dialogue and brief familiar scenes. Also included are nursery rhymes and the sub-genres of the narrative poem, limerick, and free verse poem Includes biographies and autobiographies
Kindergarten – Math
Measure – Classify objects and count the number of objects in each category
- Classify objects into given categories; count the numbers of objects in each category and sort the categories by count.
Geometry – Identify and describe shapes
- Describe objects in the environment using names of shapes, and describe the relative positions of these objects using terms such as above, below, beside, in front of, behind, and next to.
- Correctly name shapes regardless of their orientations or overall size.

Leave a Reply