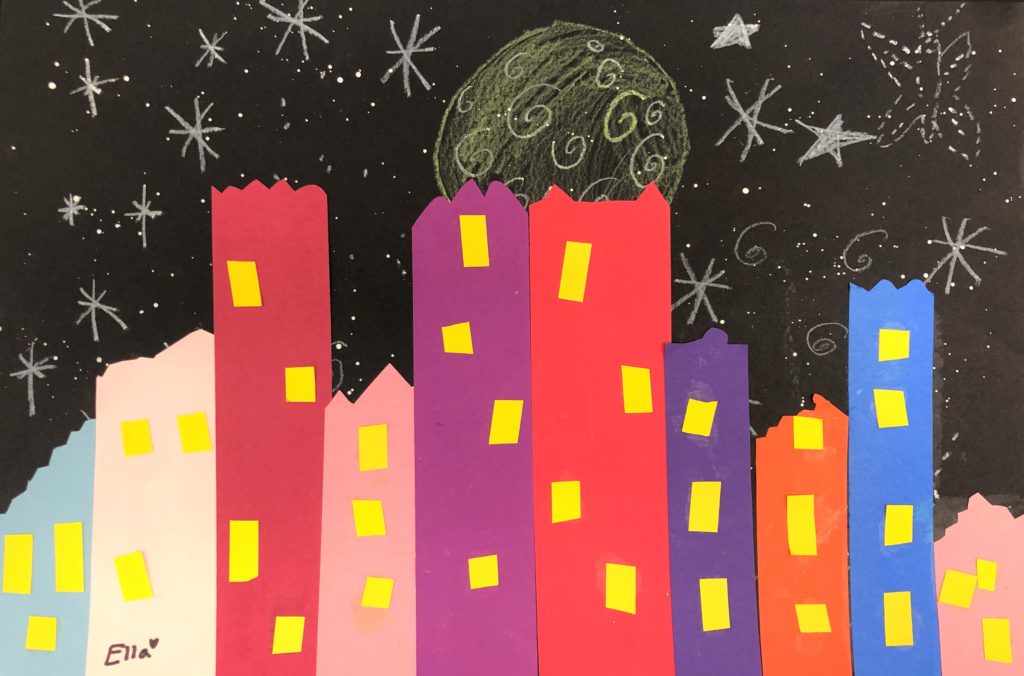
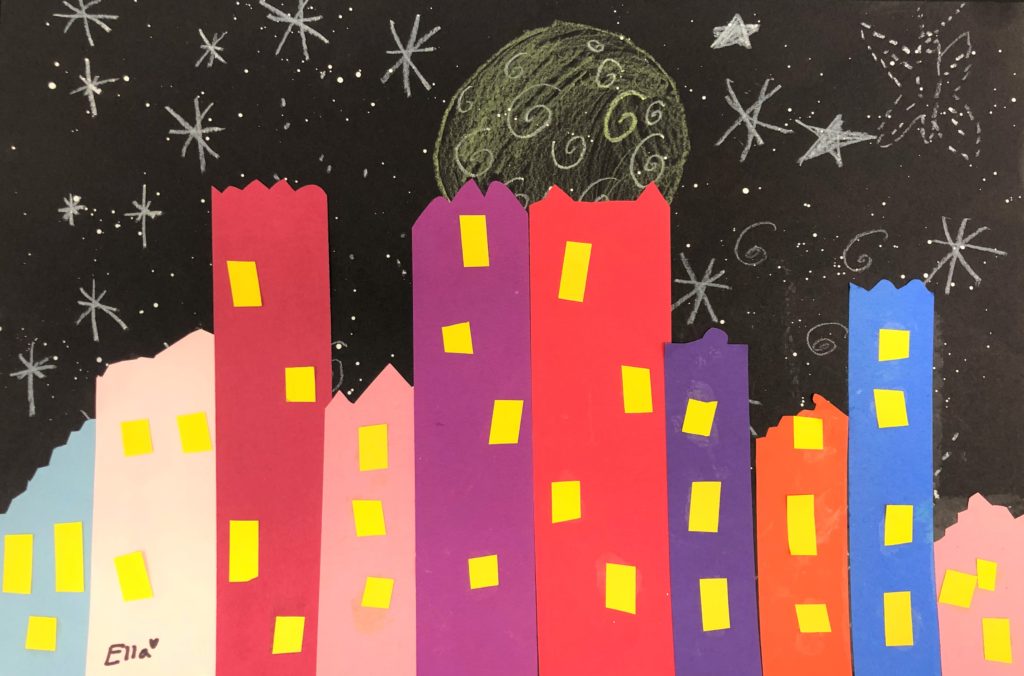
In this stunning city skyline art lesson, elementary aged students will learn the qualities and shapes of a city skyline and create one of their own. This project covers Common Core Standards for Language Arts, Math and History for grades K-2 which can be found at the end of the lesson.
Grade Level
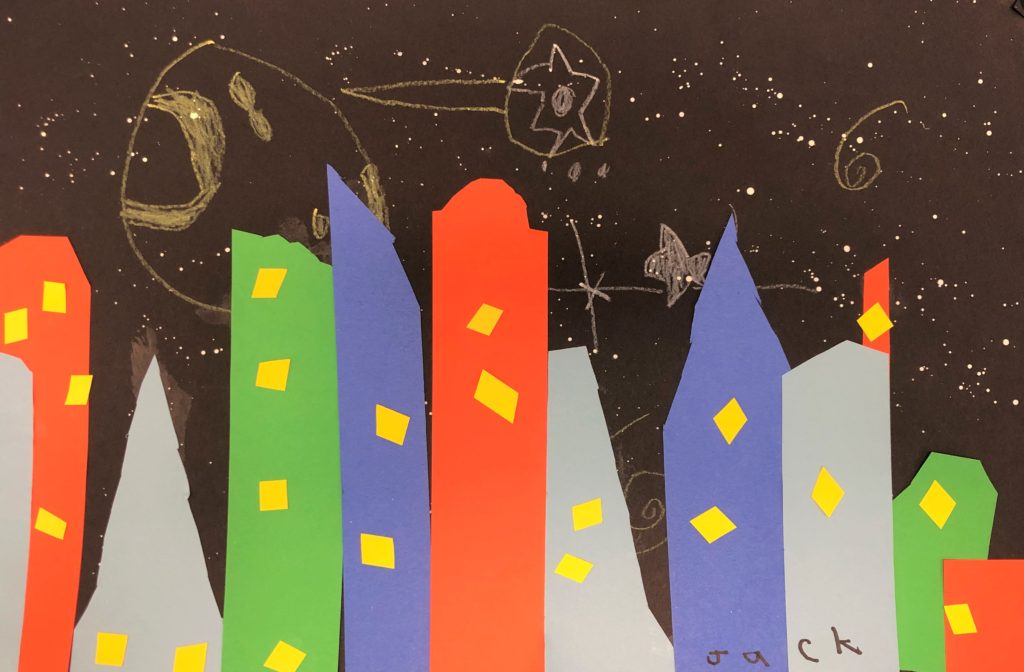
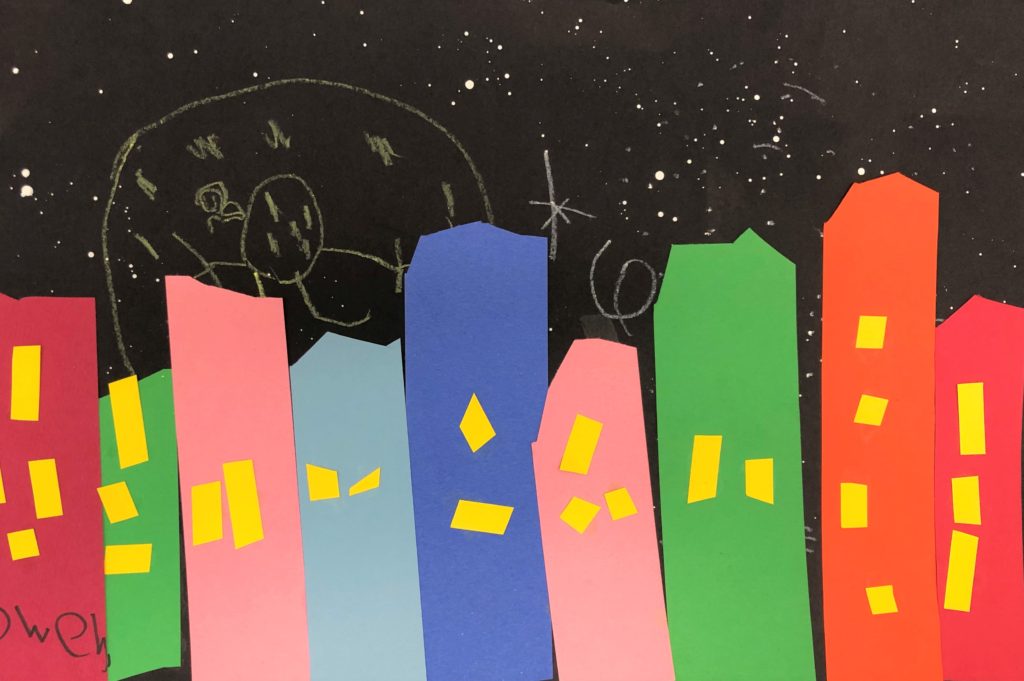
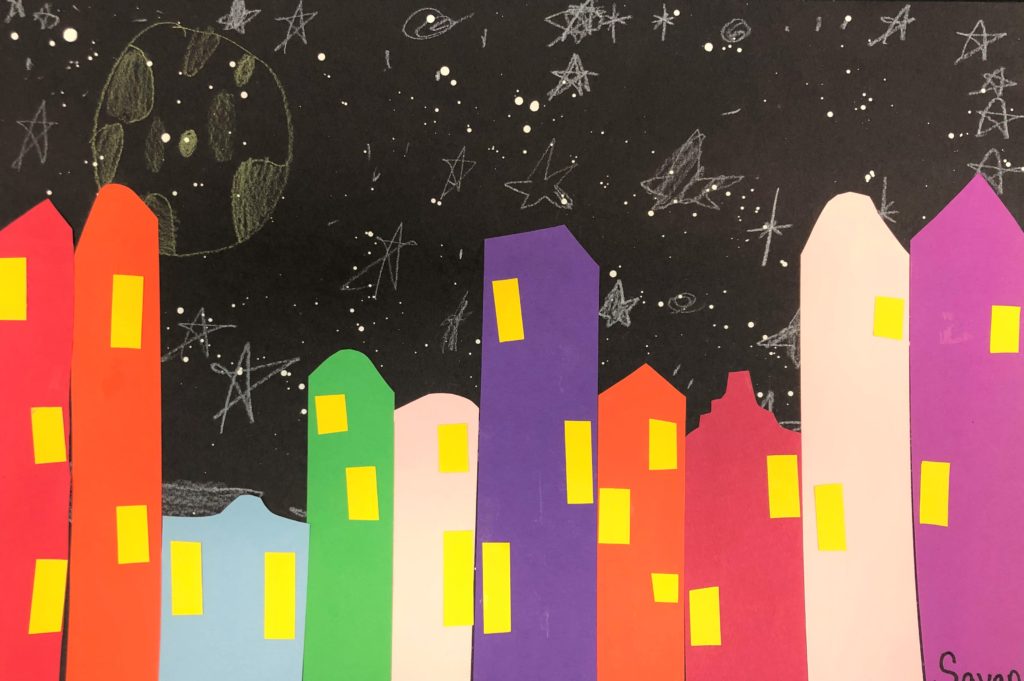
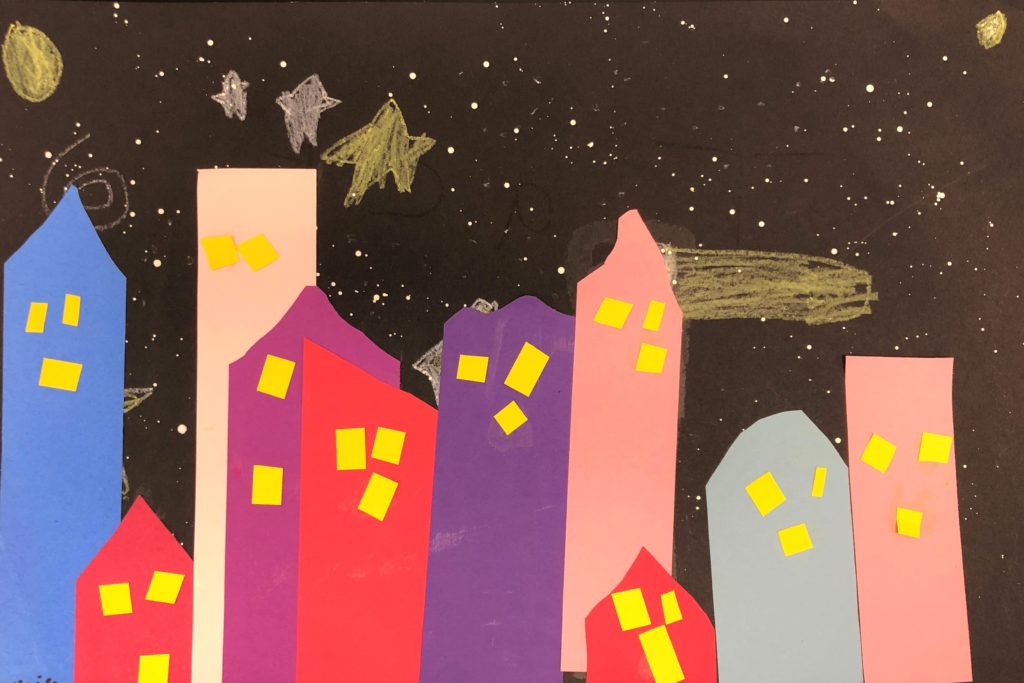
Kindergarten, 1st, and 2nd Grades. The examples in this lesson were made by 1st graders.
Objective
In this City Skyline Art Lesson, students will create a stunning city skyline using construction paper.
Time
6 30 min lessons
Materials
- Glue
- Scissors
- Colored Construction paper (red, orange, yellow, festive green, royal blue, purple, pink) – Pacon Tru-Ray Construction Paper, 9″ x 12″, 10 Classic Colors, 50 Sheets (P103031)
- Black Construction Paper – Tru-Ray Sulphite Construction Paper, 12 x 18 Inches, Black, 50 Sheets – 054150
- White Acrylic Paint for splatter – Apple Barrel Acrylic Paint in Assorted Colors (2 Ounce), 20503 White
- Crayola Construction Paper Crayons, Assorted Colors, Set of 16
Inspiration/Artist
I was inspired to make this project after I saw this idea: Click Here
Instruction with Questions
Day 1
Students watch videos about Architecture. These can all be found on Youtube:
I am an Architect – The History of Architecture: Click Here
How to Become an Architect? CareerBuilder Videos from funza Academy.: Click Here
10 Strangest Buildings In The World: Click Here
Famous buildings in the world – famous structures of the world: Click Here
Day 2
Students discuss what they already know about a landscape. Then, have students discuss what they know about a cityscape. Now explain the difference between a cityscape and a skyline. Cityscape is the view of the buildings of a city, usually referring to a pictured landscape, while skyline is the line at which the earth and sky meet, horizon.
Have them view the Prezi attached below.
PREZI on Cityscapes vs. Landscapes: Click Here
Students practice drawing a city skyline.
Day 3
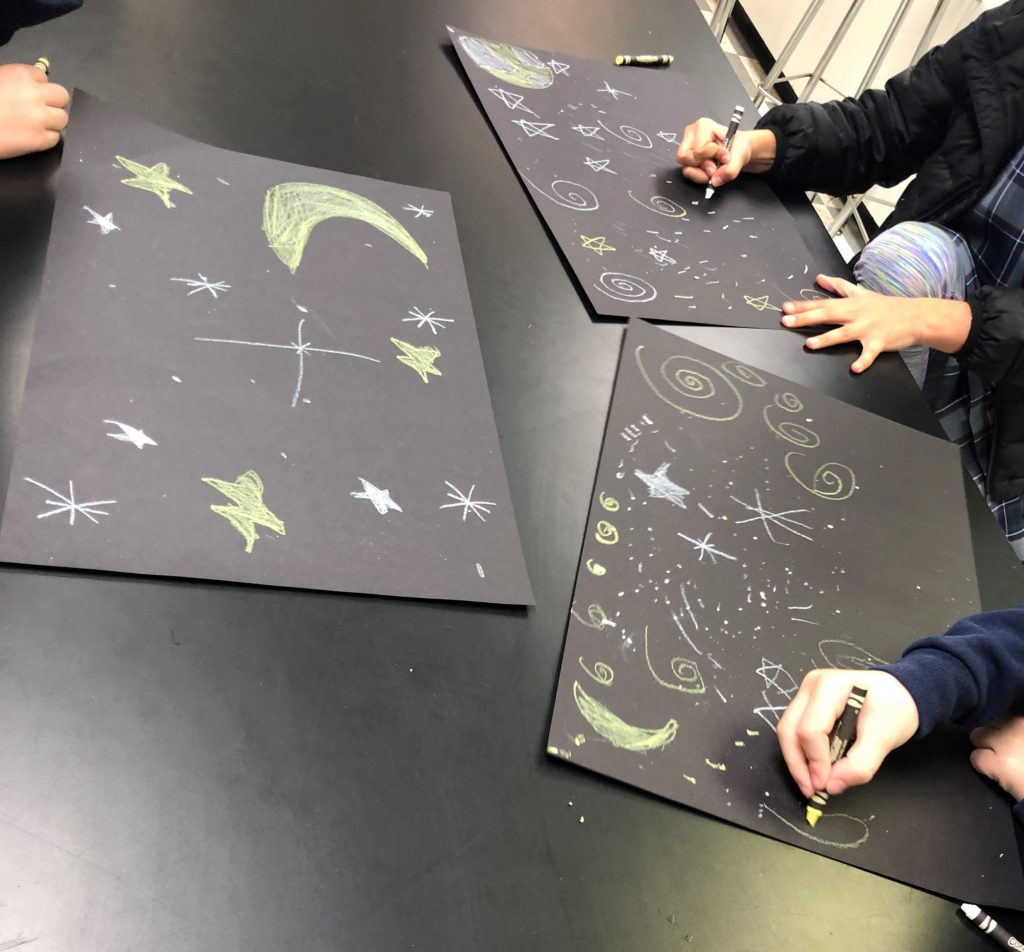
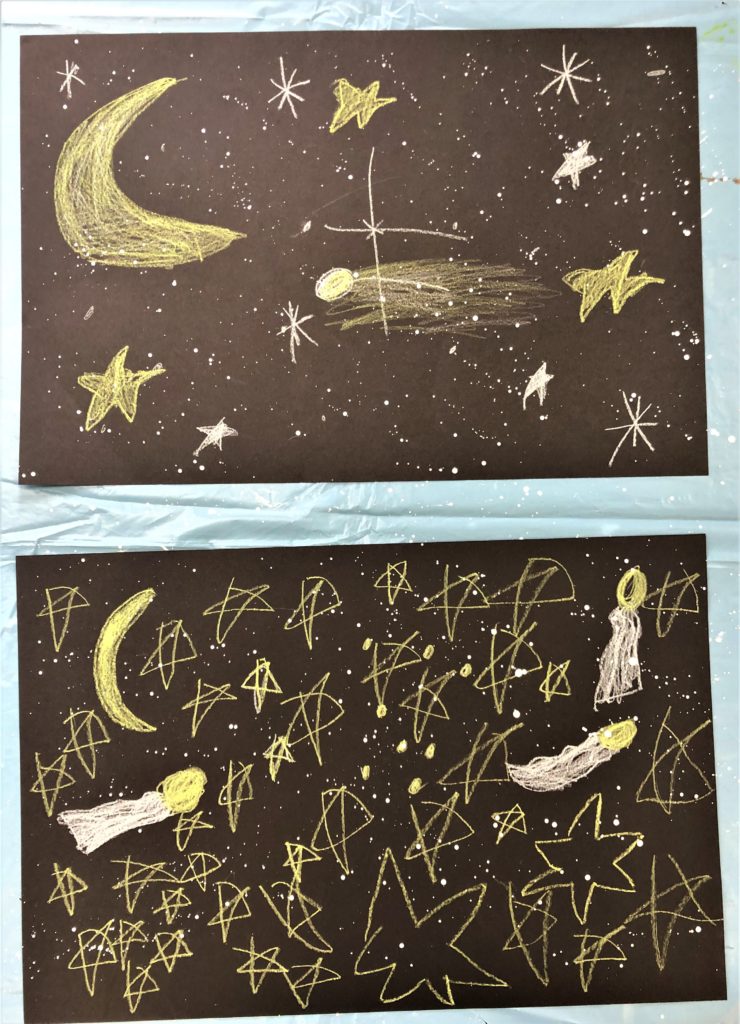
Students use the white board one at a time to show different ways to draw stars and moons. Then, students use yellow and white construction paper crayons to create a moon and stars on a large piece of black construction paper. Remind them to press hard and to fill in their moon and any bold stars.
Day 4
#1
Lay out stacks of strips of a colorful variety of pre-cut construction paper. These sizes can vary from 1.5 inchs wide to 2.25 inches wide. Since you are cutting them from a sheet that is 9×12, the buildings can all stay 9 inches tall for now. This makes prep a breeze!
#2
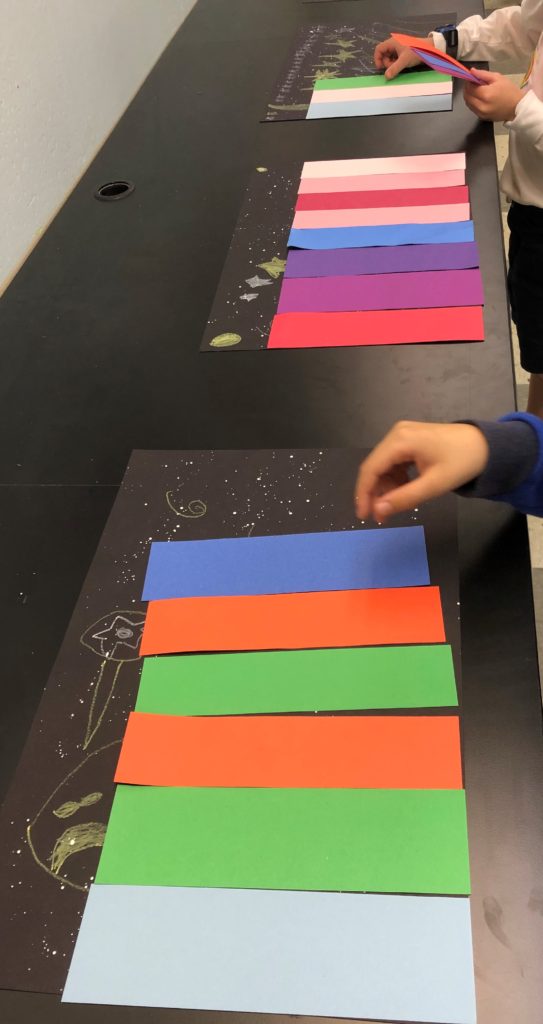
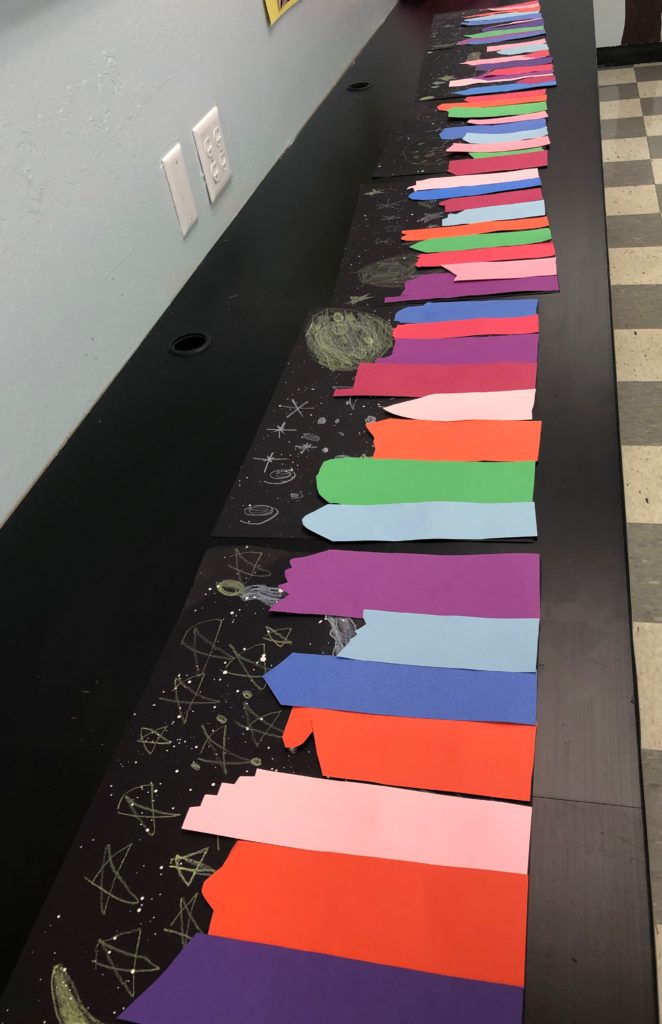
Two at a time, have students choose 10 strips of paper of various widths and colors. When they return to their seat, they are directed to lay out their buildings so that they are flush to the bottom and sides of their black paper. The purpose here, is to get their brains engaged in where these buildings will go, make sure they have a variety of colors (the same colors should not touch), and make sure they have enough strips to fill the bottom row.
#3
Once their row is laid out, everything looks good, I ask them to stack their strips and I go around and paper clip them to their background.
#4
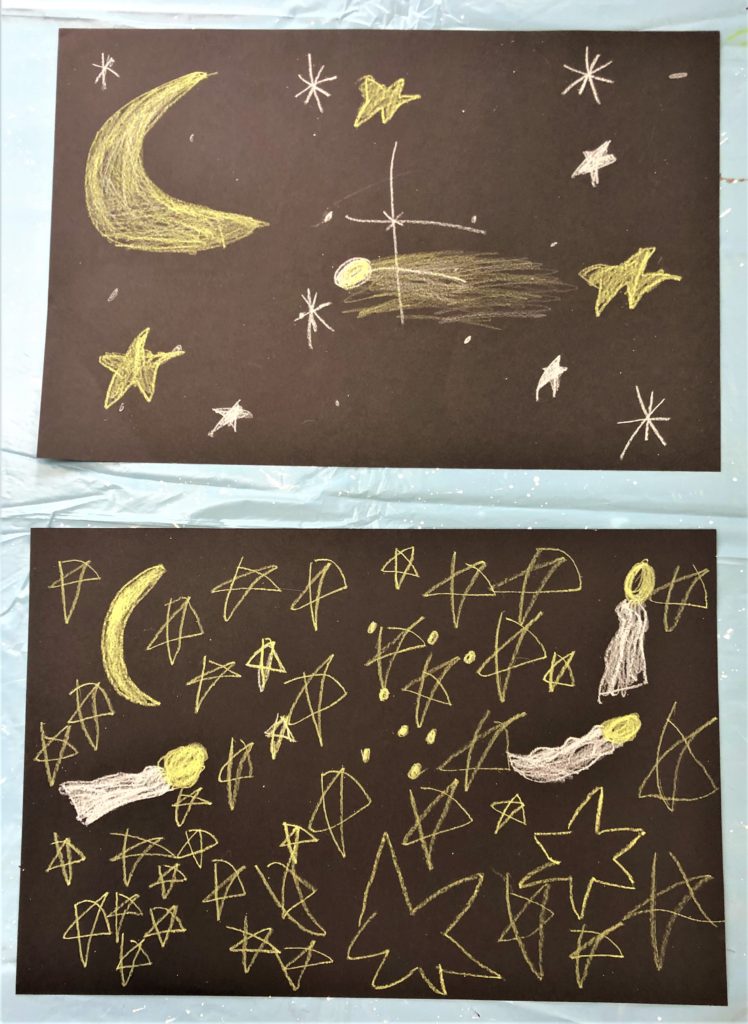
Next, while they attempt another city skyline for fun, I call each child up for splatter paint. This is a good moment to pencil in a name on the back of one paper in their colorful stack and set it aside.
The student gets a few taps with the paint-brush, but I do the majority of the quick splatter painting. Make this by adding some white acrylic paint and water to a small cup and taping the brush over their night scene.
Before…
After…
Day 5
Step 1
Read the book Wow City! You can check it out at your library or purchase a copy on Amazon: Click Here

Step 2
Have students look back at some of the tops of the buildings. Ask them what shapes they see. Have them use their hands to show you shapes or ask them all to draw a shape in the air. This is a huge help to kinesthetic learners. Then, show them some images from Google Images of City skylines. Have them describe the tops of those buildings. Analyze the heights of the buildings and how they change. Look at how the buildings overlap.
Step 3
Do a demonstration first, and then give students one strip of colorful construction paper. I usually use one left over from my piles that were not chosen. Using the one strip, have them cut different building tops. So holding the strip, cut a triangle off the top…then cut it off. Next cut a staircase…then cut it off. Then cut a round top, etc. This will save paper and give them lots of practice with different shapes.
Step 4
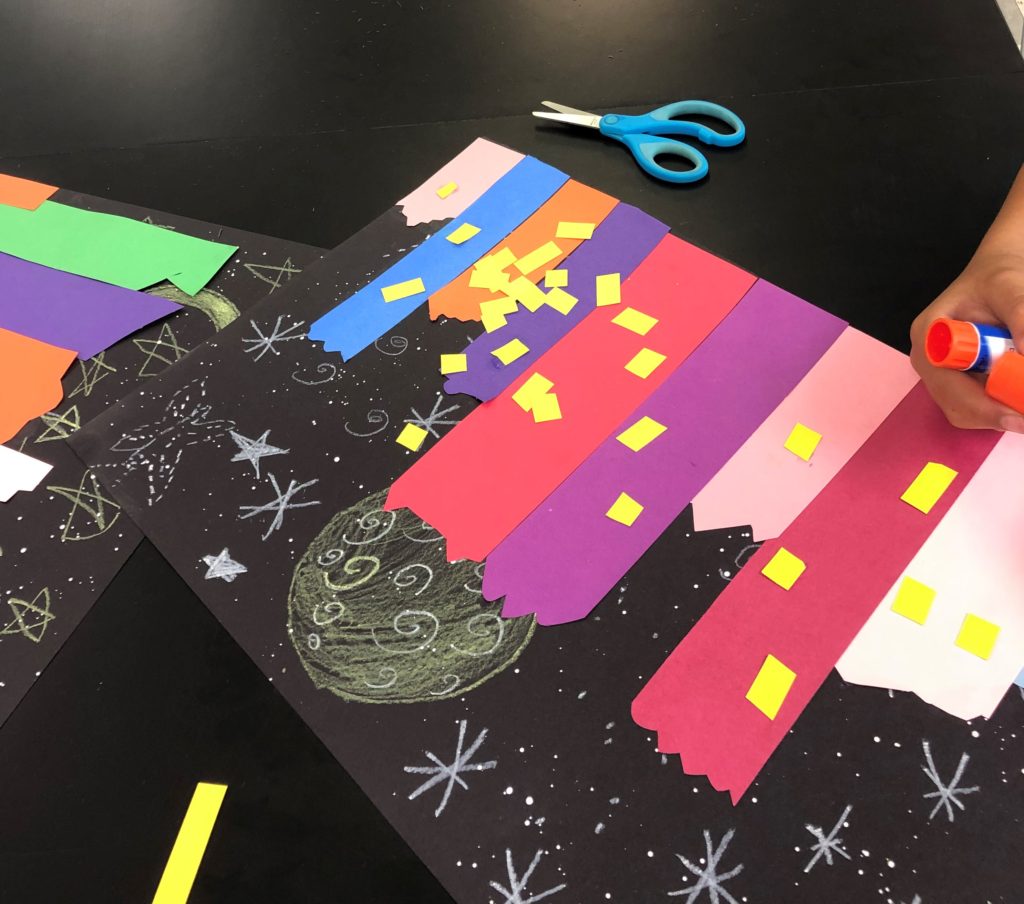
As soon as they are ready, hand out their paper-clipped stack. Remind them about the variety of heights of the buildings you have been studying. Once they cut off the top of a building ask them to lay it on top of their nighttime scene. Direct them that you need to see all of the paper arranged before they can begin gluing. Students use a designated area to lay out their glued work to dry so they do not stick to each other.
Day 6
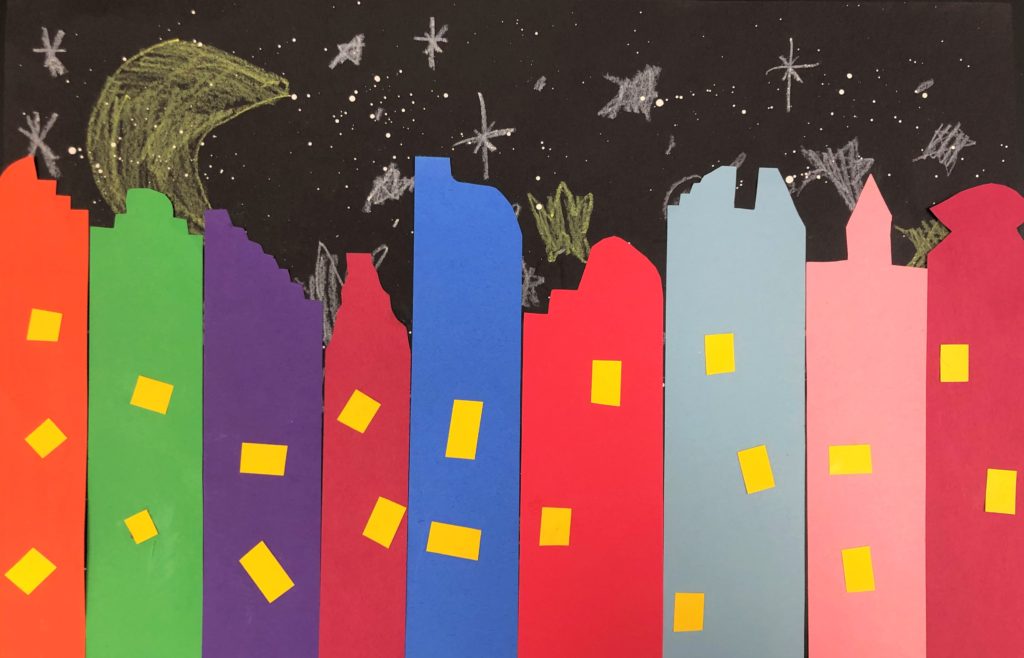
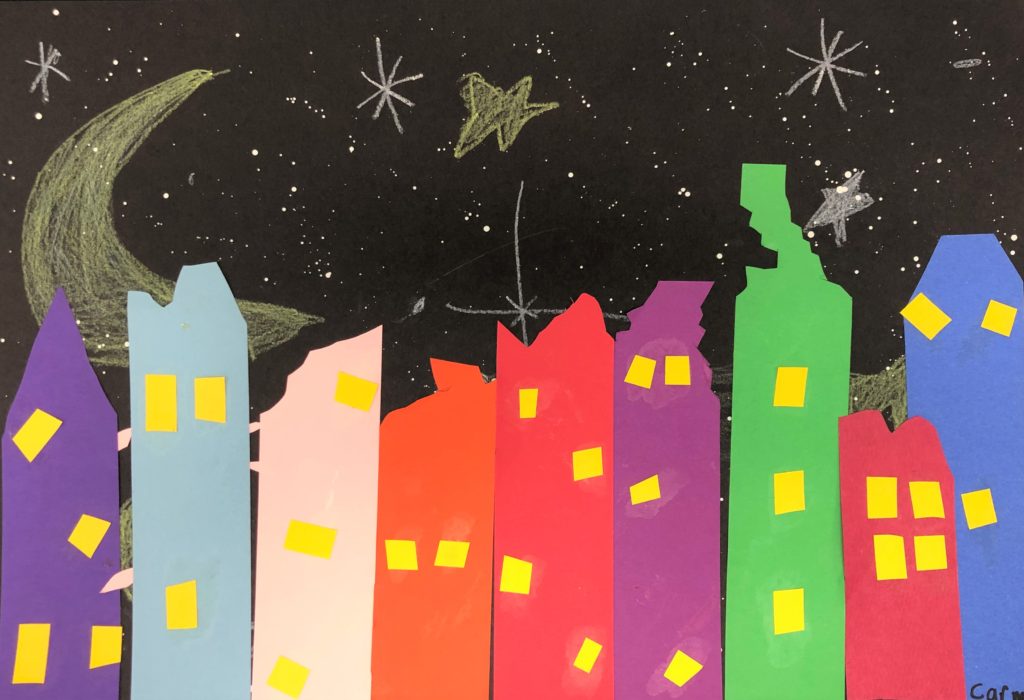
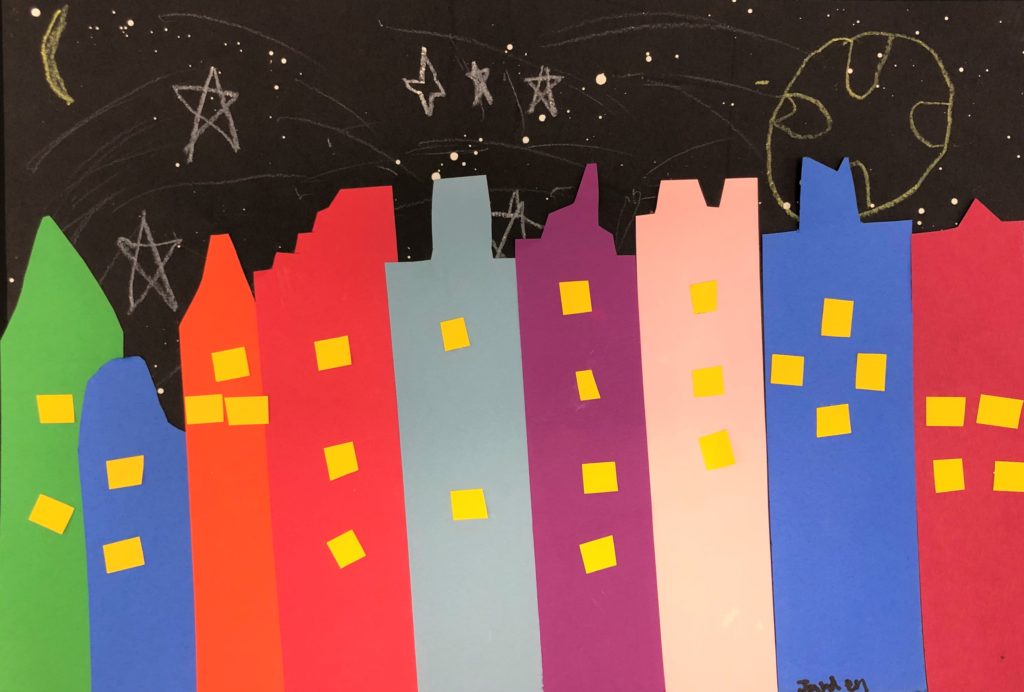
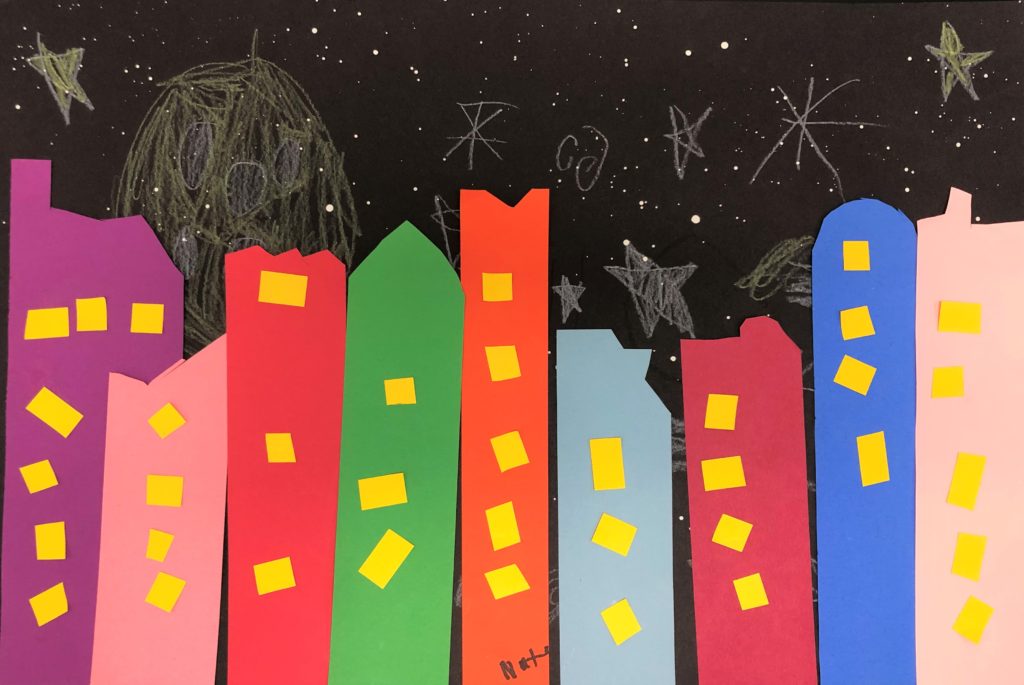
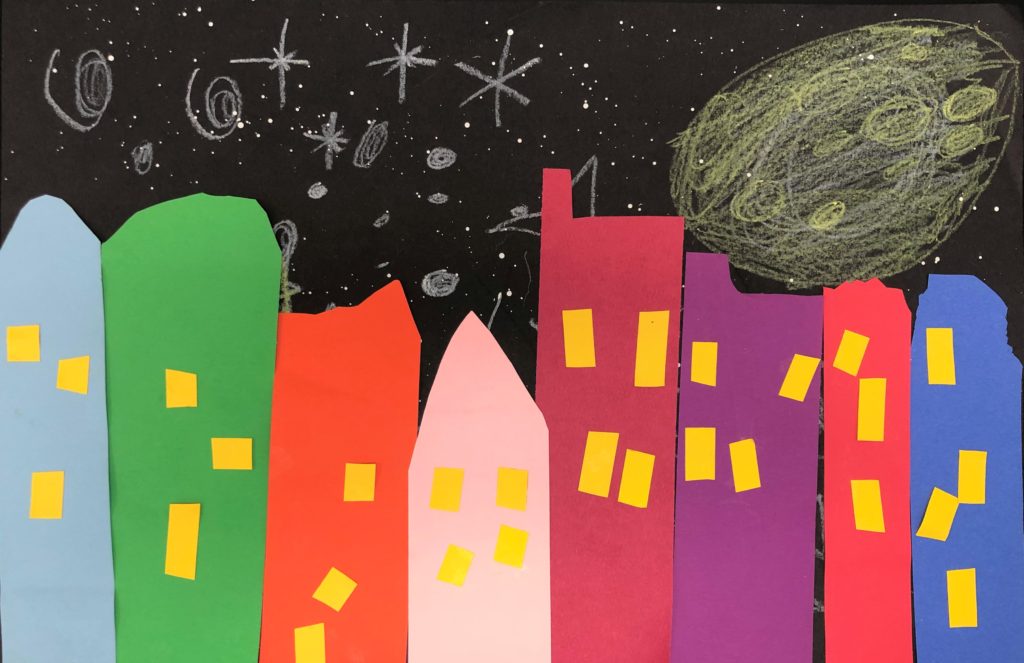
Your City Skyline Art Lesson is almost complete. The final day is the most fun! Pre-cut strips of yellow paper 12 inches long by .5 inch wide. Each student receives a strip that they can slowly cut smaller squares and rectangles from. I give them a rule to use 3, 4 or five windows on each building. Arrange all the yellow paper lights in a random order. This way it will look like some people are still awake in the building, and some have their lights turned off. Kids think this is like a magic trick haha.
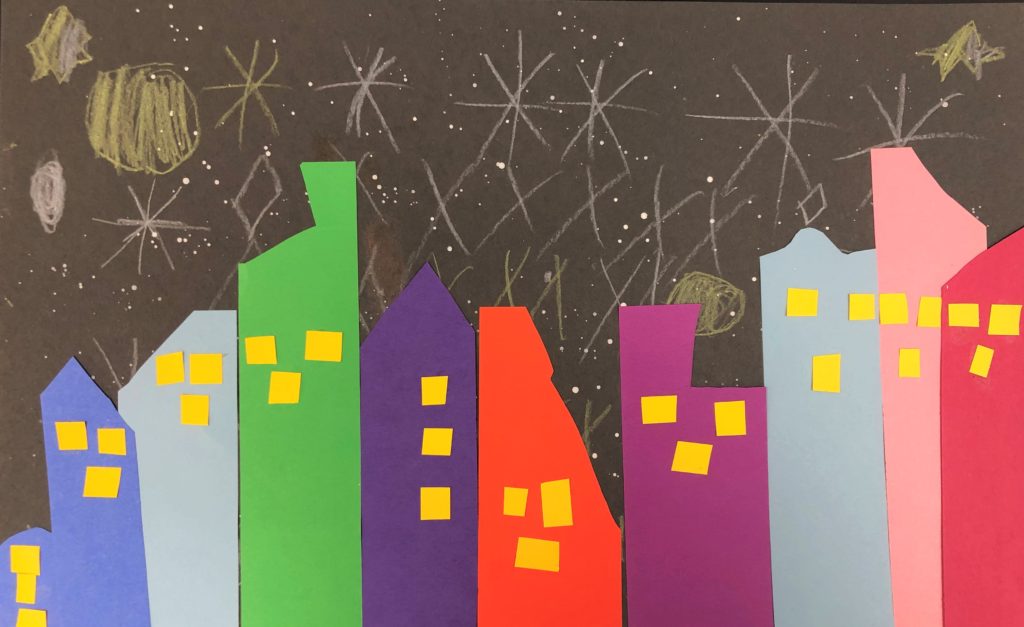
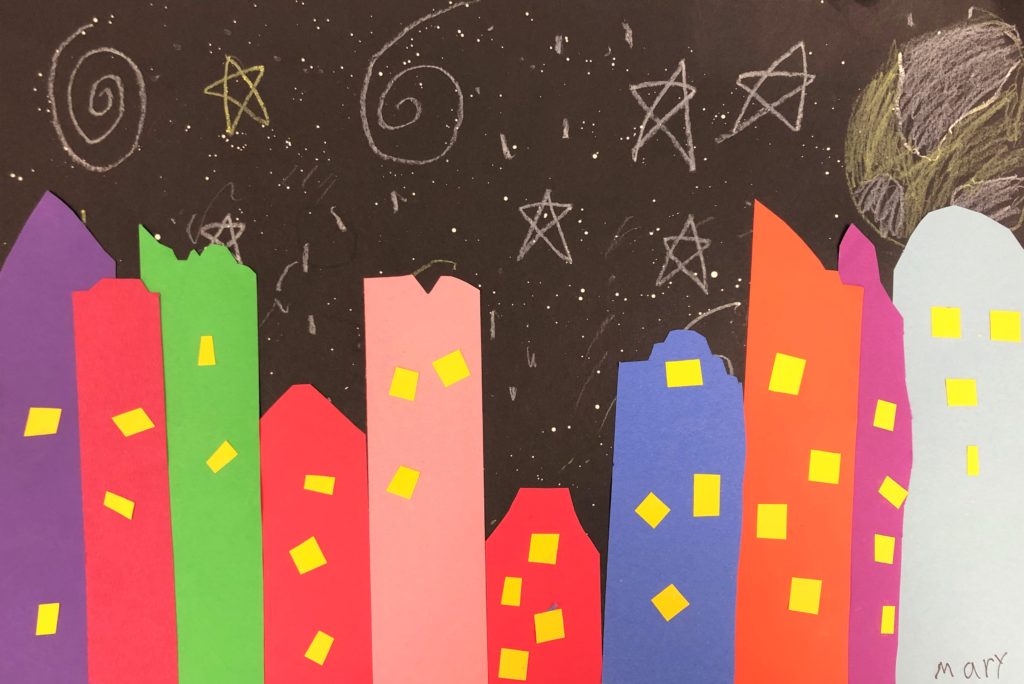
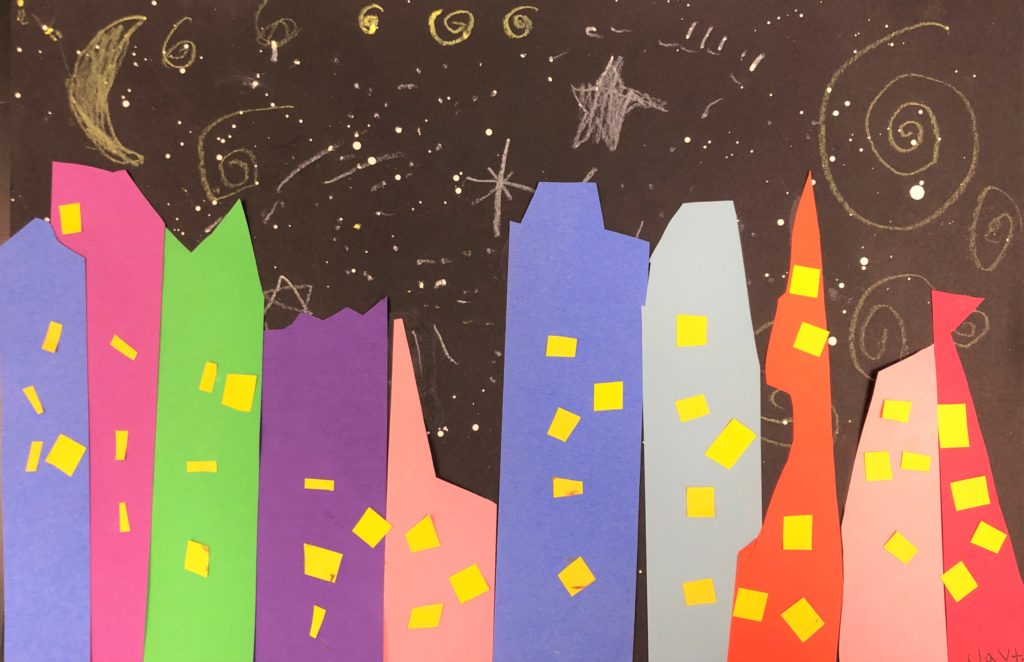
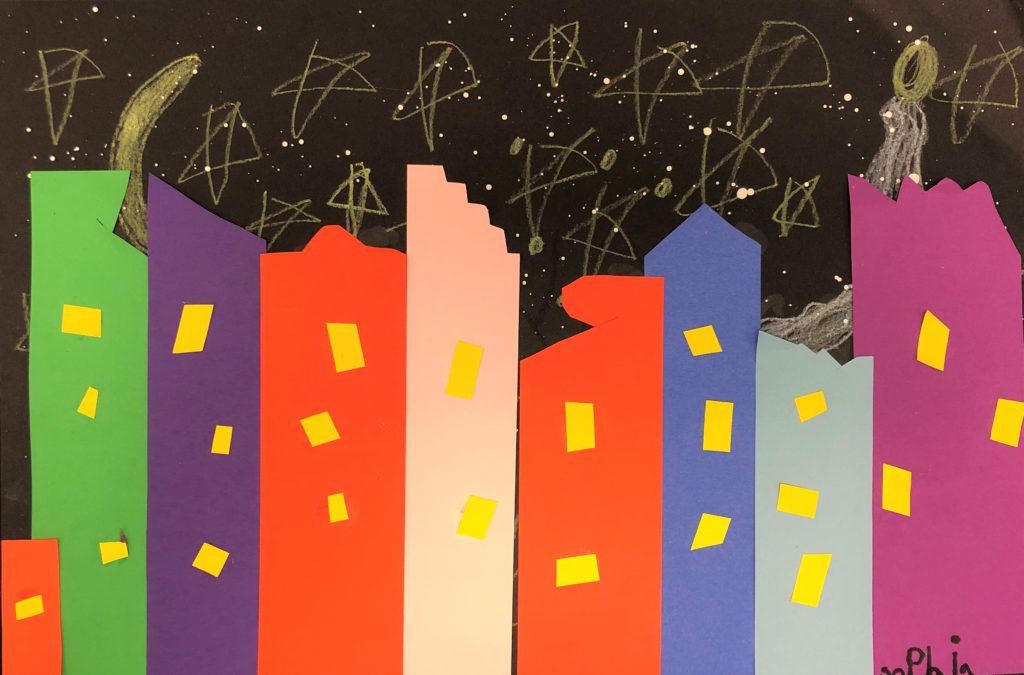
Here are some finished City Skyline Art Lesson pieces!
Common Core Standards
K-2 – Language Arts
Children’s adventure stories, folktales, legends, fables, fantasy, realistic fiction, and myth Includes staged dialogue and brief familiar scenes. Includes nursery rhymes and the sub-genres of the narrative poem, limerick, and free verse poem Includes biographies and autobiographies
Kindergarten – Math
Counting and Cardinality
Count to tell the number of objects.
4. Understand the relationship between numbers and quantities; connect counting to cardinality.
a. When counting objects, say the number names in the standard order, pairing each object with one and only one number name and each number name with one and only one object.
Measurement and Data
Describe and compare measurable attributes.
1. Describe measurable attributes of objects, such as length or weight. Describe several measurable attributes of a single object.
2. Directly compare two objects with a measurable attribute in common, to see which object has “more of”/“less of” the attribute, and describe the difference. Classify objects and count the number of objects in each category.
3. Classify objects into given categories; count the numbers of objects in each category and sort the categories by count.
Geometry
Identify and describe shapes (squares, circles, triangles, rectangles, hexagons, cubes, cones, cylinders, and spheres).
1. Describe objects in the environment using names of shapes, and describe the relative positions of these objects using terms such as above, below, beside, in front of, behind, and next to.
2. Correctly name shapes regardless of their orientations or overall size.
Analyze, compare, create, and compose shapes
4. Analyze and compare two- and three-dimensional shapes, in different sizes and orientations, using informal language to describe their similarities, differences, parts and other attributes
5. Model shapes in the world by building shapes from components and drawing shapes.
Kindergarten – History – Learning and Working Now and Long Ago
K.4 Students compare and contrast the locations of people, places, and environments and describe their characteristics.
4. Construct maps and models of neighborhoods, incorporating such structures as police and fire stations, airports, banks, hospitals, supermarkets, harbors, schools, homes, places of worship, and transportation lines.
1st Grade – Math
Measurement
Measure lengths indirectly and by iterating length units
1. Order three objects by length; compare the lengths of two objects indirectly by using a third object.
2. Express the length of an object as a whole number of length units, by laying multiple copies of a shorter object (the length unit) end to end.
Geometry
Reason with shapes and their attributes.
1. Distinguish between defining attributes versus non-defining attributes; build and draw shapes to possess defining attributes.
1st Grade – History – A Child’s Place in Time and Space
1.2 Students compare and contrast the absolute and relative locations of places and people and describe the physical and/or human characteristics of places.
4. Describe how location, weather, and physical environment affect the way people live, including the effects on their food, clothing, shelter, transportation, and recreation.
2nd Grade – Math
Geometry
2.G Reason with shapes and their attributes.
1. Recognize and draw shapes having specified attributes, such as a given number of angles or a given number of equal faces.
Identify triangles, quadrilaterals, pentagons, hexagons, and cubes.
2. Partition a rectangle into rows and columns of same-size squares and count to find the total number of them.
3. Partition circles and rectangles into two, three, or four equal shares, describe the shares using the words halves, thirds, half of, a third of, etc., and describe the whole as two halves, three thirds, four fourths.
2nd Grade – History – People Who Make a Difference
2.2 Students demonstrate map skills by describing the absolute and relative locations of people, places, and environments.
4. Compare and contrast basic land use in urban, suburban, and rural environments in California.

This is an amazing lesson! I love it1
I am so grateful for your feedback! Let me know how I can further support you.
Another project completed! And I’ll just say that this one was more complicated than I thought. Great comprehensive experience for the students =]
I am sooo glad you enjoyed this project. Thank you for the feedback!