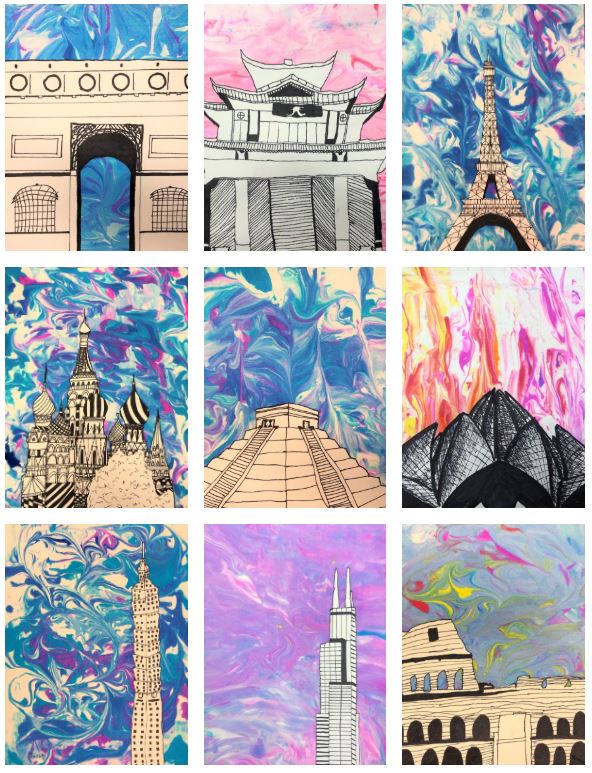
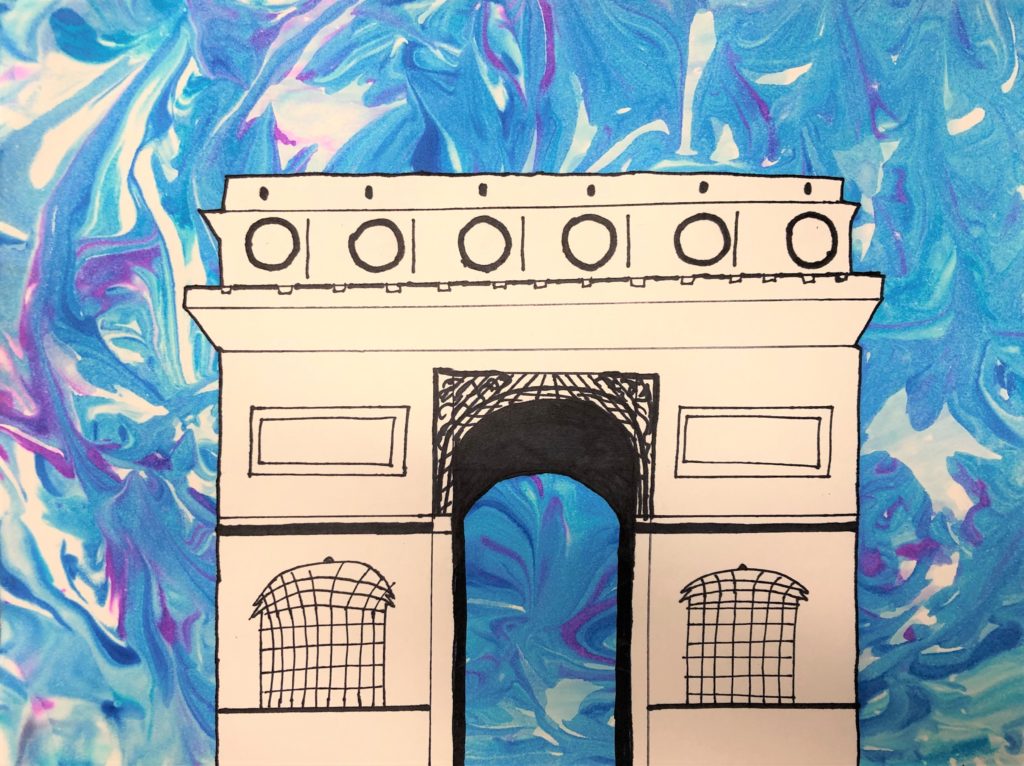
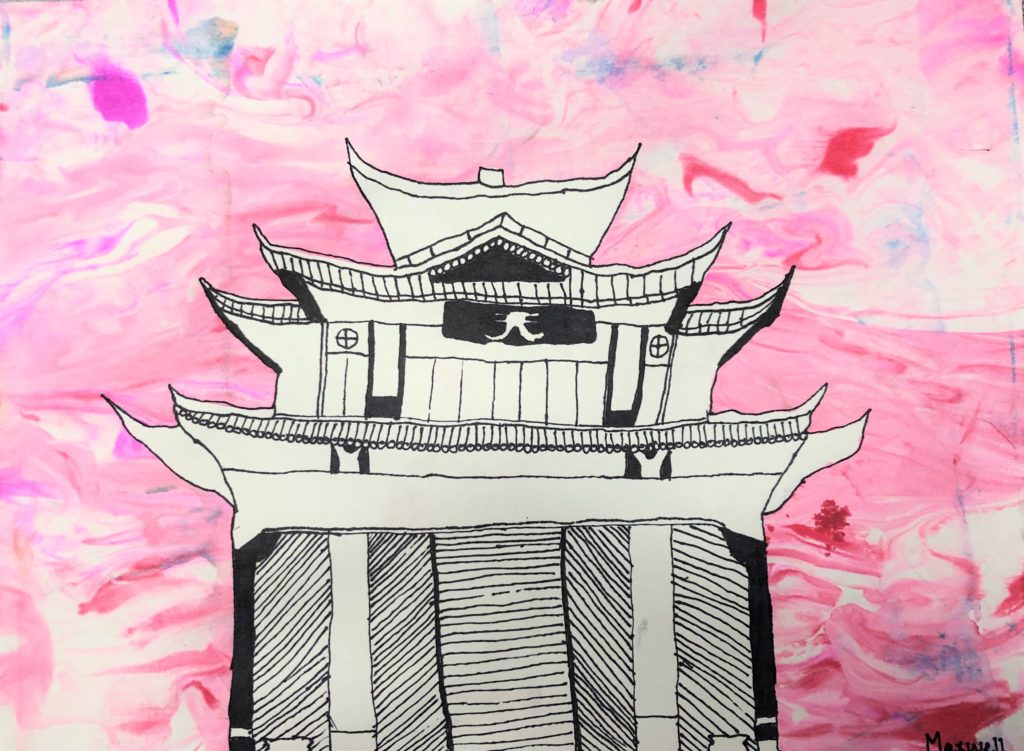
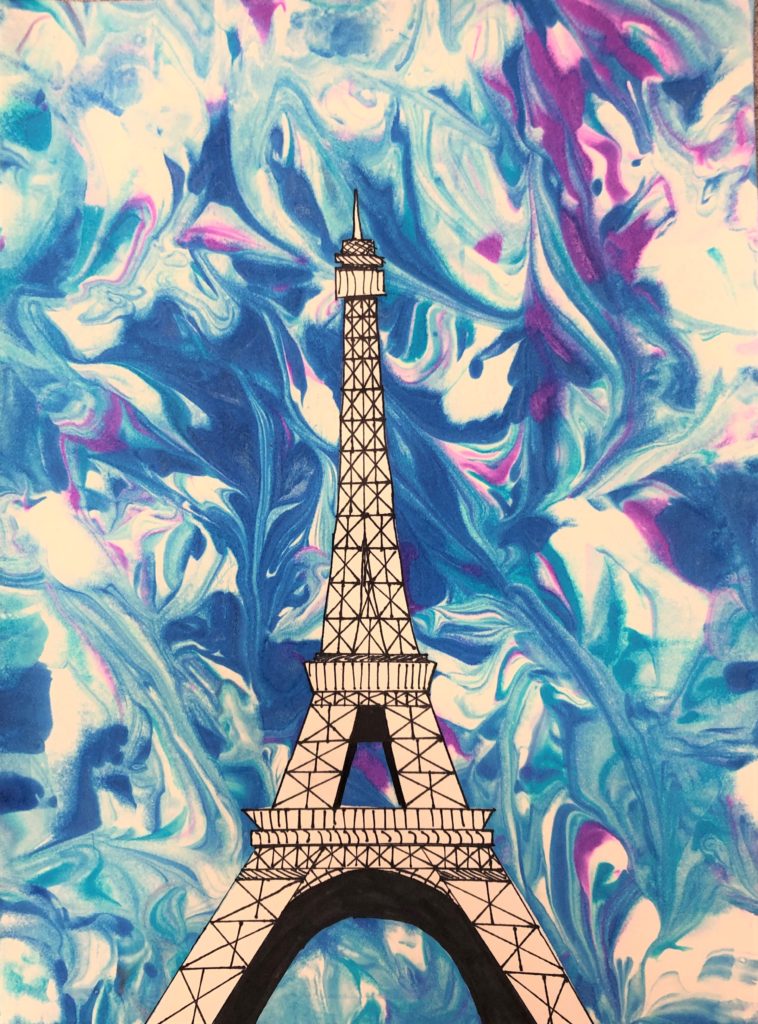
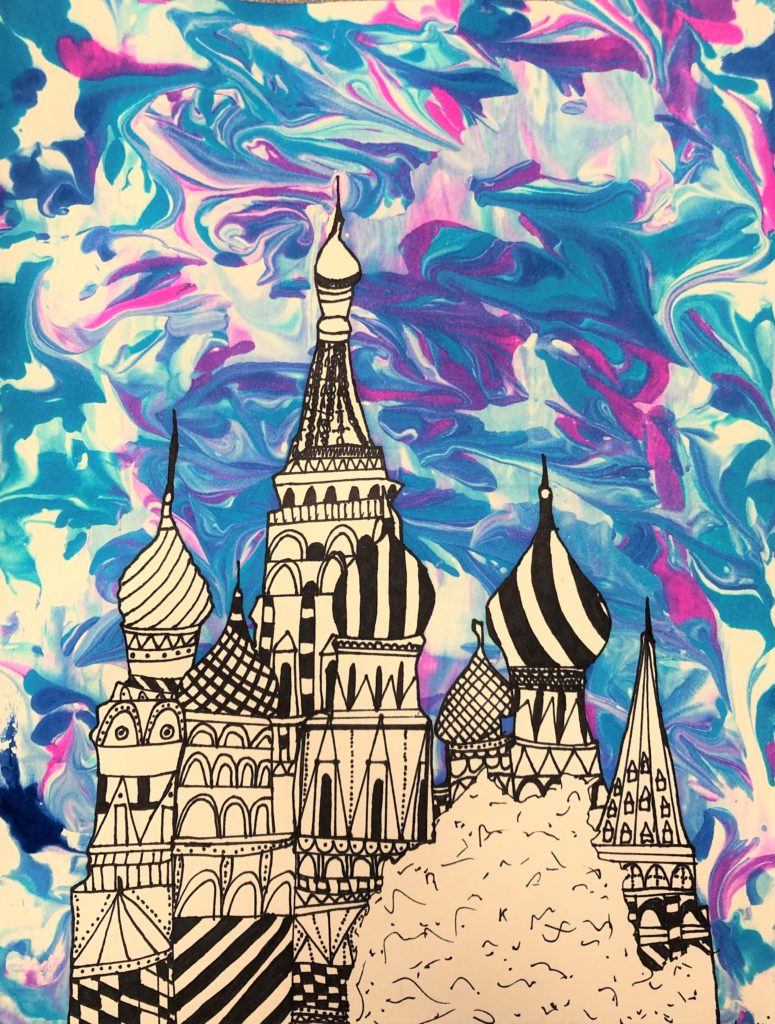
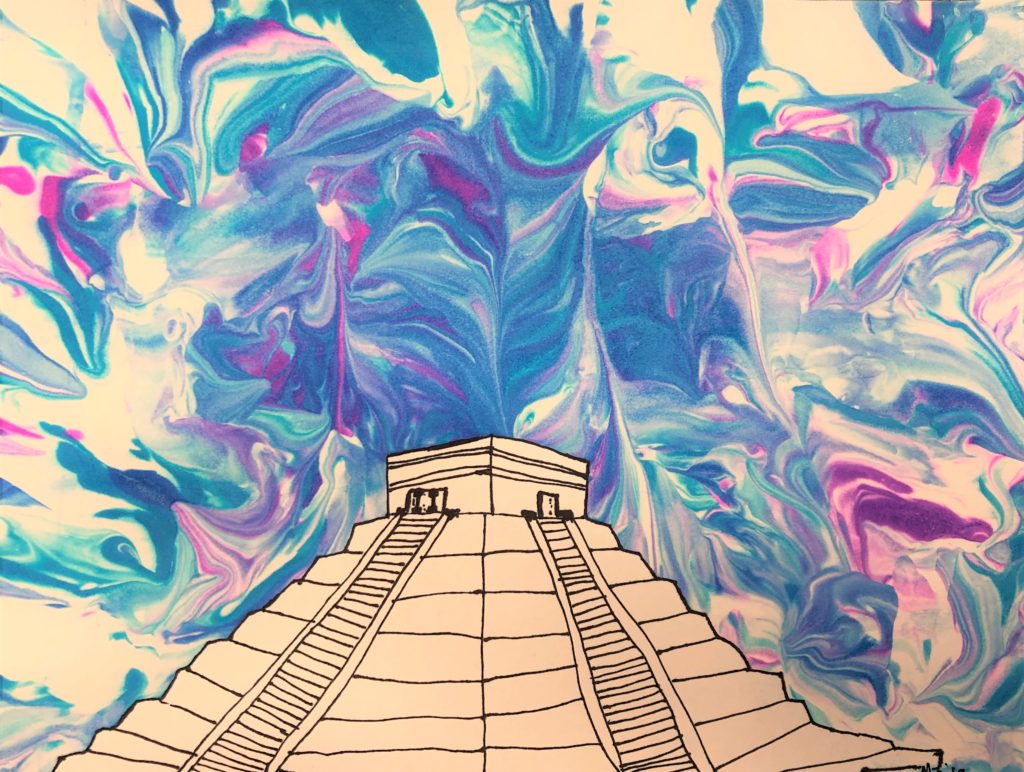
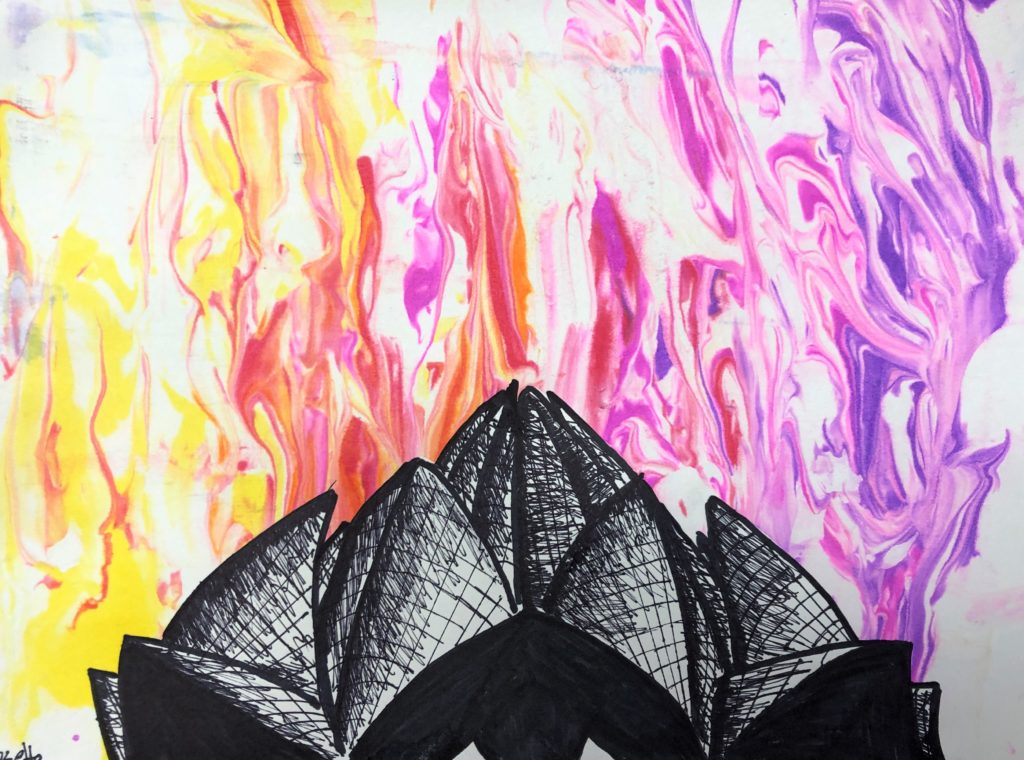
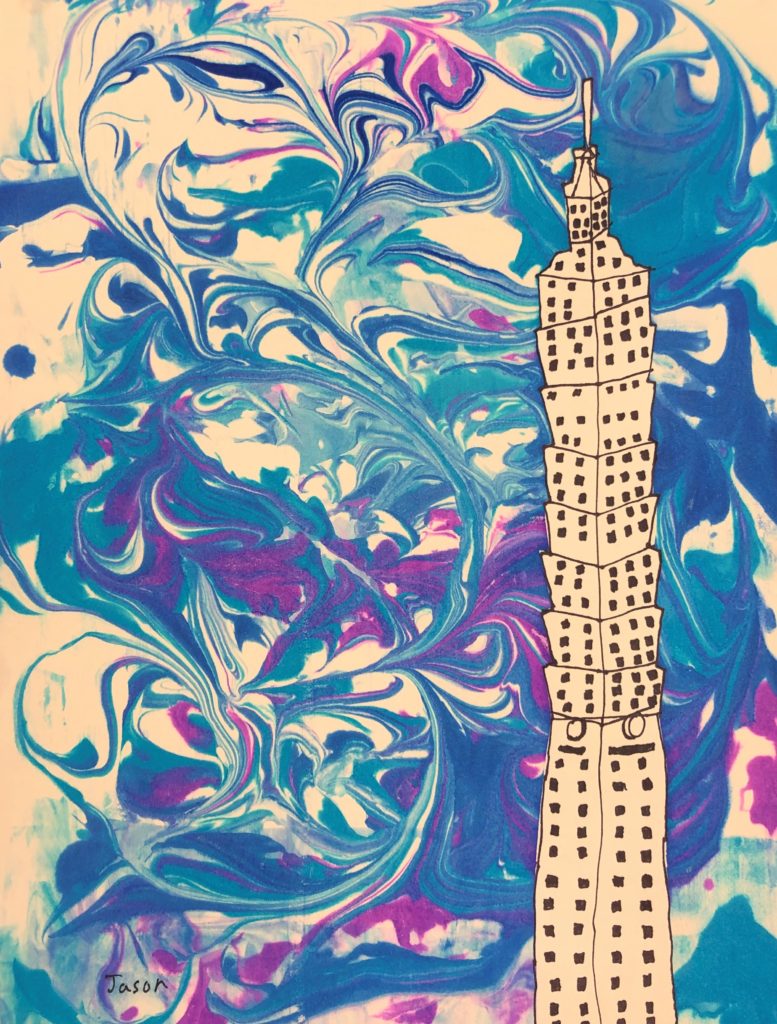
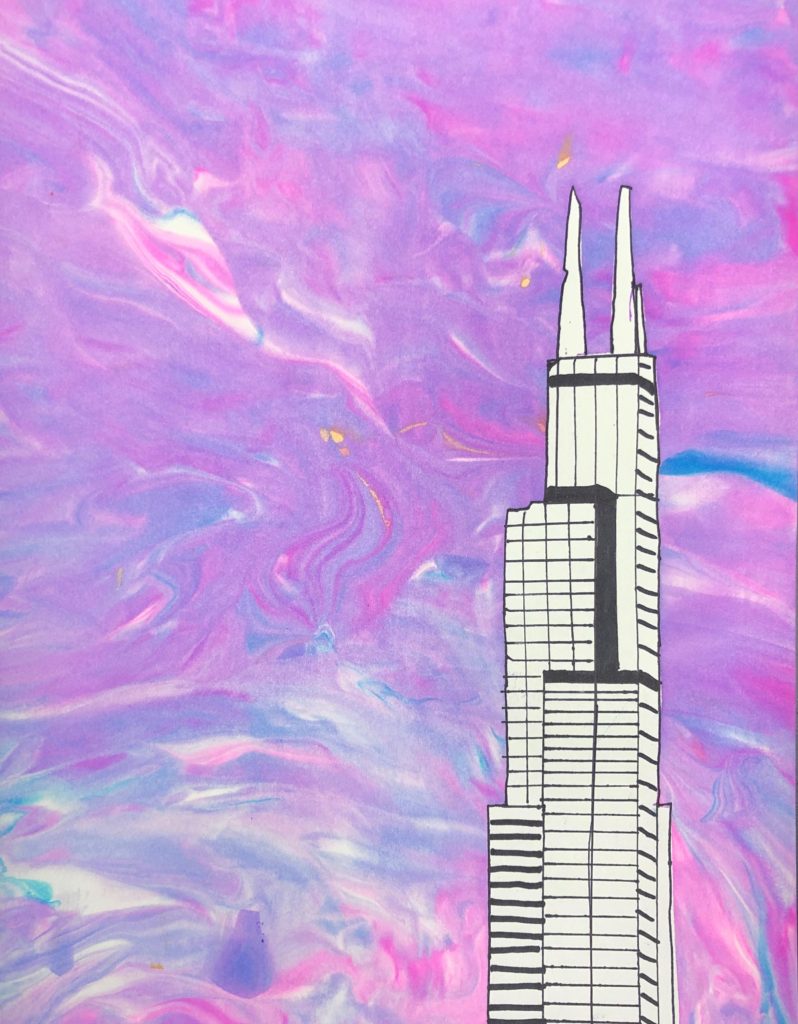
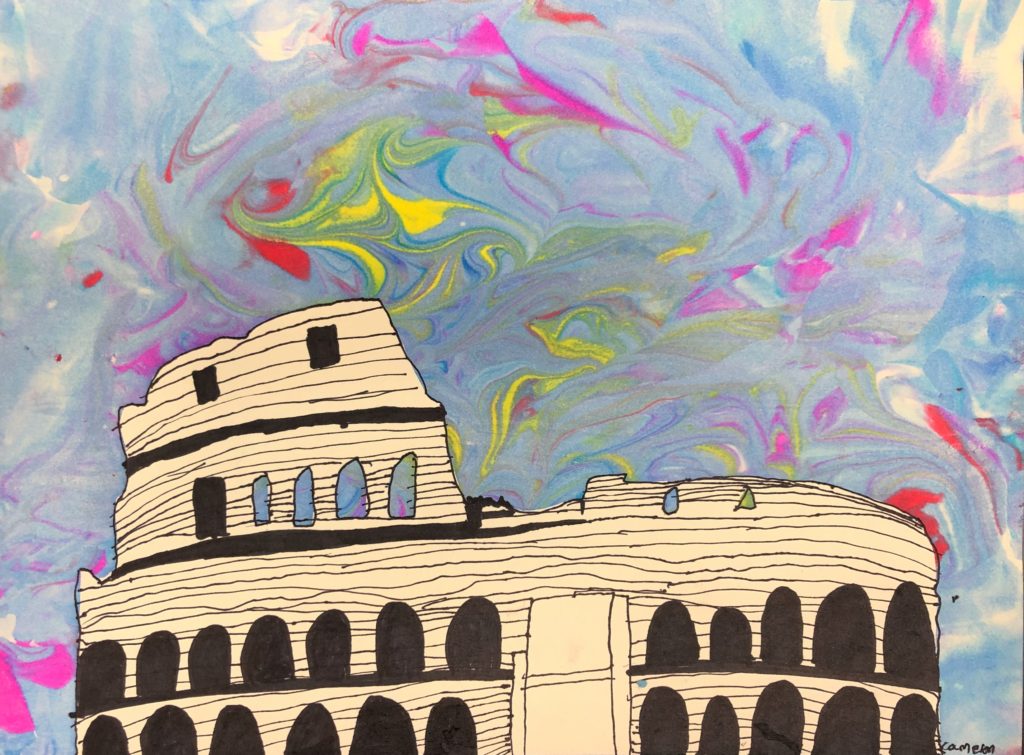
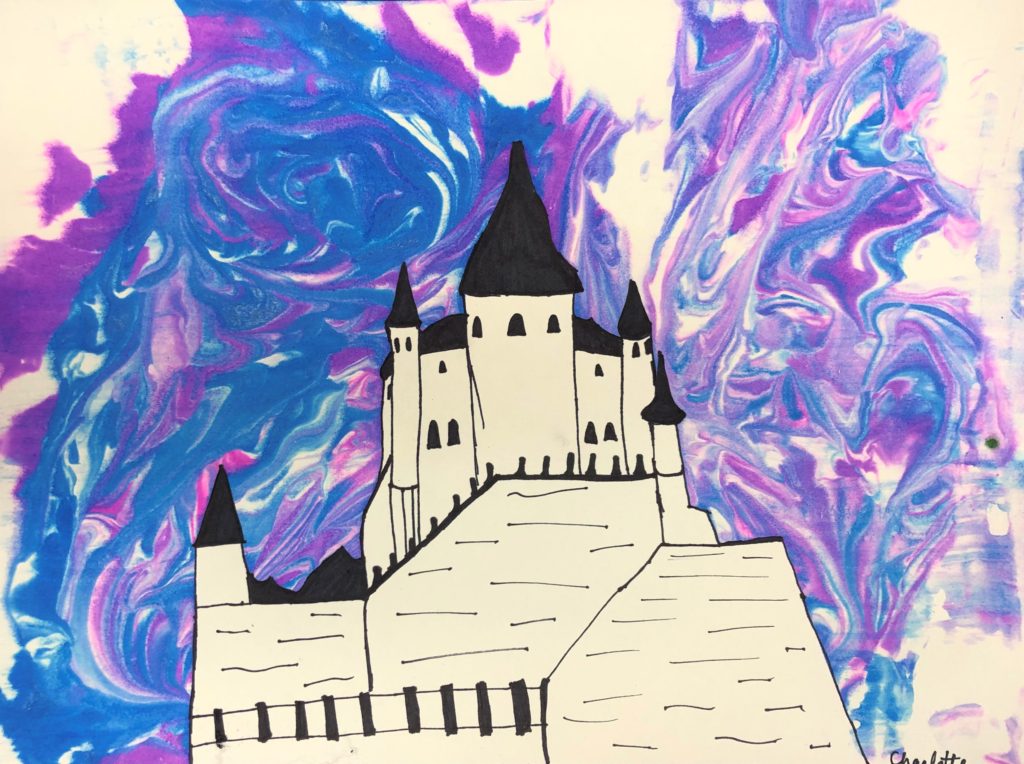
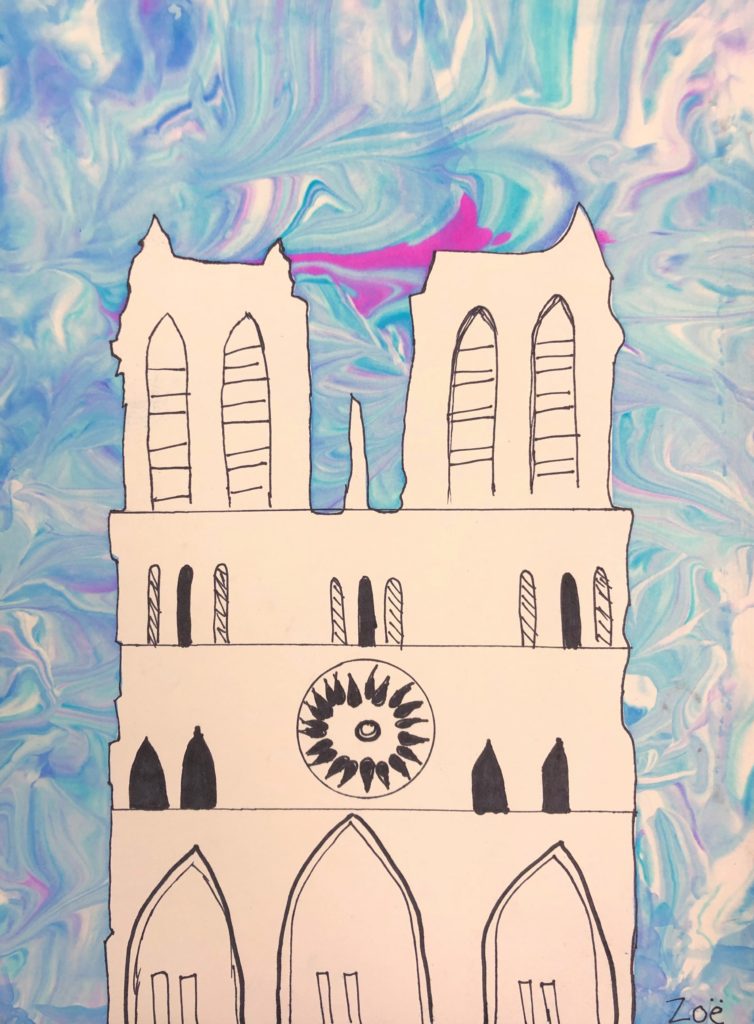
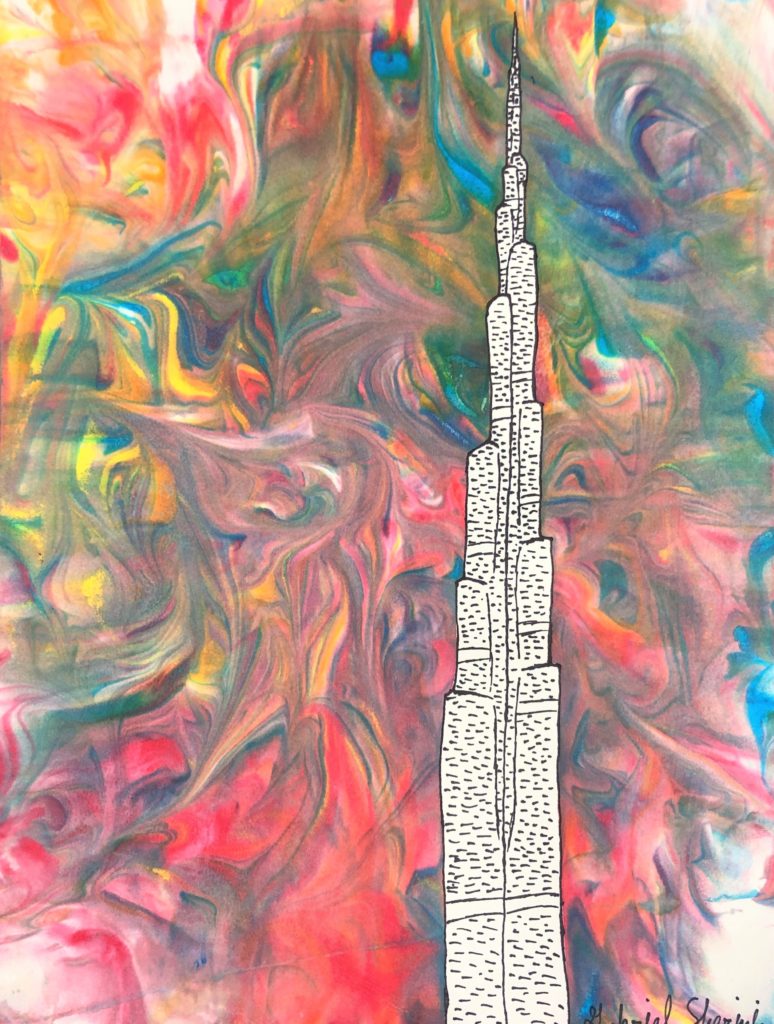
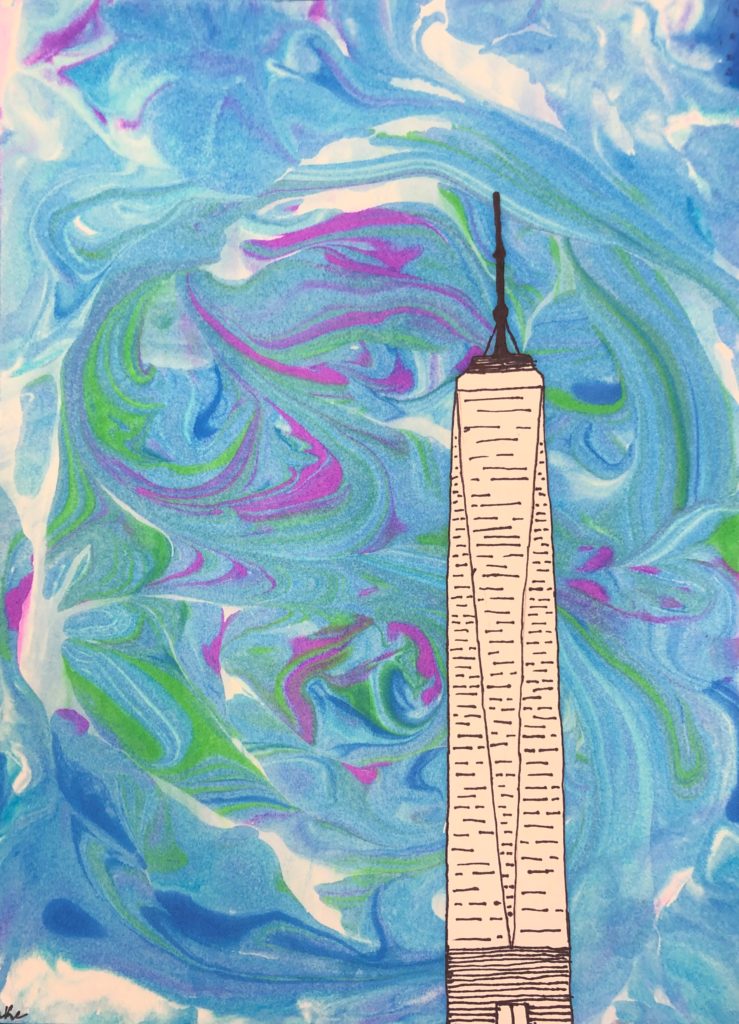
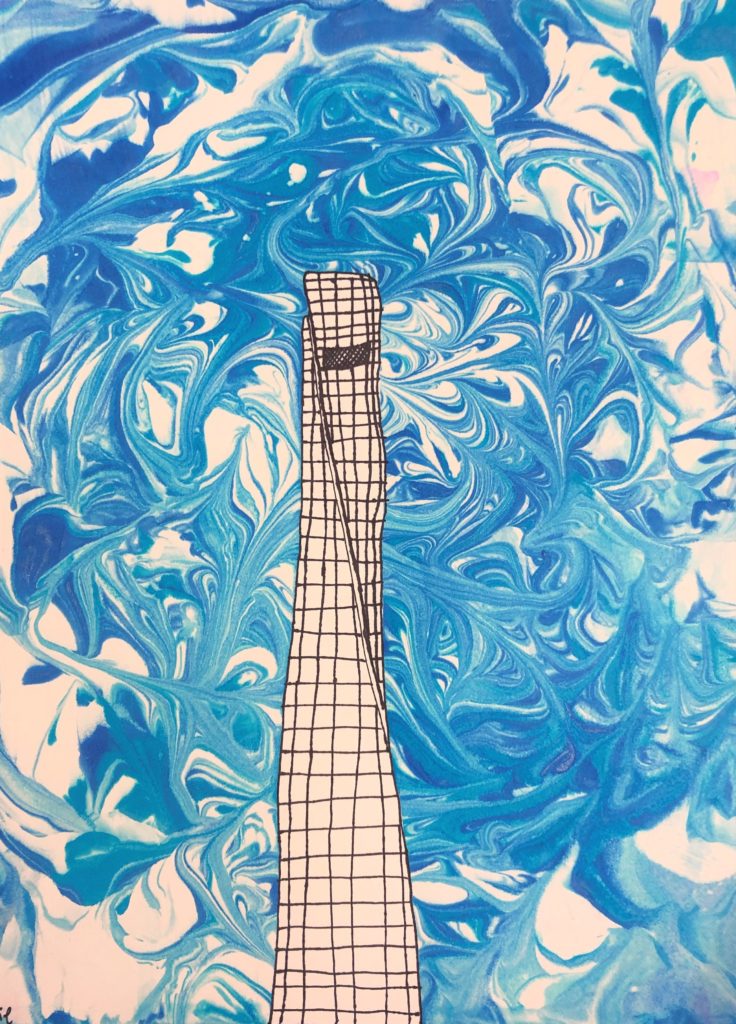
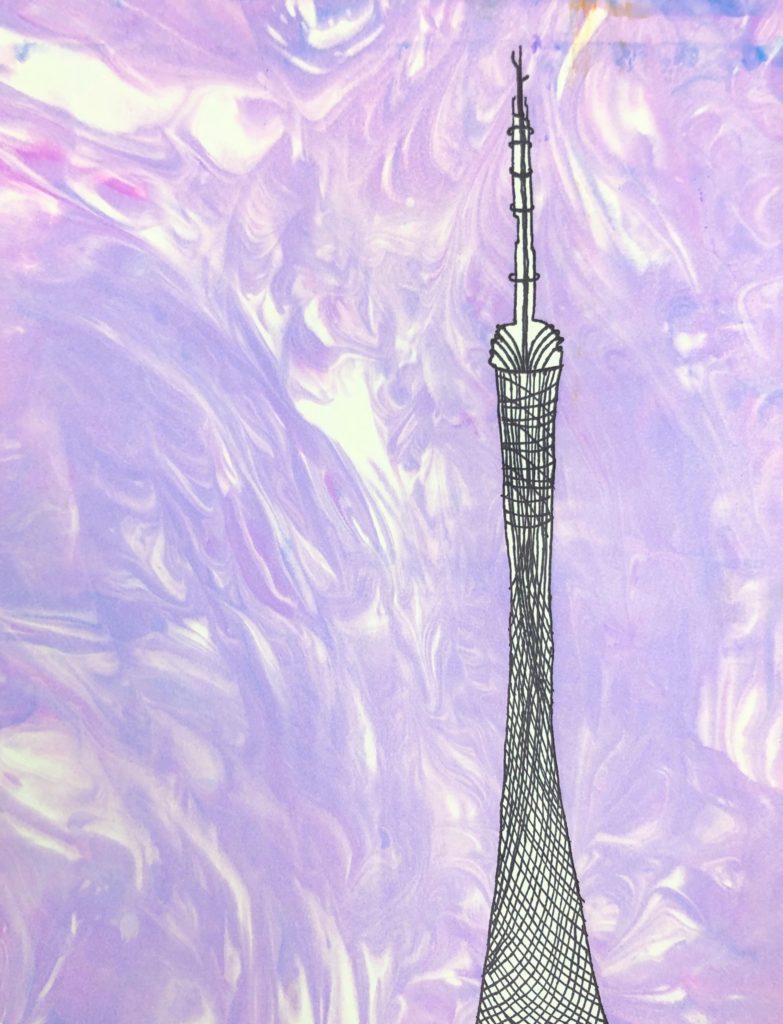
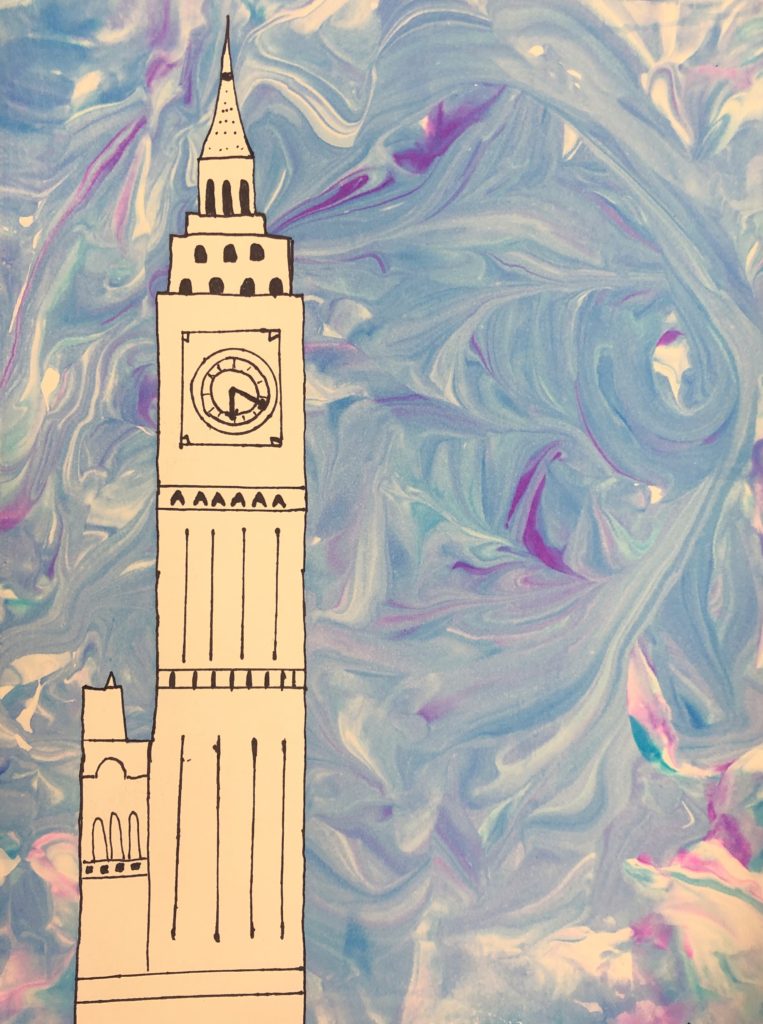
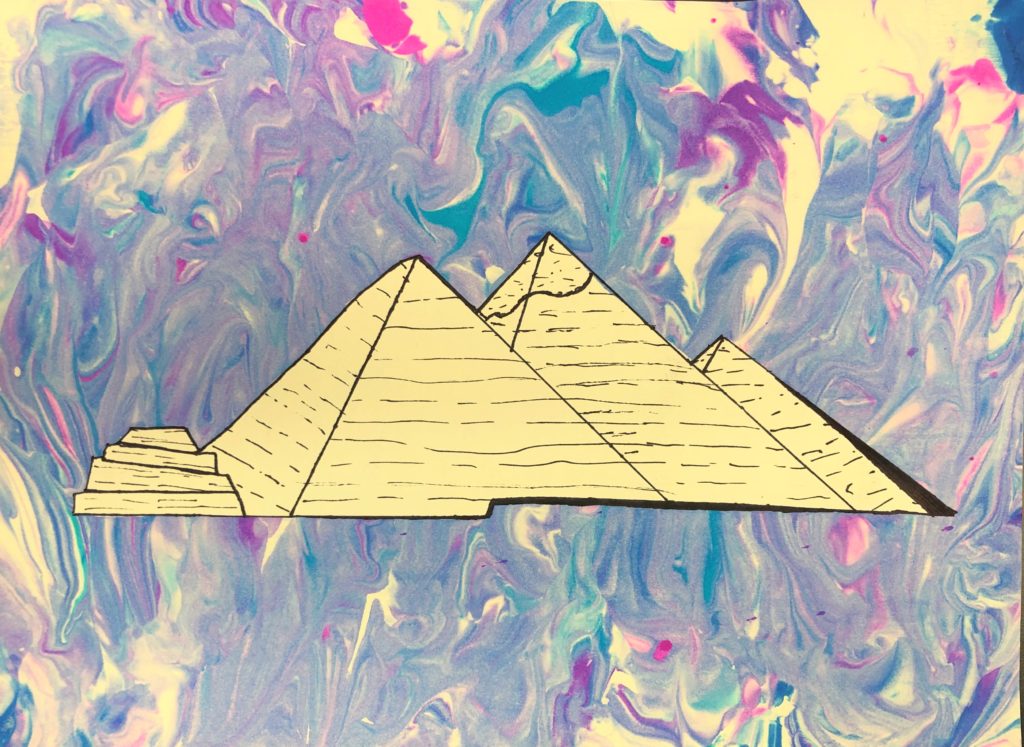
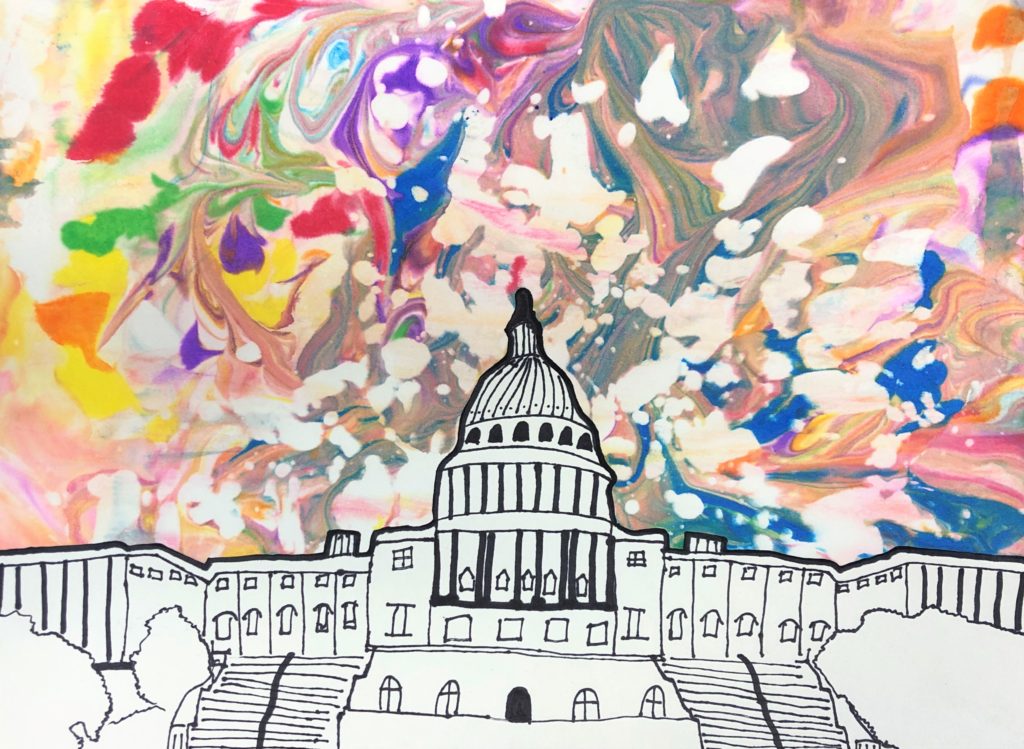
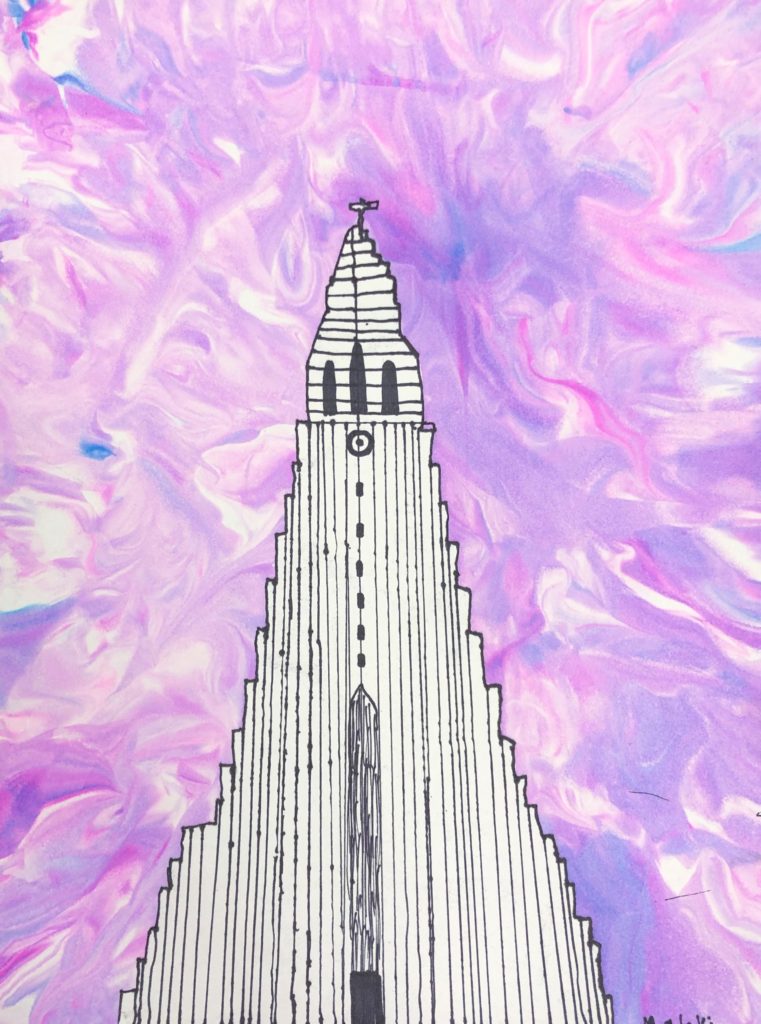
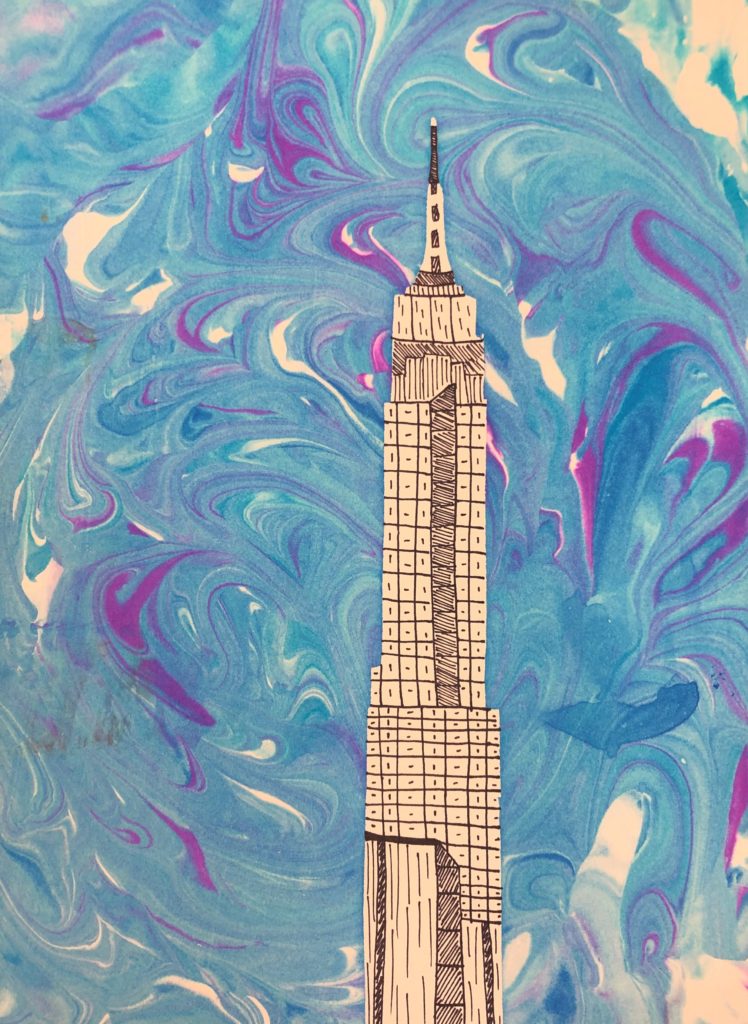
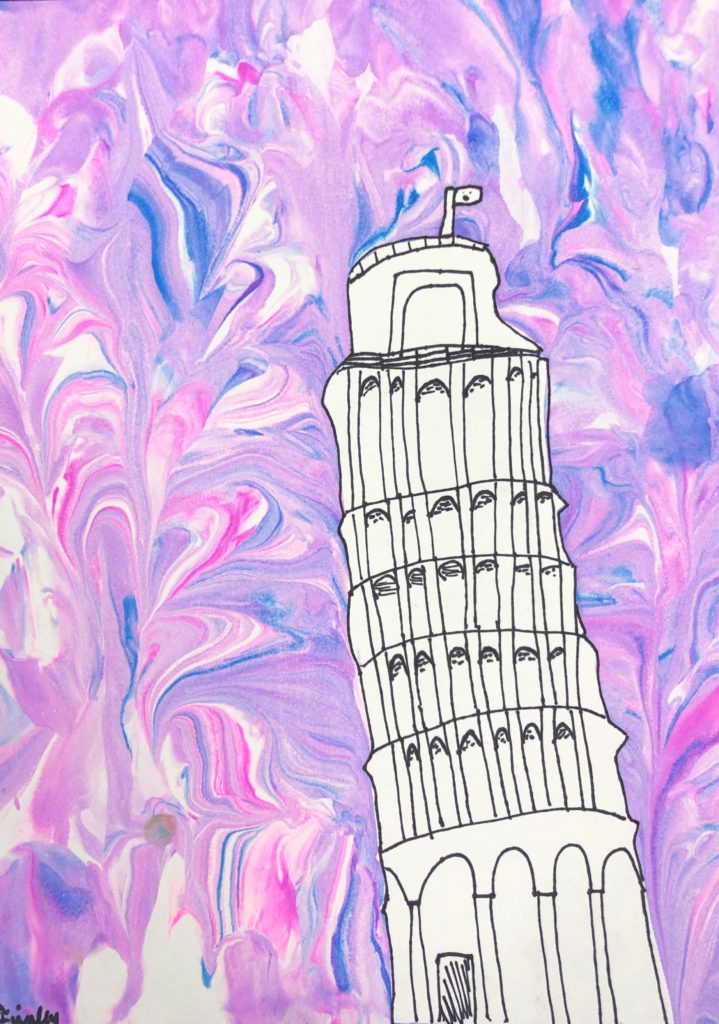
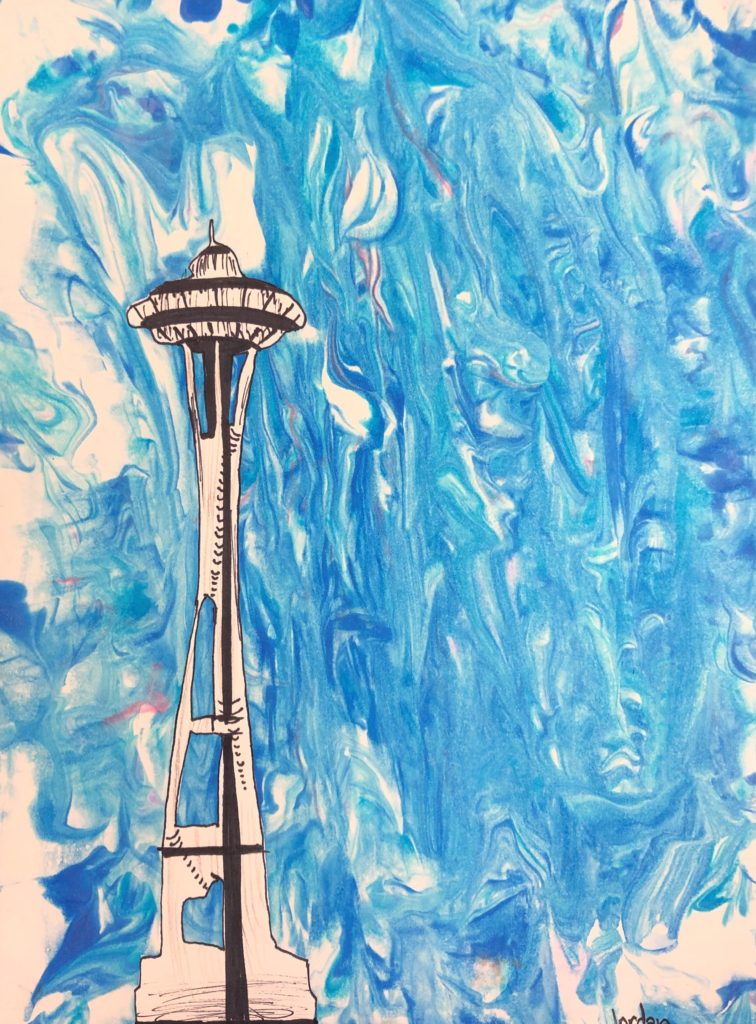
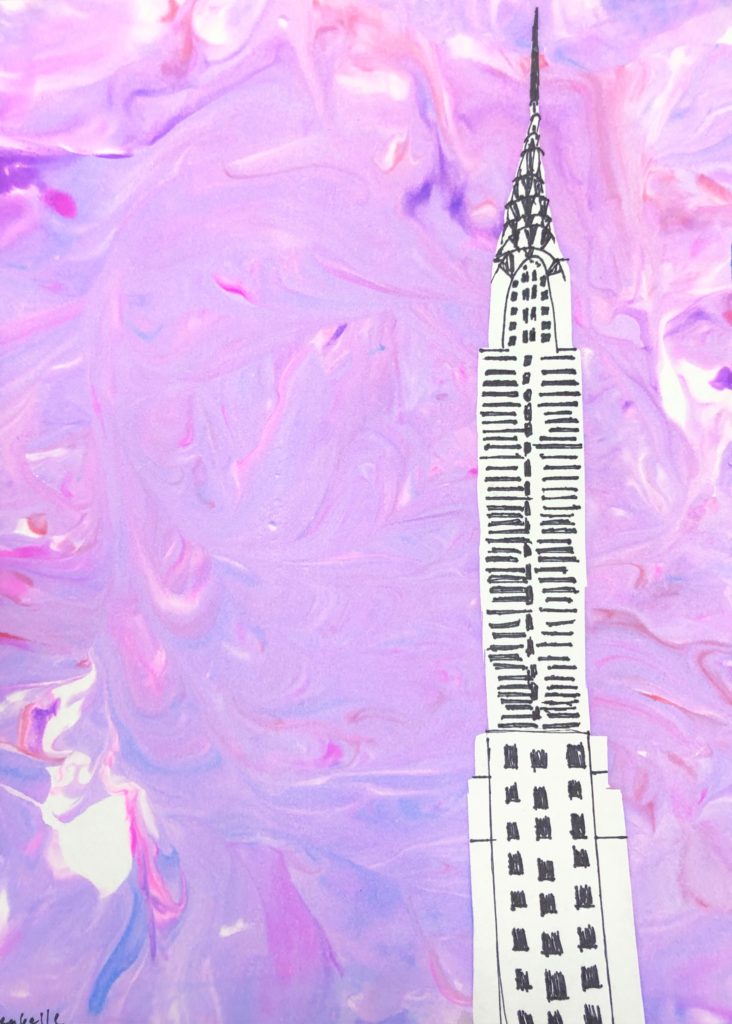
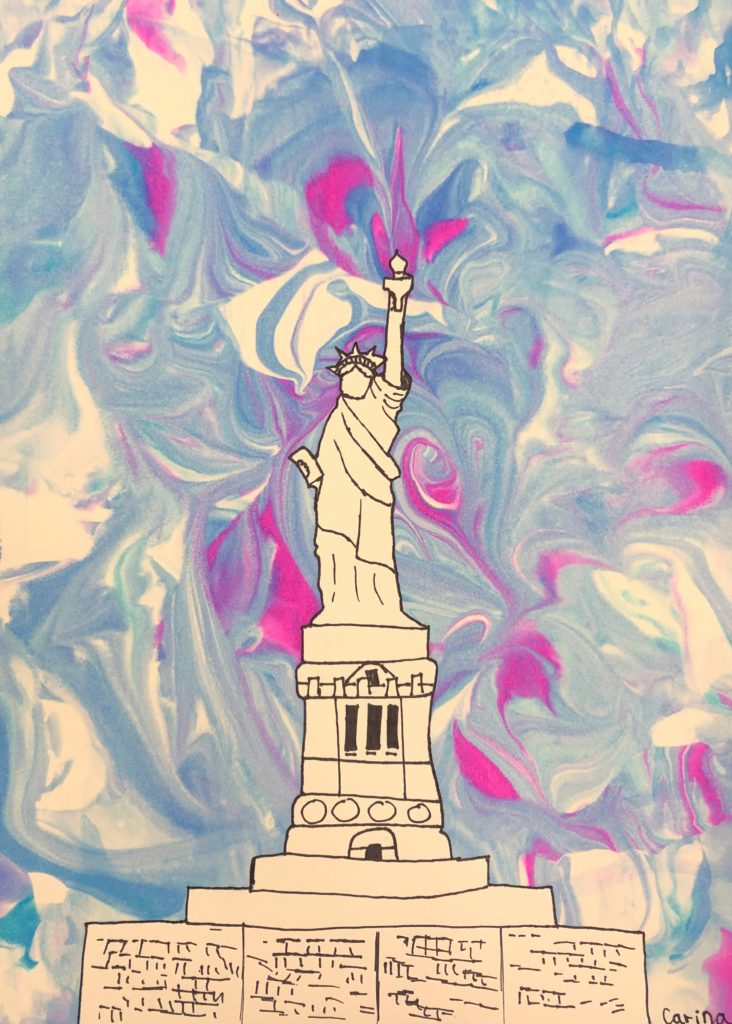
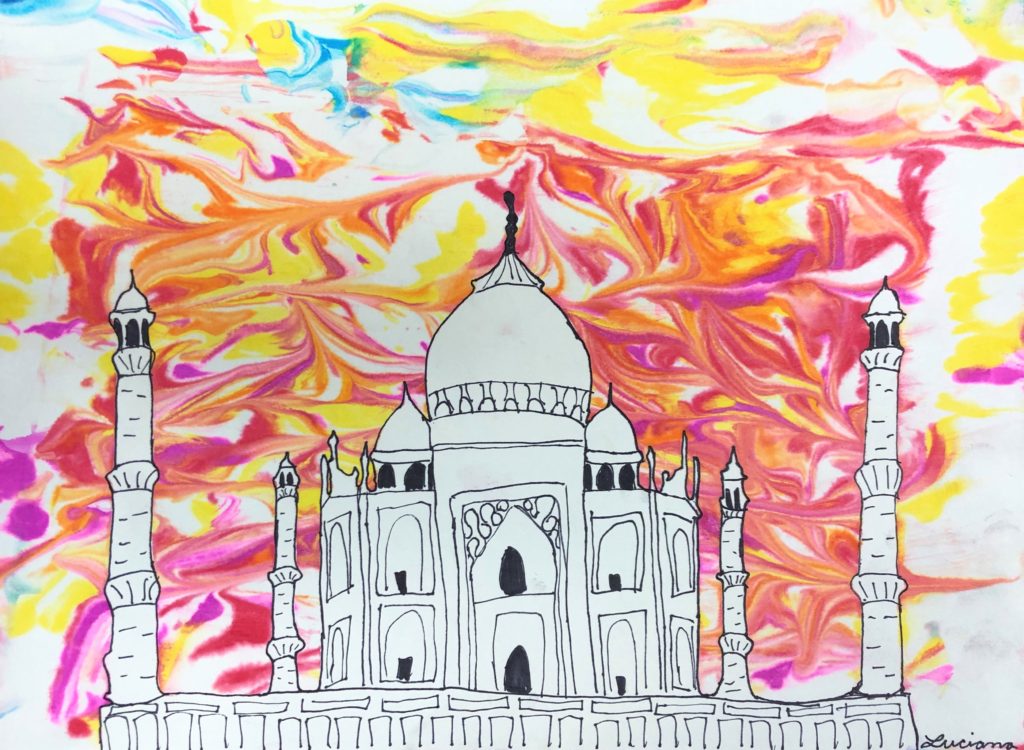
In this architecture unit, middle school students learn about famous buildings in the world. Students create one of the buildings with a unique sky.
Grade Level
6th, 7th and 8th grades. These projects were created by 8th graders.
Objective
In this Famous Buildings lesson, Middle School students will recreate a drawing of famous buildings with a uniquely painted sky.
Time
4 45 min lessons
Materials
- Pencils
- 9×12 Watercolor paper – Canson (100510941) XL Series Watercolor Pad, 9″ x 12″, Fold-Over Cover, 30 Sheets
- Brushes – Acrylic Paint Brush Set, 1 Packs / 10 pcs Nylon Hair Brushes for All Purpose Oil Watercolor Painting Artist Professional Kits
- Liquid Water Colors – Sargent Art 22-6010 10-Count 8-Ounce Watercolor Magic Set
- Or this mini version for homeschooling – Sargent Art 22-6210 10-Count 4-Ounce Watercolor Magic
- Black Sharpie Marker – Sharpie Permanent Marker, Fine Point, Black, Pack of 5
- Shaving Cream (Dollar Store is great! About 1 can per 8 students)
- Con-Tact Brand Shelf Liner and Privacy Film, Clear Cover Self-Adhesive Semi-Transparent Liner, 18” x 20′, Clear Matte
Inspiration/Artist
I was inspired to make this project after I saw this idea: Click Here
I also saw and loved this idea Click Here
Instruction with Questions
Day 1
Students watch videos about Architecture and Famous Buildings around the World. These can all be found on Youtube:
I am an Architect – The History of Architecture: Click Here
How to Become an Architect? CareerBuilder Videos from funza Academy.: Click Here
10 Strangest Buildings In The World: Click Here
Famous buildings in the world – famous structures of the world: Click Here
How High Can Skyscrapers Go? – Cheddar Explores: Click Here
Building Height Comparison: Click Here
Students choose their famous building from a set of examples that I set out. I pull sticks and have students, one by one, choose their building and document it on a roster. (Somehow they forget 🙂 and this will help remind them)
With 29 eighth grade students, it was amazing how hard it was to find that many famous buildings in a grouping! The first list shows all of the buildings and their names. There is a set for each building, grouped by their shape, and if they are faced forward or reversed. These will be used to trace the building onto contact paper, and then used as a reference for detail.
Day 2
Students take their REVERSED image and trace it onto their contact paper. Direct them to draw on the “blue side,” where the contact paper will peel off. I did this with a few students at a time. Use the window to help contrast the image. I ask students who are waiting their turn for tracing to find 5-10 interesting facts about their building on a Chromebook.
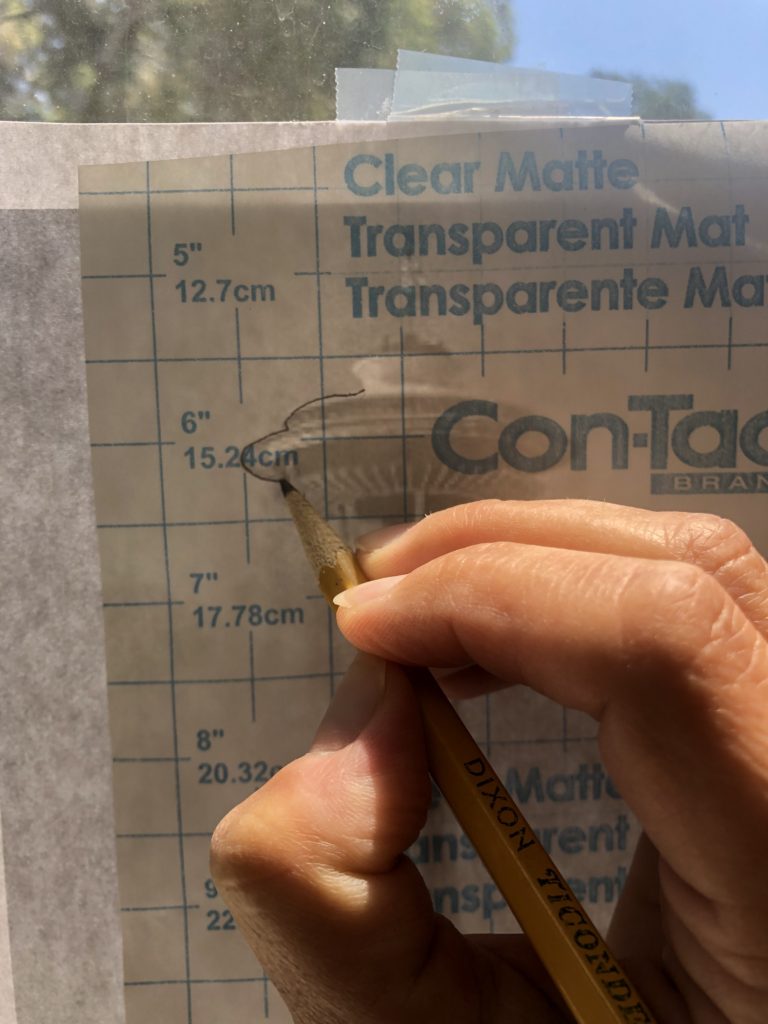
Next the students cut out their images from the contact paper. The original copies are never cut out and can be reused for whatever you can dream up. 🙂 The clear sticky-backed image is placed onto the watercolor paper. If their image is horizontal style, place the paper that way first. The same goes for the vertical style. Show them how to place it FLUSH to the bottom of the paper.
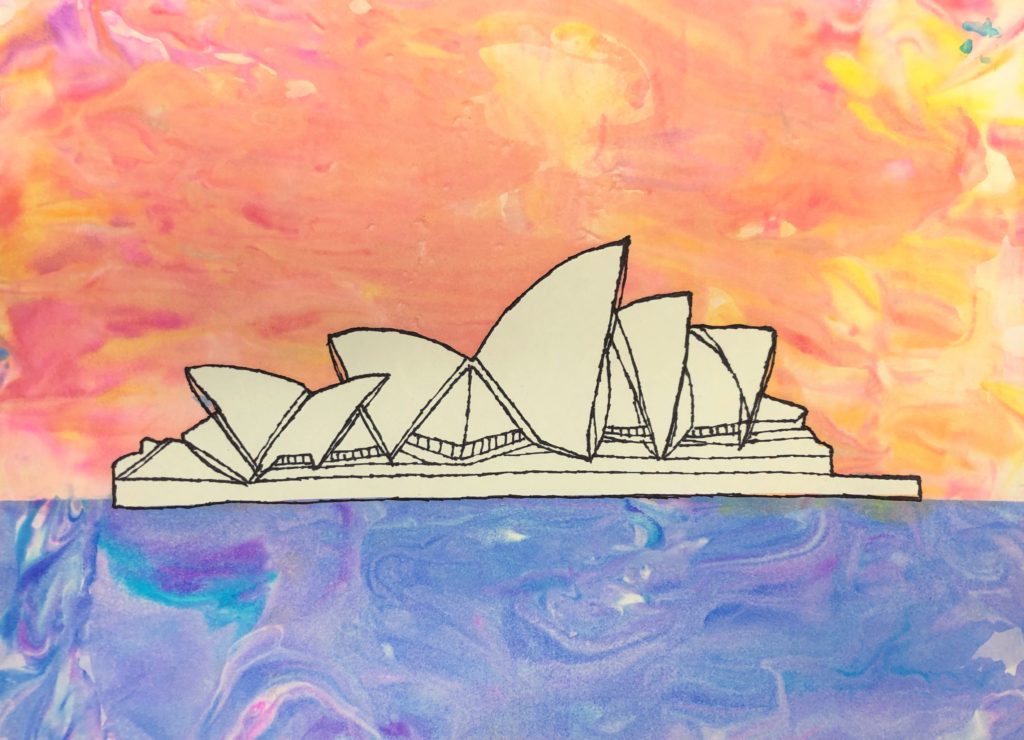
If their image is sitting in a space where sky meets land/water like the Sydney Opera House, they may want to place their image in the center of the page and play with the coloration showing the land vs. the sky. Here is a finished one to give you an example.
Day 3
This is the fun day! You will be using shaving cream and liquid watercolor (or food coloring optional). There are many videos on Youtube for this process. The basic steps are:
#1
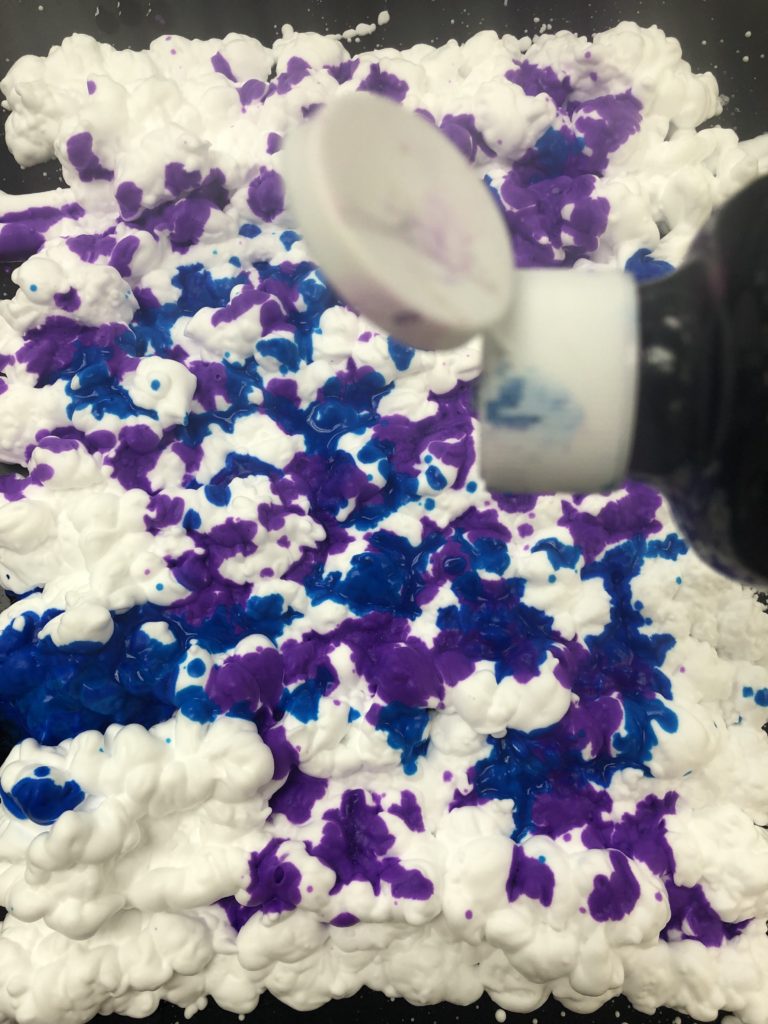
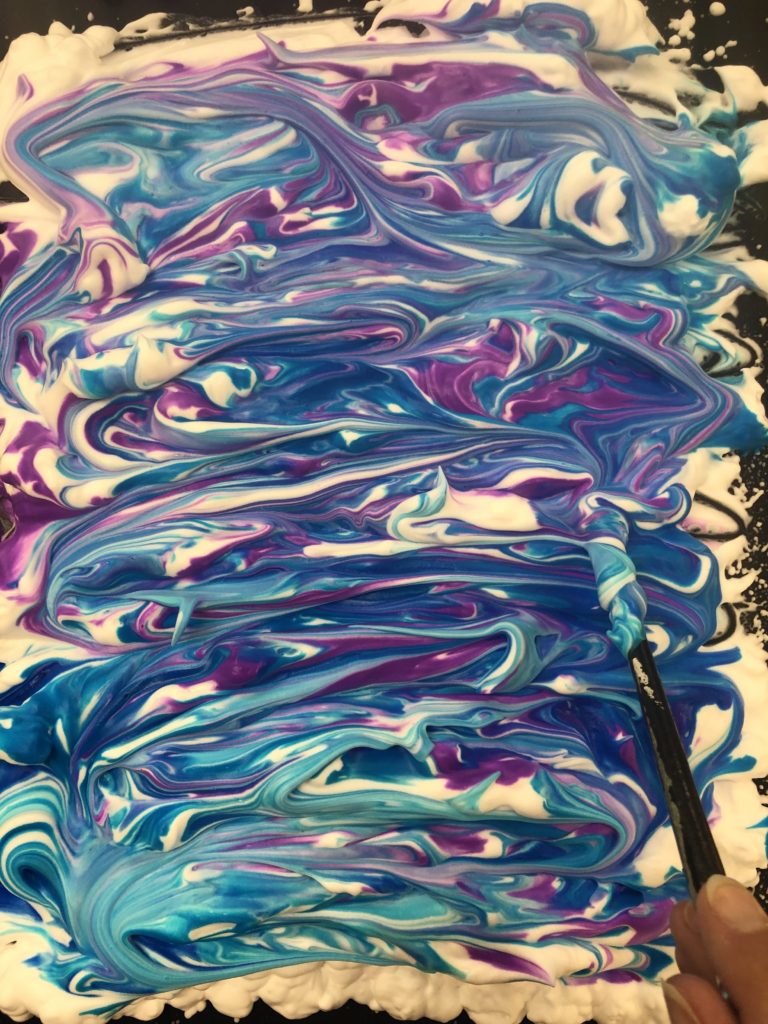
(I placed a plastic tablecloth on my table first from the dollar store) To begin, squish shaving cream into a rectangular shape. Drop watercolor all over the area. I recommend that you use Turquoise, Blue and Purples together, OR Red, yellow and oranges together. If you blend too many of the warm and cool colors in the same block you may end up with a brown. A few students were able to pull-off a rainbow.
#2
Using the back of a paintbrush, swirl the colors all around. If you leave too much white, the effect is not as dramatic.
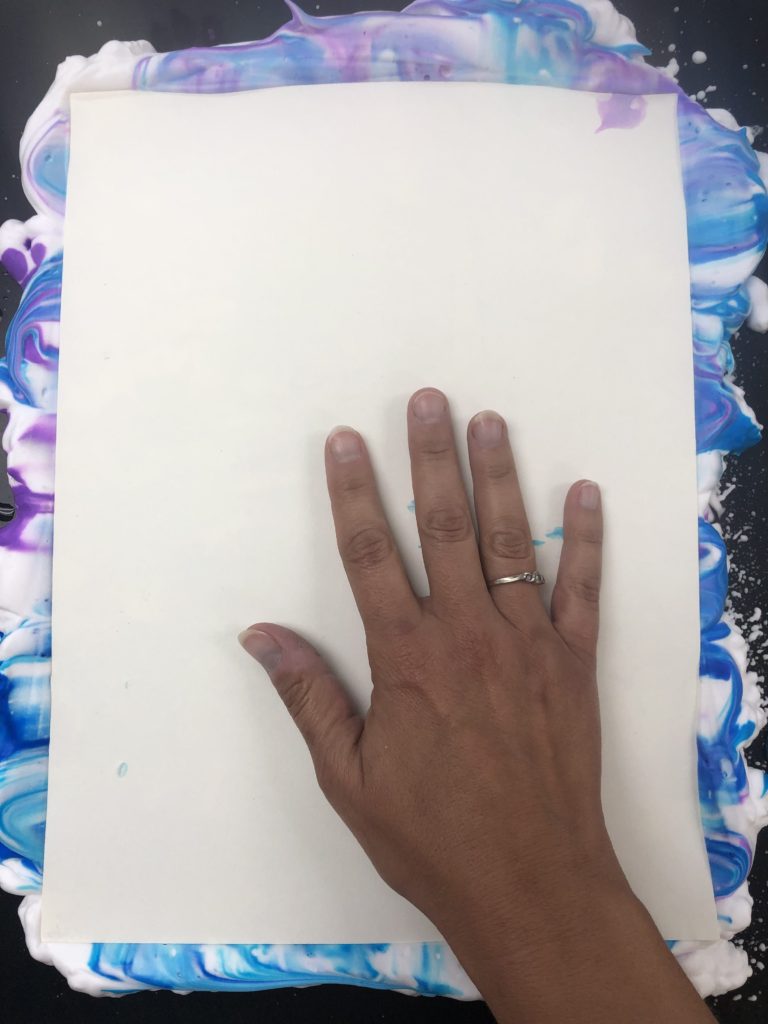
#3
Place the paper, with the contact paper image, facing down.
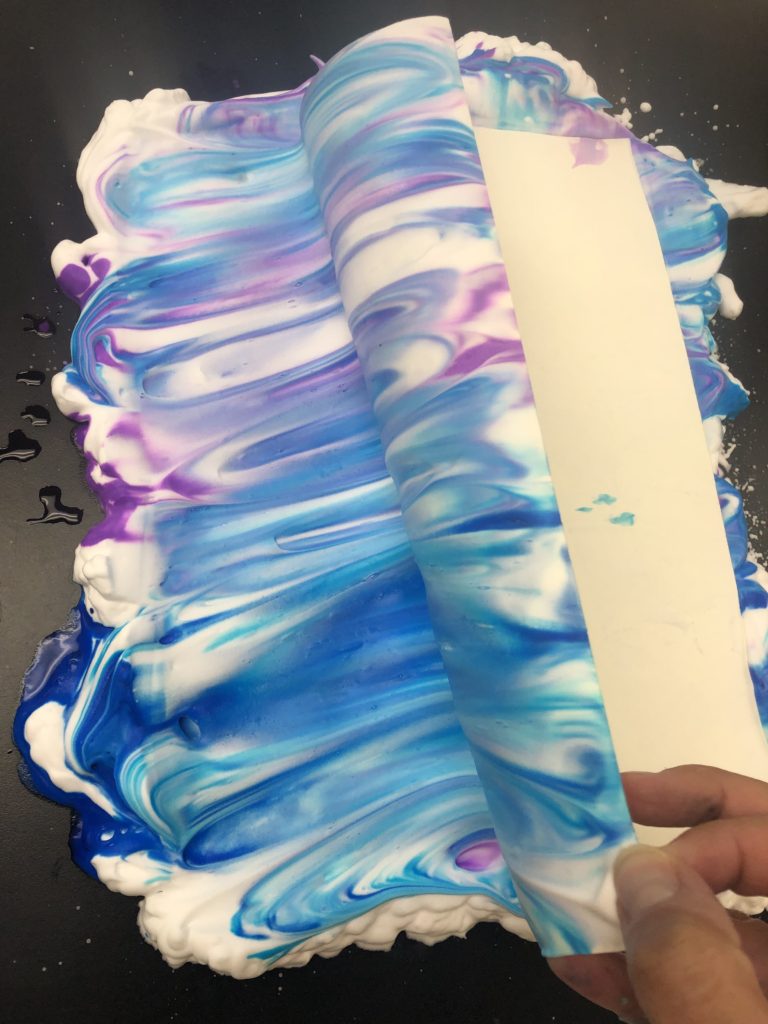
#4
Lift the paper
#5
Lay the paper on its back
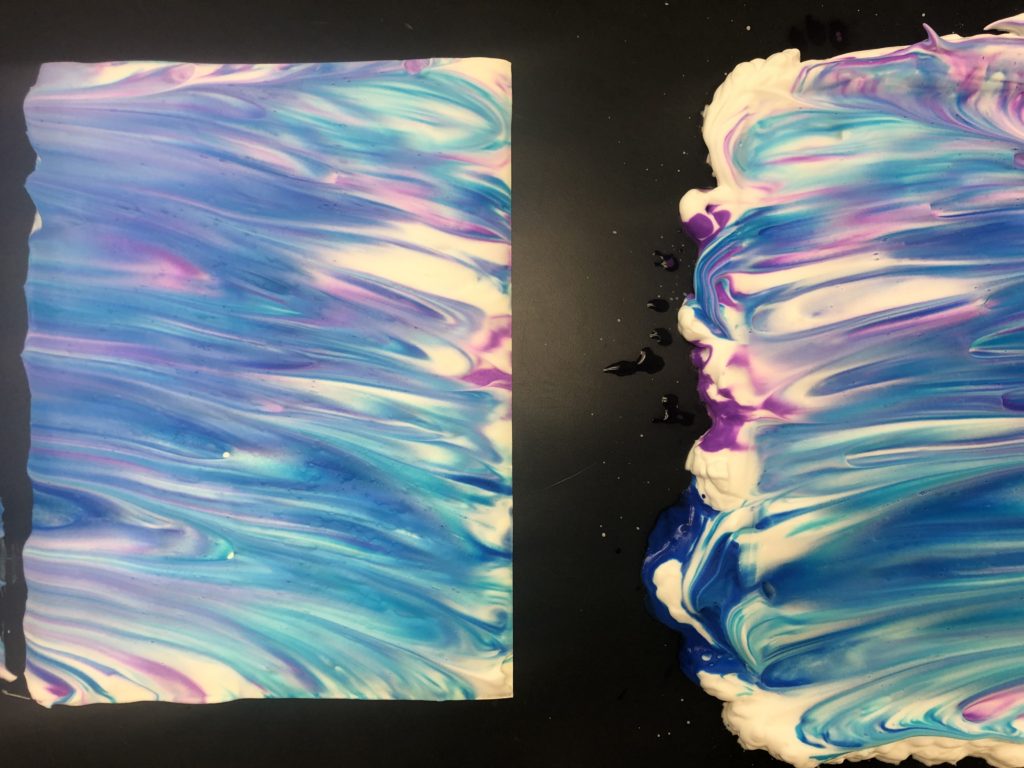
#6
Using a plastic ruler, scrape the shaving cream off. I cannot figure out how this works. Every single time we added paint and swirled it around, a new pattern emerged. Many students used the same mixture, and added more color to “already used” shaving cream. Somehow, the white finds a way to swirl in. I love how organic this process is! This was my first experience with it and all you need to do is trust the process. I did not allow the students to touch the shaving cream…8th graders – insert eye rolls and laughter.
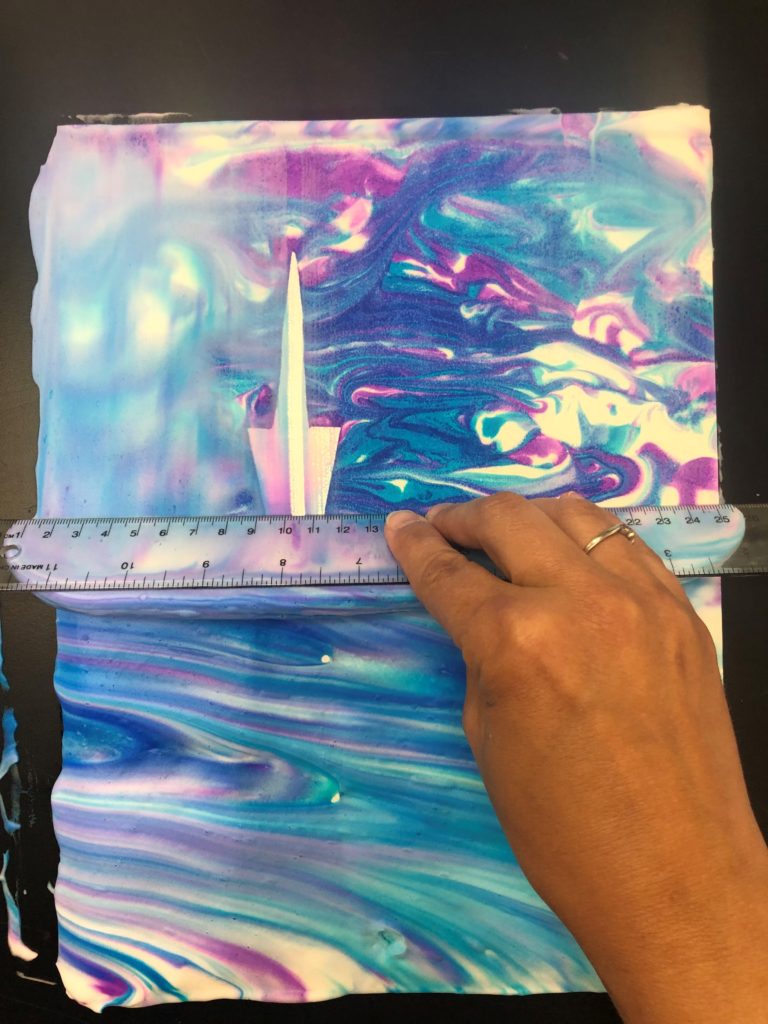
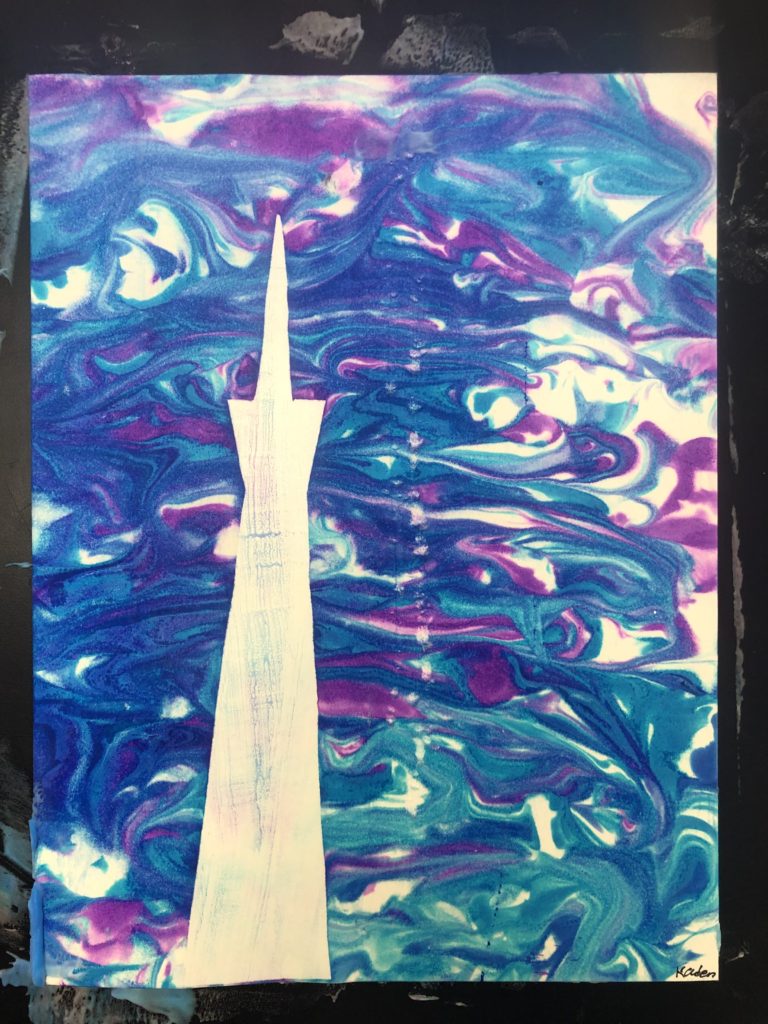
Day 4
Once the color has dried, have students remove the contact paper from the paper.
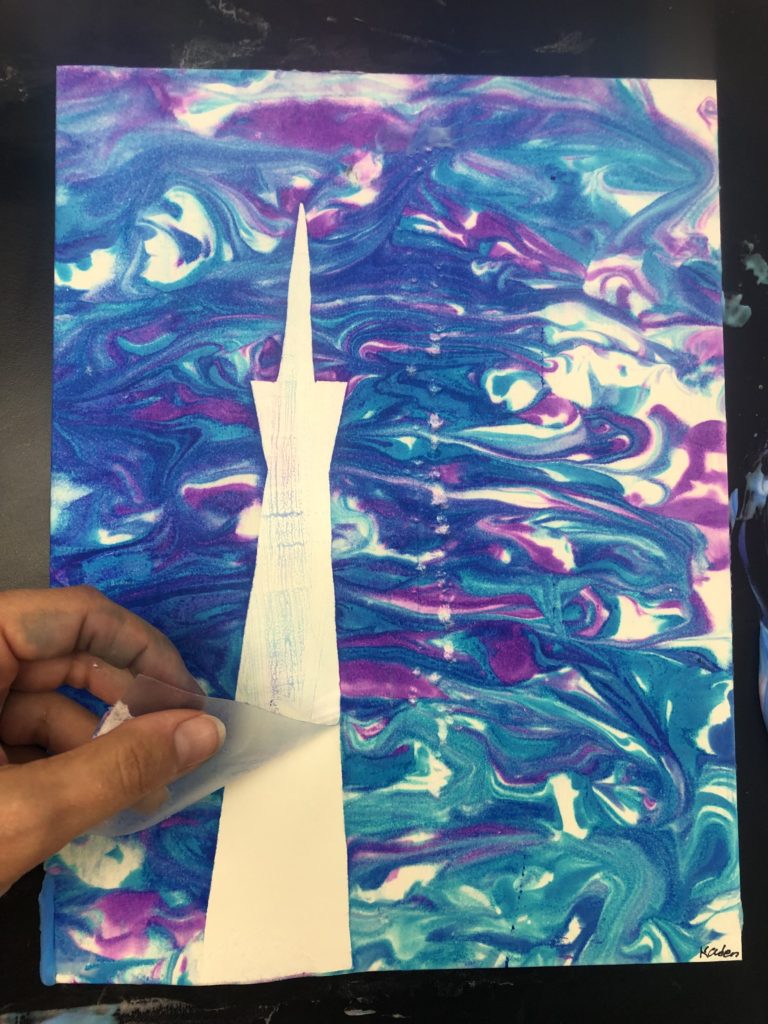
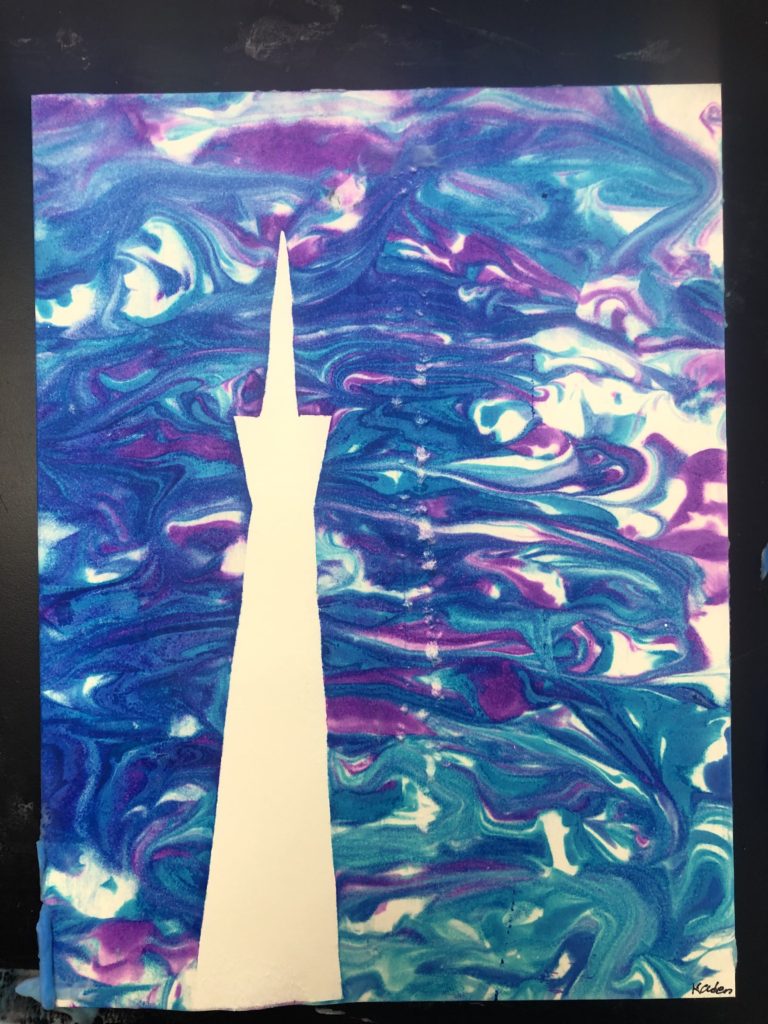
Students may begin using sharpie pens to draw in their building. Next, pass out the photos of the NON-REVERSED. Now their brains can easily transfer the line work they find in their famous building. I tell them too look for the direction of the lines and to capture the main qualities that make their building unique. No pencils! I believe every single student gained a huge appreciation for architecture after this project!

What an awesome lesson! I am so excited to use this with my eighth graders, and I’m sure they will love it, too! Thank you very much for sharing !
Thank you! Let me know how it goes!
So you mentioned that you did not let your 8th graders touch the shaving cream which is smart! Did you do all of the blending of the shaving cream with the watercolors, placing the paper in it, and scraping it off for each of their projects? I would love to try this, I just want to know if not letting them touch any of it was successful for you and how much time did that take up. Thanks!
I put the shaving cream and added the color. They were allowed to stir it with a popsicle stick or paint brush stick. I highly recommend telling them to not overmix so the colors do not become brown. Having some white show is good. I do the scrapping as well using a plastic ruler. I pulled students aside one or two at a time for this. It only takes a couple of minutes for each student. Once I have a student use, say the cool color combination, I reuse that shaving cream color mix for the next student…just adding a bit more color to it. This way you do not waste any product. It is very user friendly once you practice it for yourself. Please let me know how it goes and if you have more questions. Feel free to email me as well.
I wanted to clarify before I do this in my class. After you place the paper in the shaving cream, do you have to let it sit a while before scraping off the shaving cream or do you do it right away? How do you prevent smearing the color when you are scraping it off and keep the swirling color you have on your images? I’m nervous that scraping will smear it all over.
Thank you for reaching out. The best part about this project is how hard it is to mess it up. haha. I was nervous too, but, the chemical reaction happens so fast that you can reuse the same shaving cream swirled over and over and just keep adding color to it. As long as there is contrast with white shaving cream showing it will continue to have the same affect. Scraping it will not mess it up. It will just remove what the paper could not absorb. I hope that helped. Please feel free to email me if you would like to continue the conversation.
Hi, this looks amazing and I am hoping to do it at school. Does the sticky back plastic peel off the paper easily as I thought it might stick?
I used the Contact Paper brand. It is the same stuff you use on your kitchen cupboard and drawer shelving. Yes it is very easy to peel off of its own backing and then then paper. Since I used watercolor paper it was even easier to remove. If you needed to re-stick it and reuse it in the moment you could do that too. I hope that helped. Please feel free to reach out again or privately message me for more information. leahnewtonart@gmail.com Good Luck! I had great success with this lesson and have taught it multiple times. The shaving cream is very forgiving and I was able to use the same stash several times. For instance if you have a batch that uses cool colors like blue green and purple, you can reuse that batch by adding slightly more color and avoid overmixing.
Love this idea…I teach art to 1st-8th graders and wondering if possible to simplify for the younger students? Hmmm. Let me know your thoughts. Thank you!
Hi Lori,
I actually taught architecture to TK-8. I have some lessons for architecture for the younger students but not with the sharpie and contact paper. If you will send me an email, I would be happy to share some of my ideas with the younger students. I just haven’t been able to get them on the site yet. Thank you for reaching out. I will look for your email. leahnewtonart@gmail.com
thank you here you go: loriphillips24@gmail.com
Also, does the shaving cream have to be the white fluffy type? Assume so! Thanks for your assistance
and any ideas for younger students!
Lori
Yes. The fluffy type. I actually buy the version from the Dollar store. Here is a city skyline lesson which could be inverted. You could do the shaving cream idea for the background and have black silhouettes for the buildings. I also printed out images of famous buildings and had them lay large Legos on top to recreate them. I was really nervous the first time I used the shaving cream. However, it is very easy and forgiving. You can spray out a rectangle of it, add the color (liquid watercolor or food coloring) swirl a bit and lay the paper on top. After removing the paper and scraping off the excess cream, you can reuse that batch. I only needed like 1-2 cans of cream per class, depending on class size. You can then reused the same block of cream for the next student. I have even created two or three different rectangles of cream (maybe one that uses warm colors and one that uses cool colors) so they are ready to go, and maybe add a little more color after 2-3 students use that area of shaving cream. The only time I need to add more cream is when it becomes over mixed. The white areas remain white on the paper. I hope this helps.
My students learned a lot and had tons of fun doing this project. They especially enjoyed playing with the left-over shaving cream. I had to send them outside as fears of a shaving cream war mounted but it ended well and they even learned about mixing colors before clean-up time. We also discussed what other subject might be a good fit with a multi-colored swirly background.
I am so happy to hear this news! Let me know how else I can support you. Are you in Oaxaca Mexico? My cousin lives there.
Yes, we are in Oaxaca, Mexico!