In this Ming Vase Art Lesson, elementary students will design their own Ming vase while learning about this valuable art form and it’s place in art history. This project also covers Common Core Standards for Science and History for grades K-1 which can be found at the end of the lesson.
Grade Level
Kindergarten, 1st , and 2nd Grades. The examples shown are done with Kindergarten.
Objective
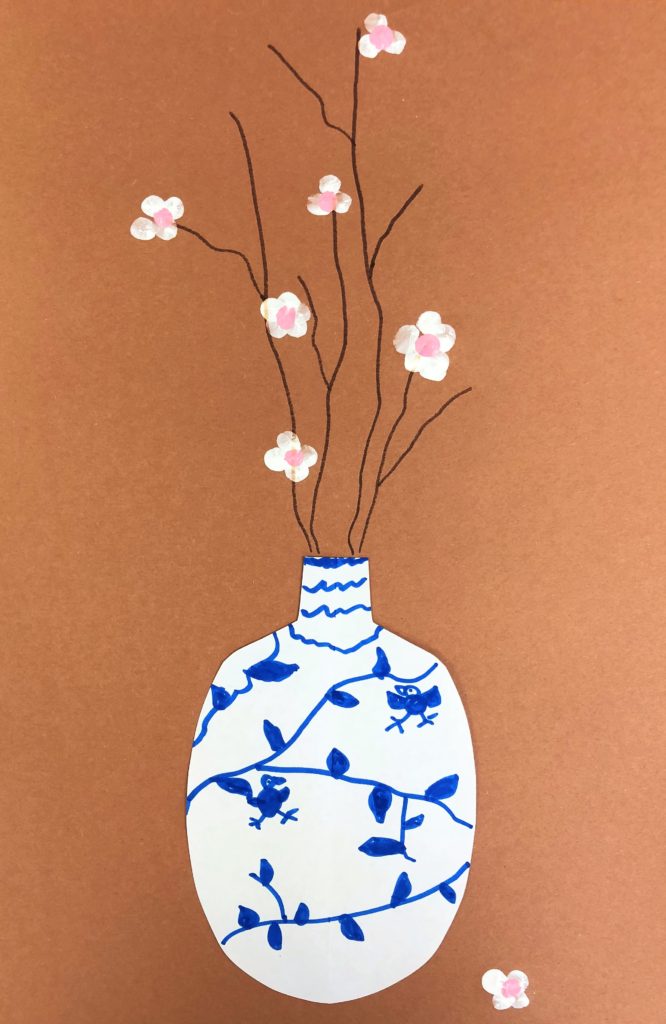
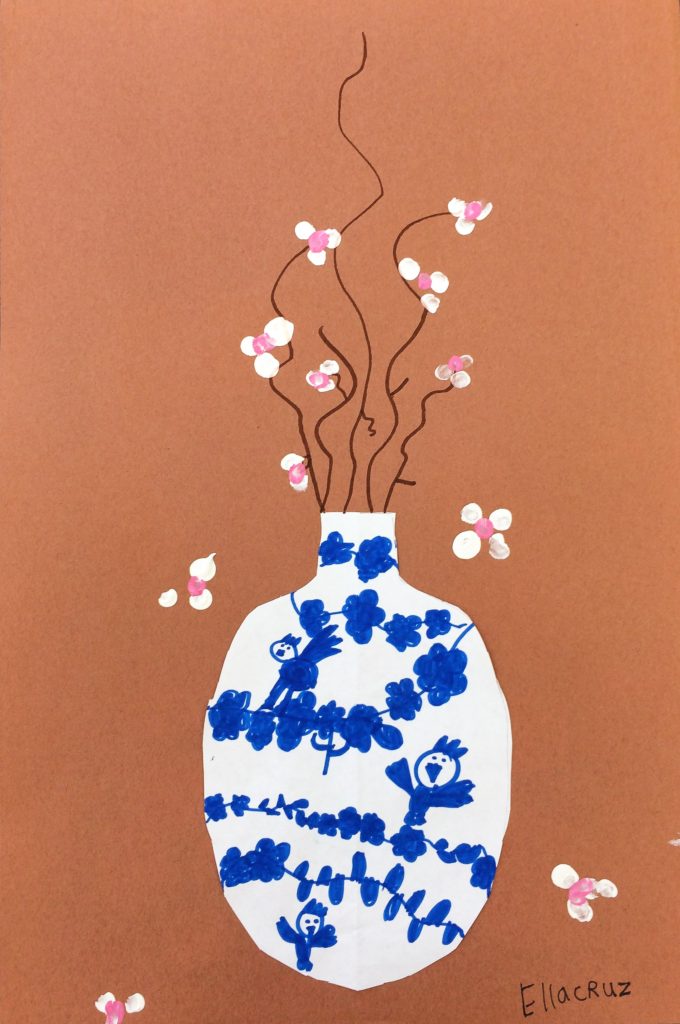
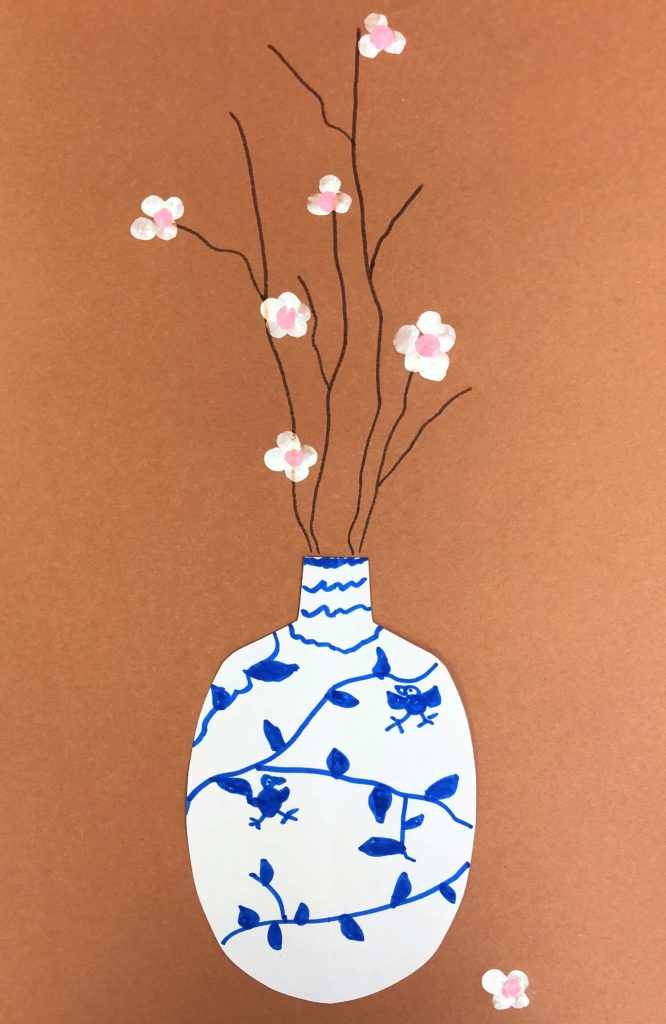
In this Ming Vase Art Lesson, students will design a vase in the style of vases made during the Ming Dynasty with cherry blossoms.
Time
4 – 30 min lessons
Materials
- Pencils
- Blue and brown markers
- White copy paper
- Scissors
- Glue Stick – Elmer’s Glue Stick (E4062) (7 sticks)
- 12×18 brown sulphite (construction) paper – SunWorks Construction Paper, Brown, 12″ x 18″, 100 Sheets
- White and pink acrylic paint Acrylic Paint – Crayola Washable Kids Paint Set, 10 Count
- Q-tips
- Photocopies of Ming vases for coloring (I have links in the directions that I got from Google images)
Inspiration/Artist
I was inspired to make this idea from this site. Click here
Instruction with Questions
Day 1
Students watch videos from Youtube about Ming Vases; their history, what makes them unique, and their value.
History of Porcelain: Click Here
Ming Vases: Click Here
Day 2
Students recall qualities they learned in previous lesson about Ming Vases. I would recommend having a slide on your overhead if you are able to do that for reference.
- Describe the steps that are involved in making Ming vases?
- What colors do you see?
- What images are consistent on the vases?
- Why did people make and decorate their vases?
It is important for students to have some practice and reference about what you are asking them to draw. Some adults that might go into hyperventilation mode if you asked them to draw a dragon. Amiright? I really emphasize to the students the importance of coloring inside the lines to the best of their ability. Age stage will be very important as to their ability to do this. But the more they take their time and touch every part of every image the more ready they will be to create their own. Here are some handouts for you to download and copy. All of my images are from the public space of google images. Hold on to unfinished coloring sheets to fill some time on Day 4. For Ming vases Click Here and Dragons Click Here.


Day 3
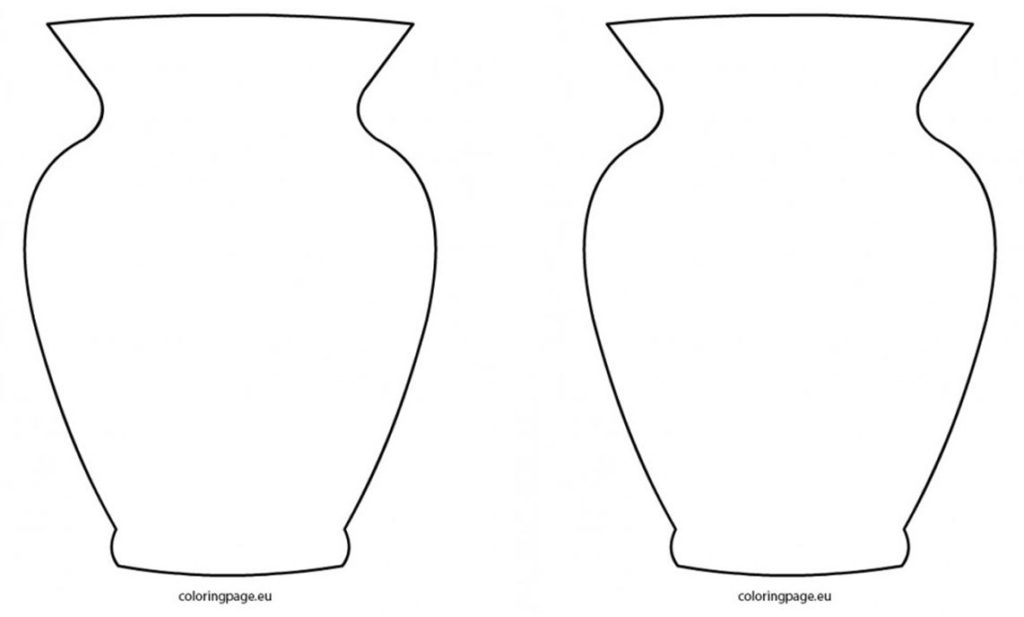
Have students create a practice vase that includes the iconic images (dragons, birds, branches, flowers). For this step, I allowed them to use a pencil: for the final stage only a blue marker. Here is a great handout with two blank vases on them so you can cut down the middle and give a half sheet to each child. Click Here for the PDF.
After they practice on your handout, they are ready for their final vase. Pencils are handed in so that nobody gets tempted, because the next time they draw, it will only be with a blue marker. Next, they choose one of two vase shapes (pre-prepped folded paper with half of a vase drawn on).
Vase 1 Click Here

Vase 2 Click Here
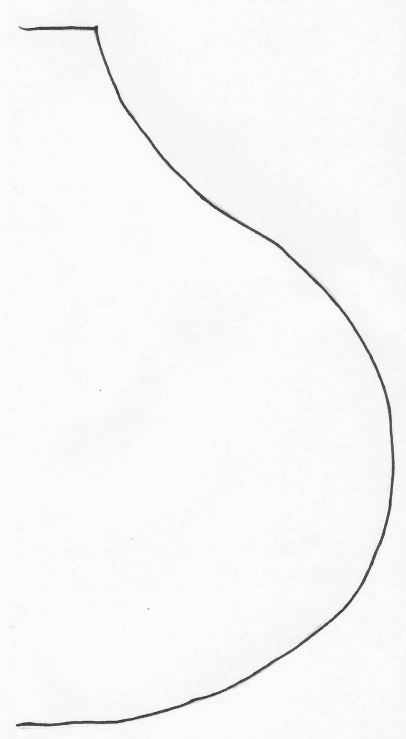
They take the pre-folded, pre-drawn handout and cut along the line to create a vase.
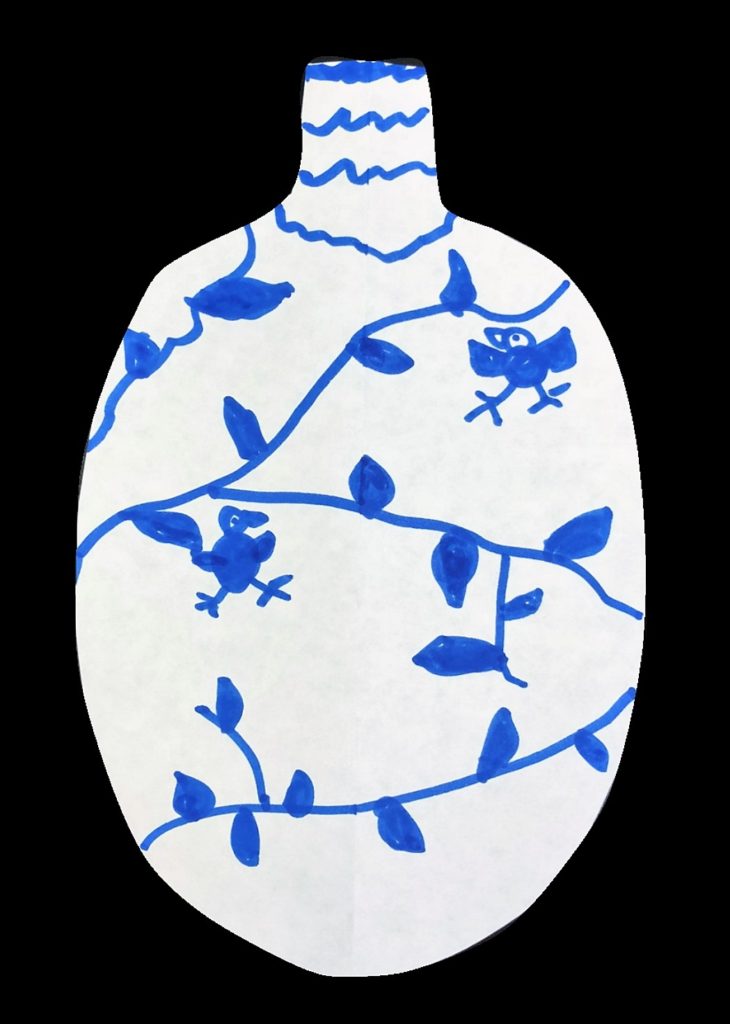
Next, students use a blue marker only (no pencil) and design their vase including the iconic images (dragons, birds, branches, flowers.)
Day 4
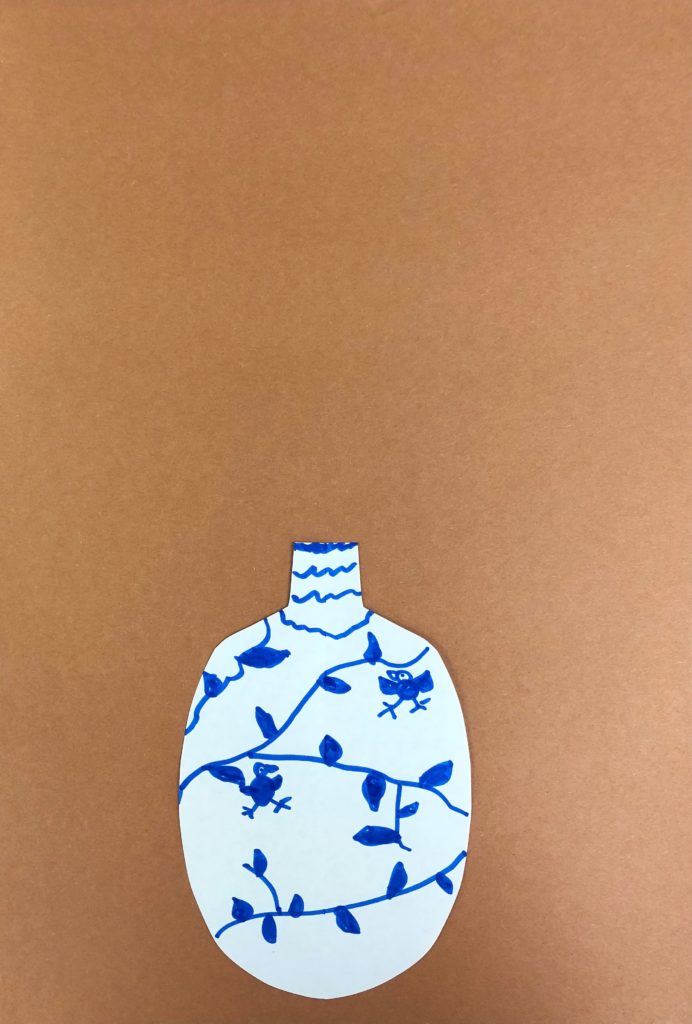
Glue on their designed vase “near” the bottom of brown construction paper.
If possible, use your Overhead Projector to project Google images of Ming Vases with cherry blossoms onto the overhead screen.
Discussion:
- Describe what you notice about the cherry blossom branches in the overhead image example?
- How far do they reach on the page?
- Are they all the same length?
- Discuss the texture of the branches. How many little branches are on each branch?
- What about the blossoms? How would you describe them?
- Where are the blossoms? Describe the space between them?
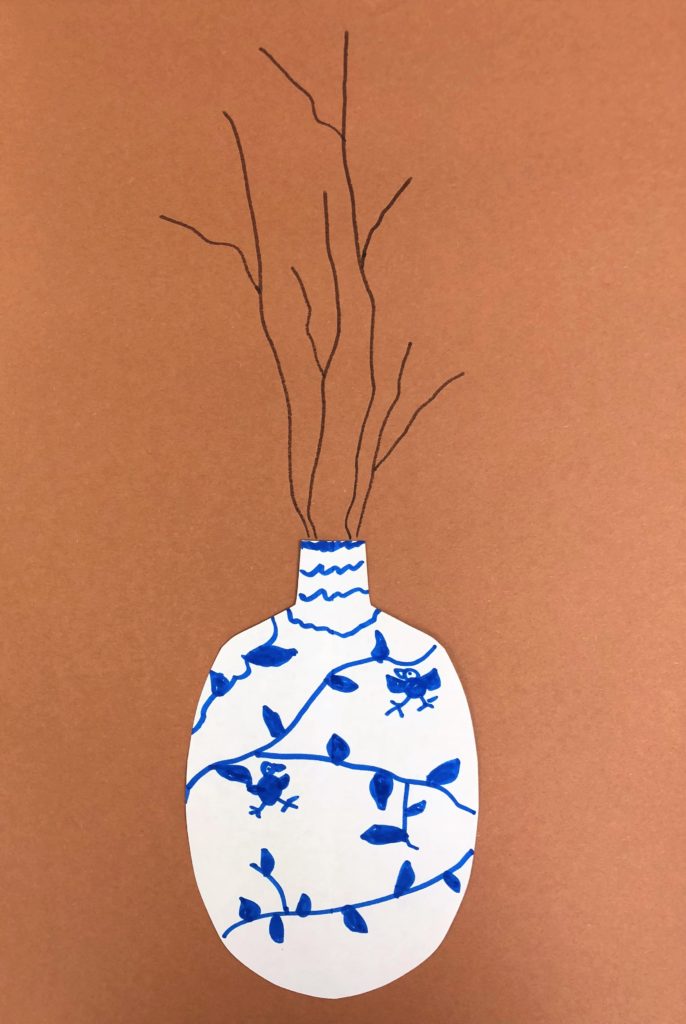
Use a brown marker and follow the directions for sizes of branches and sticks that extend from various branches. For instance, I say, “Make one branch that reaches from the vase to almost the top of the page. The next branch reaches from the vase – shorter than the first branch. Create about 5 branches.” I would stop directions and check to make sure all students have completed this step before continuing. “Next make small little sticks connected to your branches; only one or two on each branch.”
Keep their vases with them at their seat. Previous day coloring sheets are handed out. You will be pulling aside 2-4 students at a time to fingerprint their blossoms.
As a class, demonstrate how and where to make the blossoms placed on and around the branches. Then in small groups, students are instructed to make 3-5 groupings of dots with white paint, using the tip of their finger. Remind them to re-dip their finger often and go slowly. I encourage them to make one blossom on the bottom of the page.
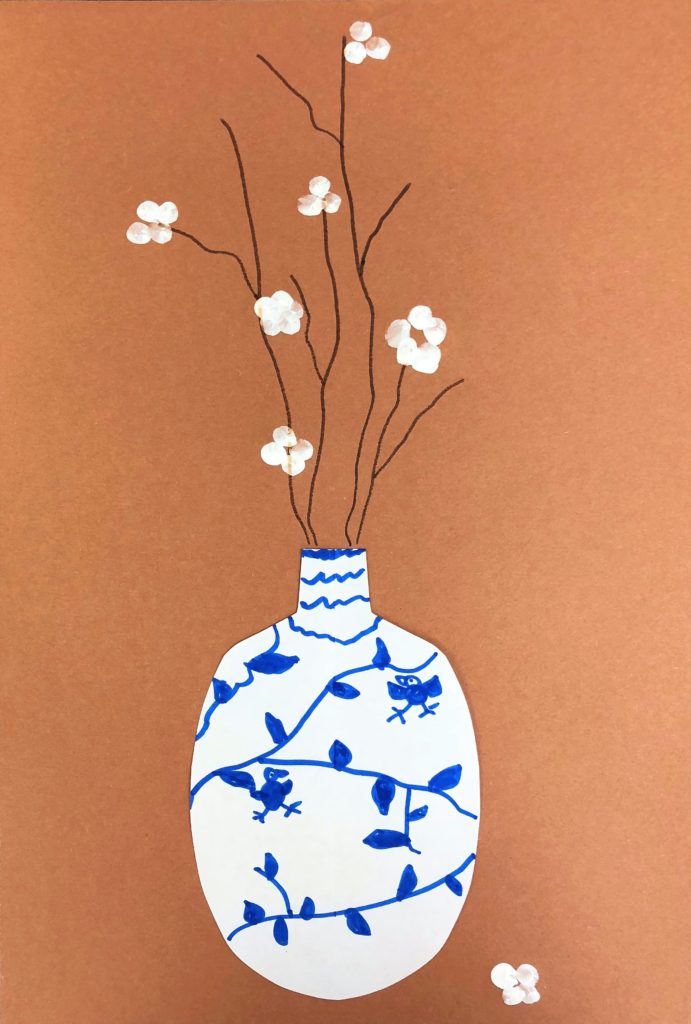
Finally, students use a Q-tip to make the pink dot in the middle of each blossom.
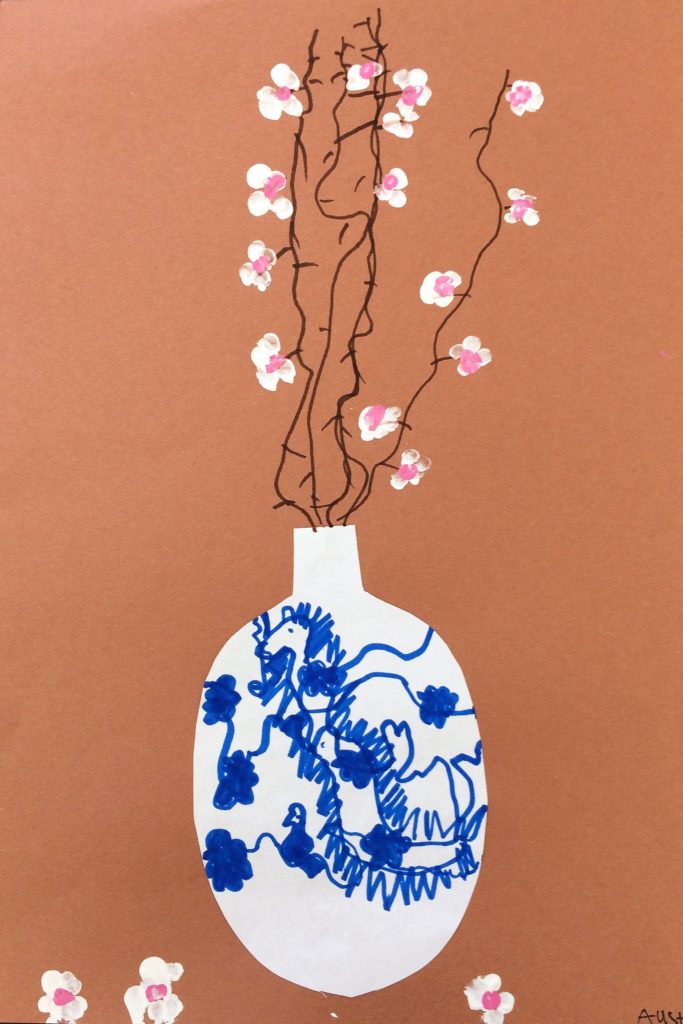
Here are some finished Ming Vase Art pieces!
Common Core Standards
Kindergarten – History – Learning and Working Now and Long Ago
K.6 Students understand that history relates to events, people, and places of
other times.
1. Identify the purposes of, and the people and events honored in, commemorative holidays, including the human struggles that were the basis for the events.
3. Understand how people lived in earlier times and how their lives would be different today.
Grade 1 – Science – Investigation and Experimentation
- Draw pictures that portray some features of the thing being described.
Grade 1 – History – A Child’s Place in Time and Space
1.4 Students compare and contrast everyday life in different times and places around the world and recognize that some aspects of people, places, and things change over time while others stay the same.

Leave a Reply