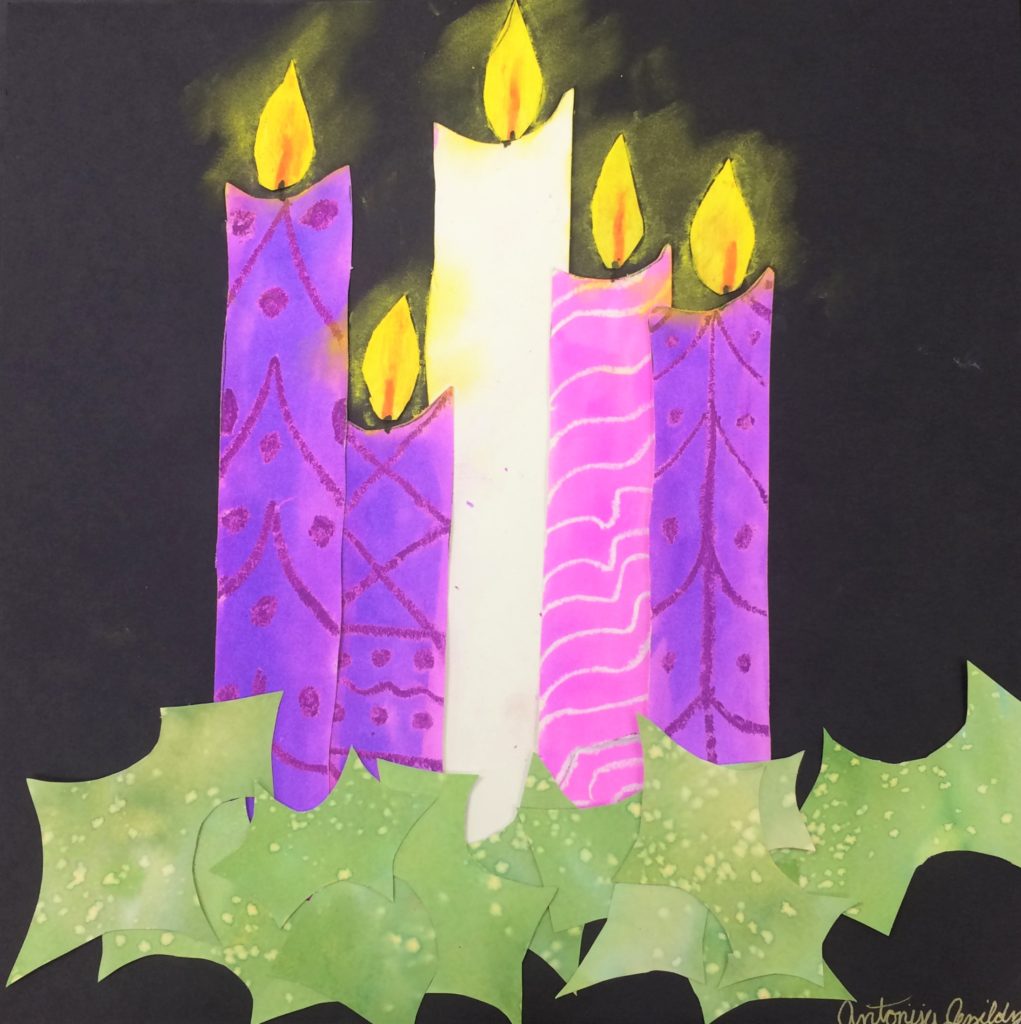
In this Advent Wreath Art Lesson, students will be able connect with the liturgical calendar and support the Christmas story during Advent.
Grade Level
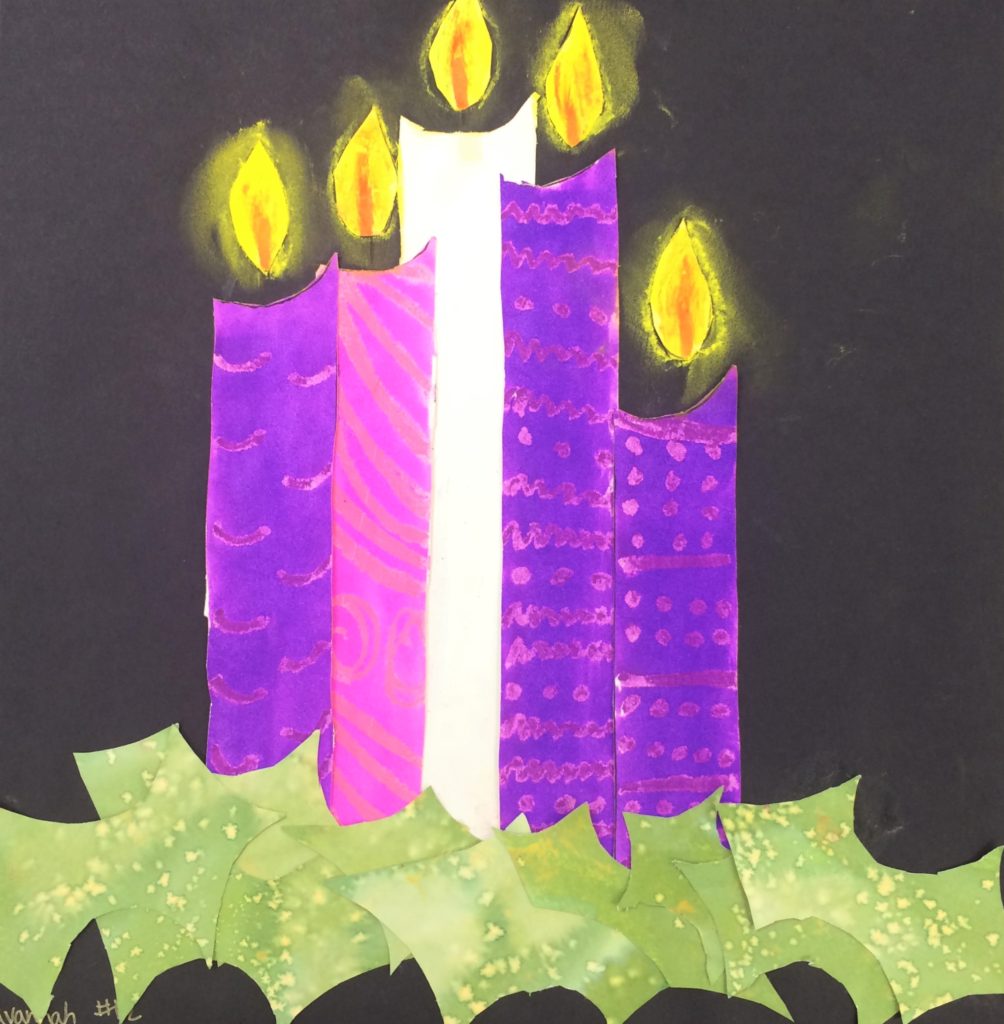
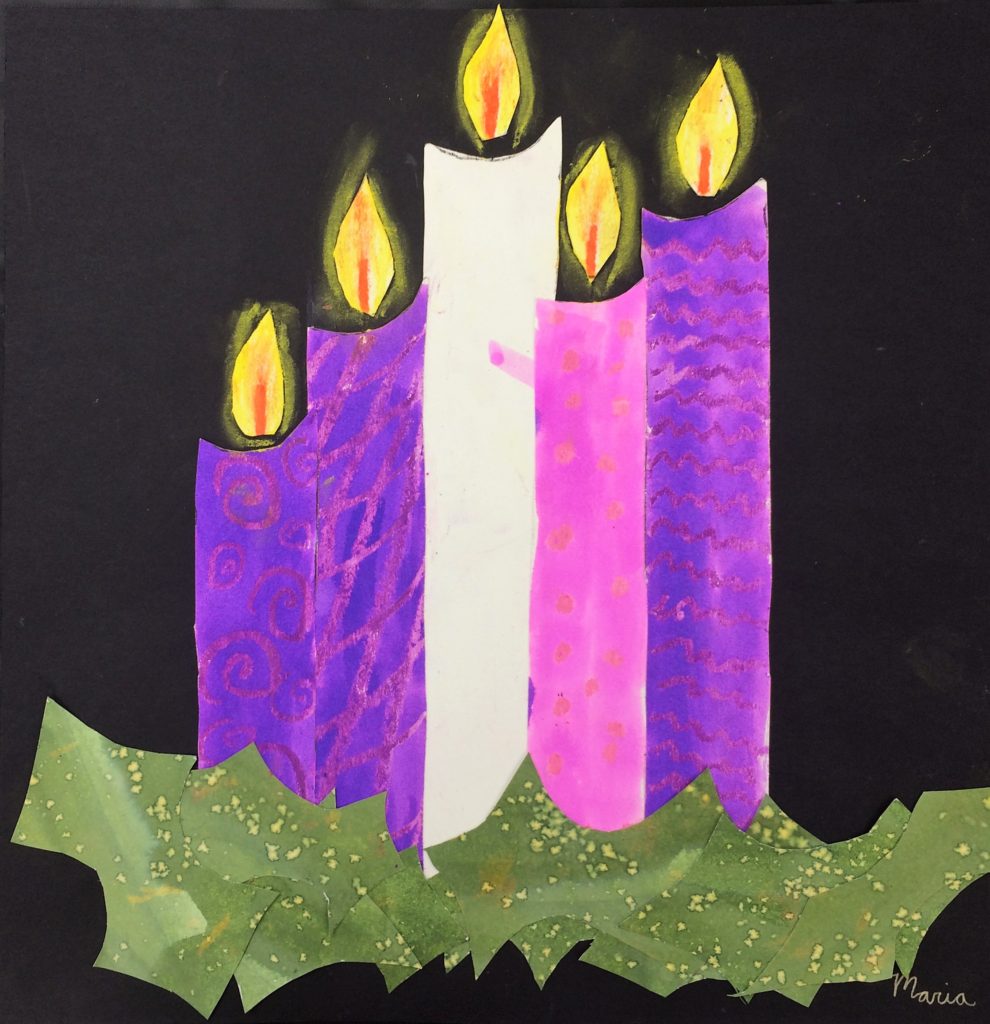
3rd, 4th, 5th, 6th grades – The examples in this lesson are made by 4th graders.
Objective
Students will create an advent wreath in celebration of Advent using line techniques.
Time
3 – 60 min lessons
Materials
- 9×12 Watercolor paper – Canson (100510941) XL Series Watercolor Pad, 9″ x 12″, Fold-Over Cover, 30 Sheets
- Brushes – Acrylic Paint Brush Set, 1 Packs / 10 pcs Nylon Hair Brushes for All Purpose Oil Watercolor Painting Artist Professional Kits
- Liquid Water Colors – Sargent Art 22-6010 10-Count 8-Ounce Watercolor Magic Set
- Or this mini version for homeschooling – Sargent Art 22-6210 10-Count 4-Ounce Watercolor Magic
- Kleenex for blotting paint
- Oil pastels (white, pink, purple, yellow) – Pentel Arts Oil Pastels, 50 Color Set (PHN-50)
- Black Sharpie Marker – Sharpie Permanent Marker, Fine Point, Black, Pack of 5
- Black Construction Paper – SunWorks Heavyweight Construction Paper, 9 x 12 Inches, Black, 100 Sheets
- Because these need to go through the photocopy machine, I cut down my watercolor paper to an 8 1/2 x 11 size first. Print out each of the following onto the watercolor paper. The extra white candles are a good idea to have at least one copy on hand. There are always one or two students who accidentally add color or design on the pure white.
- Holly: Click Here
- Candles: Click Here
- Extra White Candles: Click Here
Inspiration/Artist
I was inspired to make this project after I saw this idea: Click Here
Instruction with Questions
Day 1
Ask students what they already know about Advent. I found these videos on youtube. You could show them to your class, or just give them an overview yourself.
Advent in 2 minutes: Click Here
What is the Symbolism of the Advent Wreath: Click Here
Advent, The Meaning of Advent Wreath: Click Here
Two things happen on Day 1. Students will design their candles, and a few at a time, will be pulled aside to paint their holly.
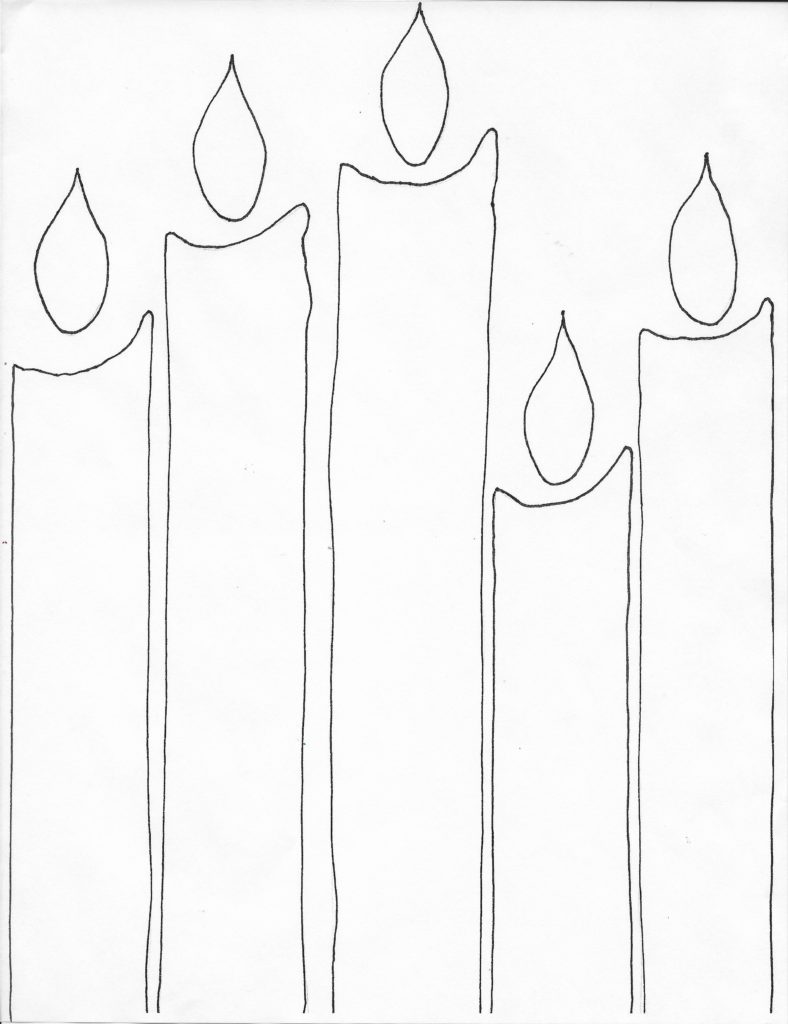
Ahead of time, download the PDF attachments for the Holly and Candles. Here is what they will look like:
Holly
Students will turn over the holly paper and paint on the back of it. This is so when they cut out the leaves, you will never see any of the black photo copy lines. Pretty smart eh?
Use a variety of green water colors. One will be straight green. Then, mix one with green and brown, another with green and yellow and maybe two or three more with varieties of these mixtures. The idea is to get a random pallet of greens so the holly looks nice and organic. Keep the paper nice and wet and work quickly. While it is still wet, sprinkle salt. Set aside to dry.
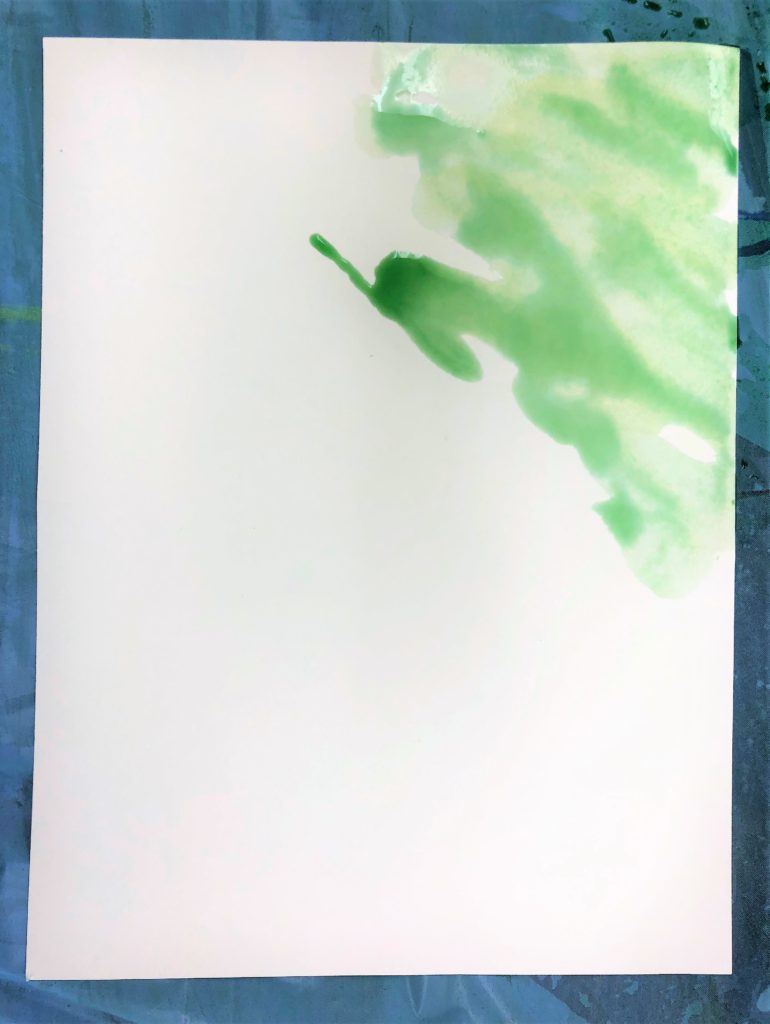
#1 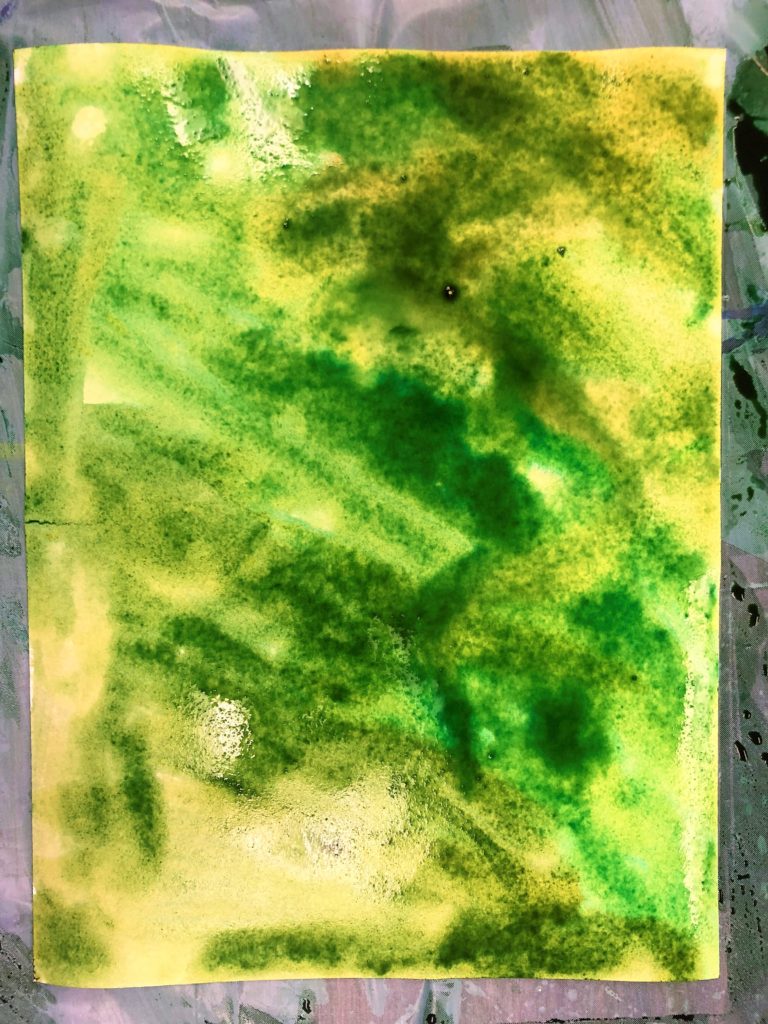
#2 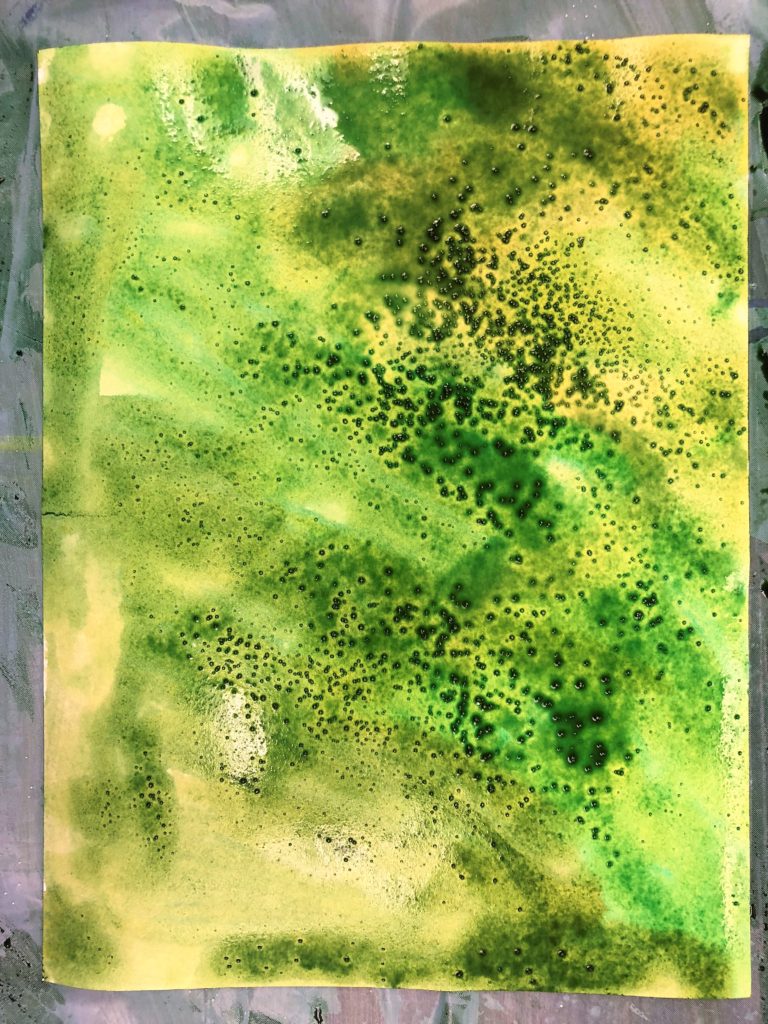
#3
Candles
Show the students how to do this on the white board first. I labeled the white candle and the pink one. The other three candles are purple.
Review line elements that could be used on each candle. Since you will paint these, white may be used as an oil pastel choice with the paint revealing the lines. Nothing is drawn or painted on the pure white candle.
The flames are created with orange and yellow oil pastel and rubbed slightly to make the wick blur for a burning effect.
I place white, purple, pink, yellow and orange oil pastels with about four students to a group. If you have a large class, I have the students choose who will get the oil pastels for their group. This is help avoid having the whole class walking around the room.
These candles will be cut out later so it is fine if they dirty up the outsides of the candles.
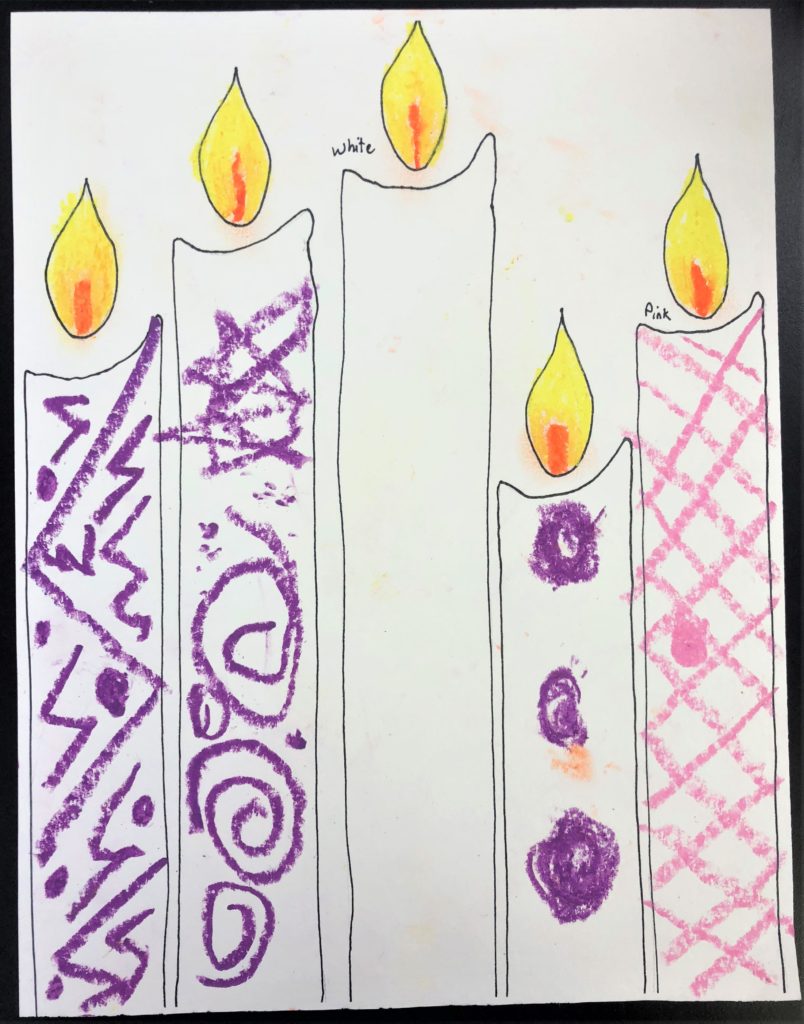
By the end of day one, each student has a painted and salted holly page and an oil pasteled candles page.
Day 2
Two things happen today. Cut the holly and paint the candles.
Students cut out the leaves from their dried papers. As they cut, have them put their Holly into a Ziploc bag with their name on it.
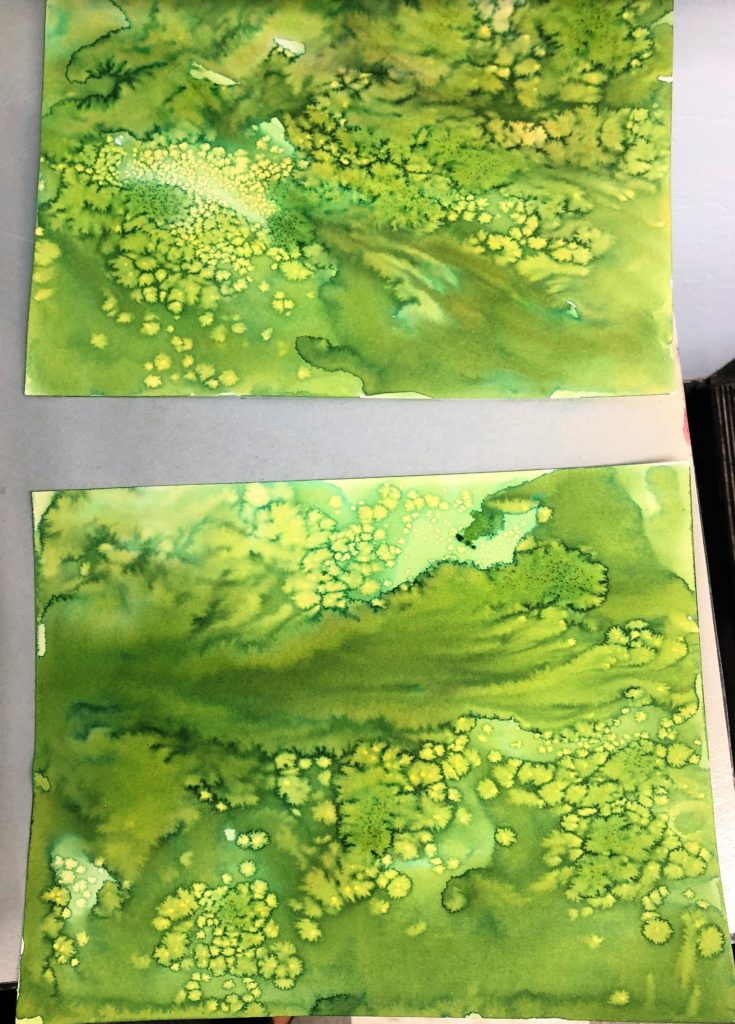
#4 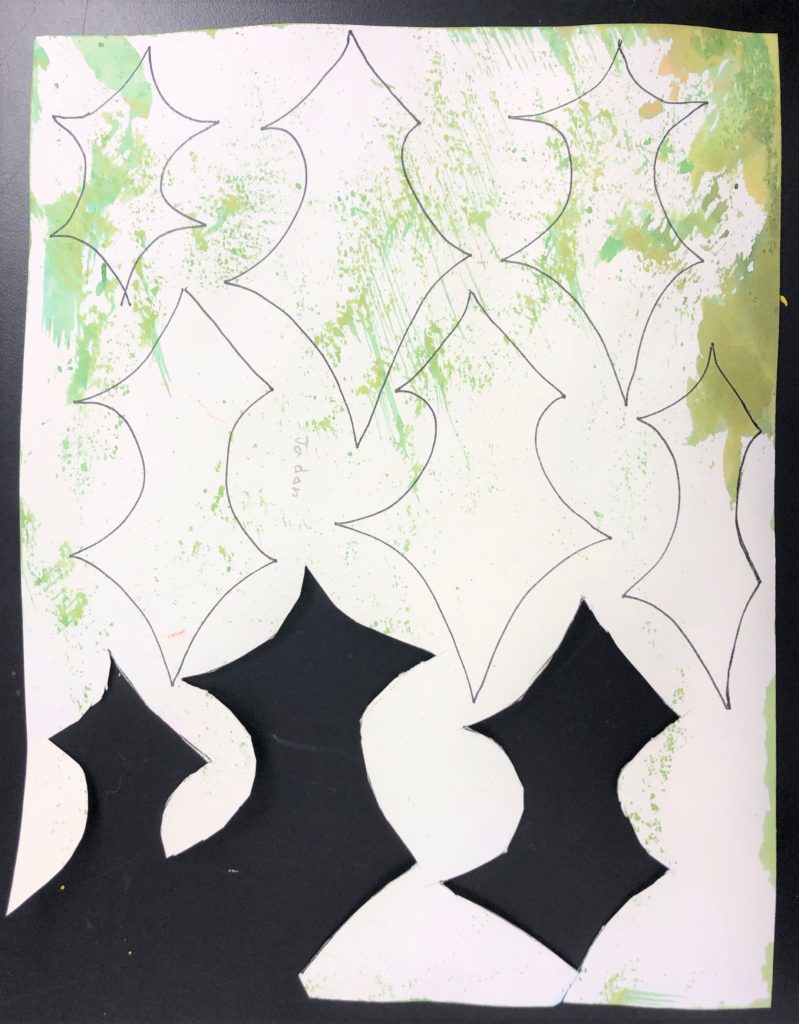
#5 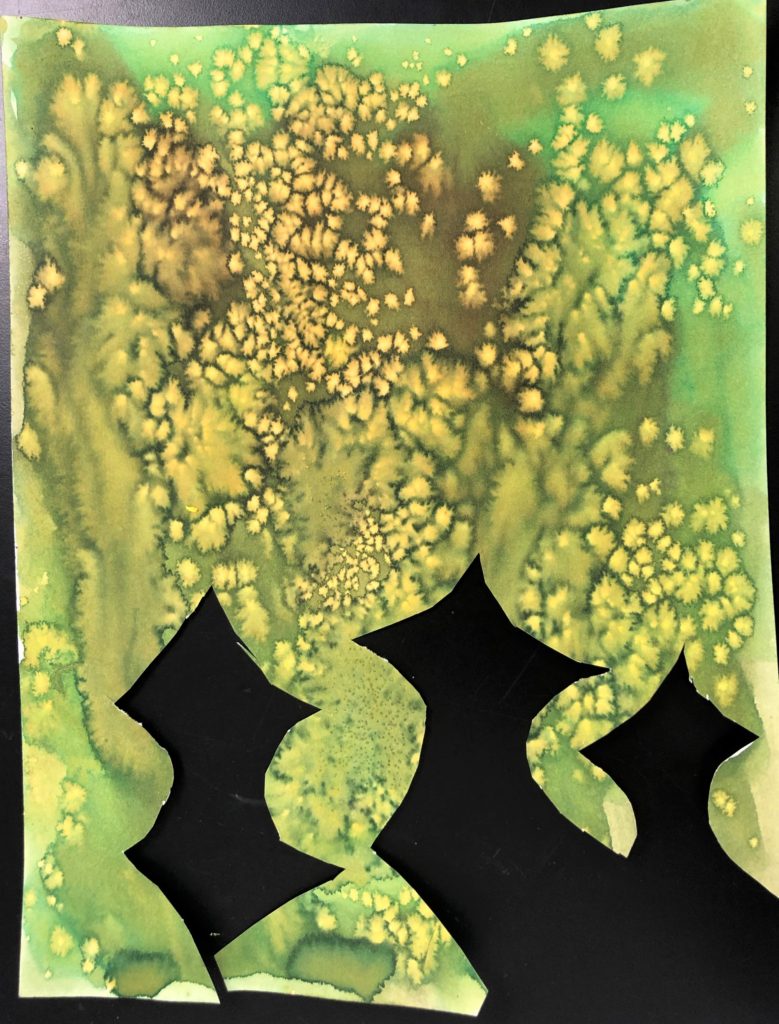
#6
Meanwhile, pull students a few at a time to paint their candles.
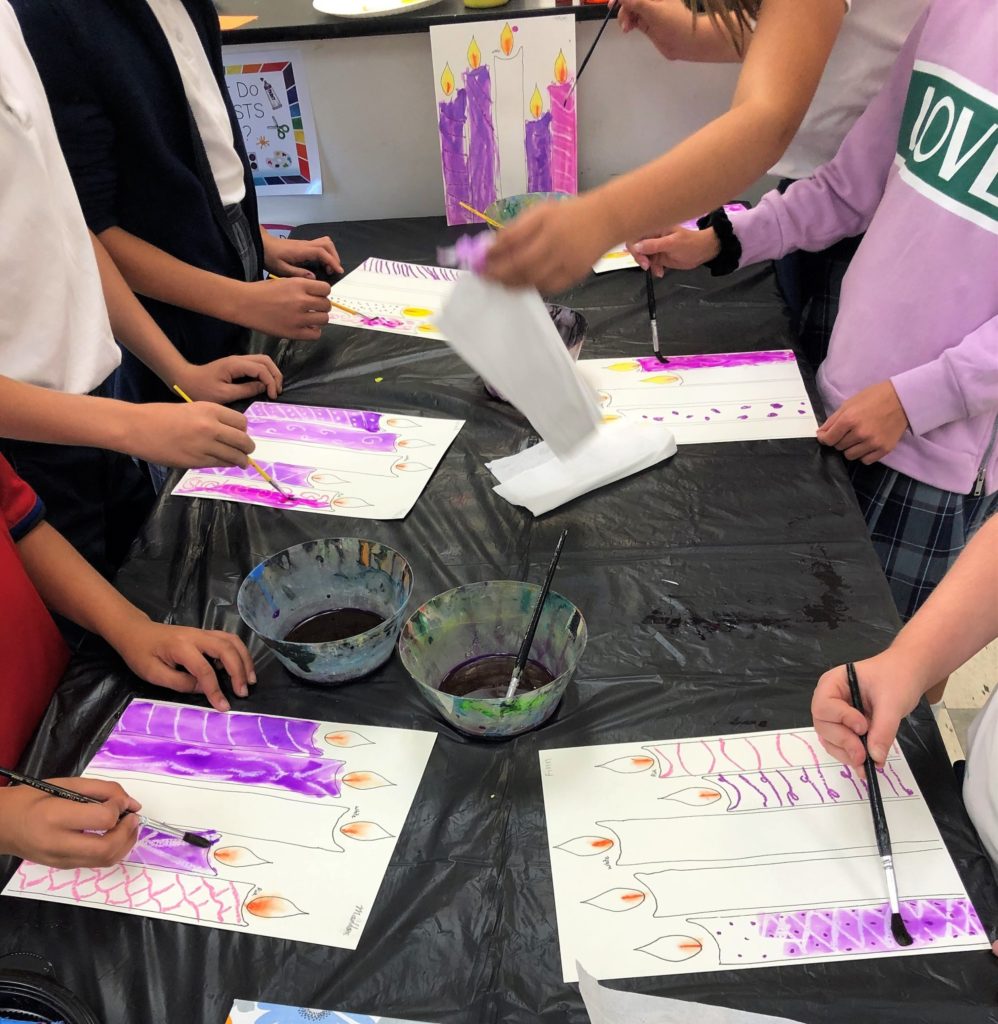
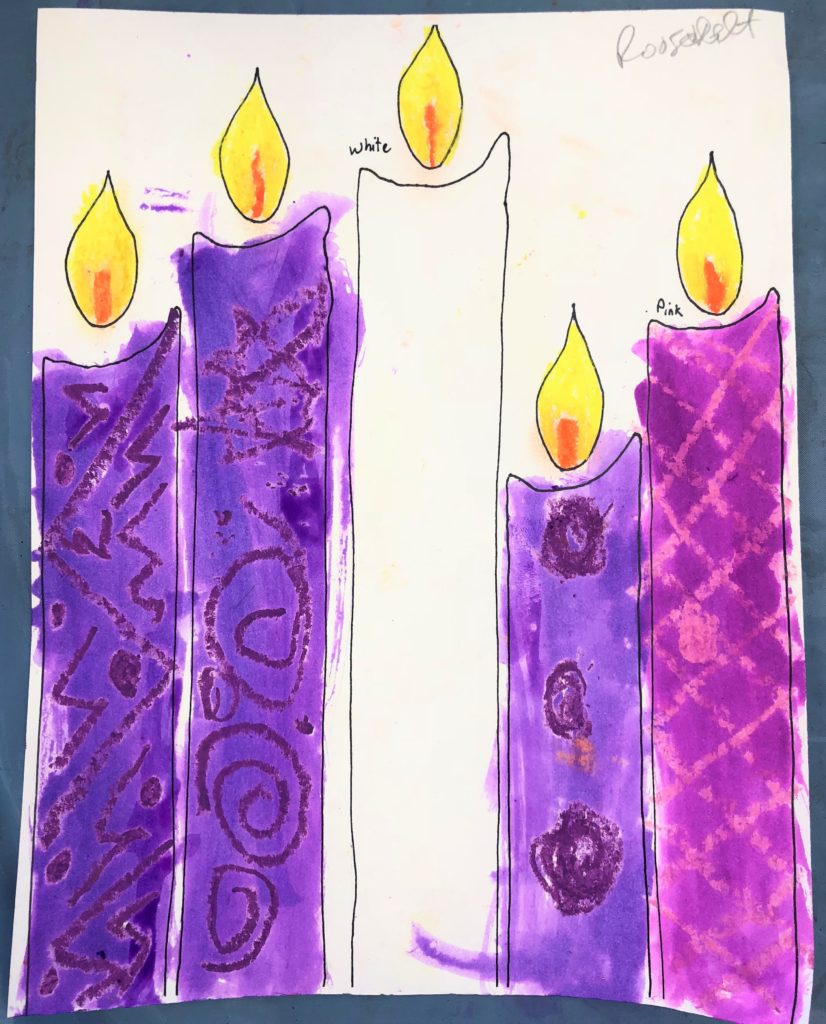
You may want to also print out an extra sheet of white candles only…just in case. Here is what they have finished by the end of day 2.
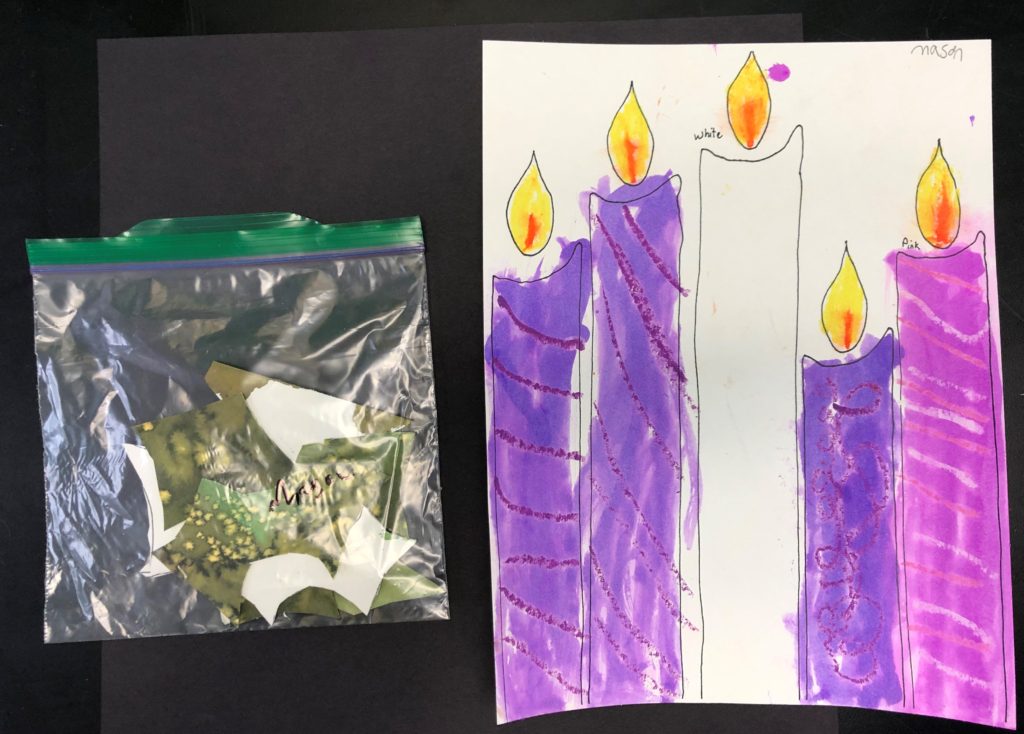
Day 3
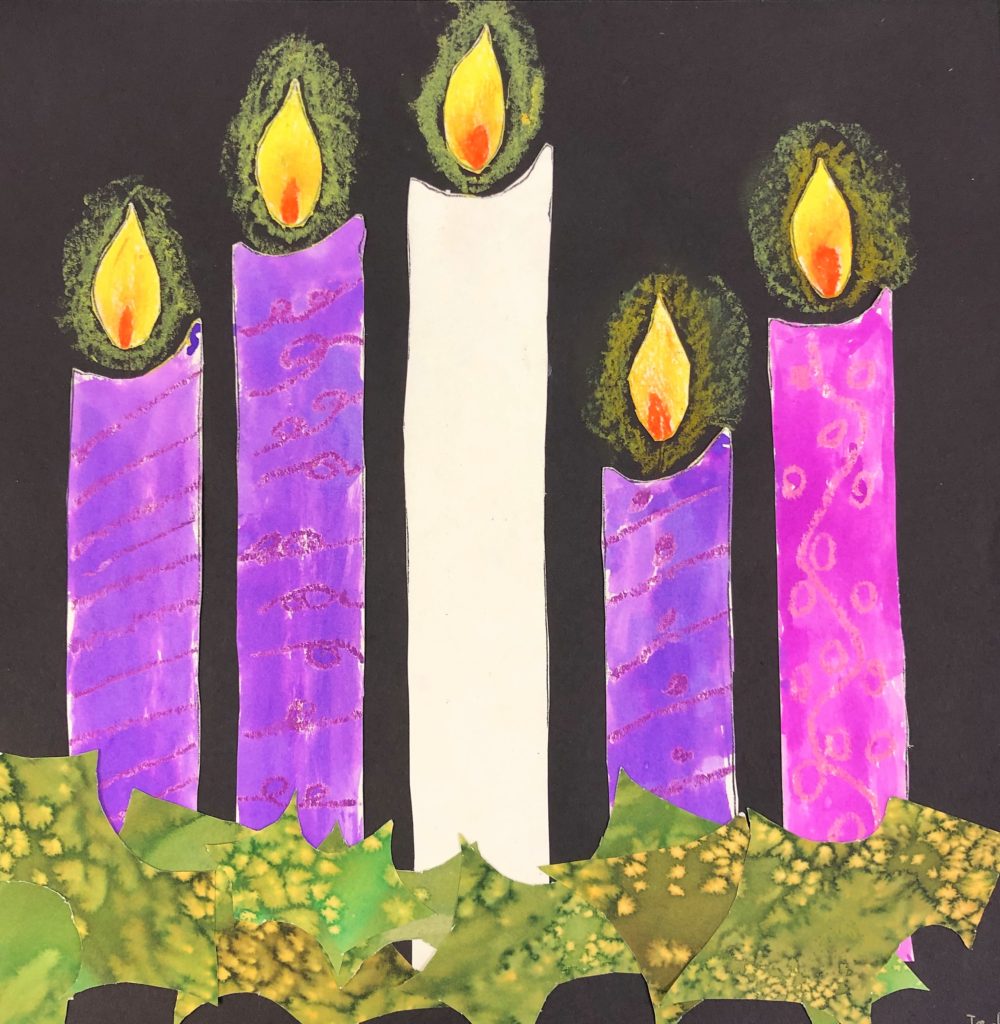
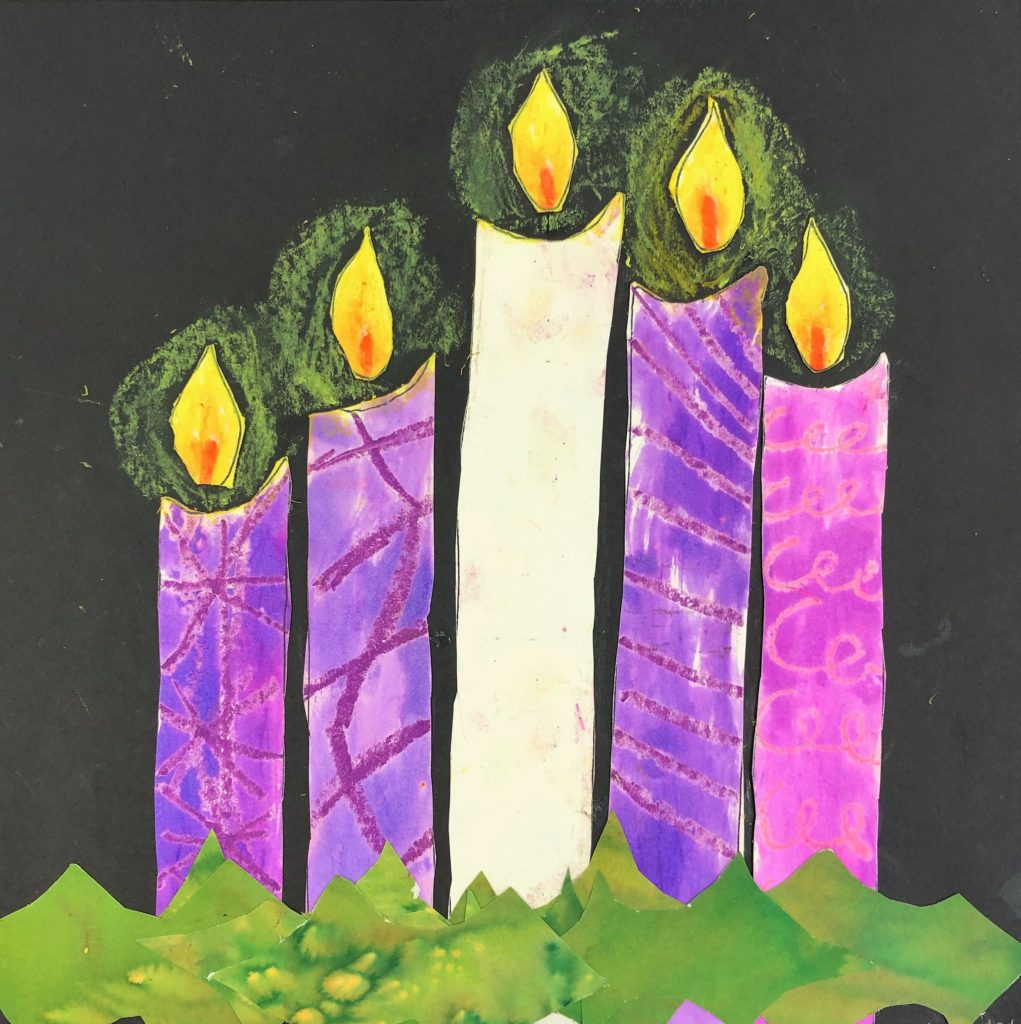
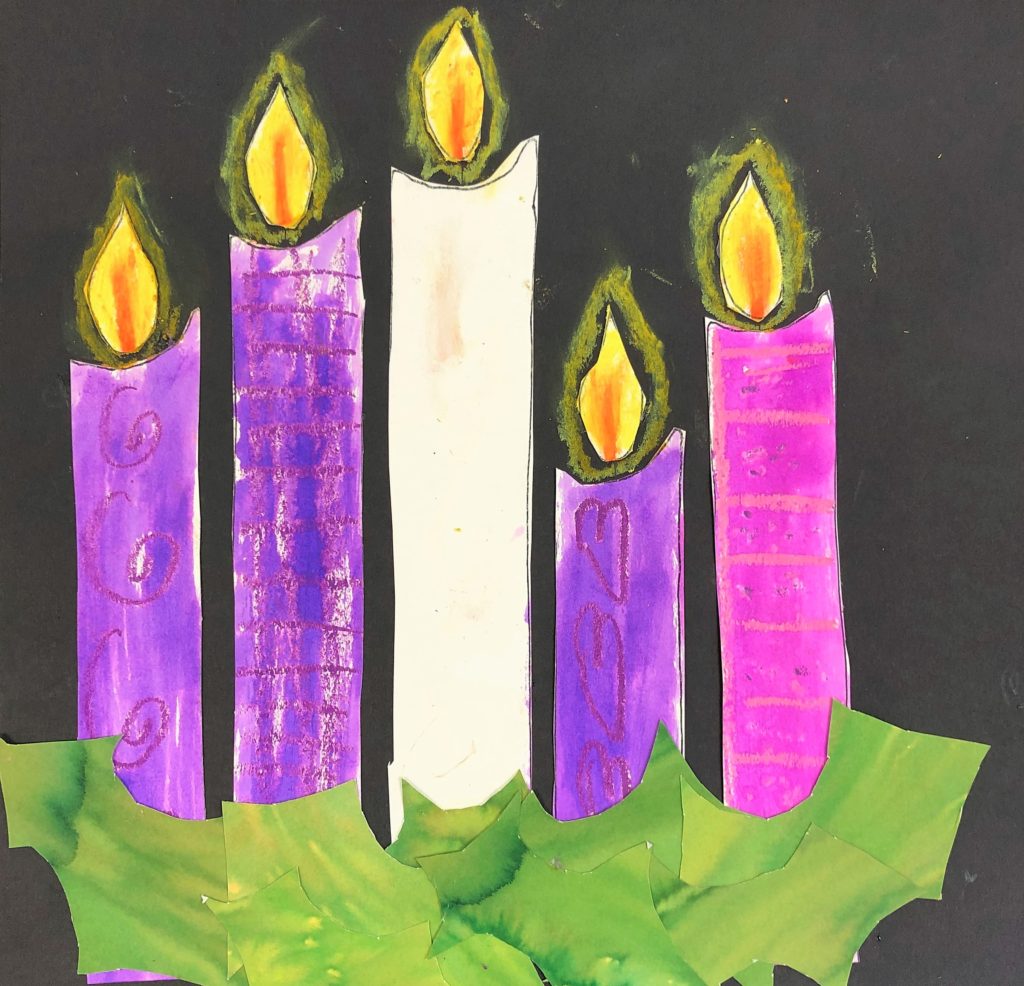
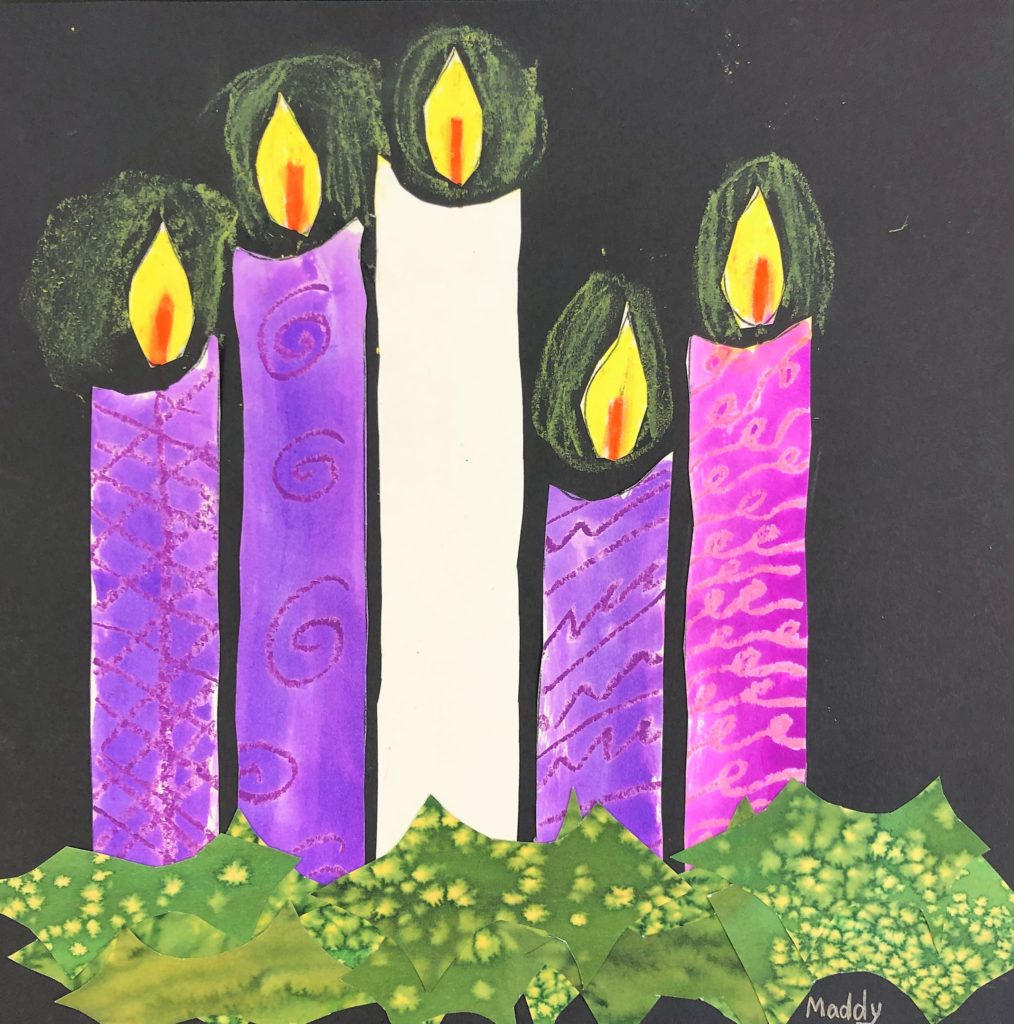
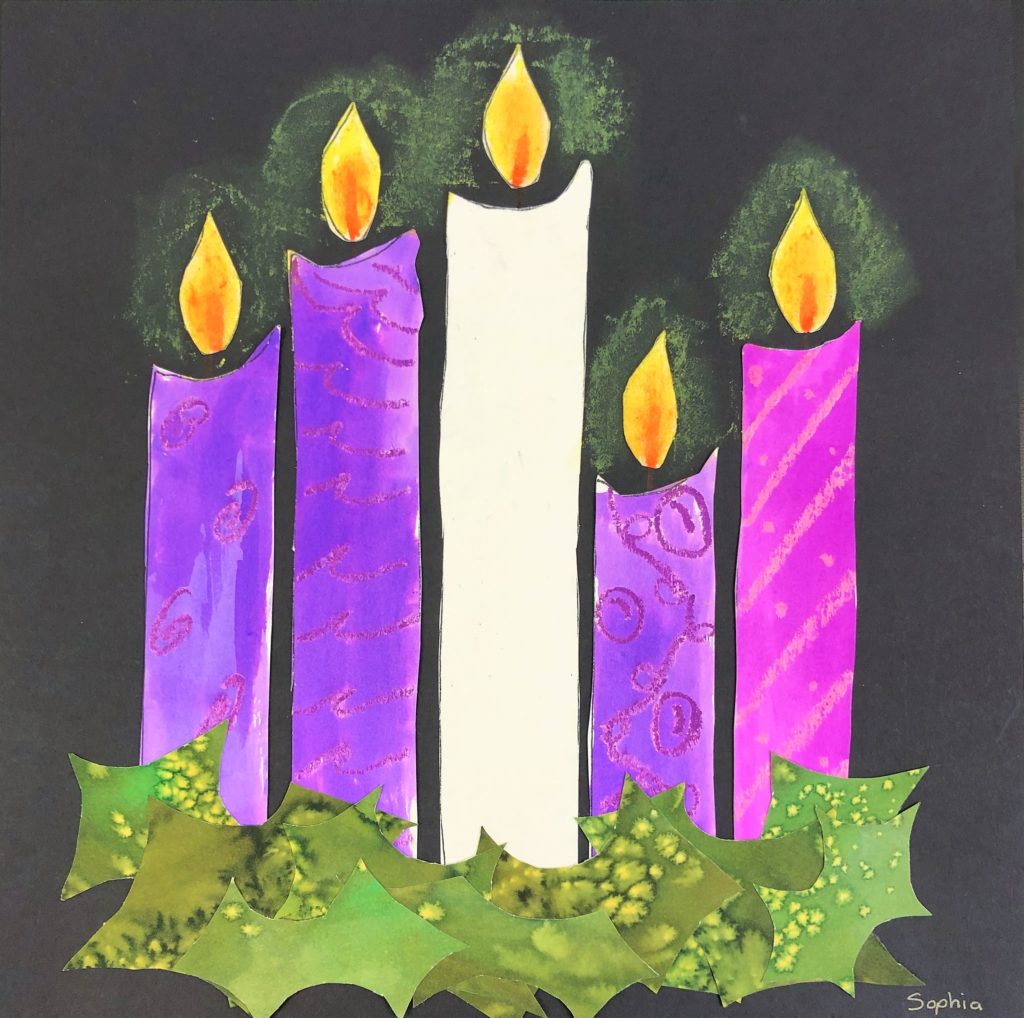
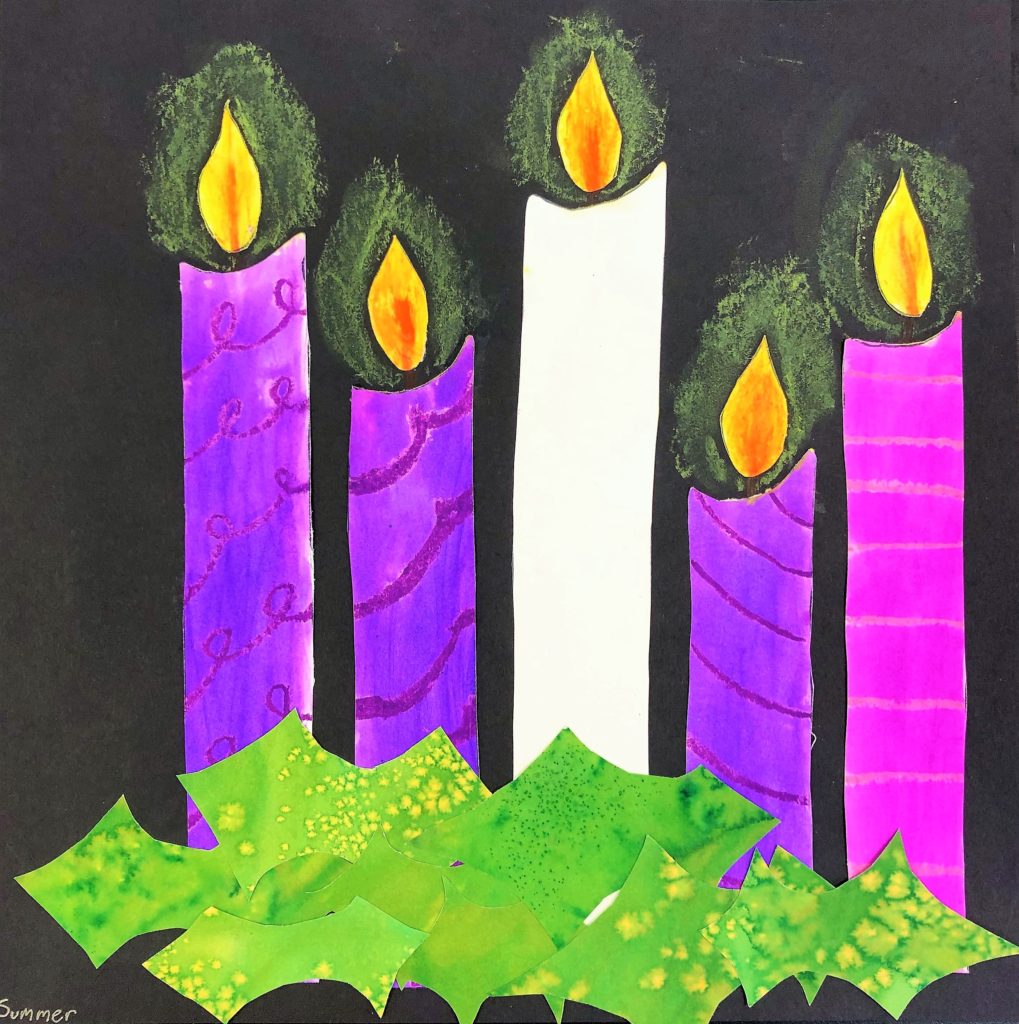
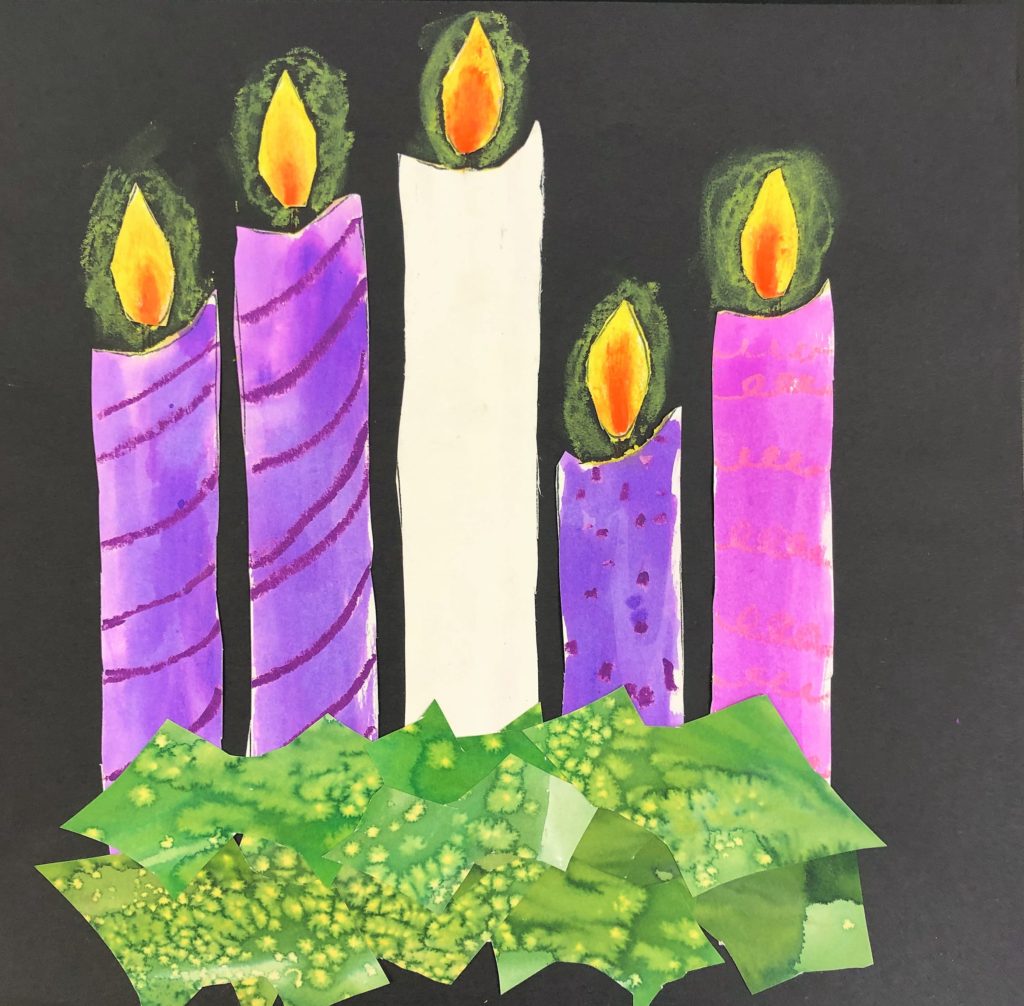
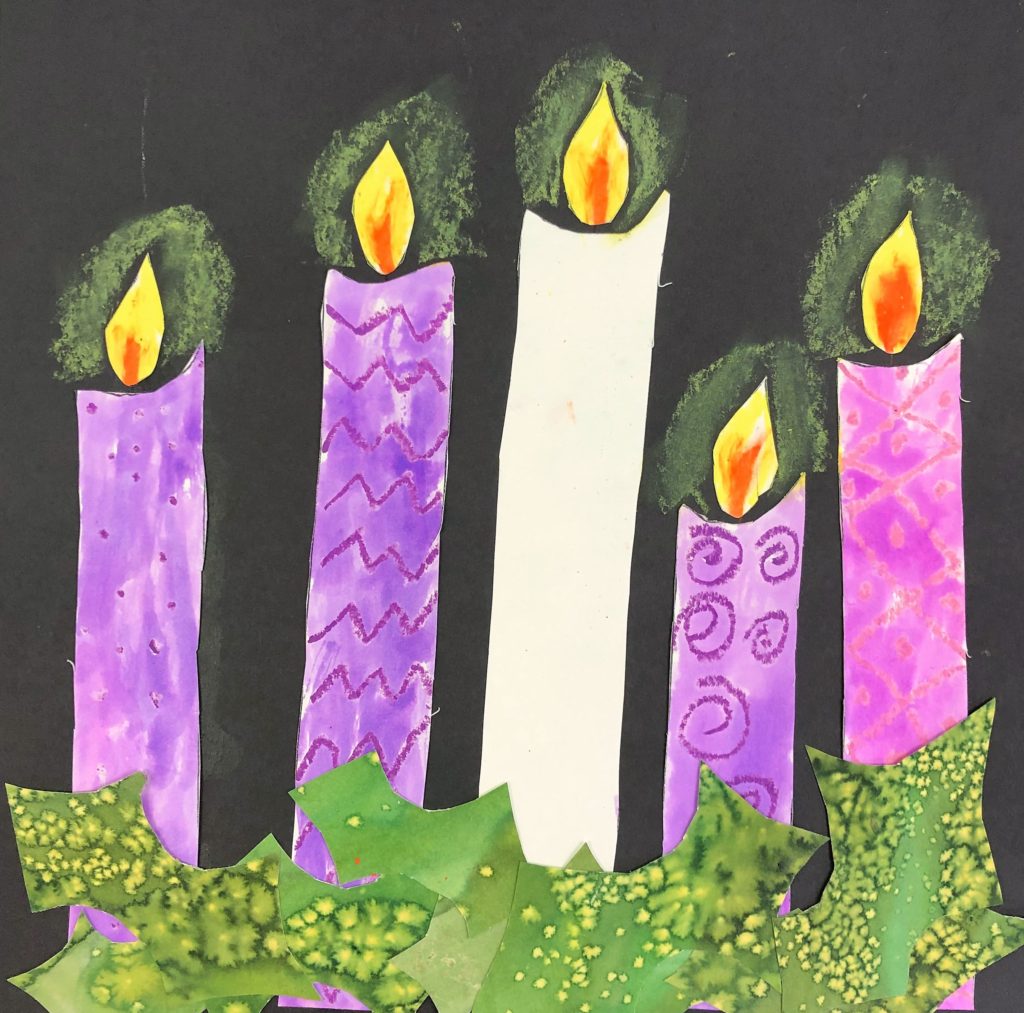
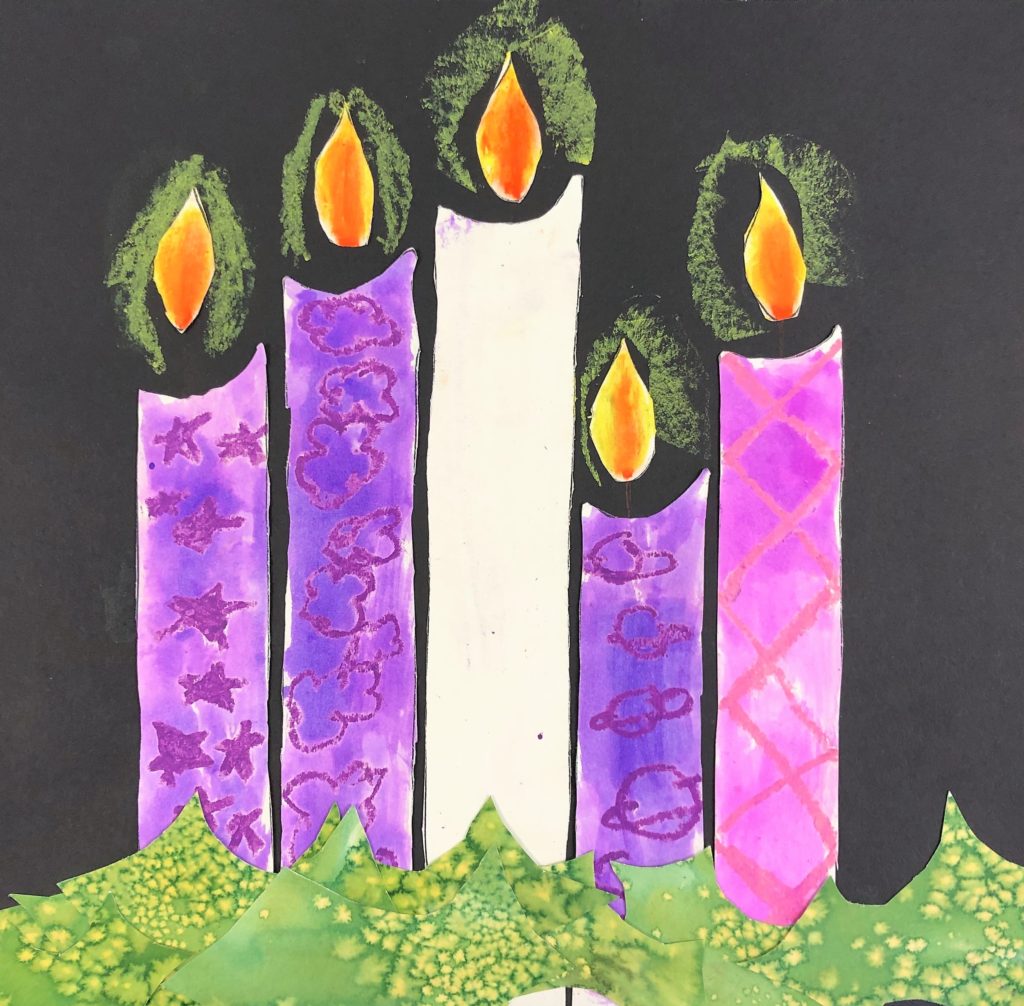
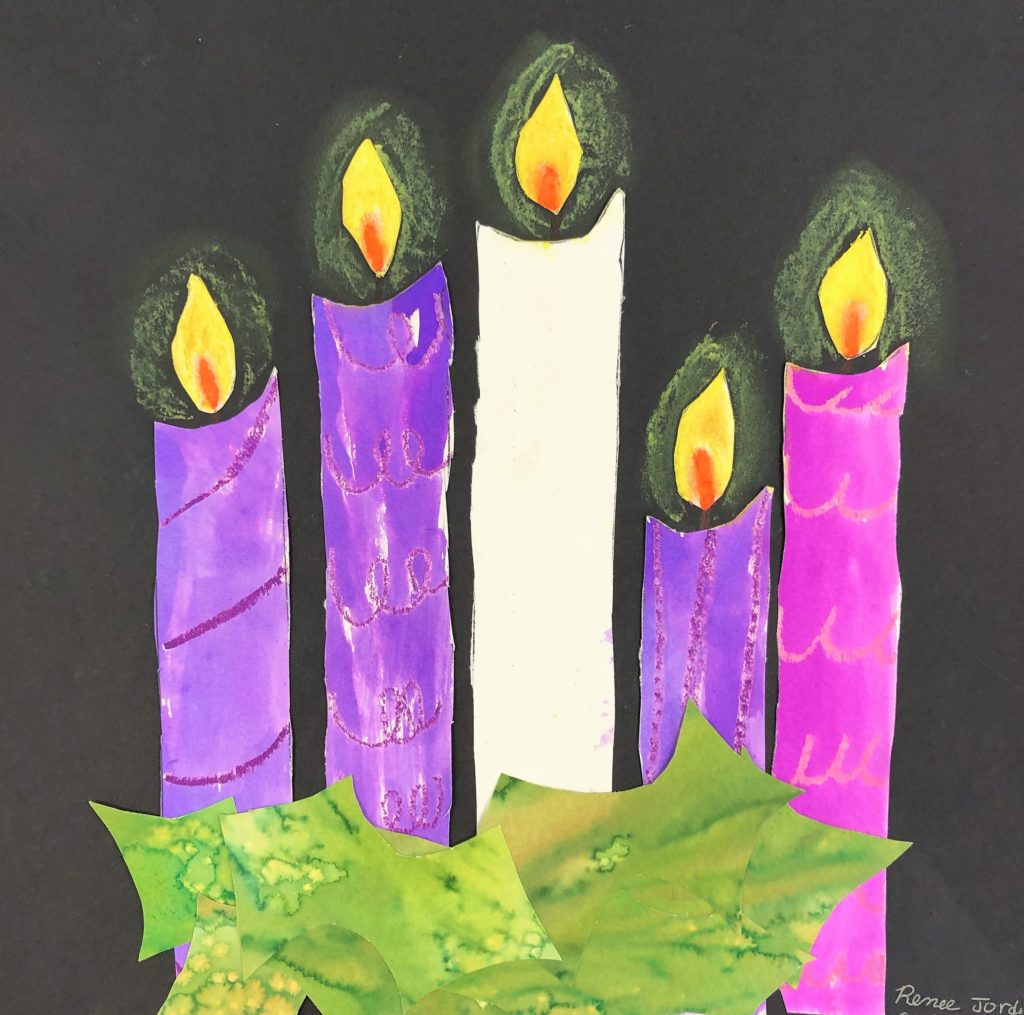
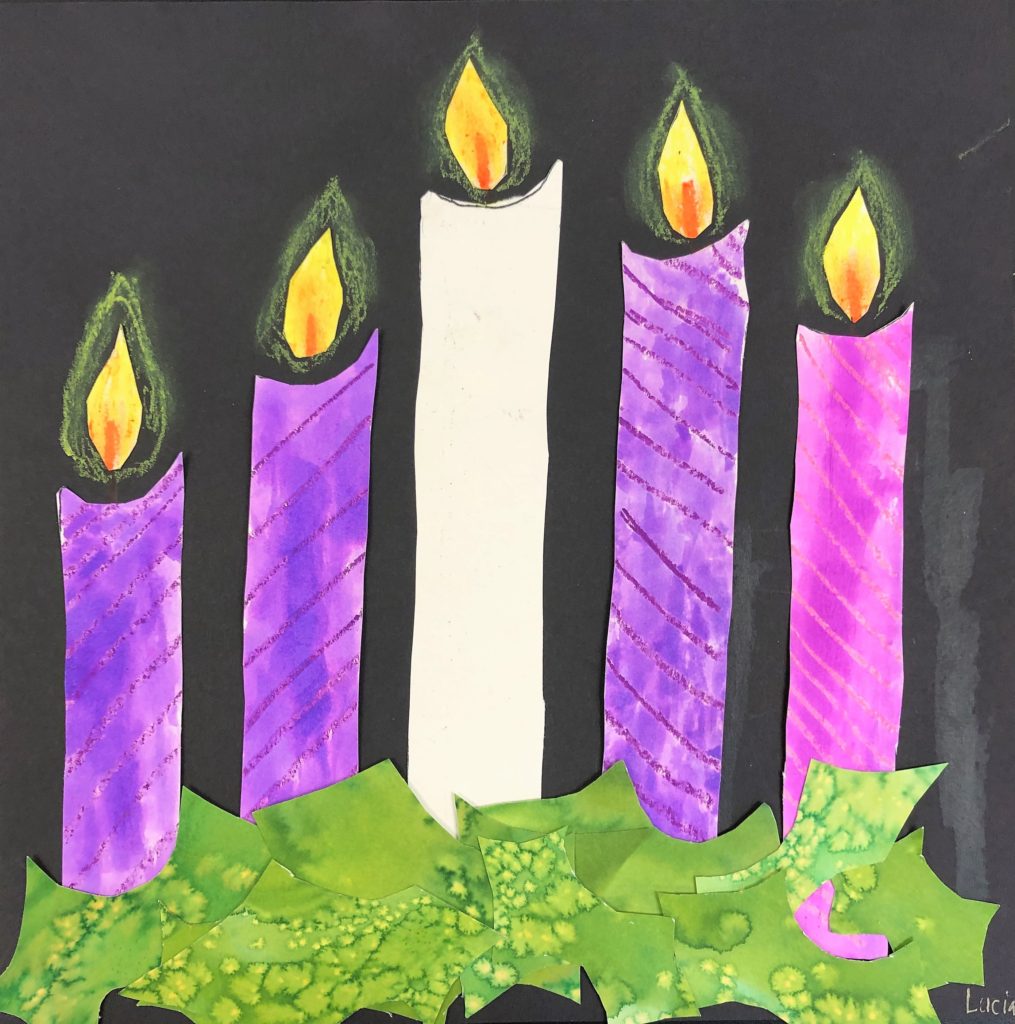
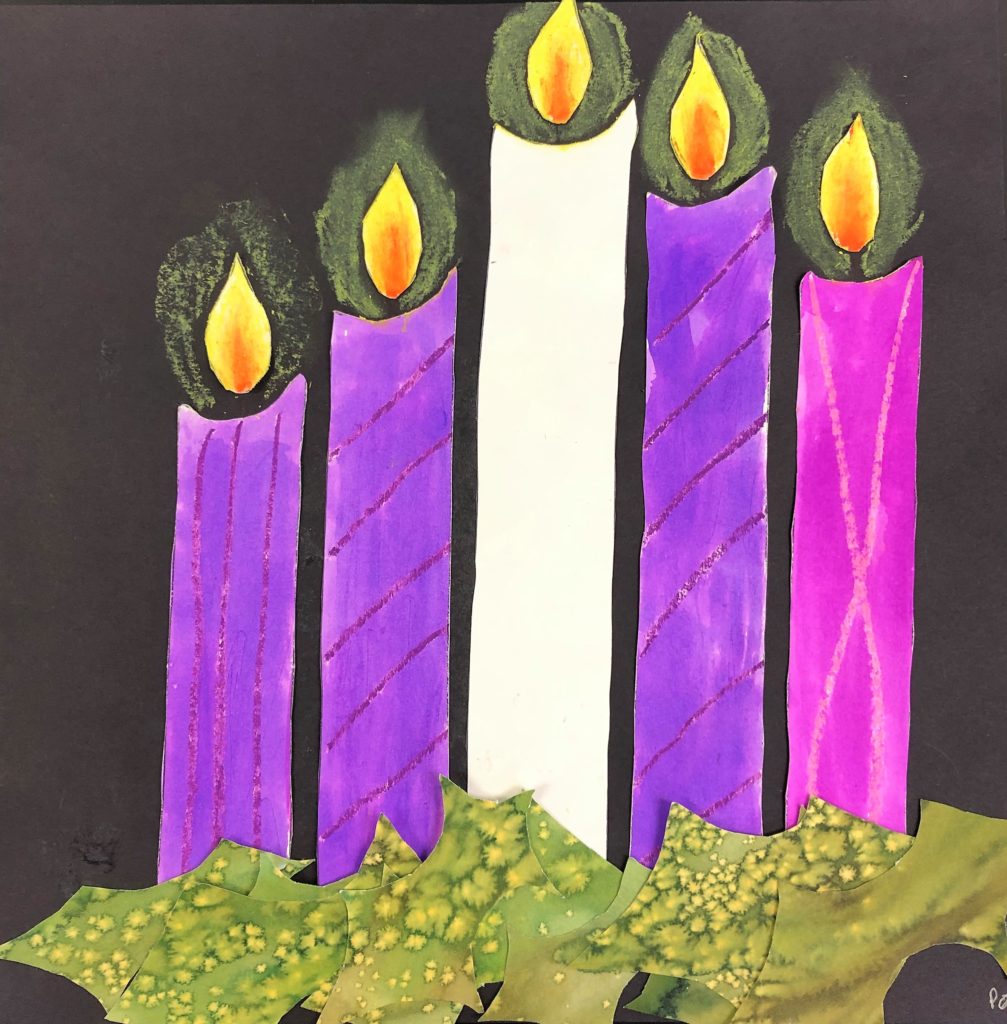
Students will cut out their candles and wicks and assemble their project onto a pre-cut 12×12 piece of black construction paper. Remind them to place the candles so they are close to the bottom of the page, and all of their bottoms line up.
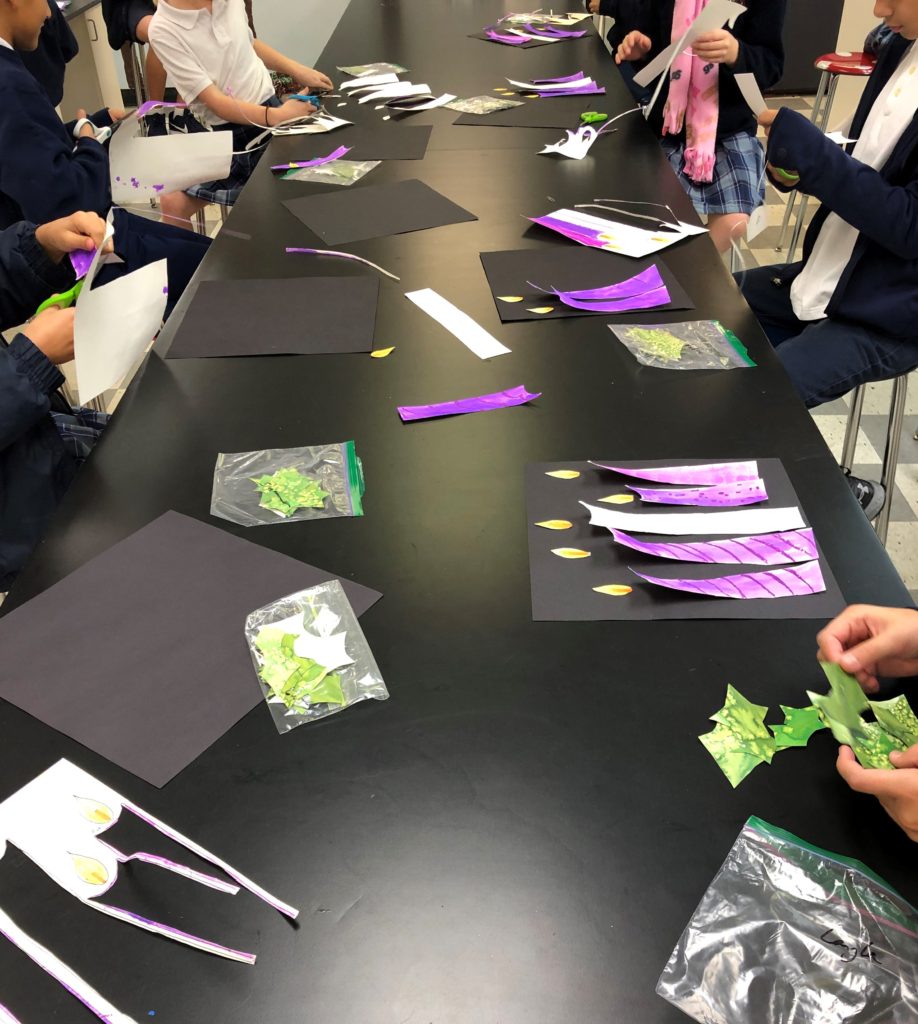
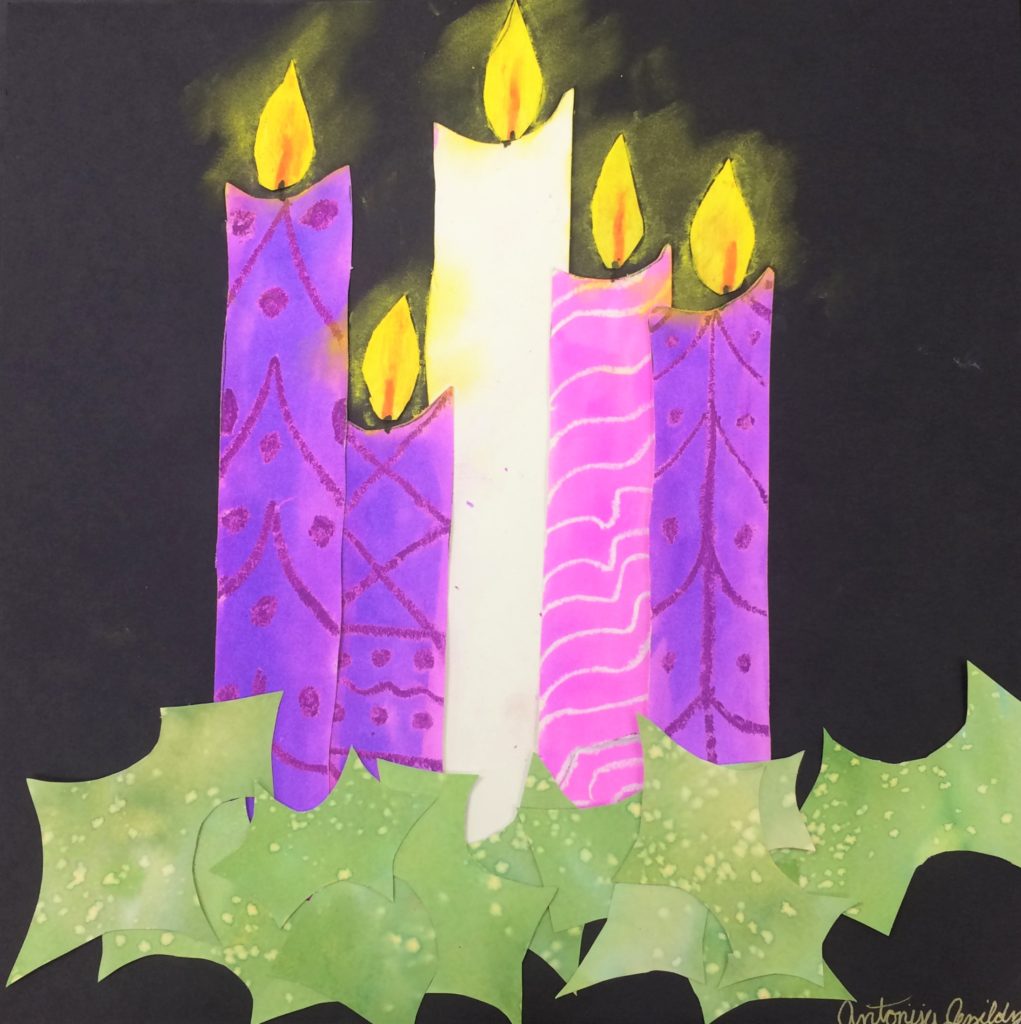
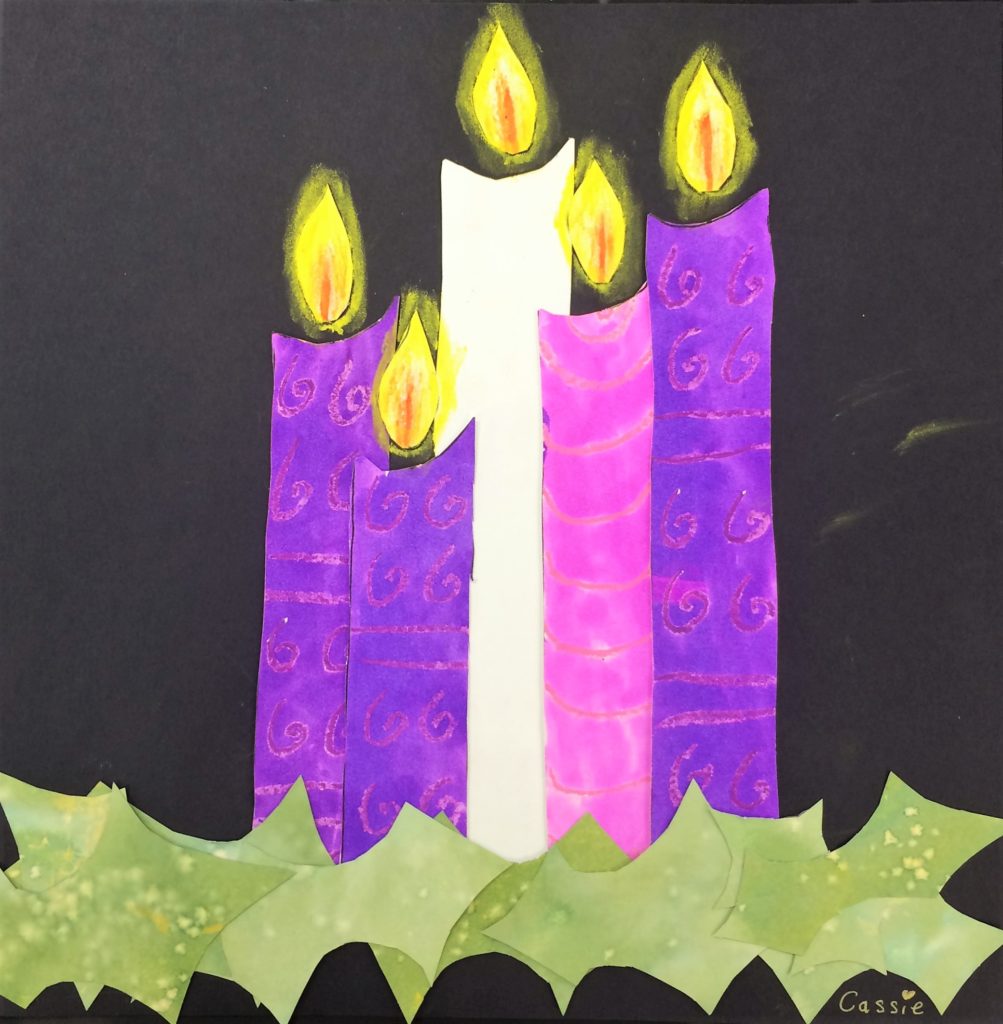
The holly is then glued on top of the candles. I show them how to layer them to make them look bunched up and so nothing is showing from behind. The wick is glued slightly higher from the candle. Here is where the sharpie comes in. They can do their sharpie before gluing the wick or at the end. I had 30 fourth graders by myself so the wick went on any old time it could.
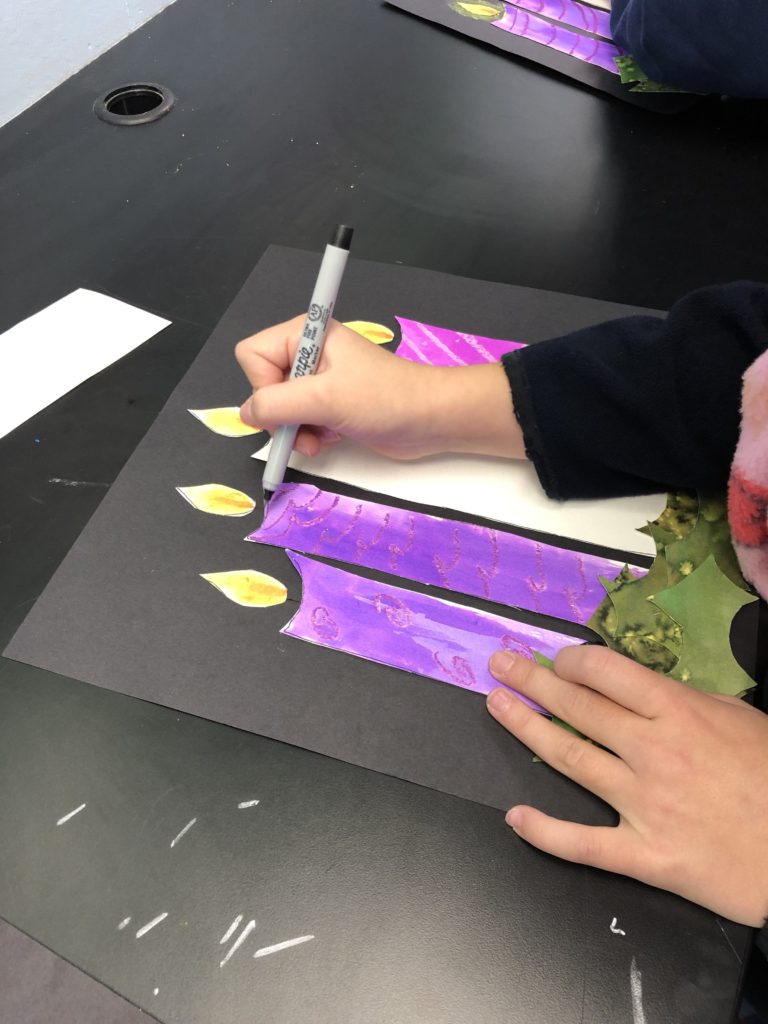
Have them sign the front with a metallic marker or sharpie black inside one of the holly leaves.
Finally, with yellow oil pastel, have them rub on some yellow and blur it around the wick. I have had students add this glow prior to gluing on the wick, and I have had them do it after. Both ways work great. One way is to add a little more to their already yellow wick and smear it around. The glow, though, is what gives these a wow effect.


I love this, thank you for sharing!
Thank you for your great feedback!
We did this project last Christmas. So appreciate the opportunity to do a project that reinforces the Advent season. Thanks again!