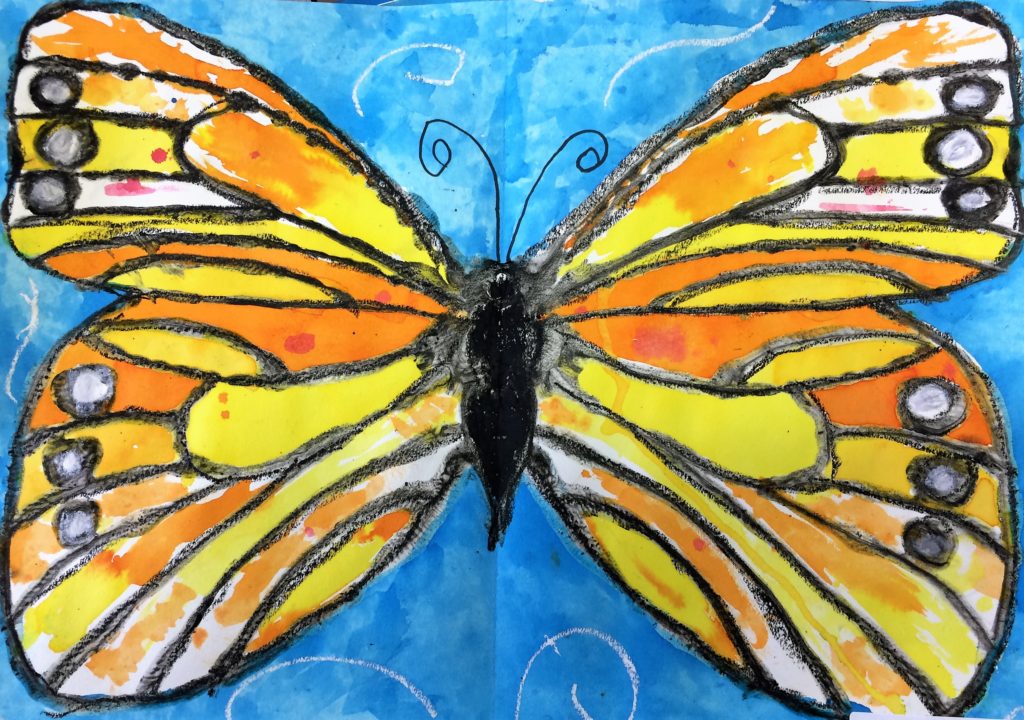
In this Monarch Butterfly Art Lesson, middle school students will integrate science and art in a beautiful and dramatic way. This project covers Common Core Standards for Science and Math for grades 4-8 which can be found at the end of the lesson.
Grade Level
4th, 5th, 6th, 7th, and 8th Grade – The examples in this lesson are made by 5th graders.
Objective
In this Monarch Butterfly Art lesson, students will create a symmetrical monarch butterfly.
Time
3-4 – 45 min lessons
Materials
- Pencils
- White glue 4 oz bottle (I prefer Elmer’s)
- Black Acrylic Paint – Apple Barrel Acrylic Paint in Assorted Colors (2 Ounce), 20504 Black
- White oil pastel preferably or white crayons and optionally black – Pentel Arts Oil Pastels, 50 Color Set (PHN-50)
- 12×18 Watercolor paper – Canson XL Series Watercolor Textured Paper Pad for Paint, Pencil, Ink, Charcoal, Pastel, and Acrylic, Fold Over, 140 Pound, 12 x 18 Inch, 30 Sheets
- Brushes – Acrylic Paint Brush Set, 1 Packs / 10 pcs Nylon Hair Brushes for All Purpose Oil Watercolor Painting Artist Professional Kits
- Liquid Water Colors – Sargent Art 22-6010 10-Count 8-Ounce Watercolor Magic Set
- Or this mini version for homeschooling – Sargent Art 22-6210 10-Count 4-Ounce Watercolor Magic
- Kleenex for blotting paint
Inspiration/Artist
I was inspired to make this project after I saw this idea: Click Here
Instruction with Questions
Day 1
Review what students know about Line, Texture, and Patterns. Define each one with the students with examples.
Line:
A line is an identifiable path created by a point moving in space. It is one-dimensional and can vary in width, direction, and length. Lines often define the edges of a form. Lines can be horizontal, vertical, or diagonal, straight or curved, thick or thin.
Texture:
Texture refers to the way an object feels to the touch or looks as it may feel if it were touched.
Pattern:
Repetition refers to one object or shape repeated; pattern is a combination of elements or shapes repeated in a recurring and regular arrangement
Next:
Show them the following videos:
Line defined – From Goodbye-Art Academy: Click here
Texture defined – From Goodbye-Art Academy: Click here
And just for fun – Even my older students love this – Sesame Street: Abby Cadabby teaches Josh Gad about Texture: Click Here
Intro to Symmetry: All About Symmetry for Kids – FreeSchool: Click Here
Now that they have heard definitions, and watched videos about line, texture and patterns, begin a review of your students’ understanding of symmetry. I sing a little song and dance around to “Same on both sides…symmetrical!” over and over and over again.
Hand out a worksheet with half a butterfly on it. I found this one on artforkidshub.com. You can download their PDF: Click Here

Have the students finish the other side. This is a great exercise for them to practice symmetry, and it also gives them some more butterfly reference.
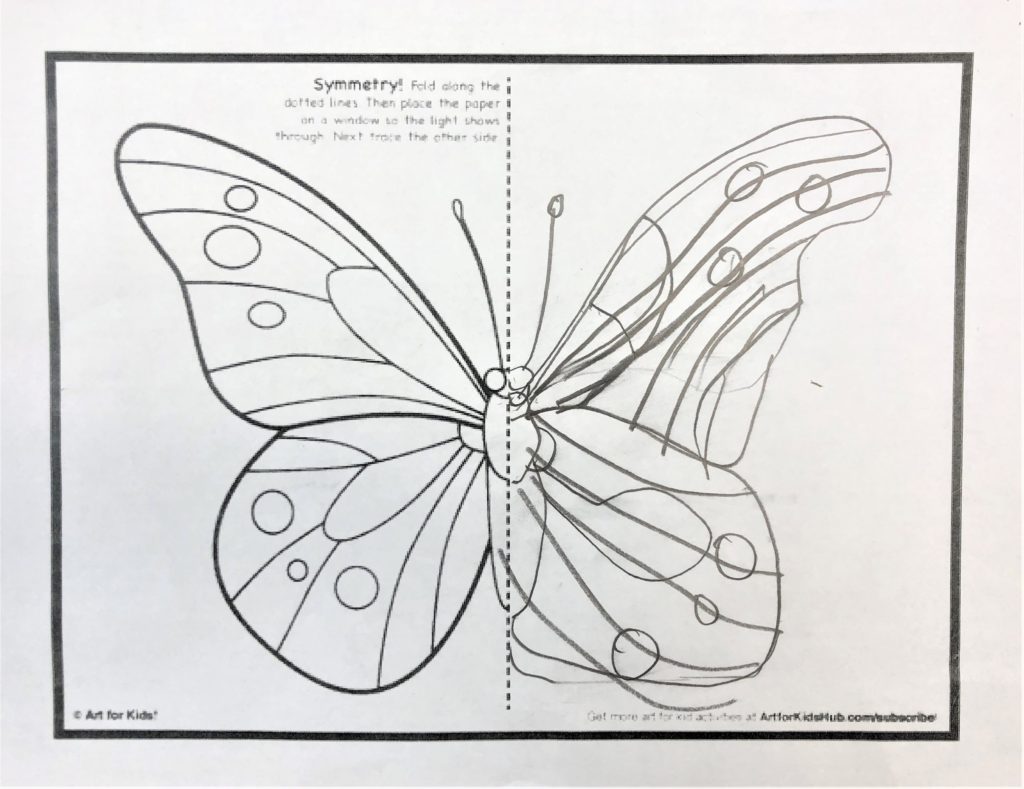
I like to hold onto these until I see my students again so they will have the picture for reference.
Day 2
Students do a simple, scratch paper, practice to re-engage their brains about their symmetrical butterfly.
Give each student a 12×18 size piece of watercolor paper. Remind them about how big their paper is. Ask them to spread their pointer finger and thumb as wide as they can since this will be the size of the butterfly body.
Ask them to touch the head of their butterfly and guide their finger to the top right corner of the paper (or left depending on which dominant hand they use) – this will be almost how big the first wing is. Have them locate the center of the butterfly. This is a goal for the bottom of the top wing. Have them locate the bottom of the paper. Show them approximately how far toward the bottom of the paper their bottom wing will touch. Invite them to mark small dots on their paper so they know how big to go.
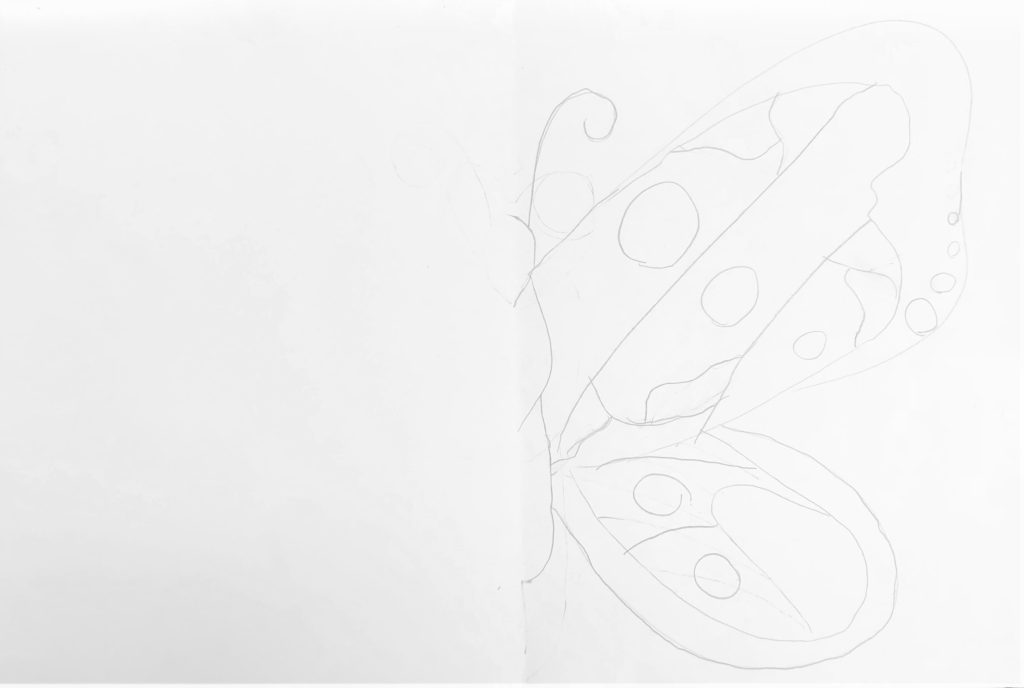
Draw the butterfly on the white board for them. Show off the large and small circles. Show them two ovals in the top and bottom wing. Look for shapes in the wings. Note that the lines curve out from the ovals. This will help them avoid large stripes.
Step #1:
Students make their half of a butterfly in pencil.
Step #2:
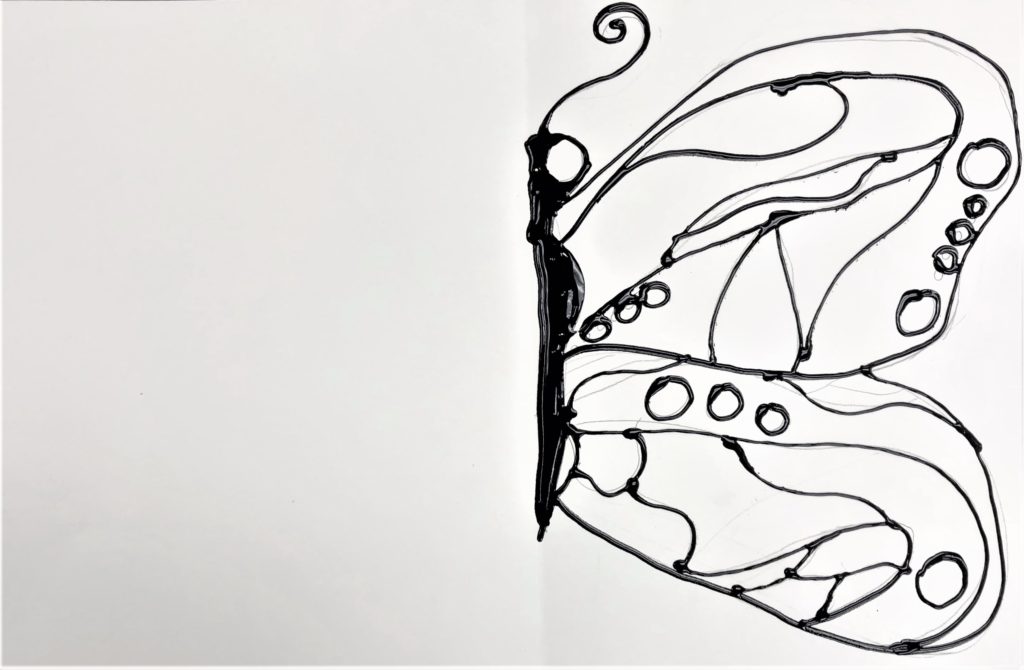
Ahead of time, use a large bottle of glue (I definitely recommend Elmer’s for this project as it does not clump up). Remove about a 1/3 of the glue or use a previously used bottle. I actually like the small 4oz bottles the best! Add black acrylic paint to fill the bottle back to full. Squish the closed bottle until the paint mixes with the glue.
I traced over the lines drawn by the students with the black glue as they watched with bated breath for the final result.
Step #3:
Fold the paper in half and LIGHTLY press the paper down gliding your hand LIGHTLY over the folded paper.
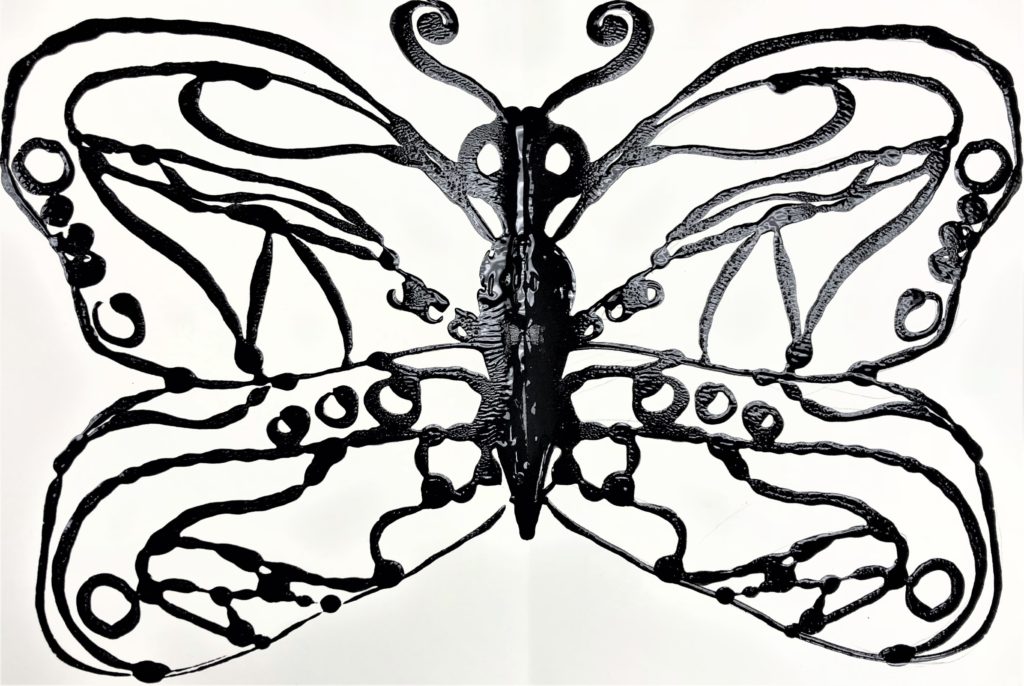
Here is what happens if you press too hard.
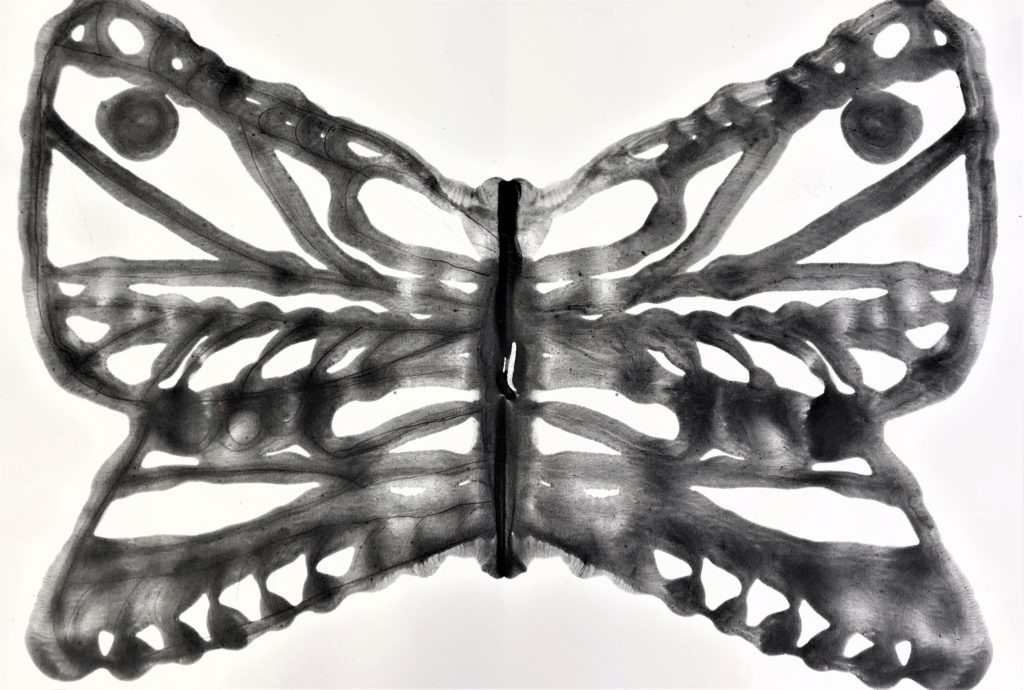
The students find it very satisfying to watch each symmetrical butterfly literally unfold. With any extra time left, the students color their butterfly from day one or have free draw time.
Day 3
Your Monarch Butterfly Art is almost complete!
Step #1:
First, show students a finished piece from another student or one that you make or ones from this post. Show them the white oil pastel (crayons will work if you do not have oil pastel). This is what you will use to create the movement around the butterfly. Long swooping swirls and loops. Just a couple. Next, they can add white to any part of their butterfly that they wish to remain white. For instance, the large circle polka dots. If they would like these to remain white, they should color them in. This will create a resist when the watercolor is added and leave the area white.
Note: If for whatever reason, your glue was not black enough, offer a black oil pastel to re-trace onto your butterfly.
After the white is added, I set up two stations: one for the blue sky and one for the warm butterfly colors.
Step #2:
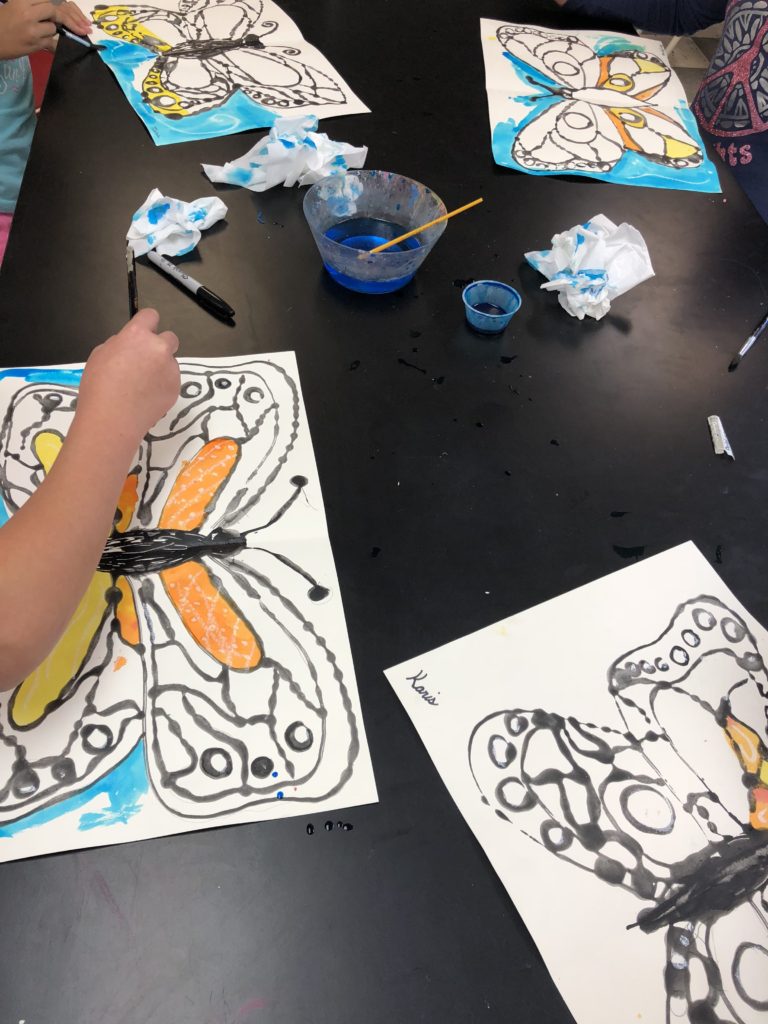
Half of the class painted the sky area, while the other half began their wings. Remind them to use their tissue to blot up pools of paint but not to blot so much that it soaks up too much color.
Remind them that on the wings – paint one side area and then the other in order to keep the butterfly symmetrical. I created colors by pre-mixing the liquid watercolors. Give them a clean yellow and orange, a yellow-orange, a dirty yellow, and a dirtied red-orange that they could add to one area.
Once the blue was completed, even though the wings were mid-paint, I switched the groups so that all of the sky area would be finished during the class period. The Sharpie in this photo was to fix one area from the paint that was not filled in by one student. You should not need Sharpies, but it doesn’t hurt to have one on hand just in case.
Day 4
If needed, this day is set aside for any students who need to finish painting. Some will finish in 3 days.
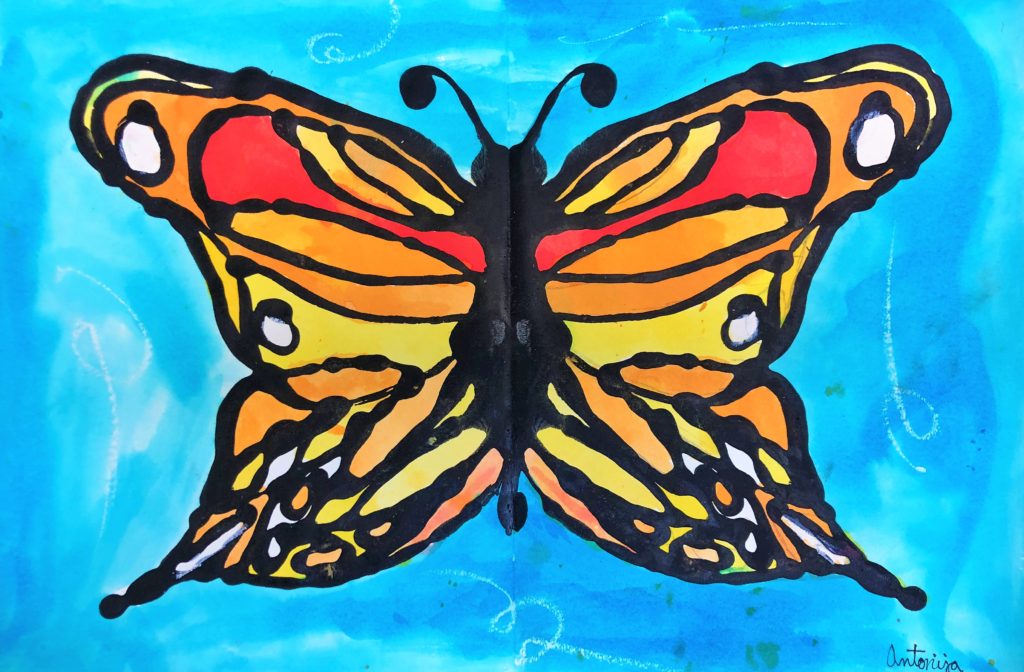
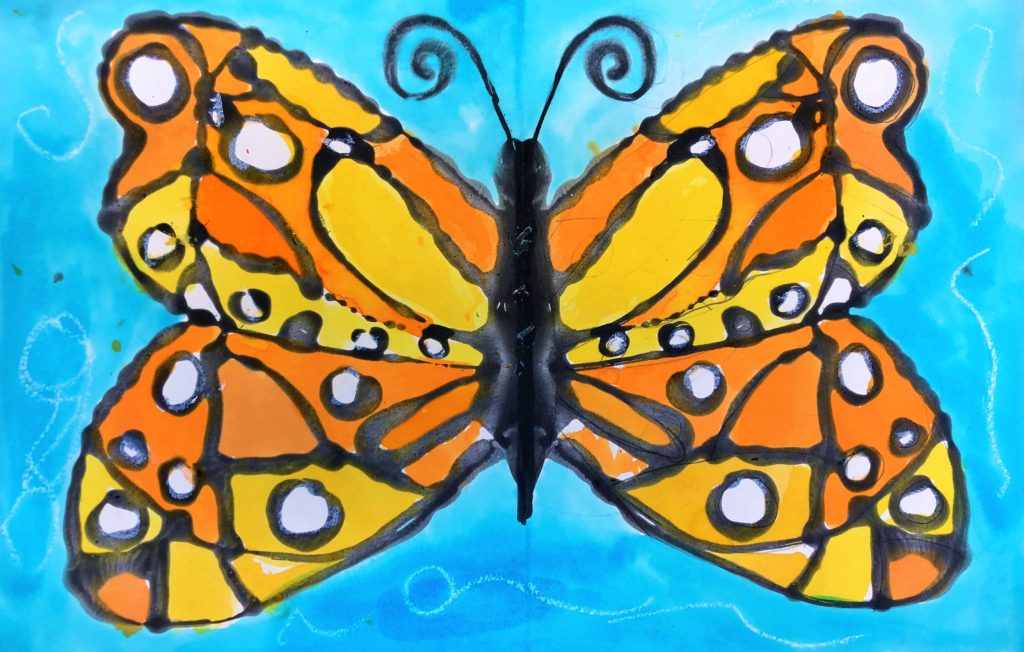
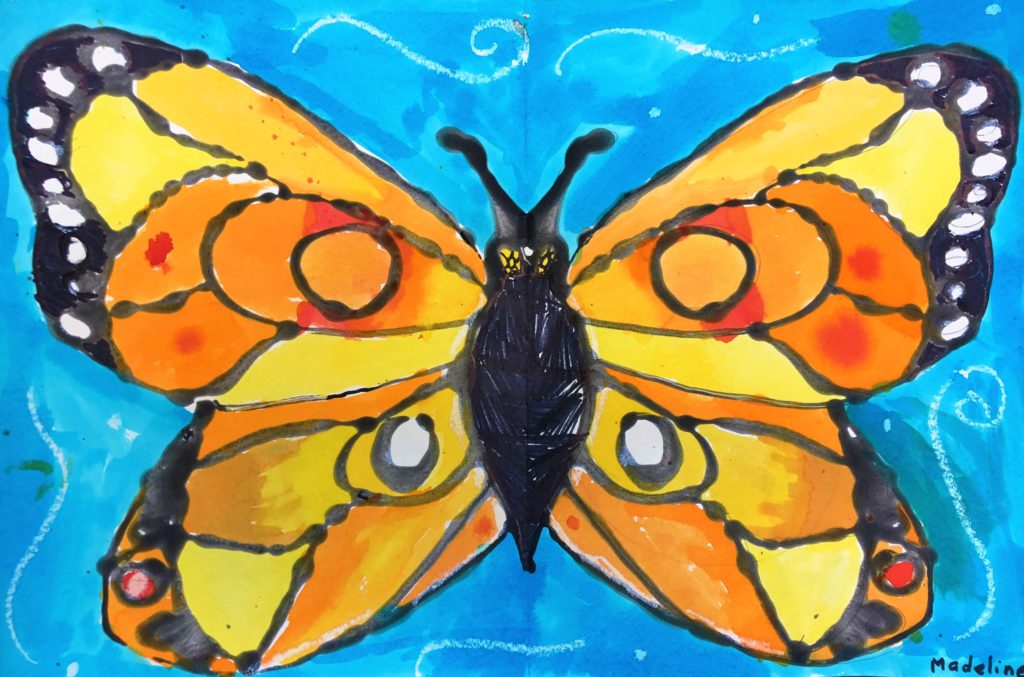
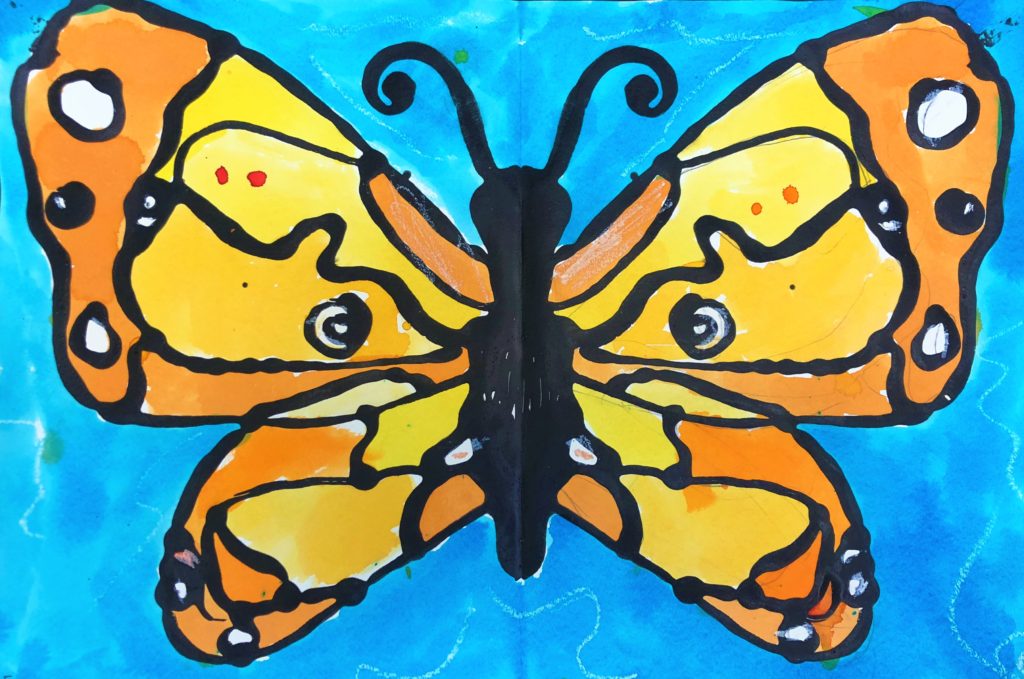
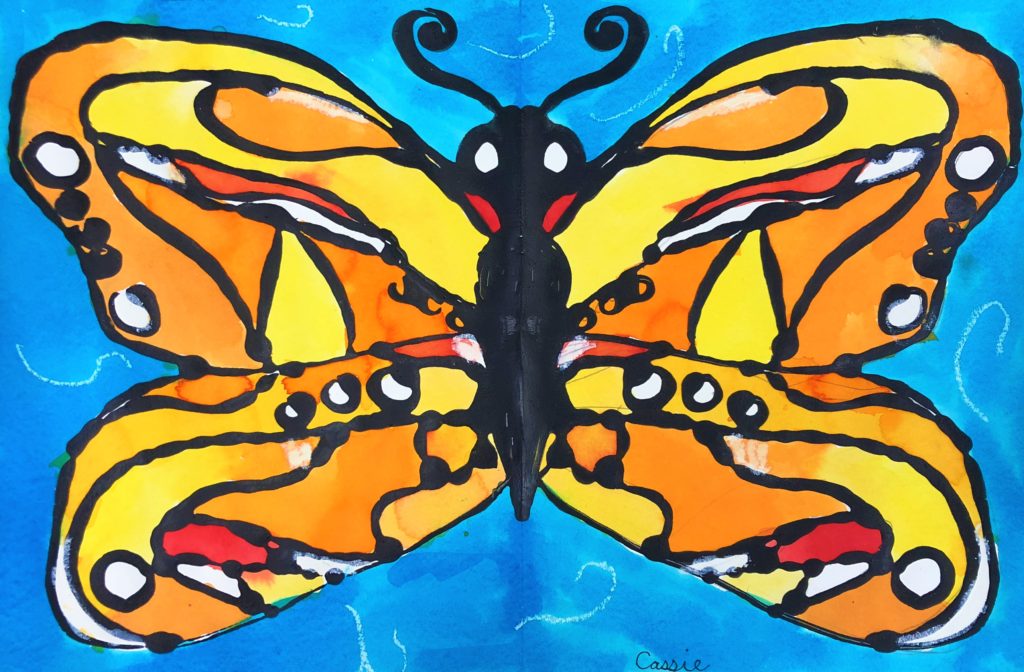
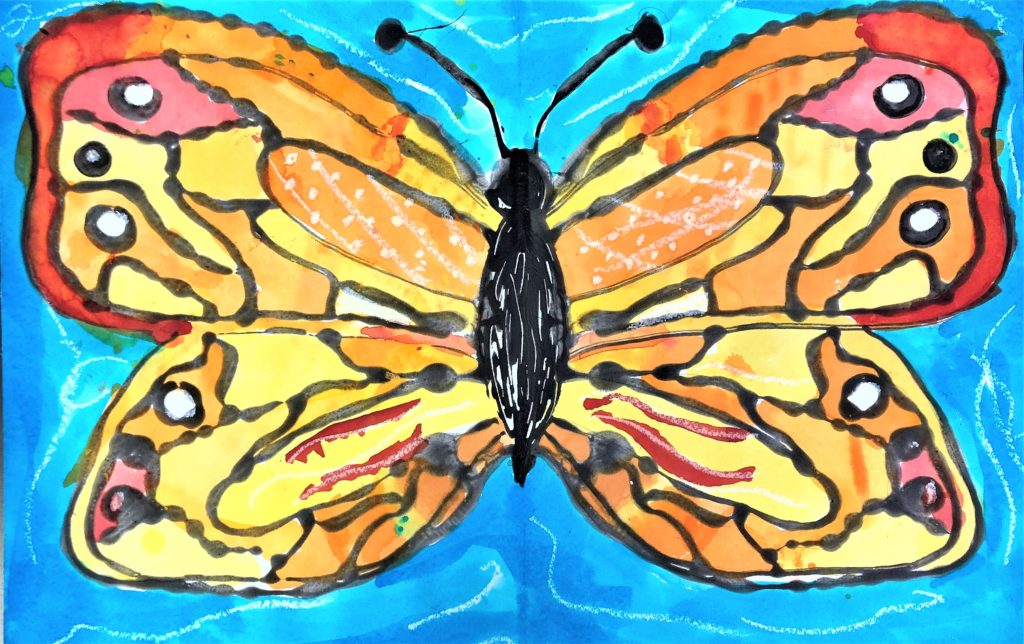
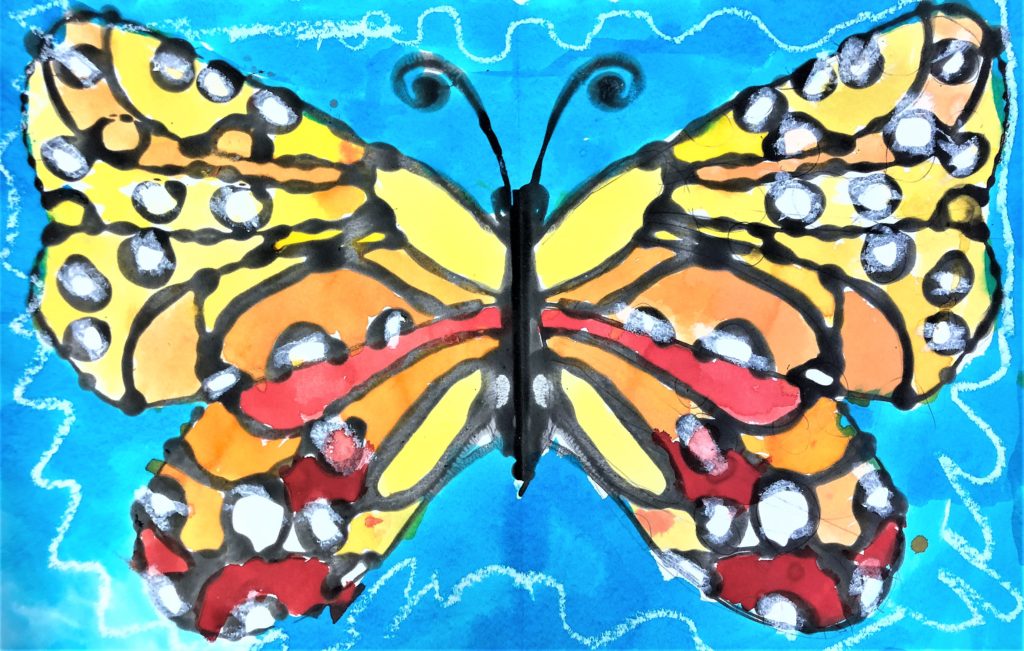
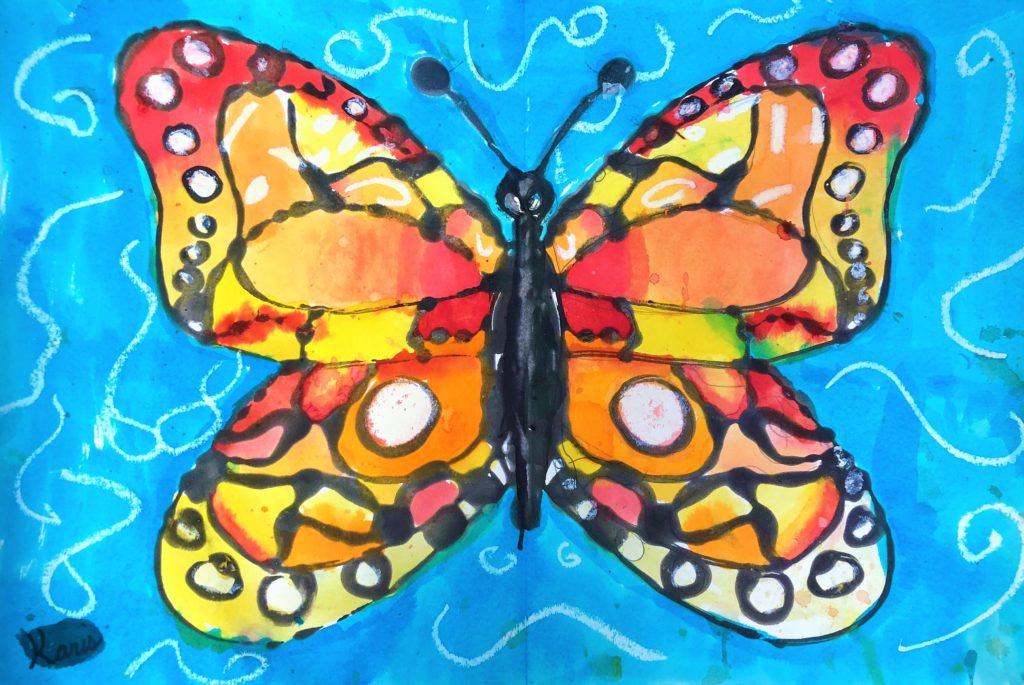
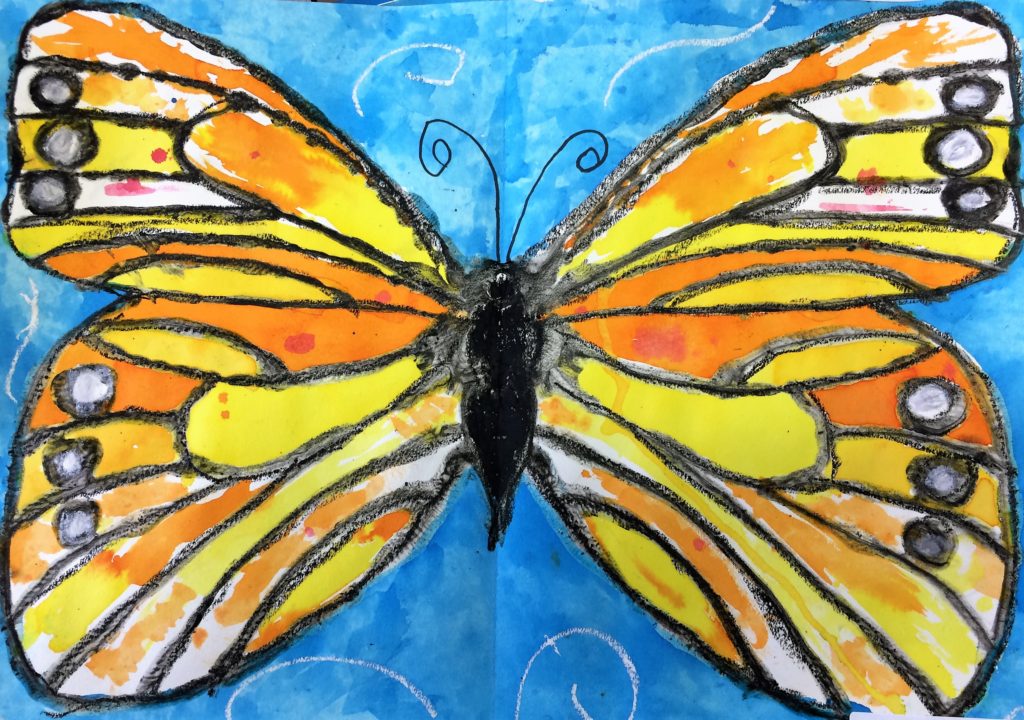
Here are some finished Monarch Butterfly Art pieces!
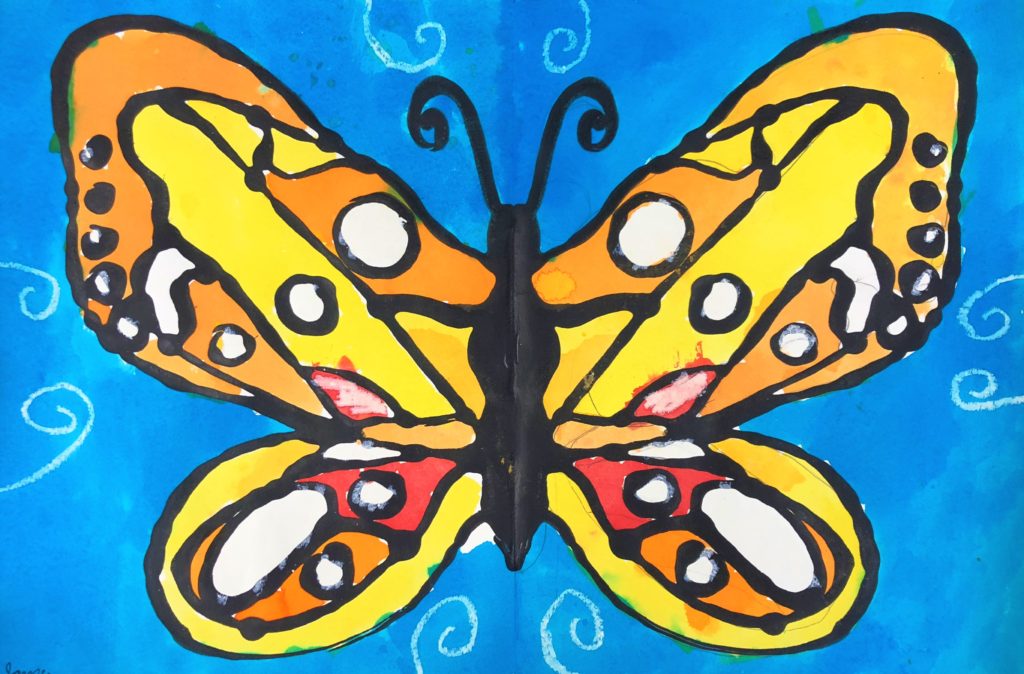
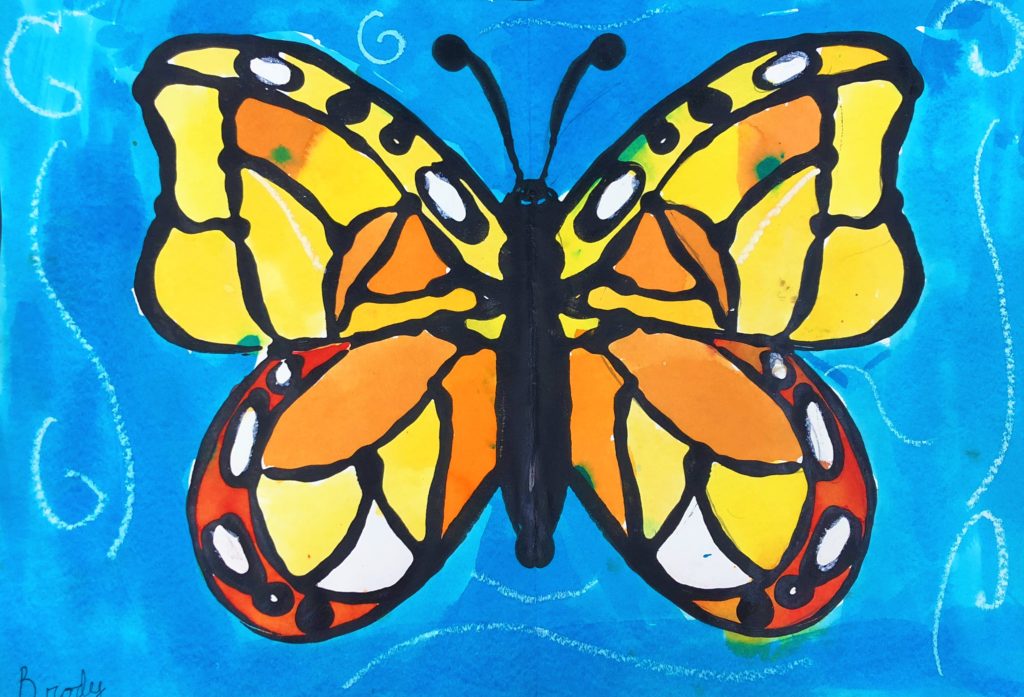
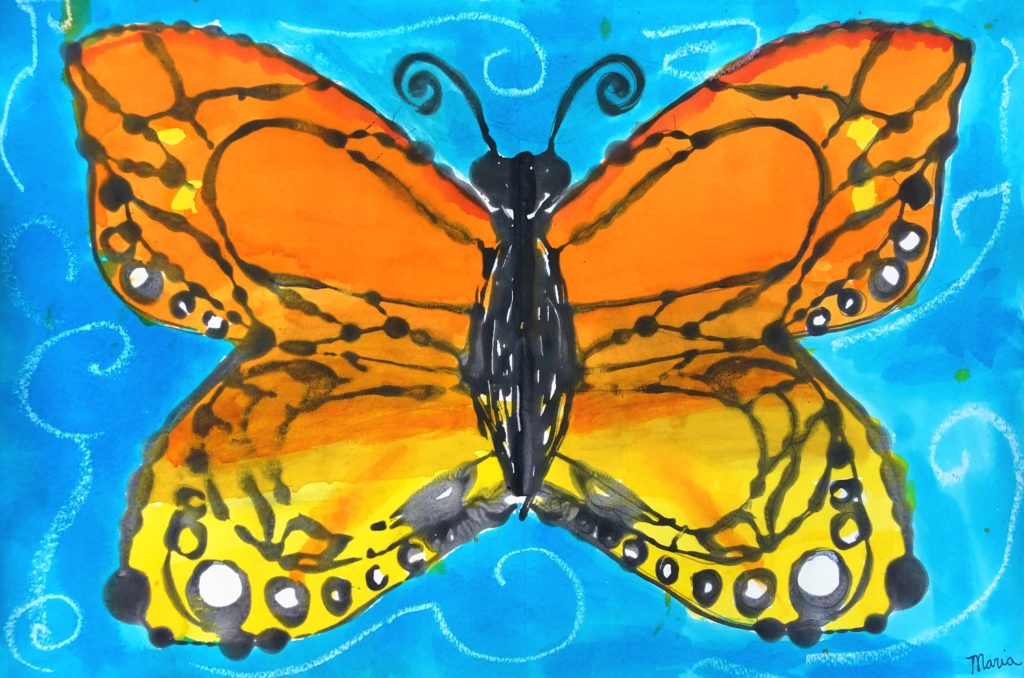
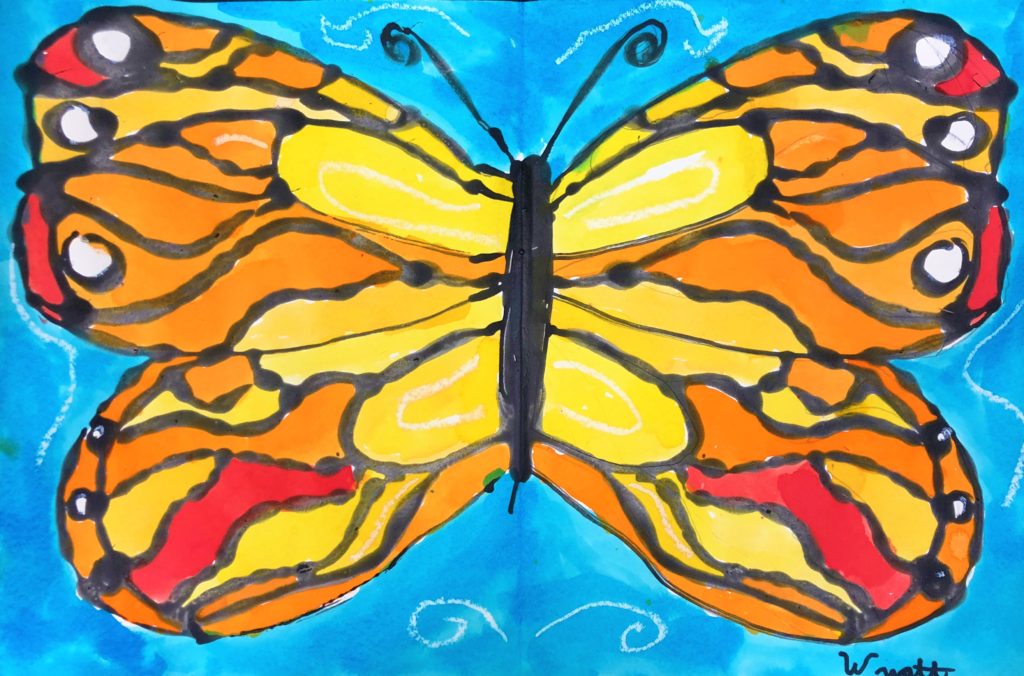
Common Core Standards
4th grade – Math – Geometry
Draw and identify lines and angles, and classify shapes by properties of their lines and angles. (3)
5th Grade – Math – Geometry
Graph points on the coordinate plane to solve real-world and mathematical problems. (1-2)
5th Grade – Science – Earth Sciences
4. Energy from the Sun heats Earth unevenly, causing air movements that result in changing weather patterns.
c. Students know the causes and effects of different types of severe weather.
d. Students know how to use weather maps and data to predict local weather and know that weather forecasts depend on many variables.
6th Grade – Math – The Number System
Apply and extend previous understandings of numbers to the system of rational numbers.
6. Understand a rational number as a point on the number line. Extend number line diagrams and coordinate axes familiar from previous grades to represent points on the line and in the plane with negative number coordinates.
b. Understand signs of numbers in ordered pairs as indicating locations in quadrants of the coordinate plane; recognize that when two ordered pairs differ only by signs, the locations of the points are related by reflections across one or both axes.
6th Grade – Math – Geometry
Solve real-world and mathematical problems involving area, surface area, and volume. (1-4)
6th Grade – Science – Ecology (Life Sciences)
5. Organisms in ecosystems exchange energy and nutrients among themselves and with the environment. As a basis for understanding this concept:
c. Students know populations of organisms can be categorized by the functions they serve in an ecosystem.
d. Students know different kinds of organisms may play similar ecological roles in similar biomes.
7th Grade – Math – Geometry
Draw, construct, and describe geometrical figures and describe the relationships between them. (1-2)
Solve real-life and mathematical problems involving angle measure, area, surface area, and volume. (5)
8th Grade – Math – Geometry
Understand congruence and similarity using physical models, transparencies, or geometry software. (1-4)

hi leah by the way my name is Leah I love art your art is so beautiful and inspiring keep doing what your doing girl
Wahooo hi Leah!