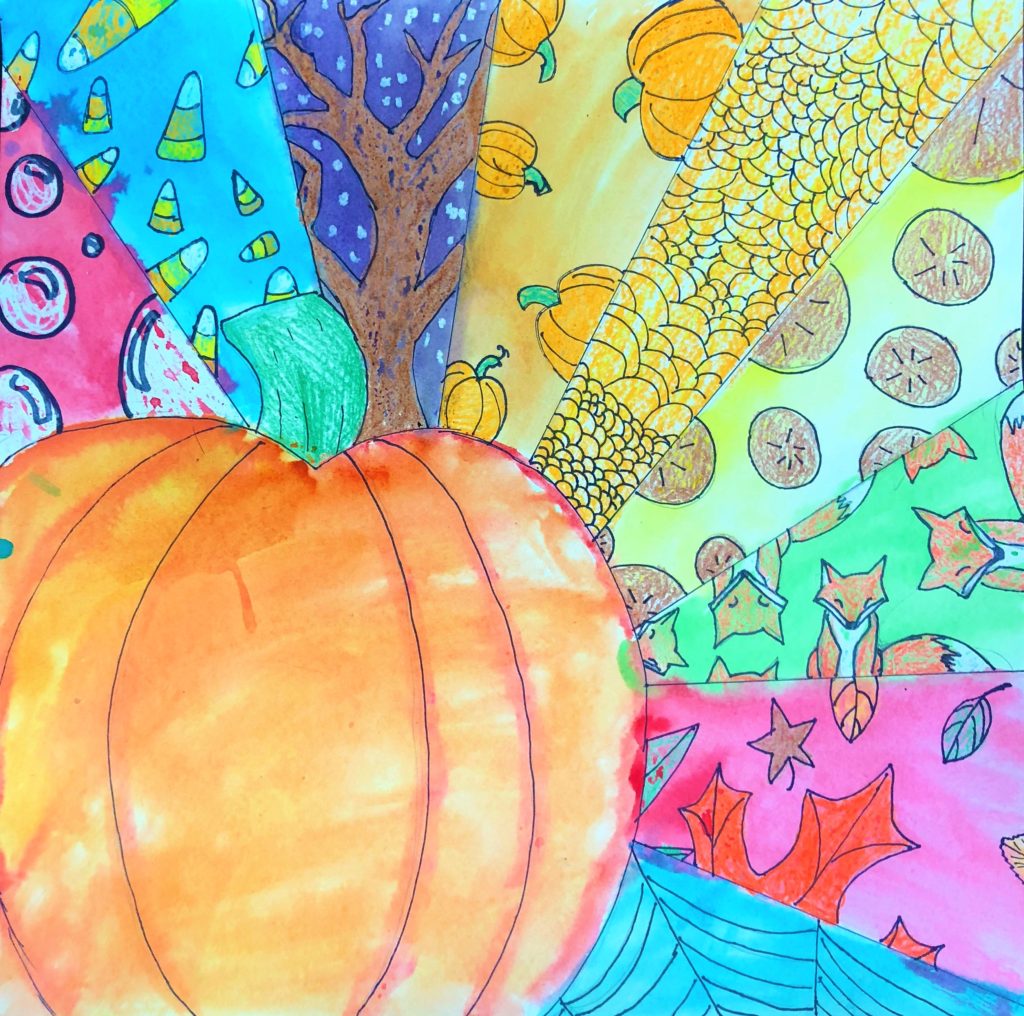
This autumn patterns art lesson is inspired by Zentangle art for Middle School Students. It helps reinforce the elements: Line and Texture and Patterns.
Grade Level
5th, 6th, 7th, 8th Grade – The examples in this lesson were made by 7th graders.
Objective
In this Autumn Patterns Art lesson, students will design patterns in an autumn art project.
Time
4 45 min lessons
Materials
- Pencils
- Crayons
- 12×18 Watercolor paper – Canson XL Series Watercolor Textured Paper Pad for Paint, Pencil, Ink, Charcoal, Pastel, and Acrylic, Fold Over, 140 Pound, 12 x 18 Inch, 30 Sheets
- Brushes – Acrylic Paint Brush Set, 1 Packs / 10 pcs Nylon Hair Brushes for All Purpose Oil Watercolor Painting Artist Professional Kits
- Liquid Water Colors – Sargent Art 22-6010 10-Count 8-Ounce Watercolor Magic Set
- Or this mini version for homeschooling – Sargent Art 22-6210 10-Count 4-Ounce Watercolor Magic
- Kleenex for blotting paint
- Sharpie Marker – Sharpie Permanent Marker, Fine Point, Black, Pack of 5
Inspiration/Artist
I was inspired to make this project after I saw this idea: Click Here
Instruction with Questions
Day 1
Review what students know about Line, Texture, and Patterns. Define each one with the students with examples.
Line:
A line is an identifiable path created by a point moving in space. It is one-dimensional and can vary in width, direction, and length. Lines often define the edges of a form. Lines can be horizontal, vertical, or diagonal, straight or curved, thick or thin.
Texture:
Texture refers to the way an object feels to the touch or looks as it may feel if it were touched.
Pattern:
Repetition refers to one object or shape repeated; pattern is a combination of elements or shapes repeated in a recurring and regular arrangement
Show them the following videos:
Line defined – From Goodbye-Art Academy: Click here
Texture defined – From Goodbye-Art Academy: Click here
And just for fun – Even my older students love this – Sesame Street: Abby Cadabby teaches Josh Gad about Texture: Click Here
Day 2
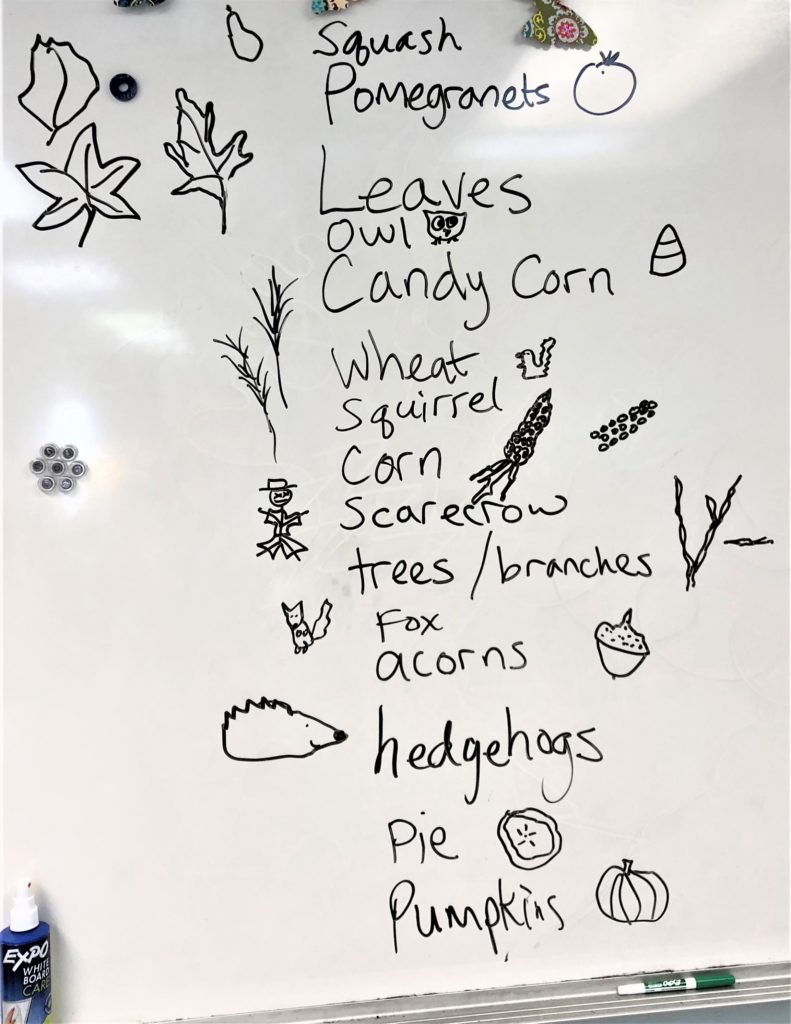
Brainstorm with the students anything and everything they can think of that is associated with Fall. Here is what my class came up with. As they rose their hand and shared their idea, I drew a very simple shape representing it.
Step #1:
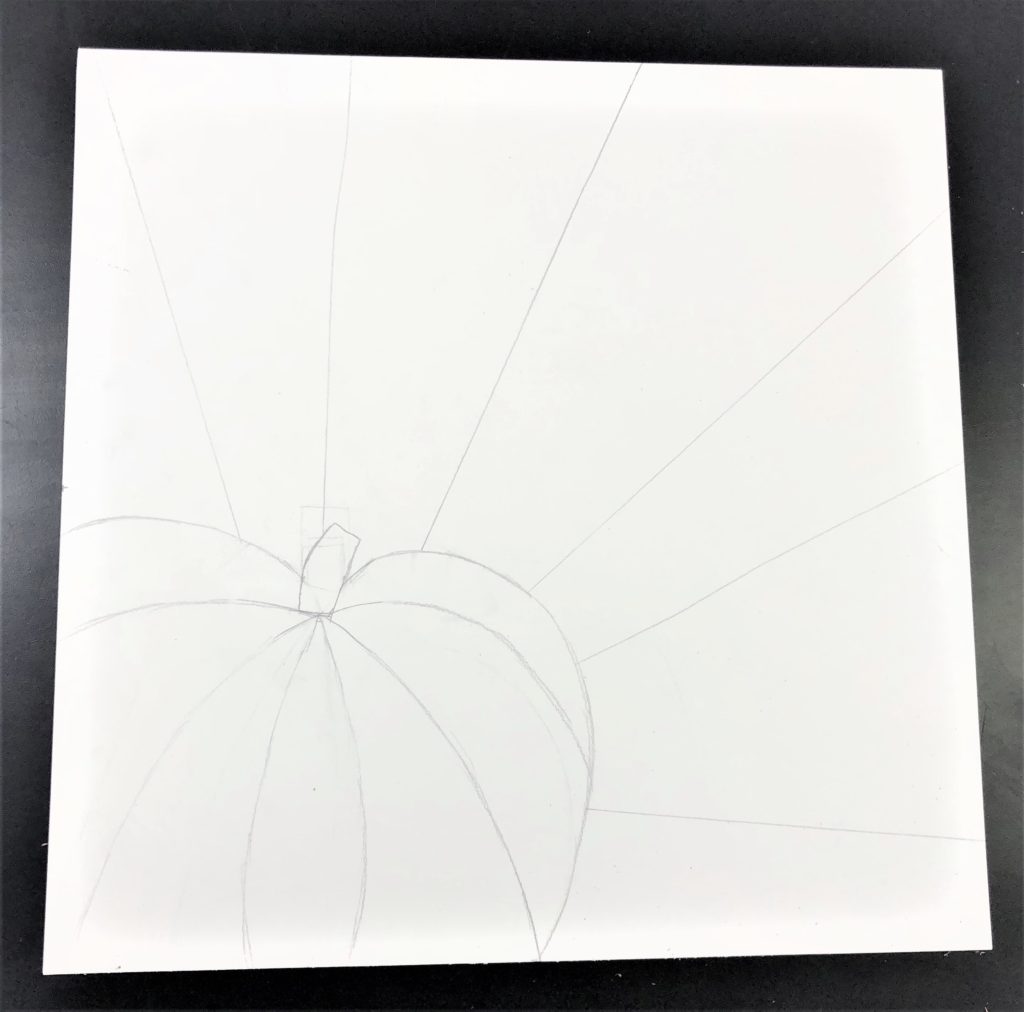
Pass out a pre-cut 12×12 square from a 12×18 sized Watercolor paper. In the bottom corner, students draw a pumpkin.
There are some good videos on Youtube that I recommend showing them, or watching and then doing on the board for them. Here is a great one from Cartoon Hub. A key ingredient is making sure the lines bend toward the stem. I also recommend showing them that the top should have bumps.
Once students finish drawing the pumpkin, they will create lines that extend out from the pumpkin.
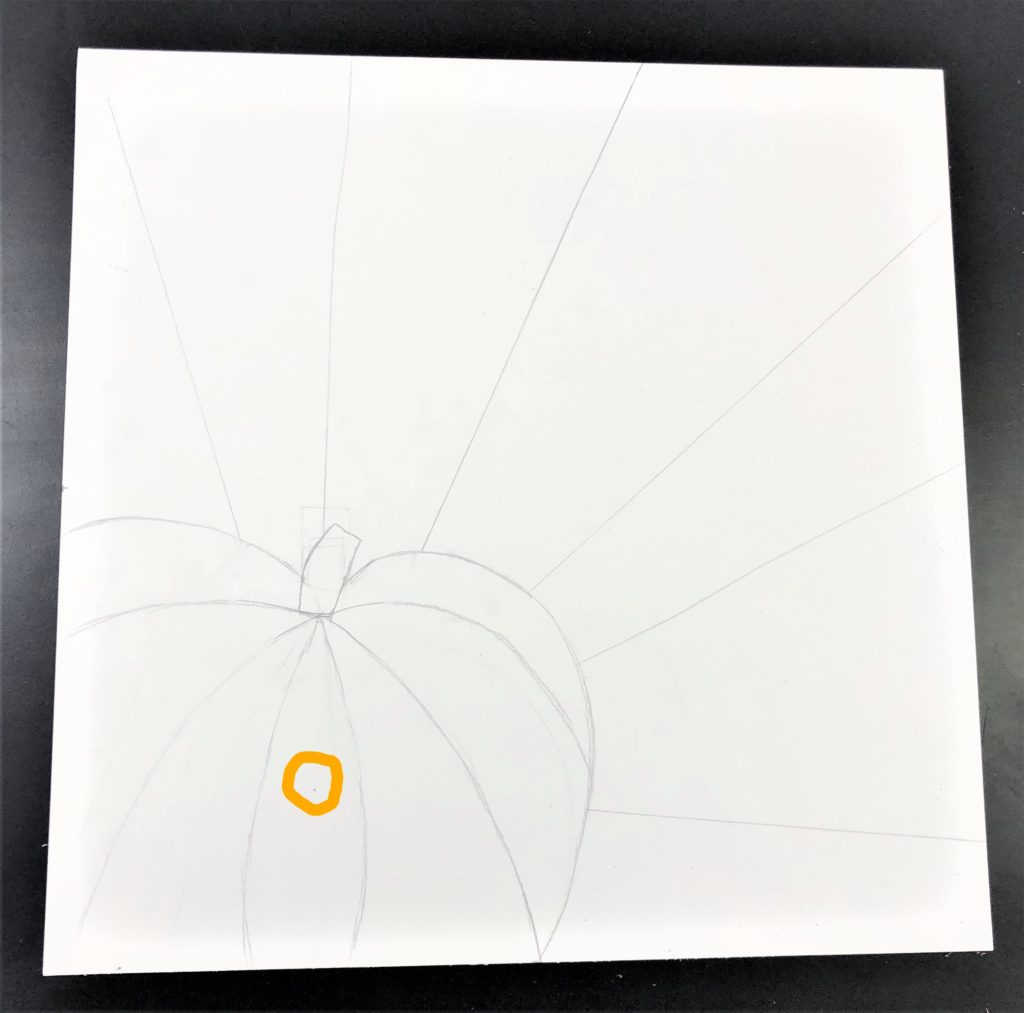
In order to make the lines look like rays of light, show students how to choose a single point inside their pumpkin. Show them how to use this point to draw all of the ray lines. Have them make approximately six ray lines.
Step #2:
Have them use a Sharpie to go over all of their lines. My rule of thumb was, if they were using a fine tip Sharpie then use it consistently. If they used a fat sharpie, use it consistently. Find Balance.
Day 3
Today we review our list of autumn items. If at all possible, keep this up on your board all week. It was a source of inspiration for my other classes. While it was good to brainstorm in the beginning, and good for their brains to keep thinking up Autumn ideas, you could also do the brainstorm right as they are about to draw the items. Here are the directions for creating patterns in each area:
- Use different shapes and sizes for each area – Acorns could vary in size or all be the same size in that area, but find balance…have a plan
- Choose a different Autumn image pattern in every block
- One area may have small items, so make bigger items in the next area
- Consider which direction your items are facing
- You items should look like they are going off the page on all sides – In order to do this, draw half of an acorn on the line it is about to intersect
- Overlap items for a layered look
- Don’t allow too much space around your images
- Do not write any words
- Create simplified images since you are creating a lot of them
- No Pencil…only Sharpie
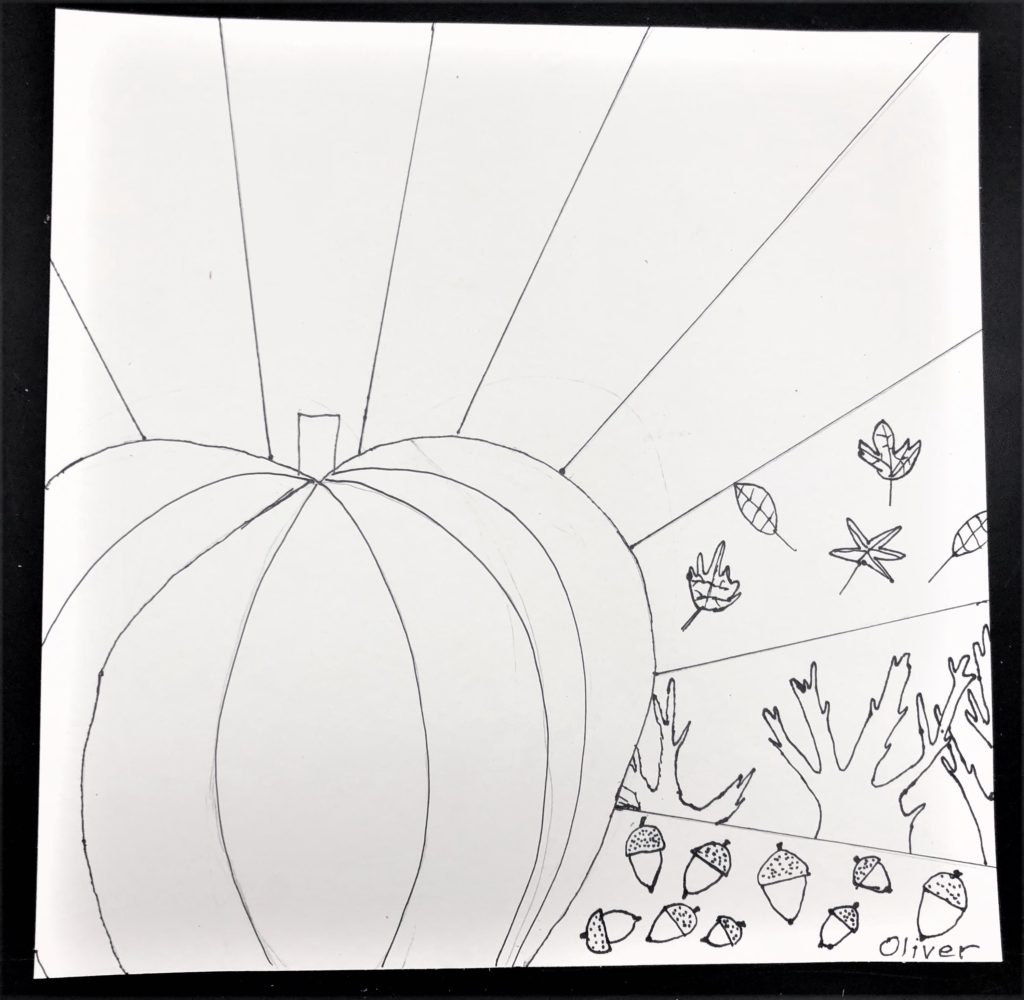
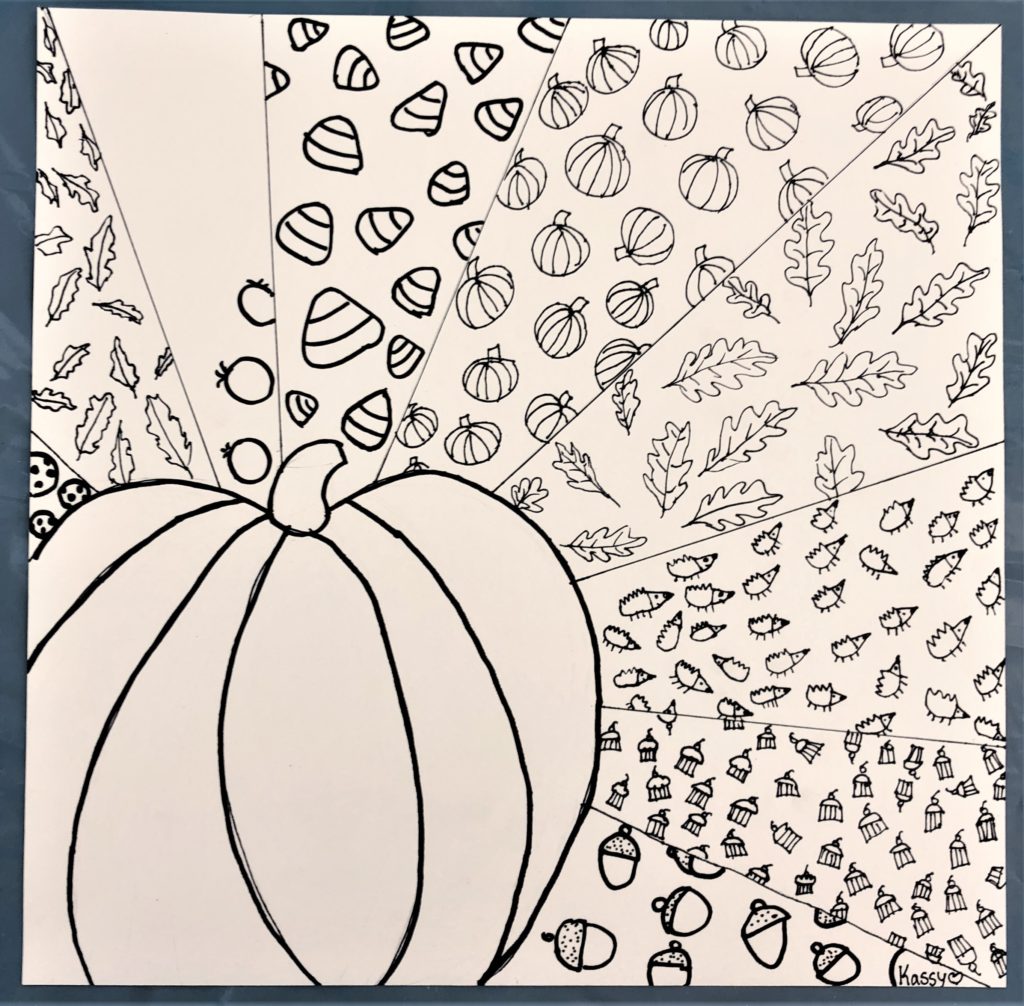
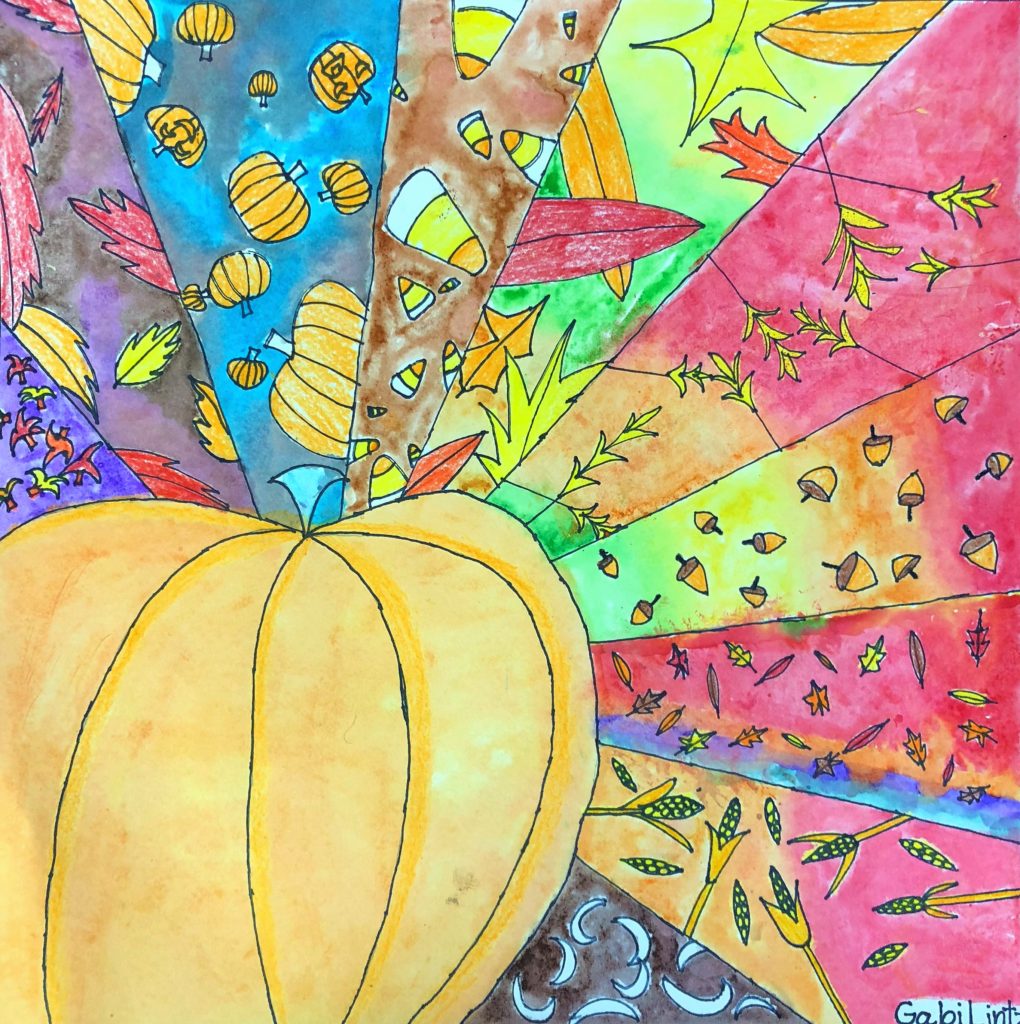
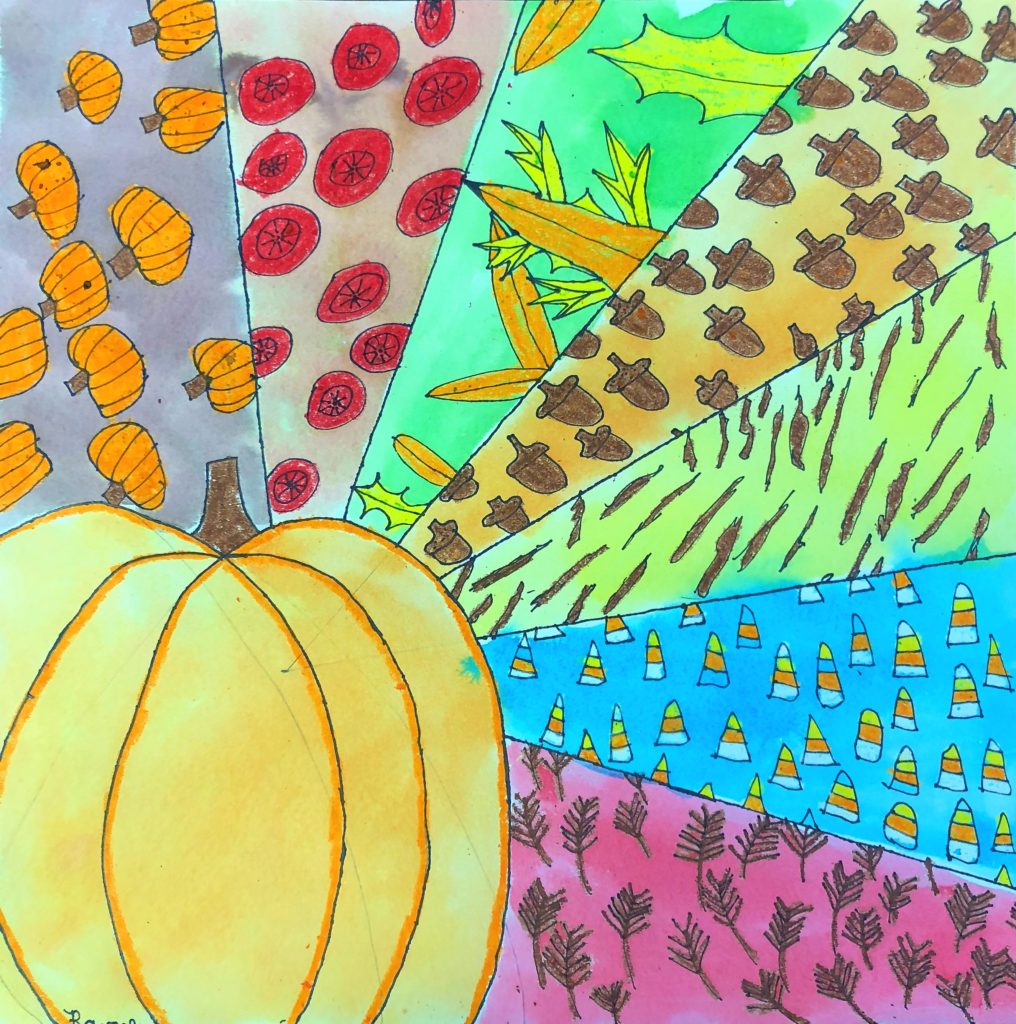
Here are some finished Autumn Patterns!
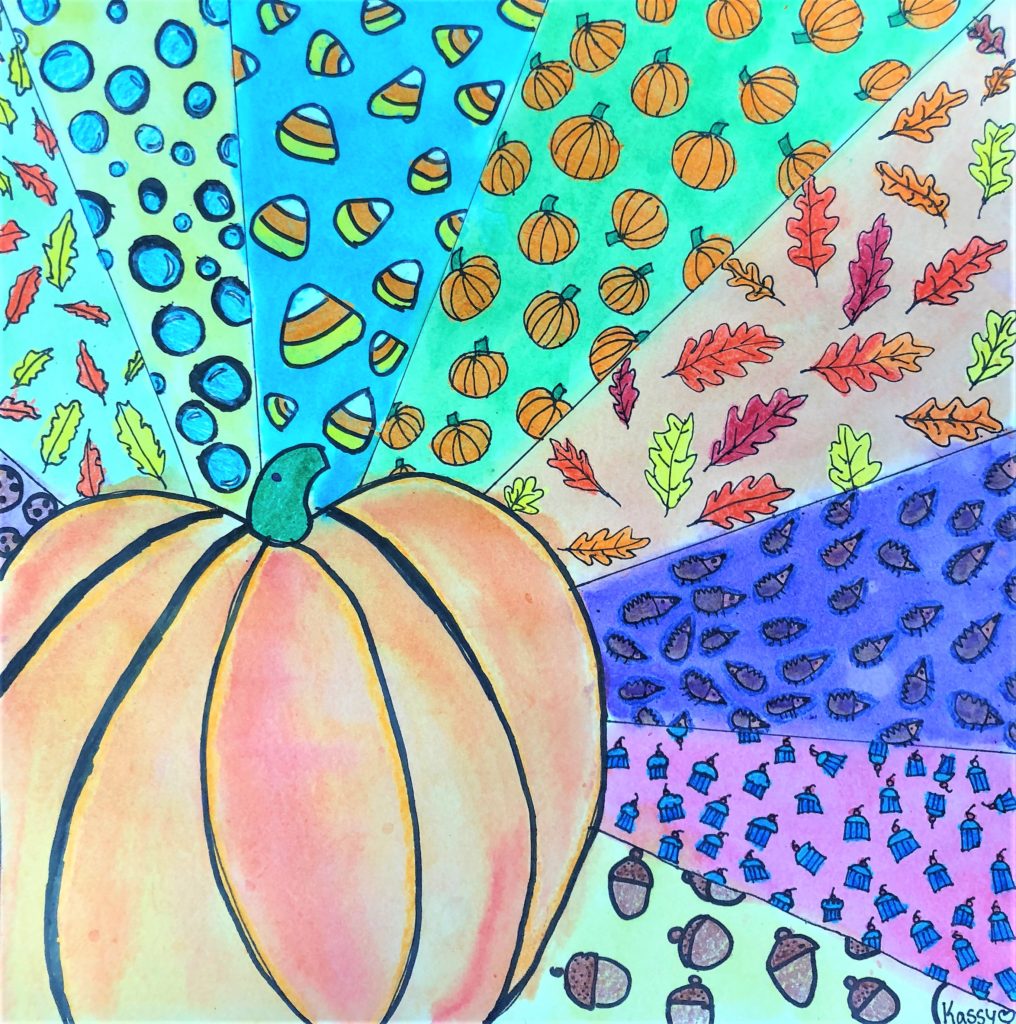
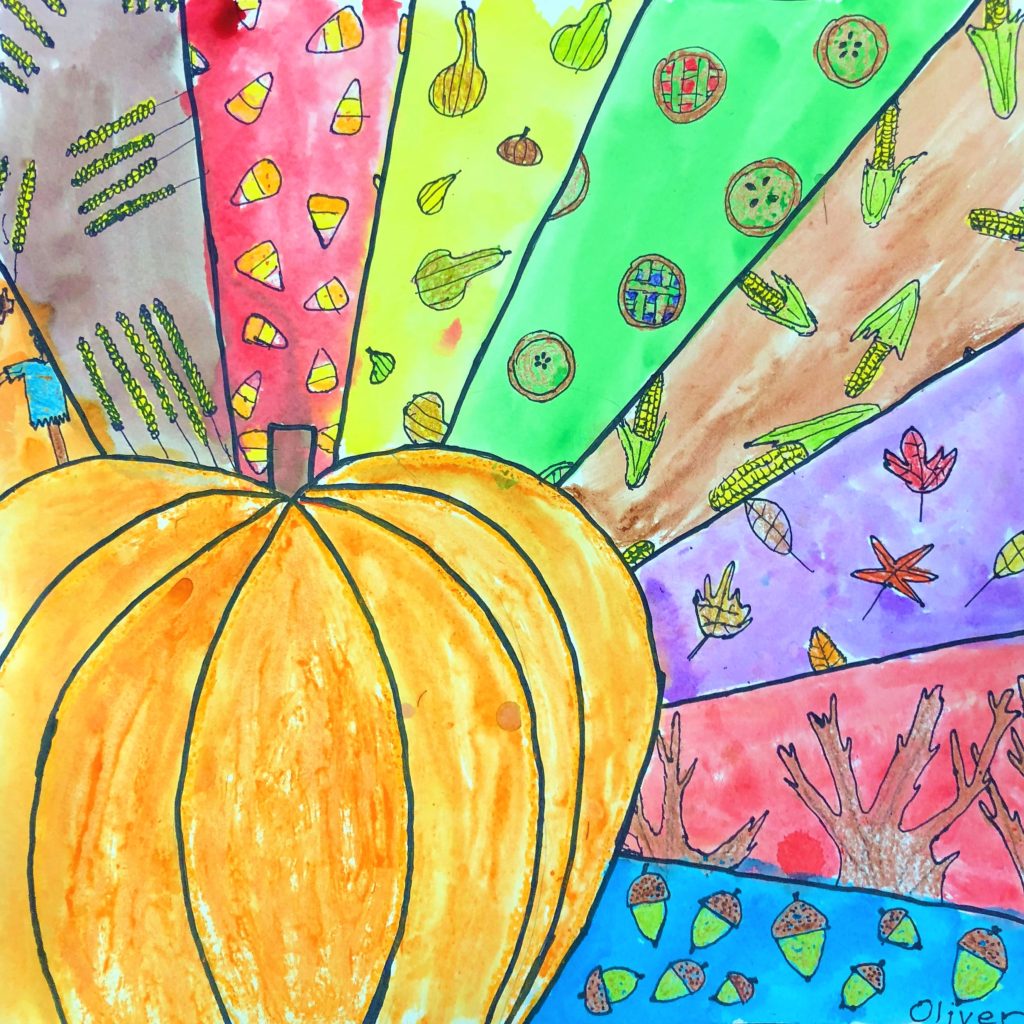
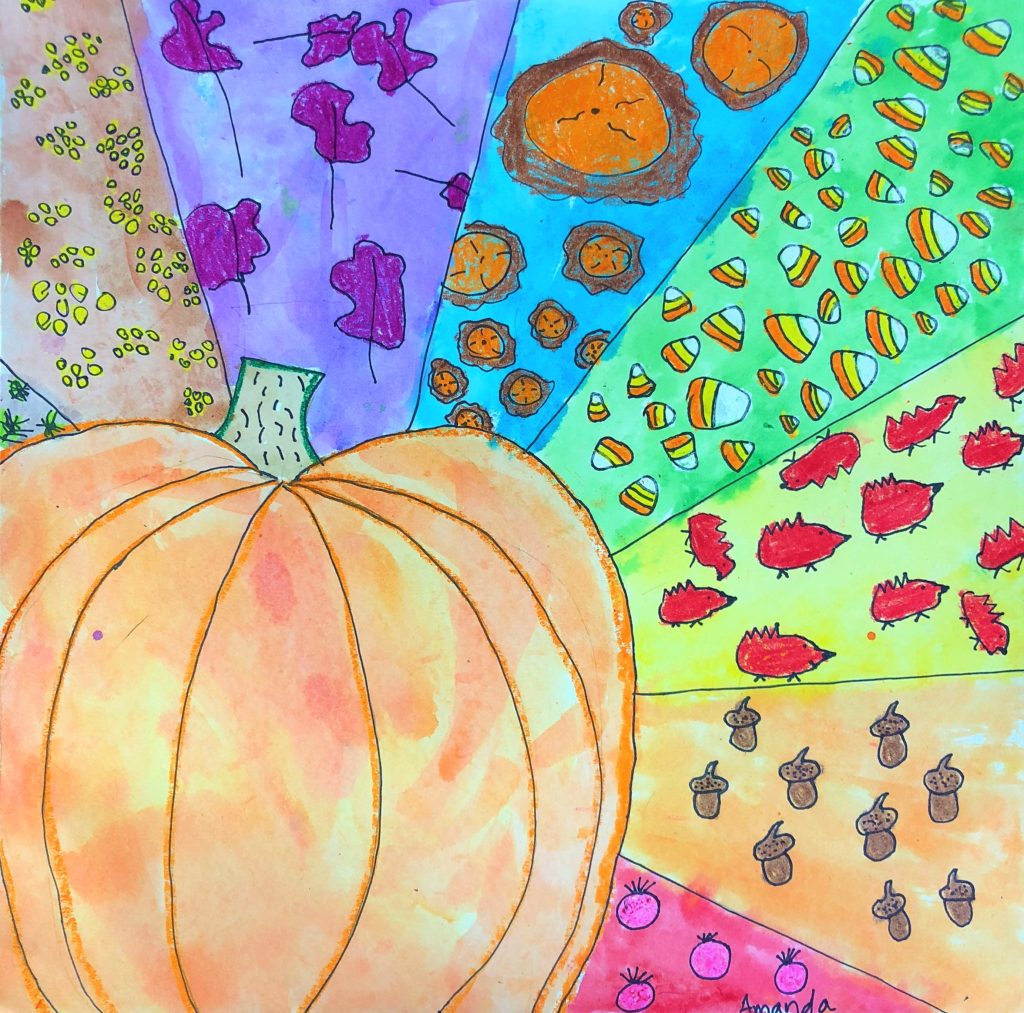
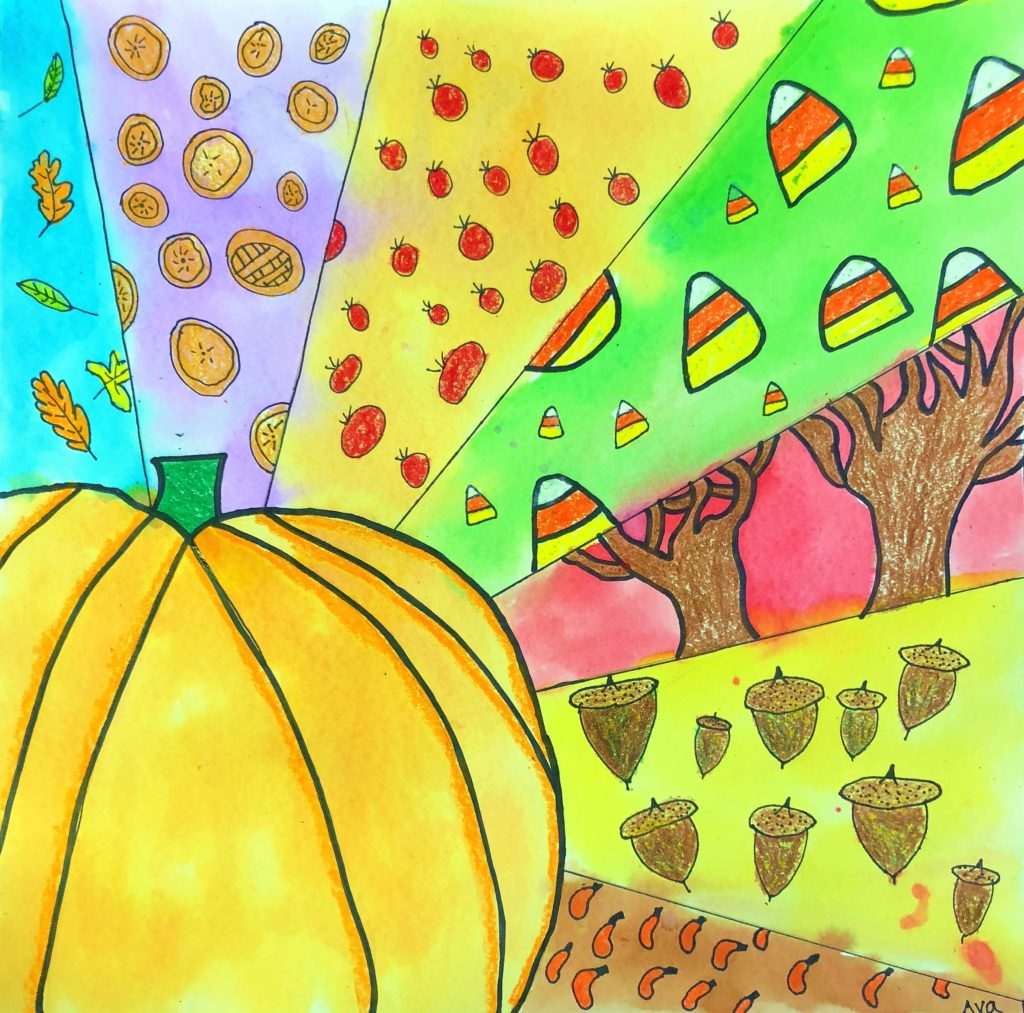
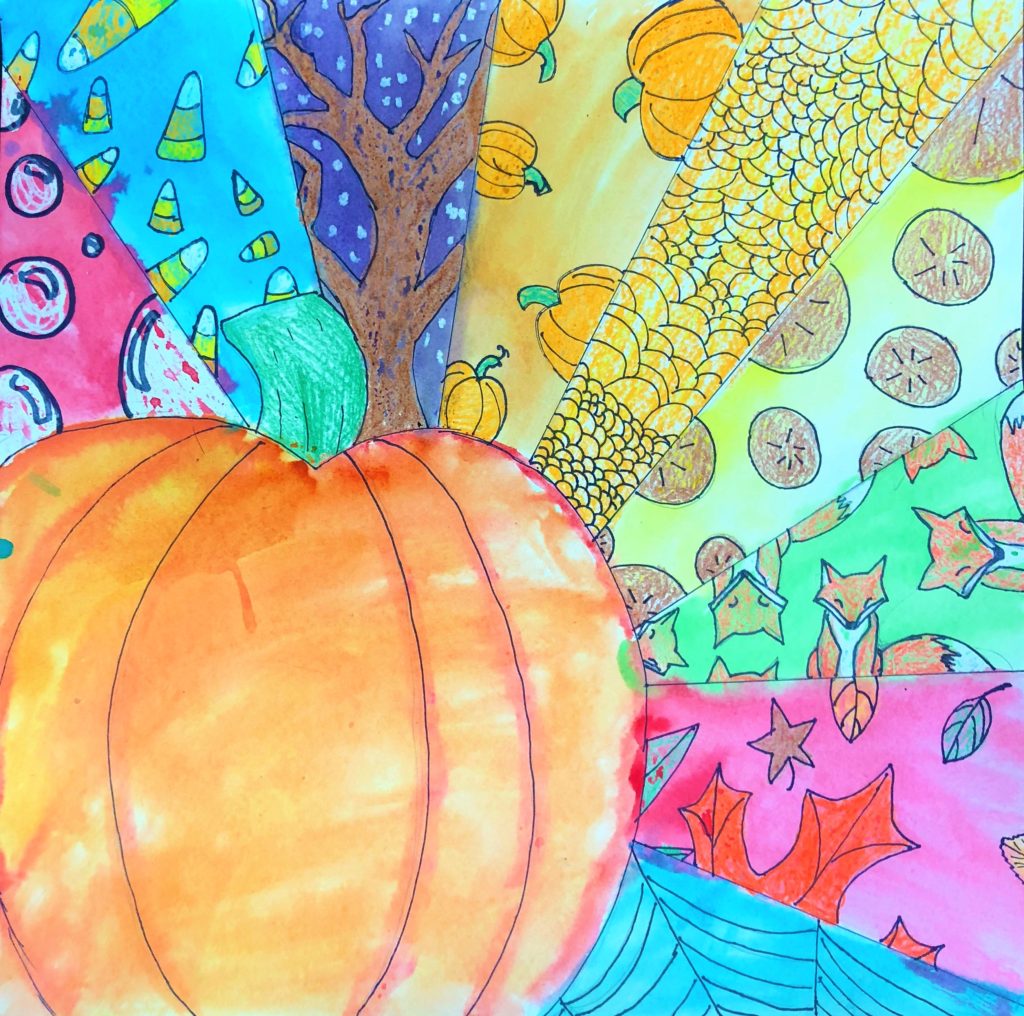
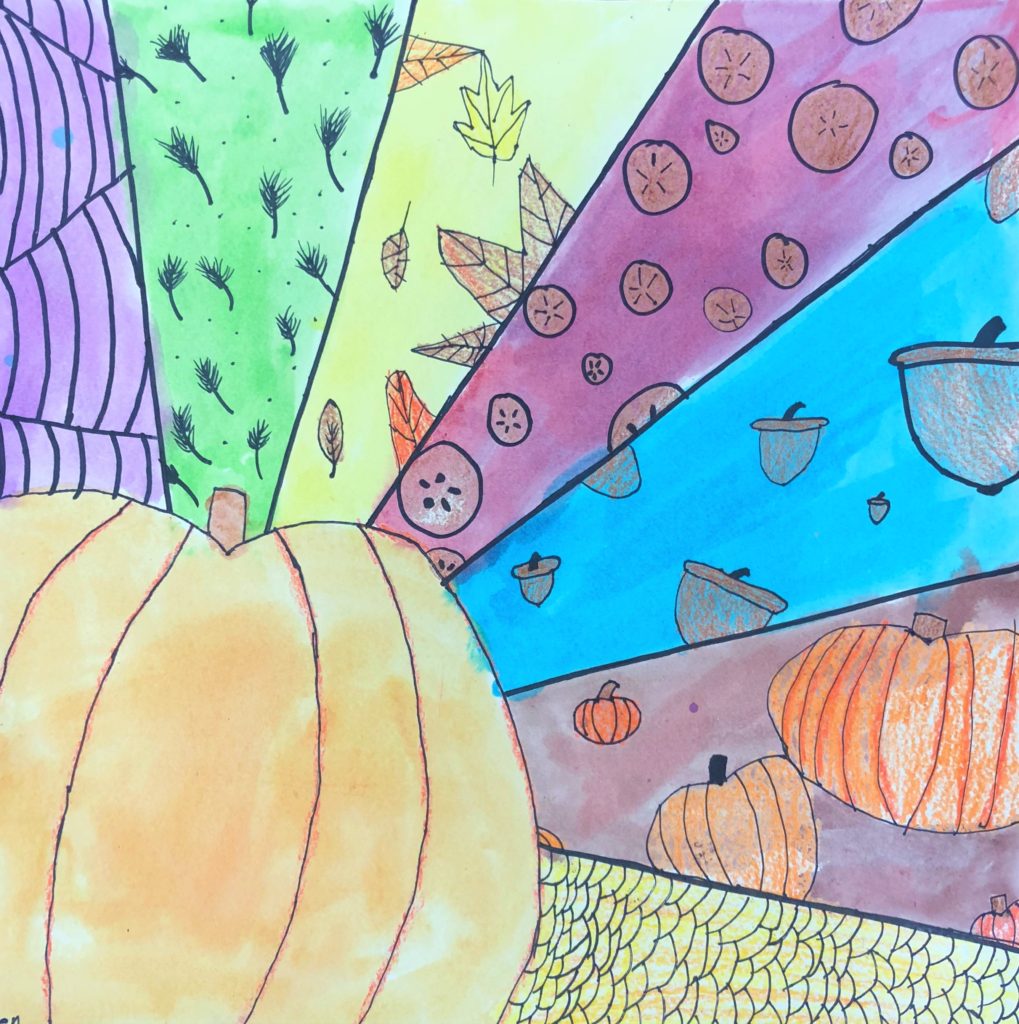
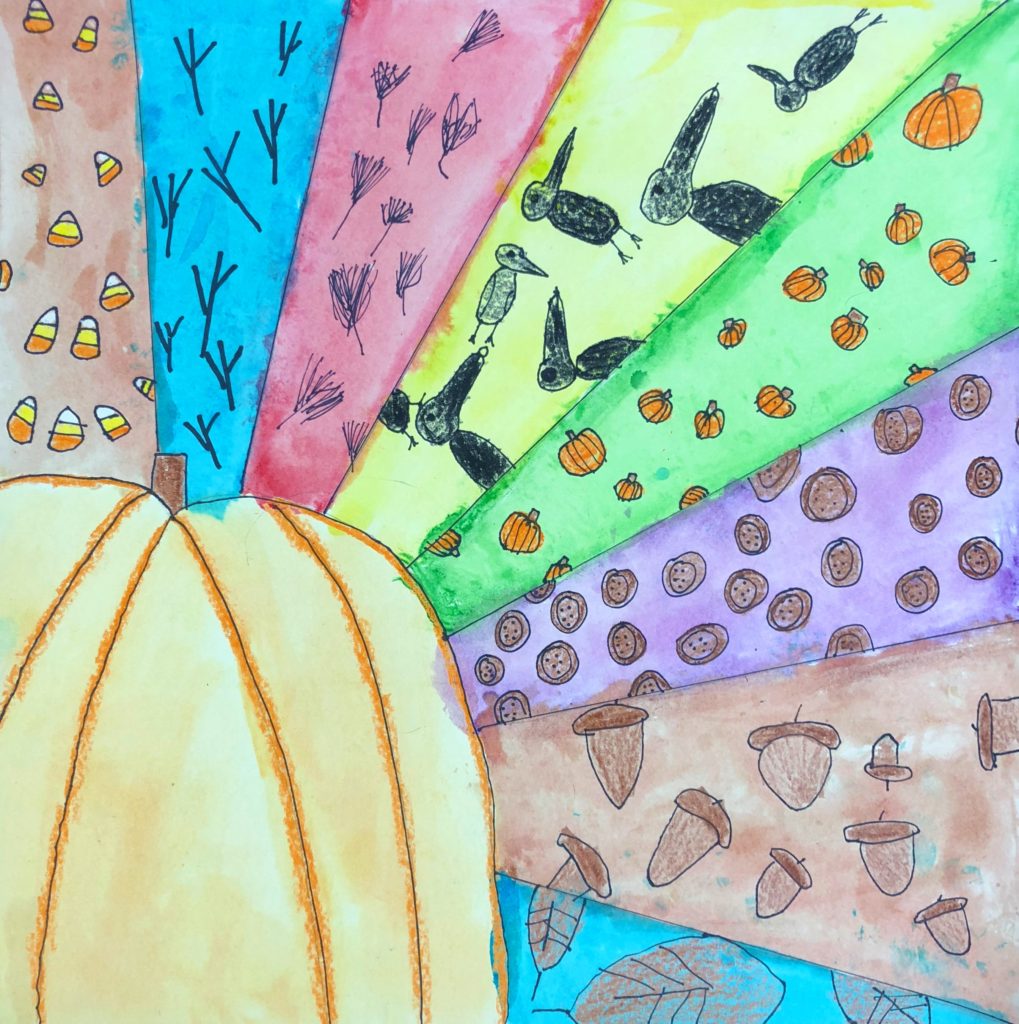
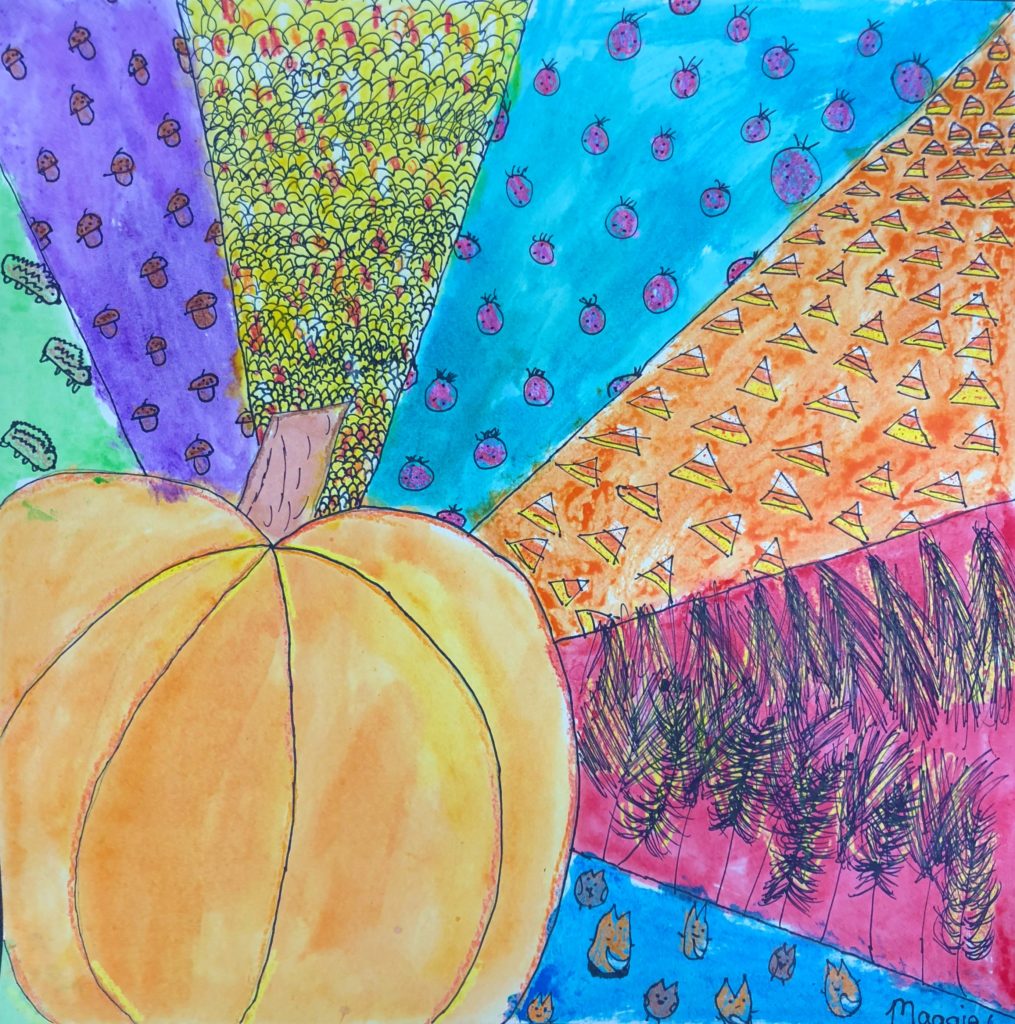
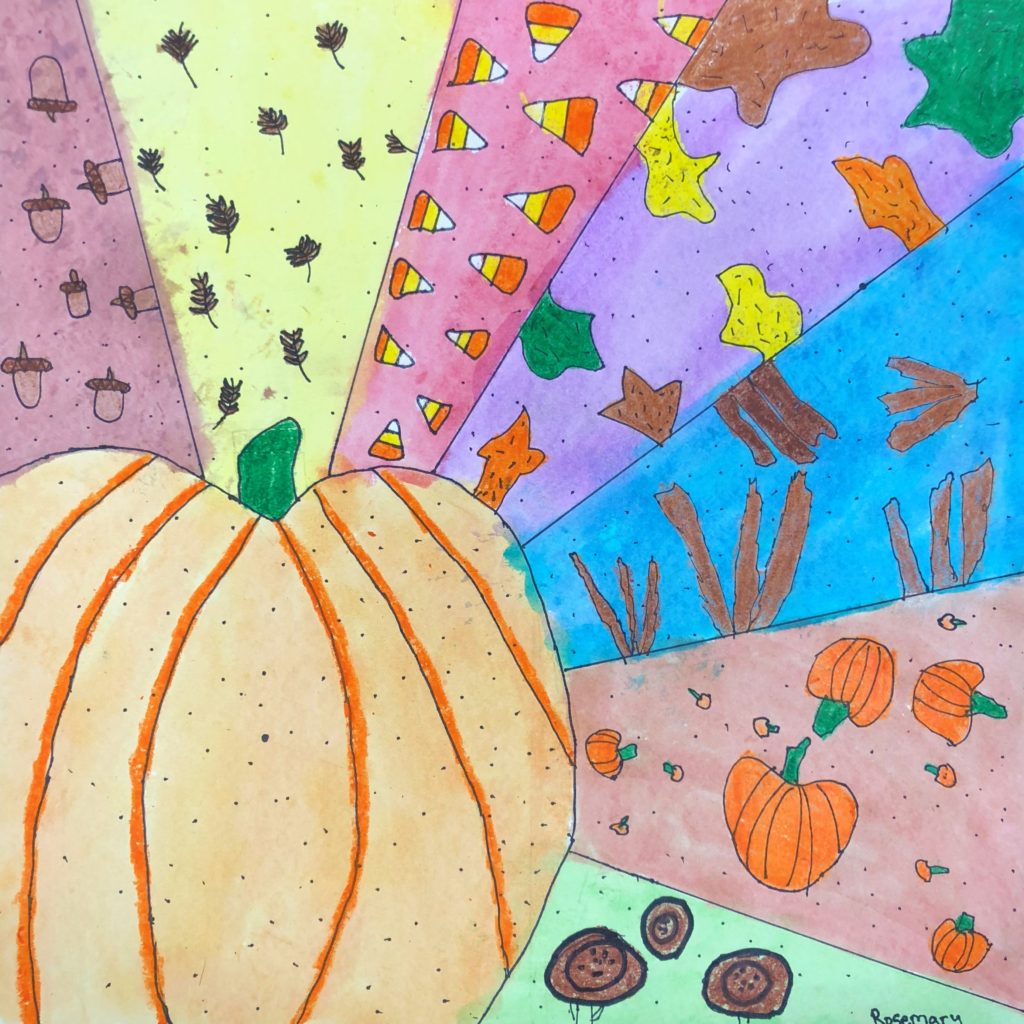
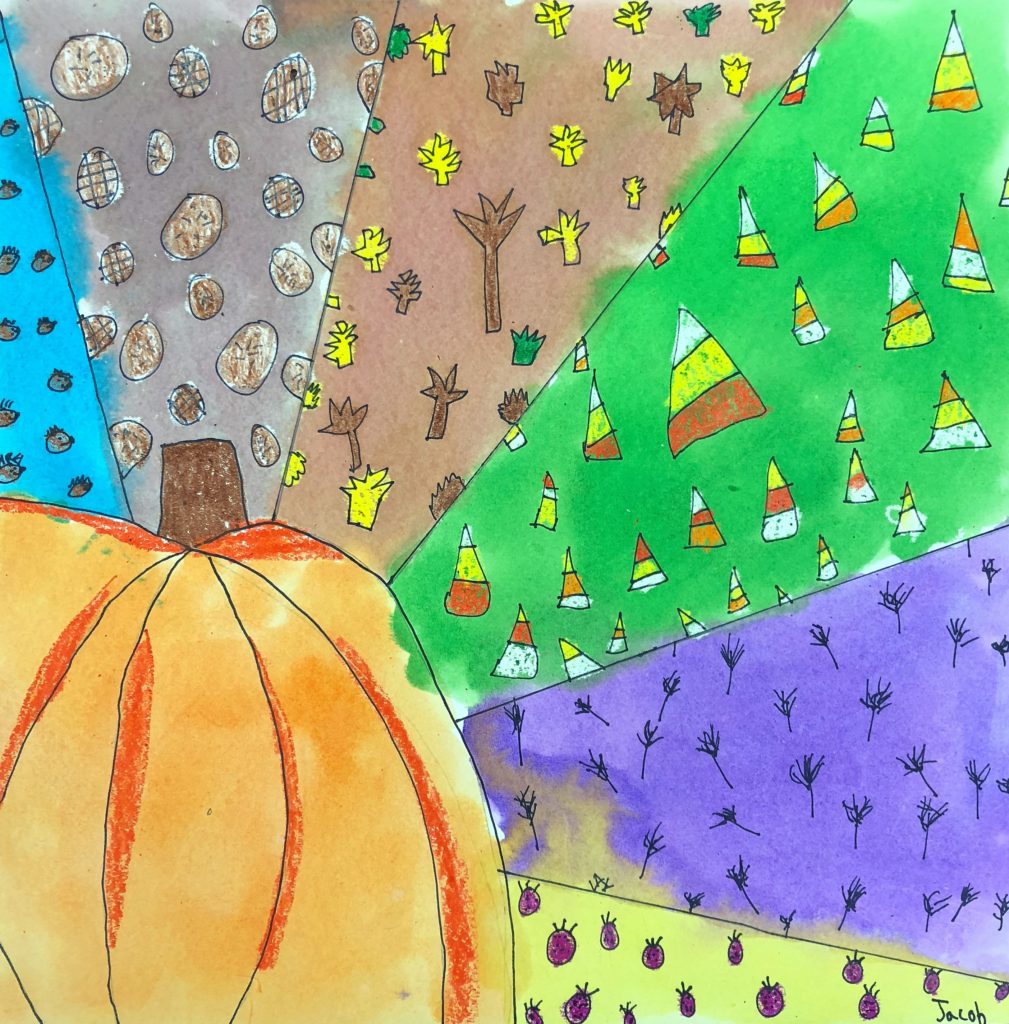

Hi, I would love to do this art lesson with my class, but do not have access to any kind of watercolour paper. I am wondering if you could suggest a second option and what size should it be?
Thank you for reaching out! If you are using watercolor paint or markers for this kind of project, watercolor paper, or mixed media paper is best. It helps prevent the paper from breaking down too quickly and making an unwanted hole in your paper. A great alternative for this project is to use markers and crayons. The marker would serve as the outline of the images that students could color in with crayons. I would love to hear how they turn out! Let me know how else I can support you!
Leah
Thank you ! I will let you know how these turn out! Do you have any suggestions for links for videos for them to draw the pumpkins?
I just updated my lesson to include a video (Cartoon Hub) that I think will support this lesson. Let me know if it helps.
Is there a rubric that you used for to evaluate this art. Please can you share it with me
I do not have one made as of yet. That is a great recommendation. If you make one before I do, I would love to see it. I appreciate you reaching out.
I love the art
I love this project so much!! I am not an art teacher, but a homeschooler so I was wondering if you have any tips or videos for the kids on how to use thier water color paints to achieve some of the shading and/or bright colors?
Thanks!
Thank you so much for reaching out! This lesson is so fun. A great science connection is playing with the water and paints prior to the final artwork. Gather evidence of what happens when you use water on the paper before you add the color, vs adding wet color onto dry paper. Also, after applying, what happens when you add more paint on top of paint while it is still wet vs when it is dry. Additionally, you could experiment with using crayons and then paint, vs trying paint and then crayons. I love discovery learning especially with art. I hope this helps. Please feel free to email me and let me know how I can further support you. leahnewtonart@gmail.com
Hello Leah! Thank you for this wonderful learning lesson. I am a first-time art teacher as well as ultra-beginner.
Materials, layering, and results are all a huge learning curve for me. May you explain if the students colored with pencil or crayon first then finalized with watercolor or vice versa?
How did they achieve the finalized coloring layers?
Thank you again kindly!
~Alexandria K-8
I completely apologize for my late response. For resist, always use crayon first. The colored pencil will not work as well with watercolor. But, a great science connection is to have students hypothesize what they think will happen and allow them to play. Let me know if that worked. Please feel free to email me directly and I am happy to assist. leahnewtonart@gmail.com
Hello!
What about day 4? I’m curious what medium you used for filling in with colour? Some look like watercolour was used, others look different.
I apologize for the late response. The students were able to decide if they wanted to use oil pastel, crayon, watercolor or a combination. Some used crayon for texture and then added watercolor on top. They are all different for sure. I love it when student voice and choice are evident :).