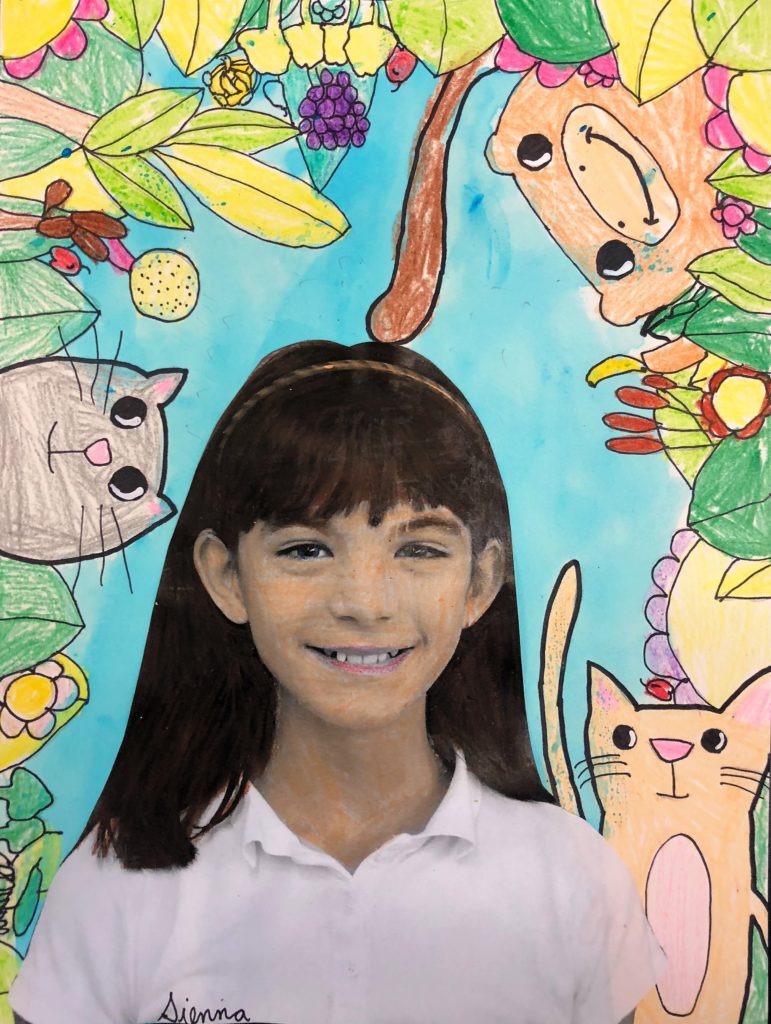
In this Frida Kahlo Inspired Portrait, students create their own self-portrait while incorporating pets and plants while learning about this art master.
Grade Level
4th, 5th, 6th – The examples in this lesson are by 5th graders
Objective
In this Frida Kahlo Inspired Portrait, students will create a re-imagined art piece of themselves resembling art made by Frida Kahlo.
Time
3 – 60 min lessons
Materials
- Pencils
- Crayons
- Black Sharpie Marker – Sharpie Permanent Marker, Fine Point, Black, Pack of 5
- 9×12 Watercolor paper – Canson (100510941) XL Series Watercolor Pad, 9″ x 12″, Fold-Over Cover, 30 Sheets
- Brushes – Acrylic Paint Brush Set, 1 Packs / 10 pcs Nylon Hair Brushes for All Purpose Oil Watercolor Painting Artist Professional Kits
- Liquid Water Colors – Sargent Art 22-6010 10-Count 8-Ounce Watercolor Magic Set
- Or this mini version for homeschooling – Sargent Art 22-6210 10-Count 4-Ounce Watercolor Magic
- Kleenex for blotting paint
Inspiration/Artist
Frida Kahlo
Instruction with Questions
Day 1
Watch the following YouTube clip that amazingly morphs many of Frida’s famous portraits into one video.
Frida Kahlo Self Portraits – Morphed: Click Here
There is also some fascinating information about the life of Frida on this website from Widewalls: Click Here
Discuss the common items in all of Frida’s artwork. Did you notice the plants, flowers and animals? Why do you think she used them?
Give students additional background on her life. I advise you to take caution when showing her artwork since many sites will reference the darker artwork she created which includes nudity and blood. I did not include them in this post.
Photo
I took photos of each child prior to beginning this lesson.
Copy each photo onto the bottom of an 8.5×11 piece of copy paper and print them in black and white. Here you can see the color version. You may notice the amount of white space at the top of the image. This shows how far down on the copy paper the image appears. Once it is printed, the image will be cut out and glued to the final paper.
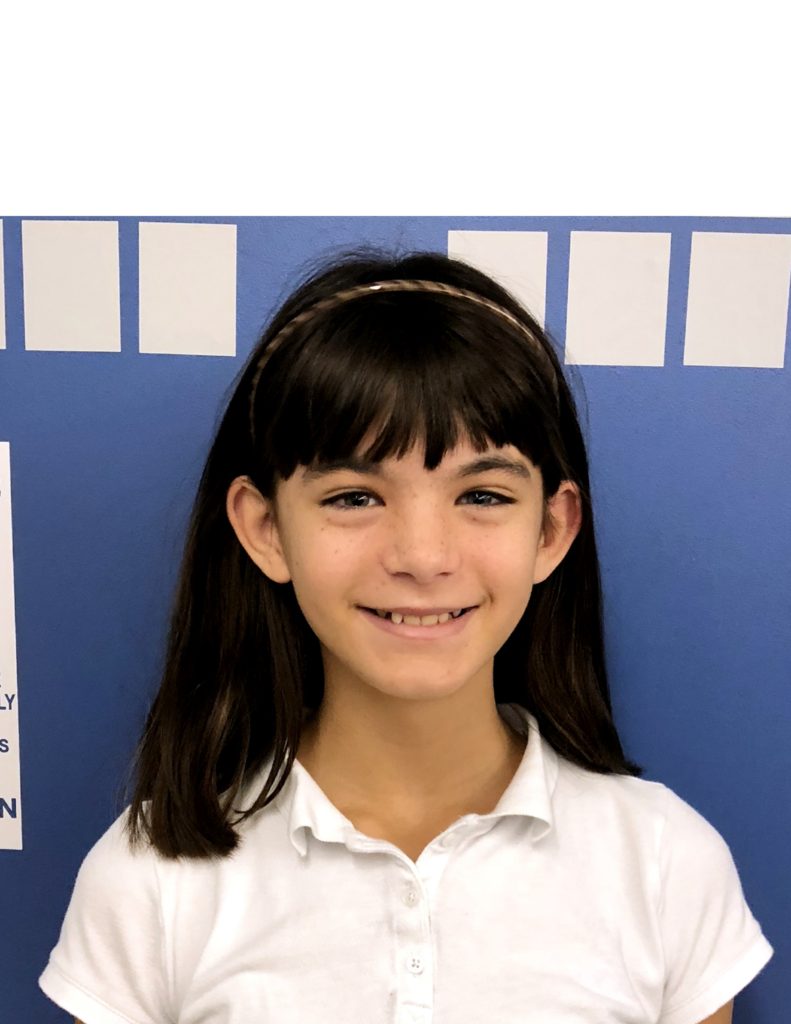
In a window, students will tape their watercolor paper on top of their printed image and lightly trace around their head and shoulders. This will help them determine where to have animals pop out.
Day 2 and 3 as needed
On the portrait black and white copy, using multicultural crayons, have students color their skin, hair and eyes. This will add a neat effect. Cut out the head from the copy paper and save for the end.
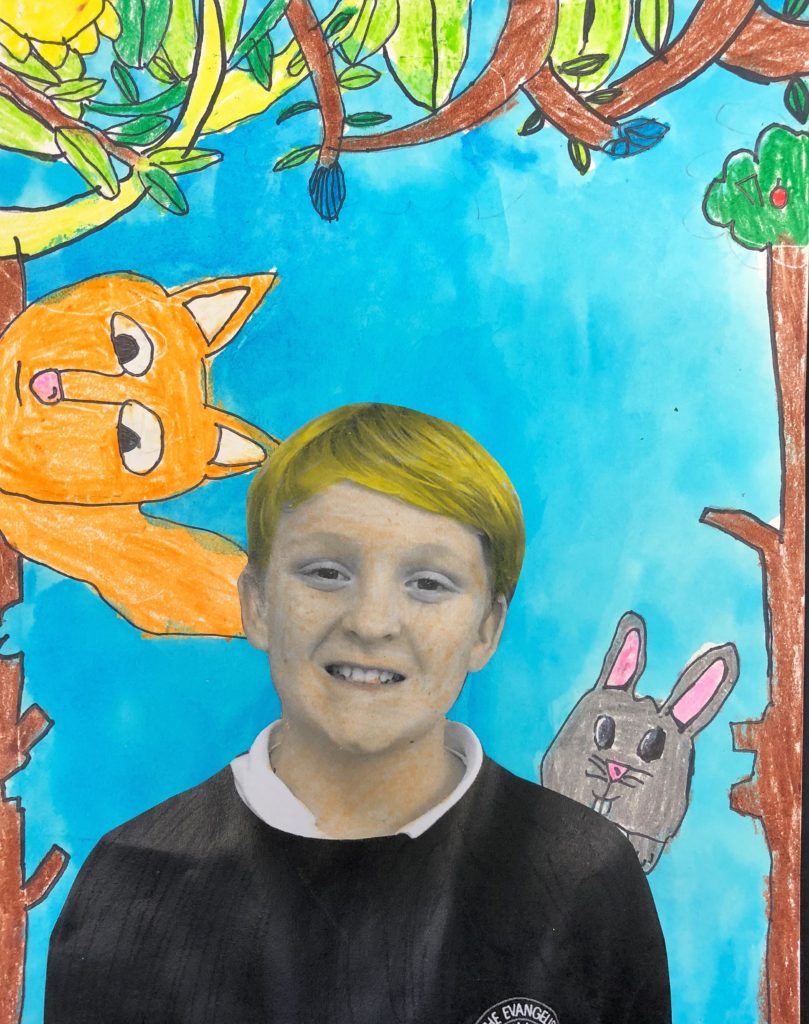
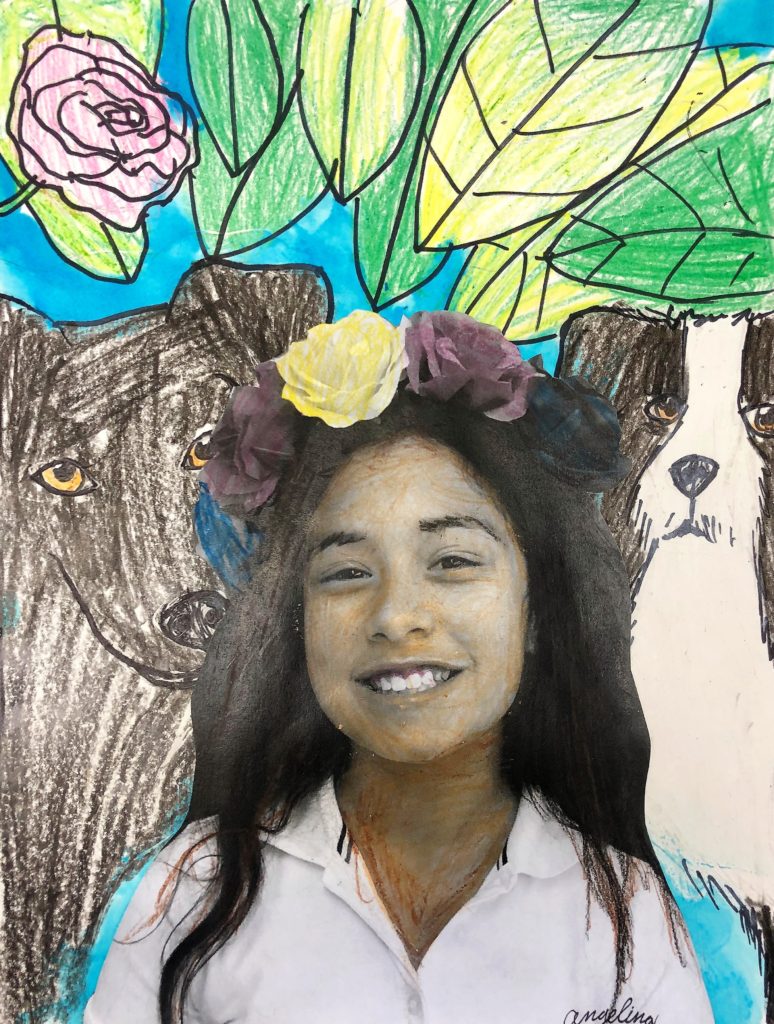
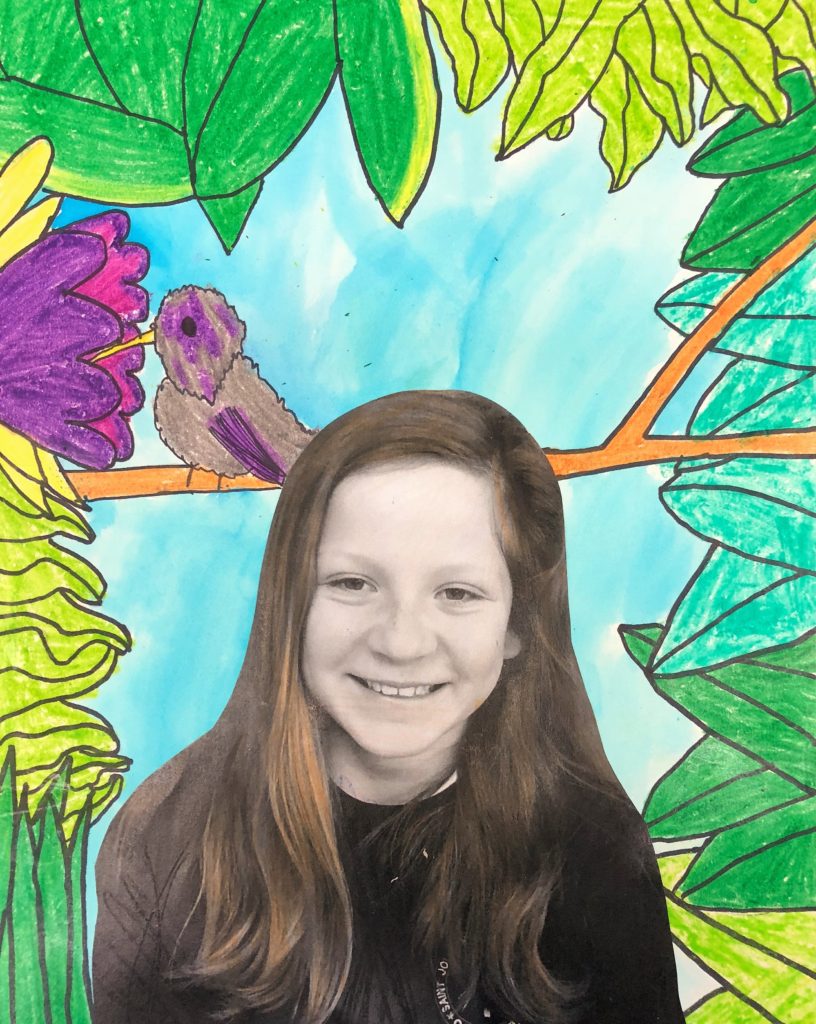
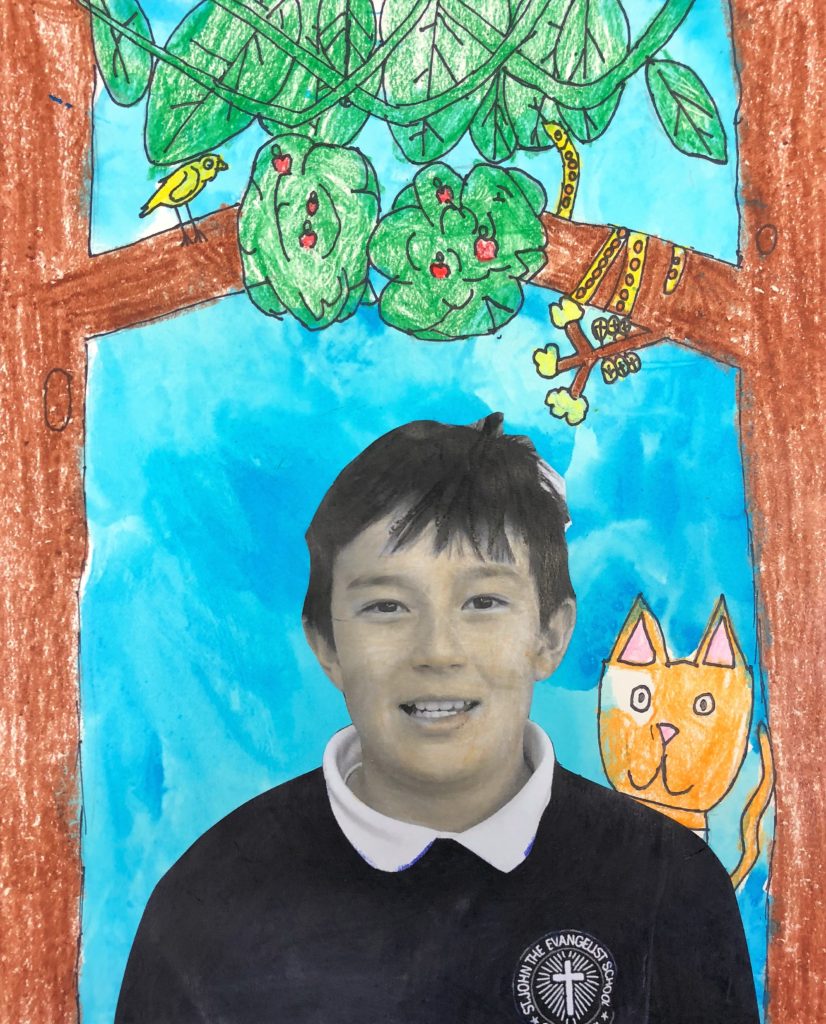
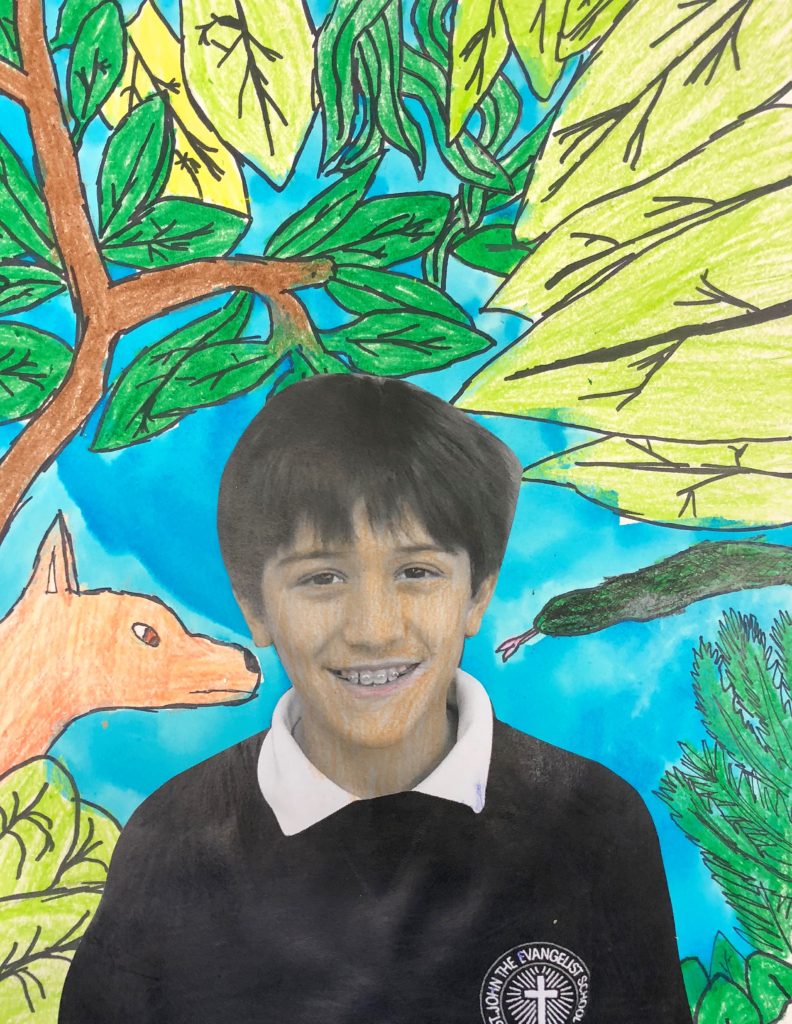
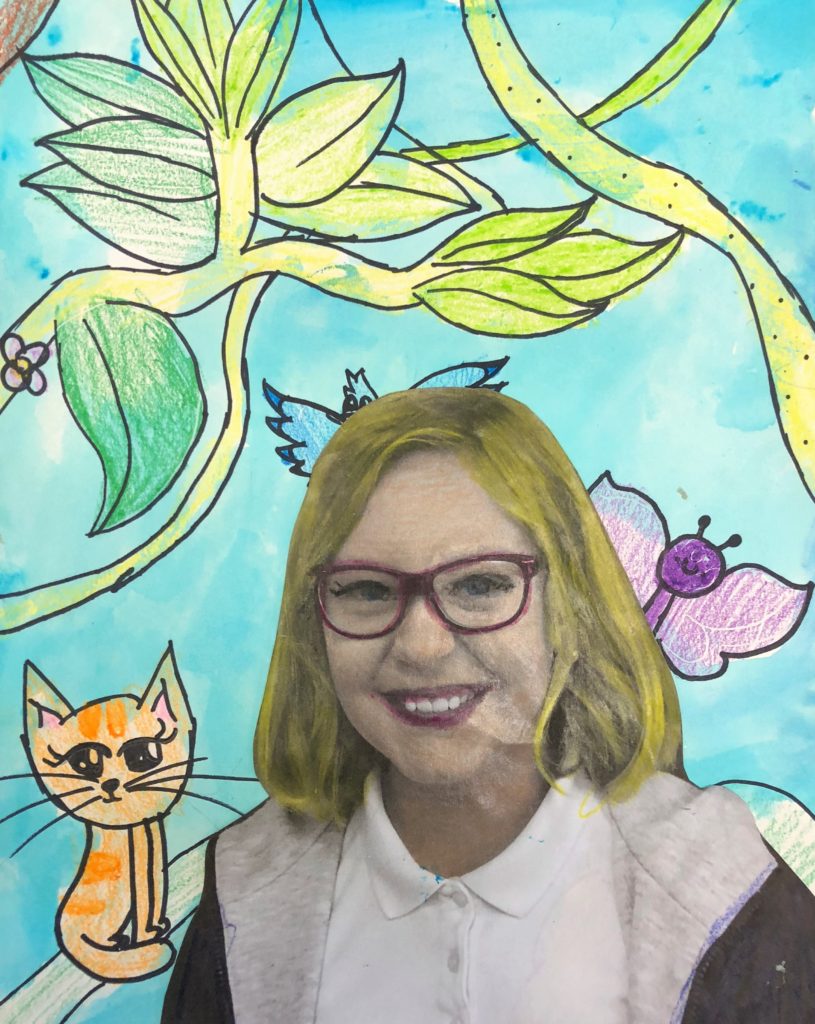
Students are told to create their animals just inside the lines they traced on the watercolor paper, so that it looks very organic with the animals layered behind them.
I ask students to include 3 or so animals in their final image and large branches, flowers and leaves. The plants and animals can frame the page and allow for some sky to show. Once everything is drawn, it is covered with sharpie marker.
All plants and animals are colored in with crayons, although, if time allows, they could be painted instead. I encouraged students to use white crayon on the whites of the eyes of their animals.
After all is colored, the sky is finally painted. Once it dries, the crayon colored copy can be glued on top.

Leave a Reply