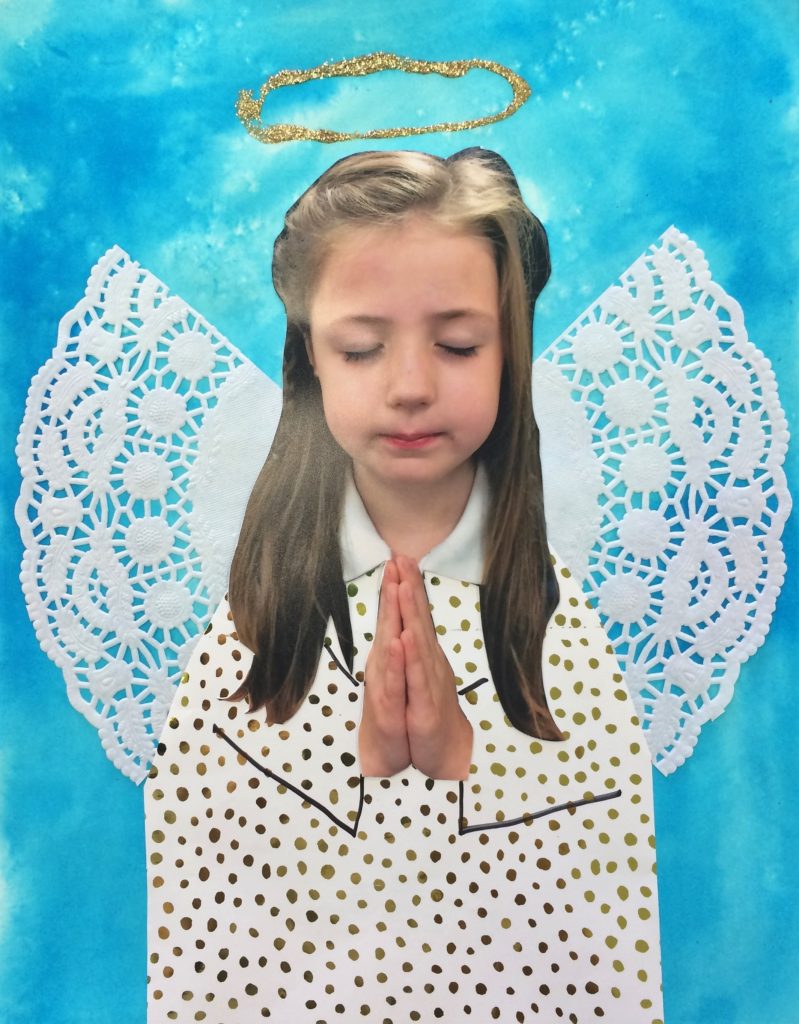
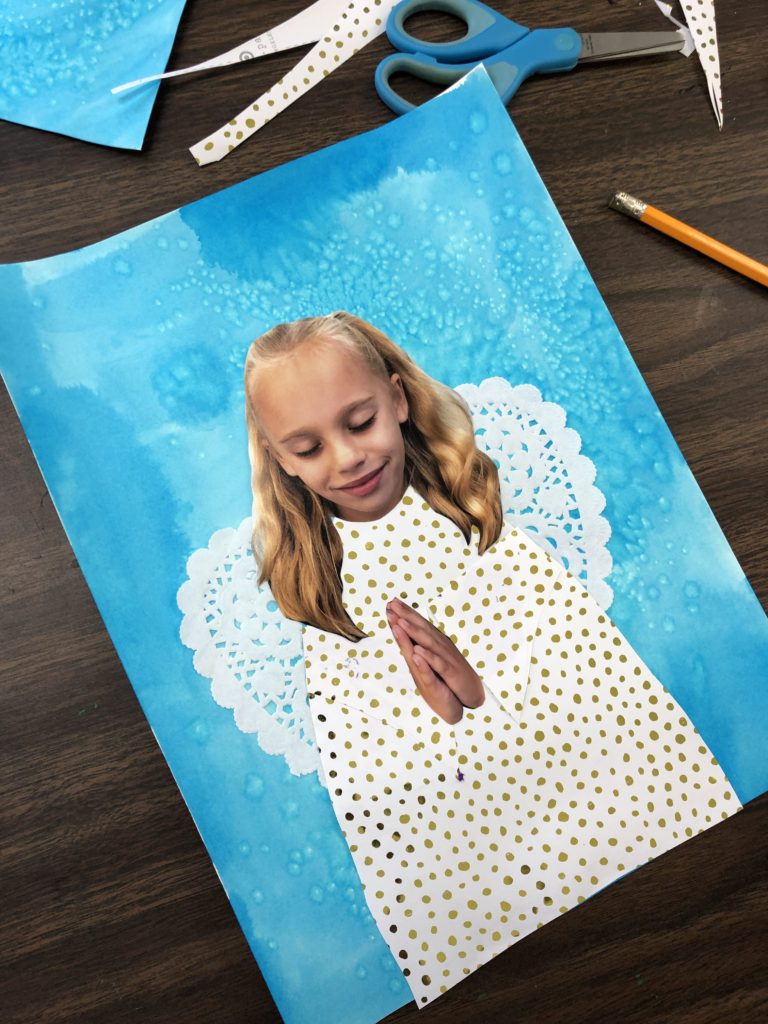
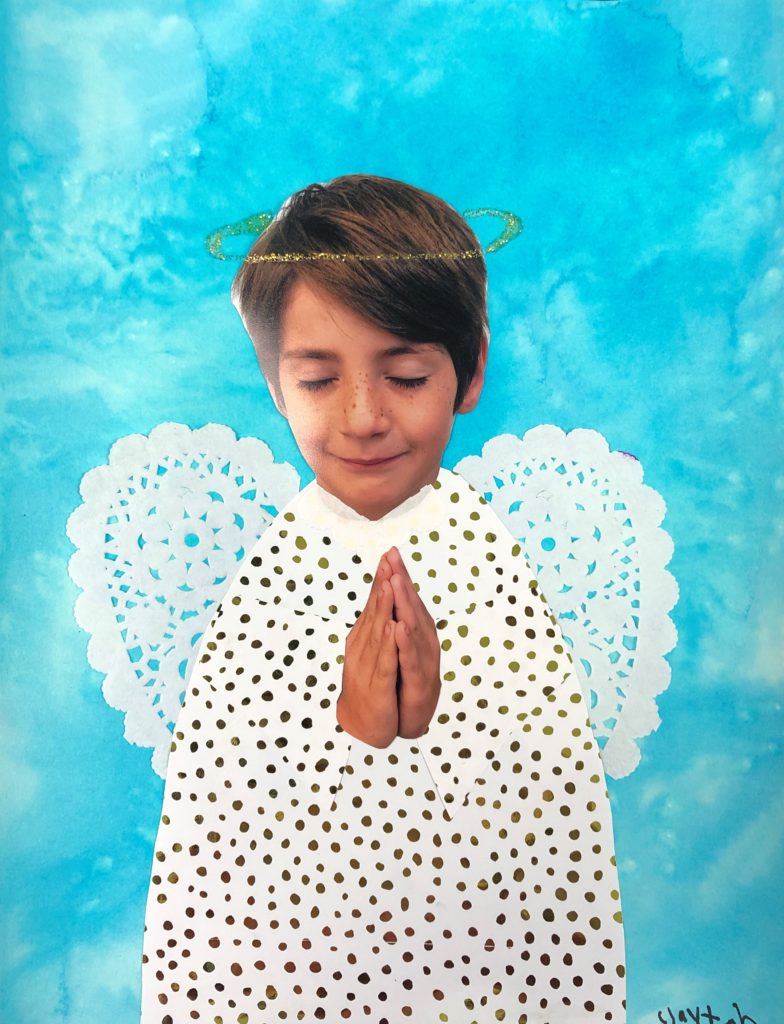
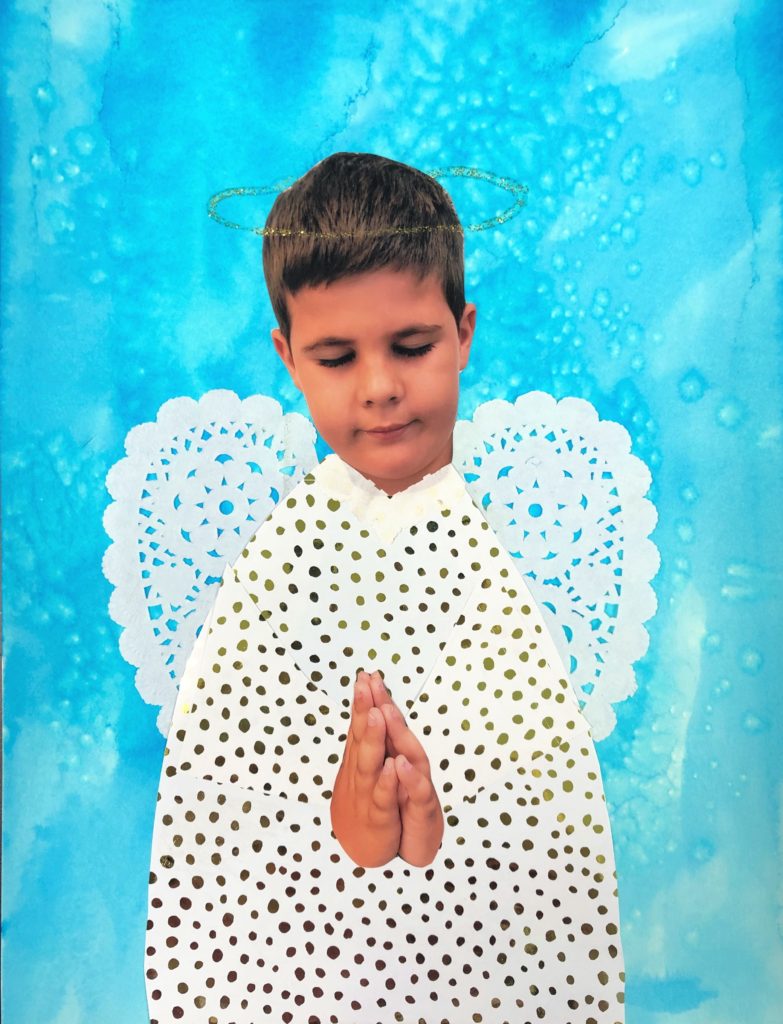
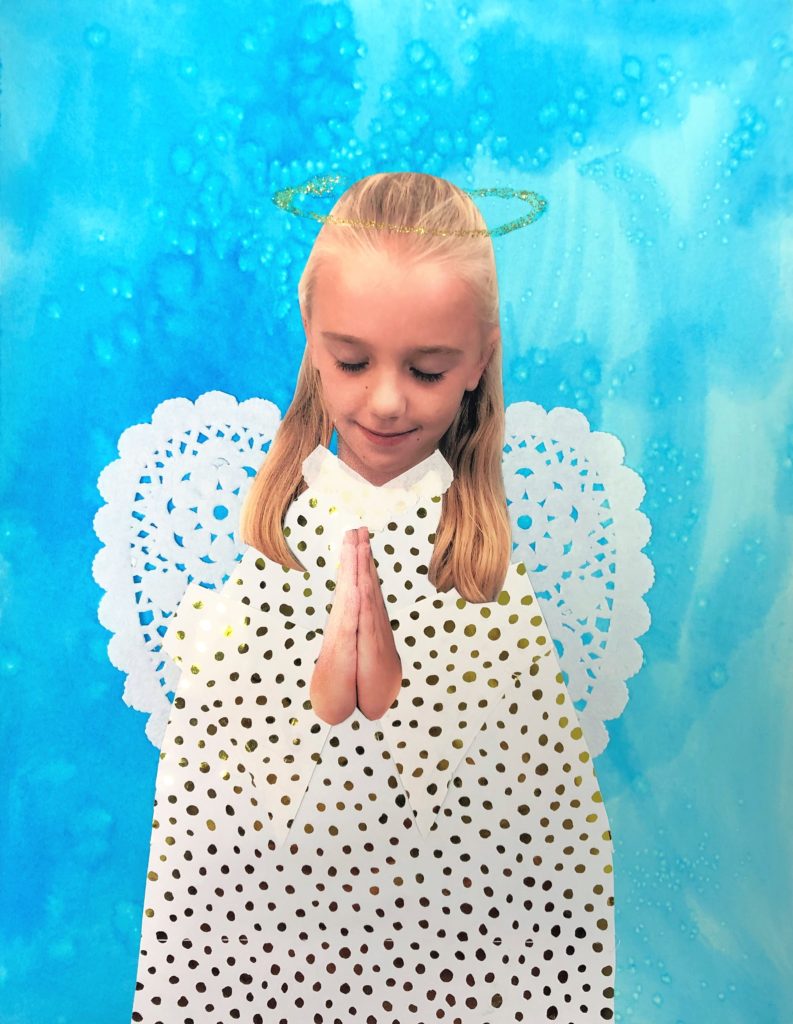
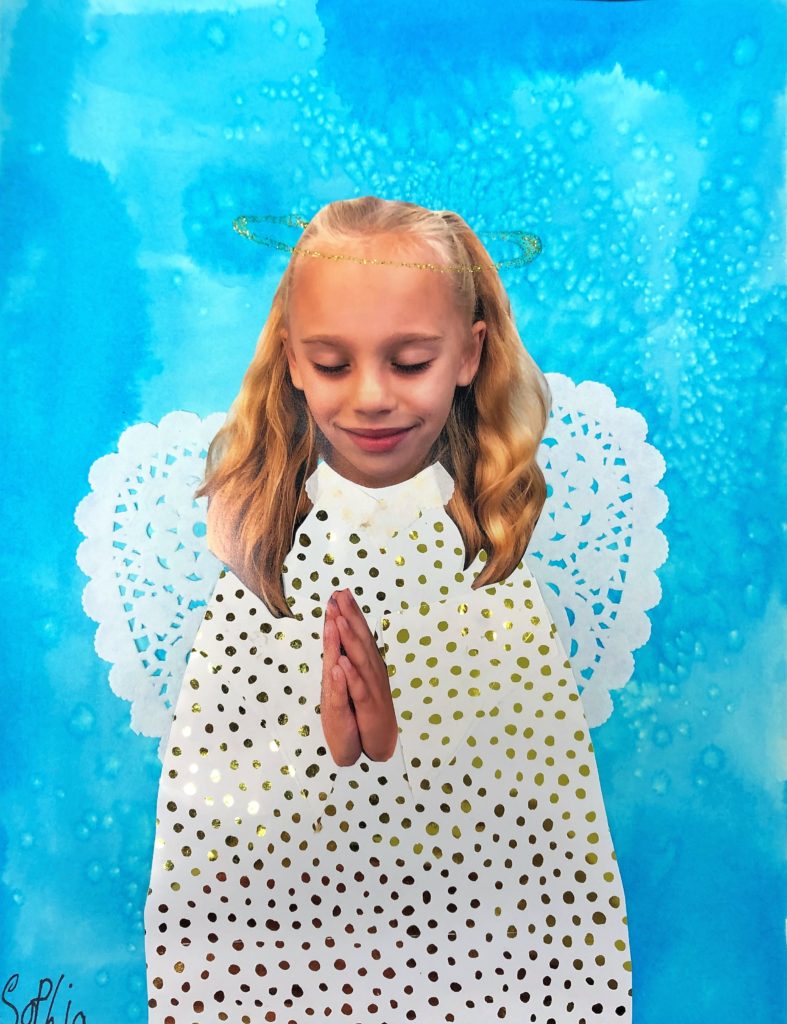
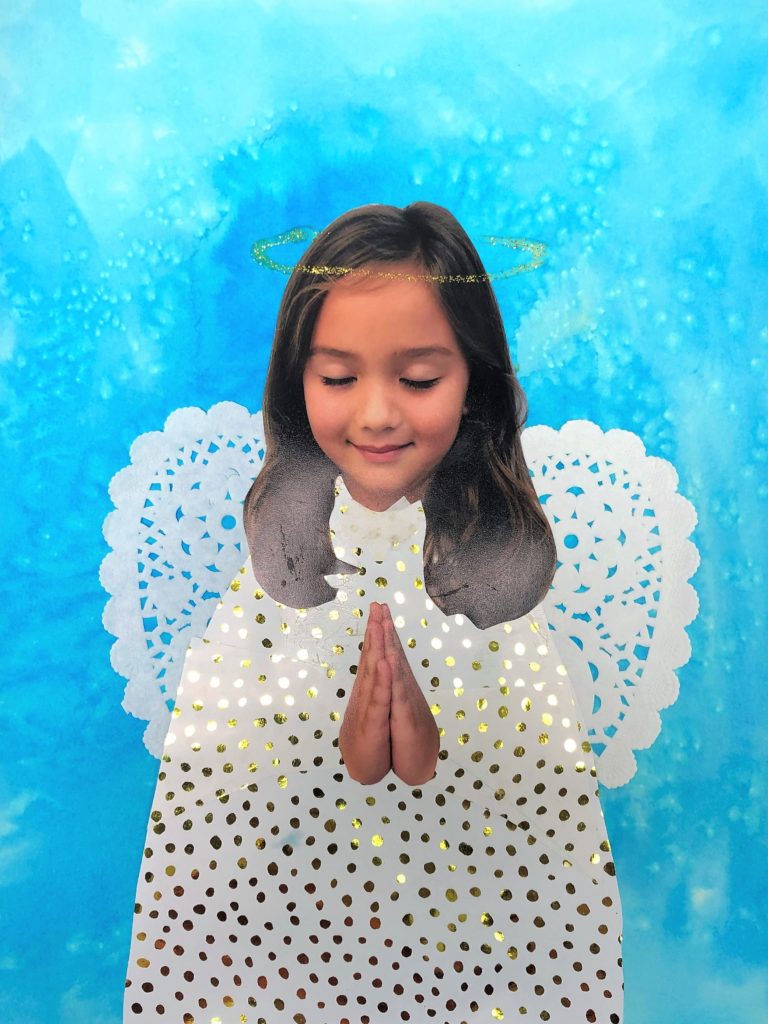
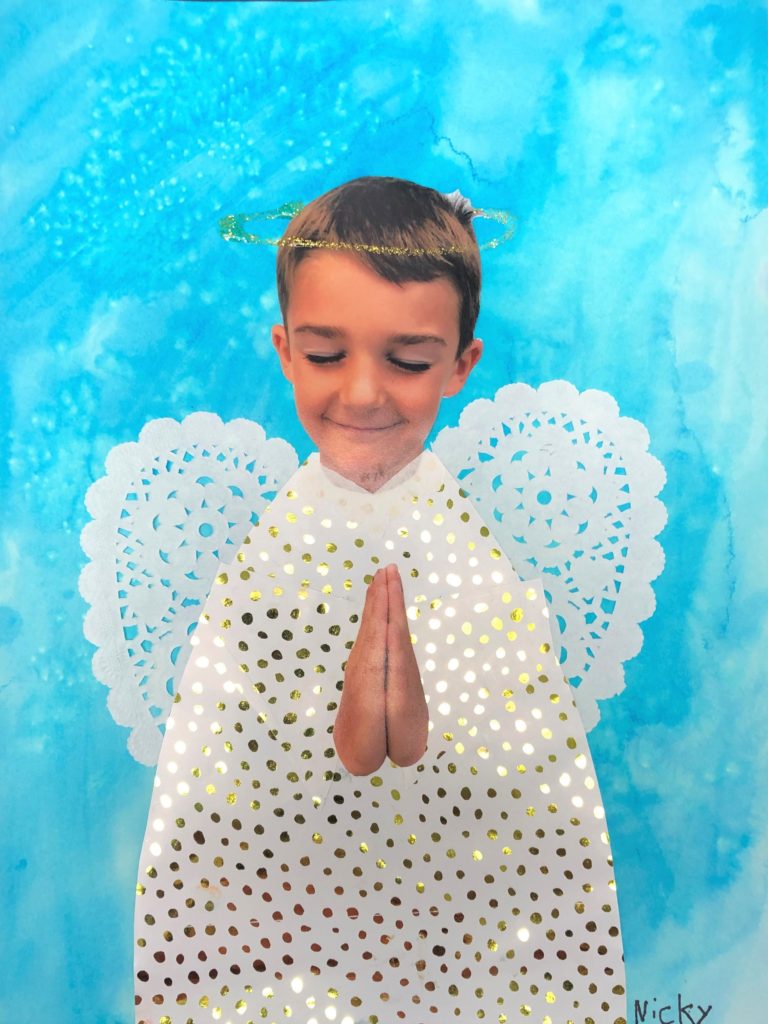
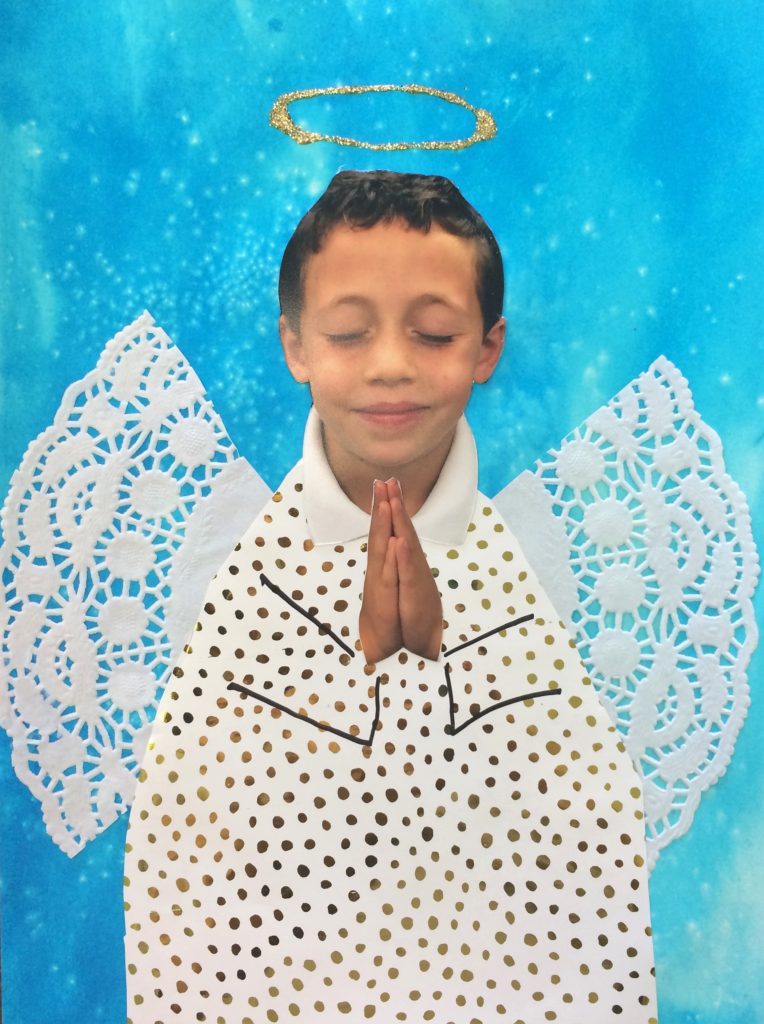
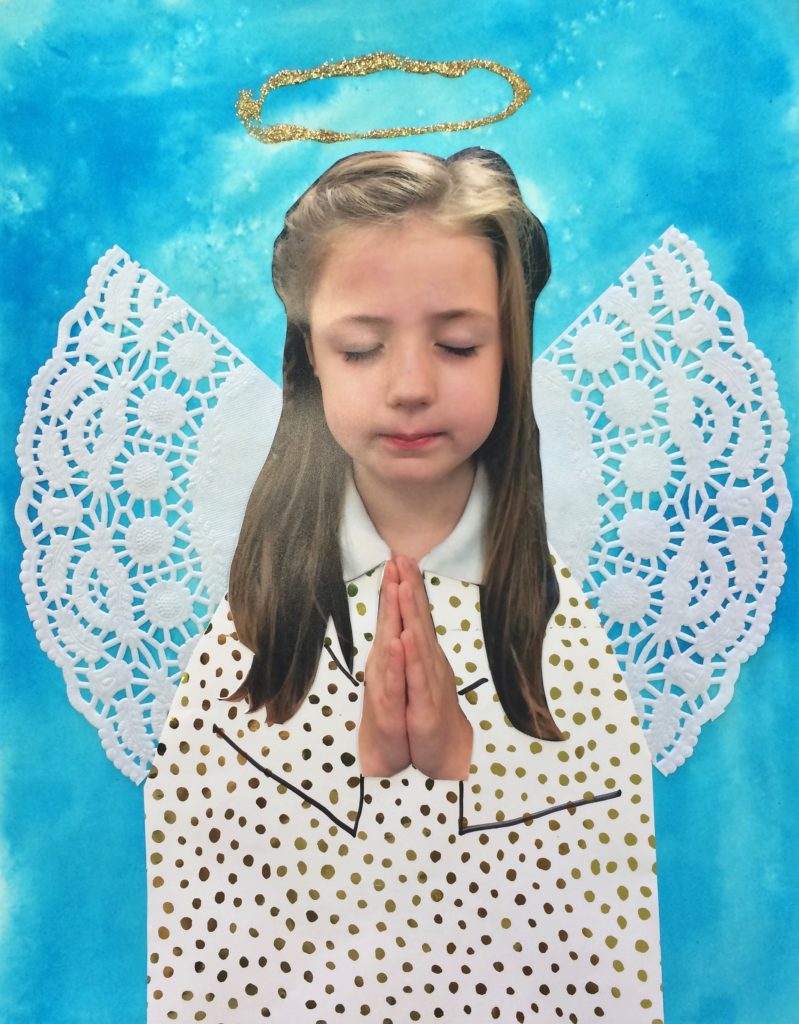
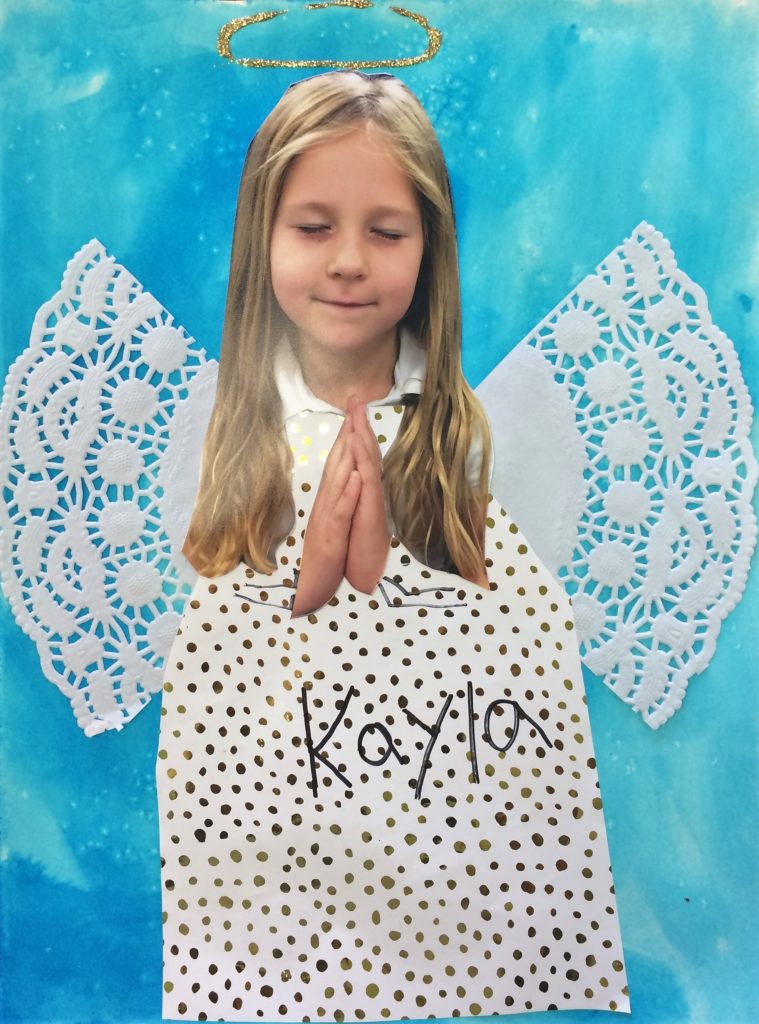
In this Holy Angels Art Lesson, every parent heart will melt. Students design themselves in the likeness of holy angels from the Nativity story.
Grade Level
Kindergarten, 1st, 2nd grades – The examples in this lesson are made by 1st graders.
Objective
In this Holy Angels Art Lesson, students create themselves as angels for the Advent story.
Time
3 – 30 min lessons
Materials
- Black Sharpie Marker – Sharpie Permanent Marker, Fine Point, Black, Pack of 5
- 9×12 Watercolor paper – Canson (100510941) XL Series Watercolor Pad, 9″ x 12″, Fold-Over Cover, 30 Sheets
- Brushes – Acrylic Paint Brush Set, 1 Packs / 10 pcs Nylon Hair Brushes for All Purpose Oil Watercolor Painting Artist Professional Kits
- Liquid Water Color turquoise – Sargent Art 22-6061 8-Ounce Watercolor Magic, Turquoise
- Kleenex for blotting paint
- Table salt
- Wrapping paper (best with a gold design)
- Scissors
- Photo of child
- Glitter Glue (gold) – Sargent Art 22-1981 8-Ounce Glitter Glue, Gold
Inspiration/Artist
I can’t even tell you how I came up with this. It was truly inspired. But parents have said how much they love having a photo of their child with their eyes closed. They truly look angelic.
Instruction with Questions
Day 1
Photograph each student in a 5×7 size. Ask them to close their eyes and imagine what it is like on Christmas morning. You want them to give a closed mouth smile. This helps to prevent scrunched up faces. You want them calm and relaxed. I try to do this in front of a plain wall or door. If the girl has long hair, I ask her to place it in front of her shoulders, or if it is in a pony tail, I ask if I can take her hair down.
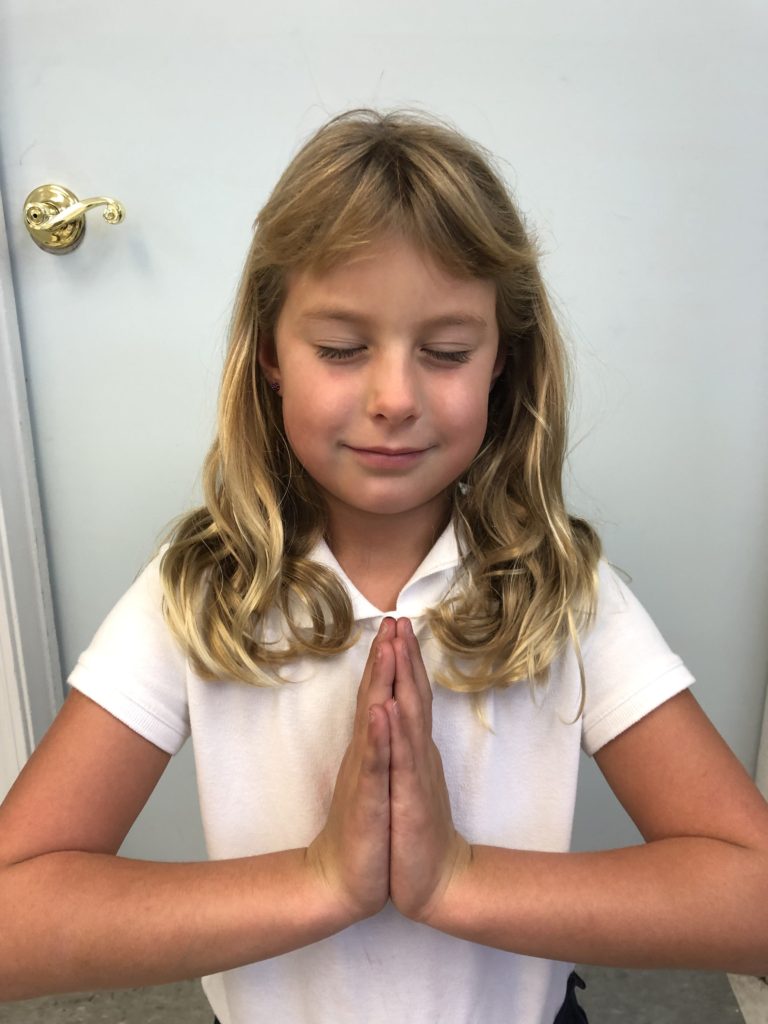
Cut out the heads and the hands ahead of time.
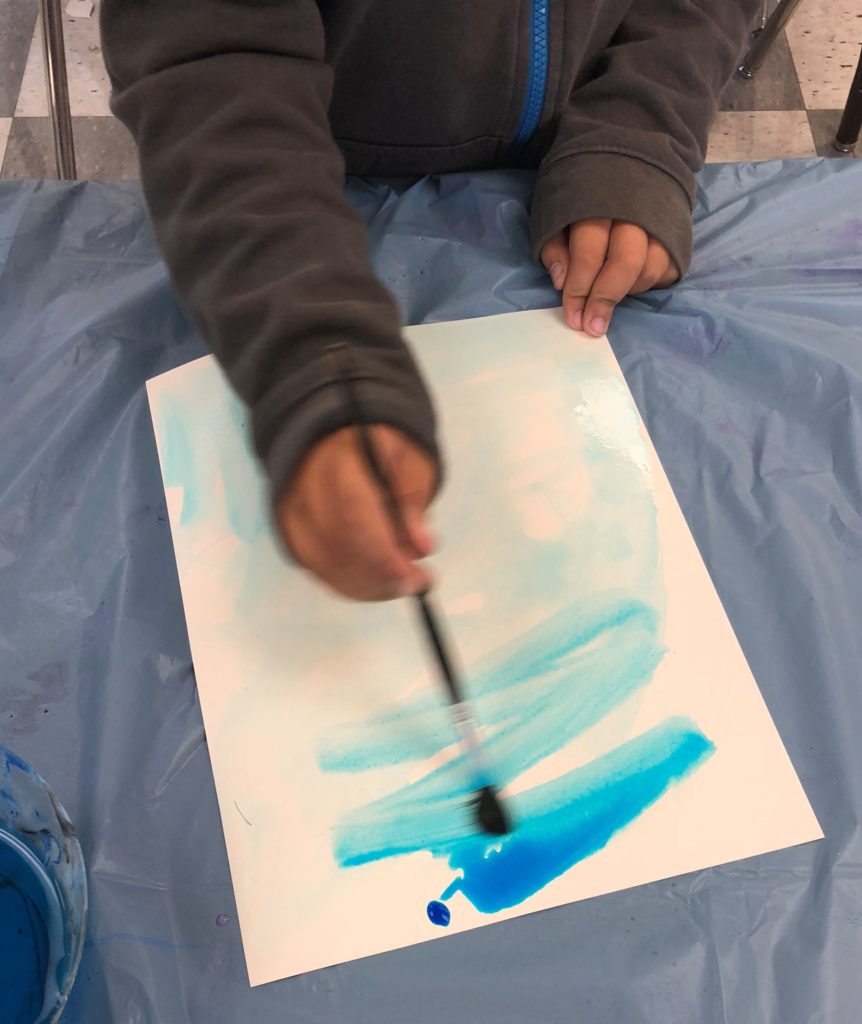
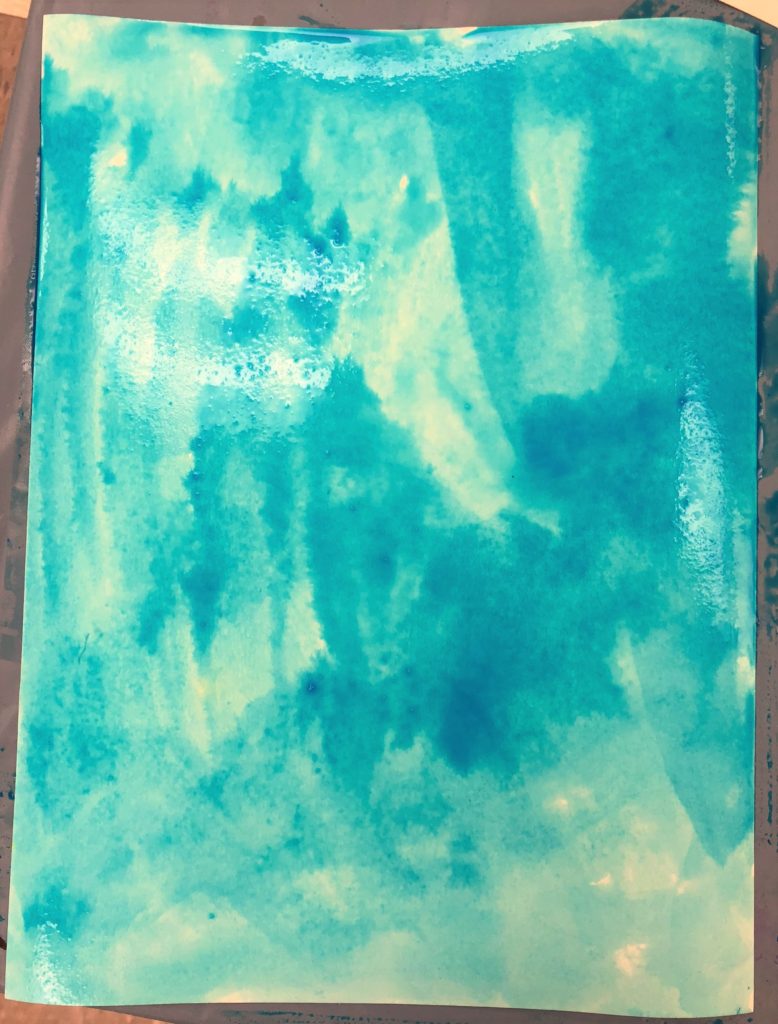
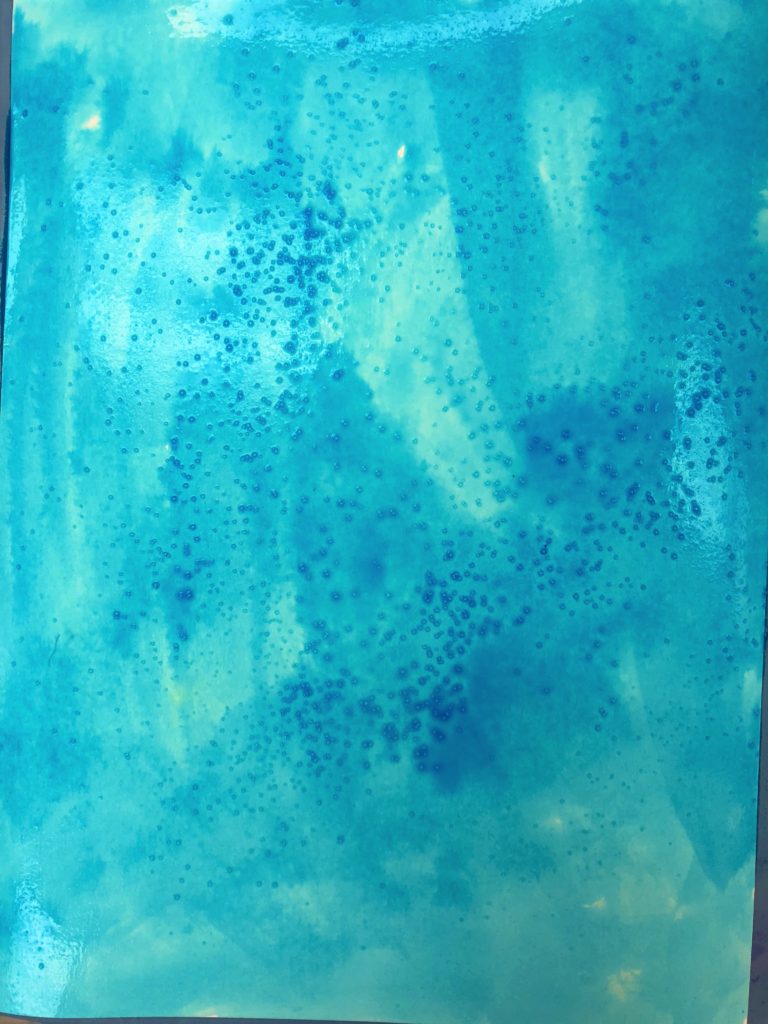
Pull students aside to paint the background. Keep the paper very wet, cover it completely with turquoise paint and add table salt. Once it dries it will have a star like effect.
Students who are not painting can do coloring pages of the Nativity story.
Day 2 and 3
#1
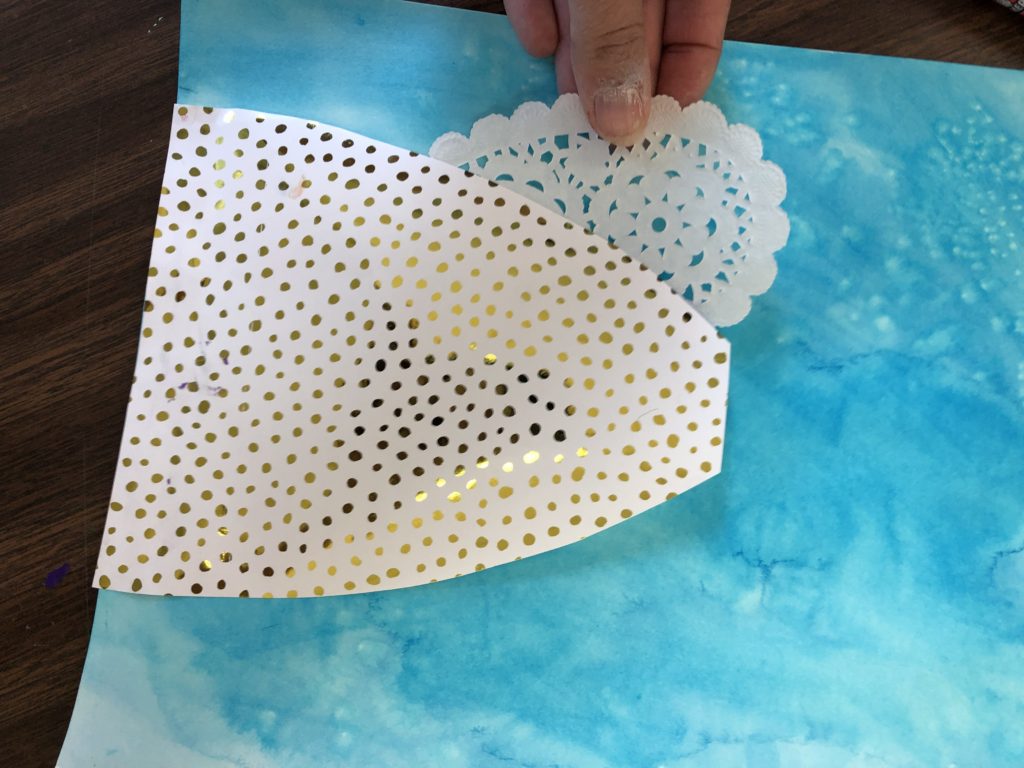
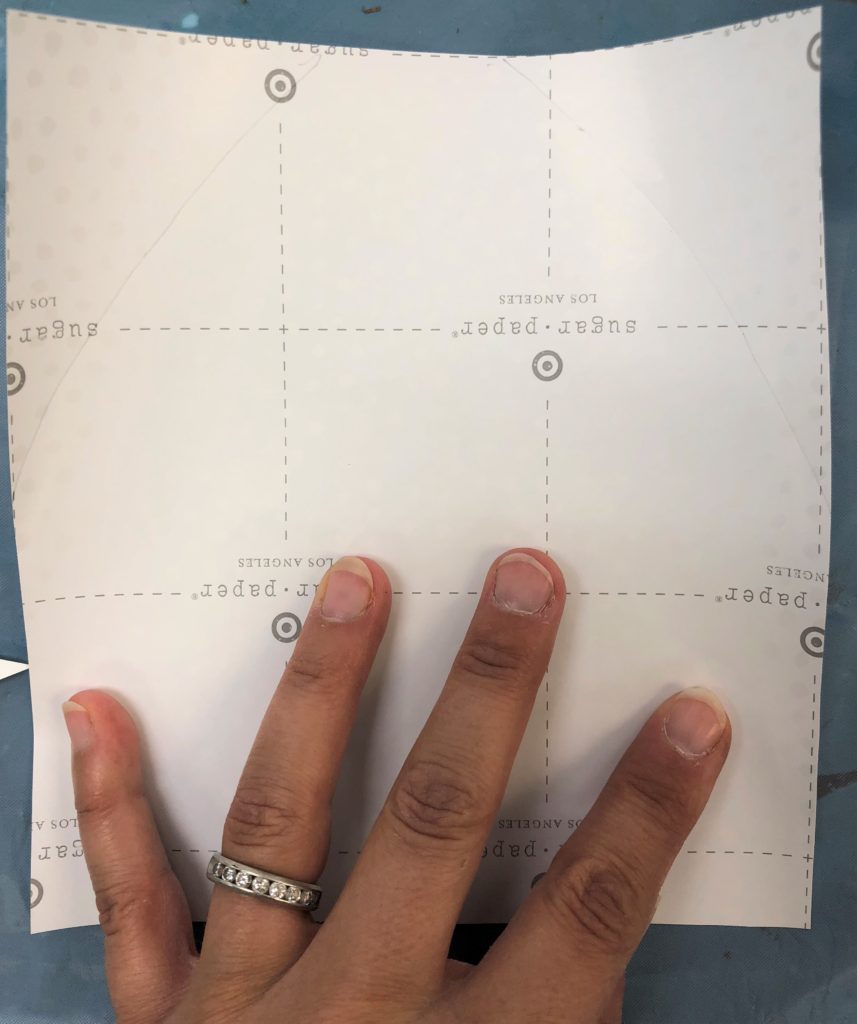
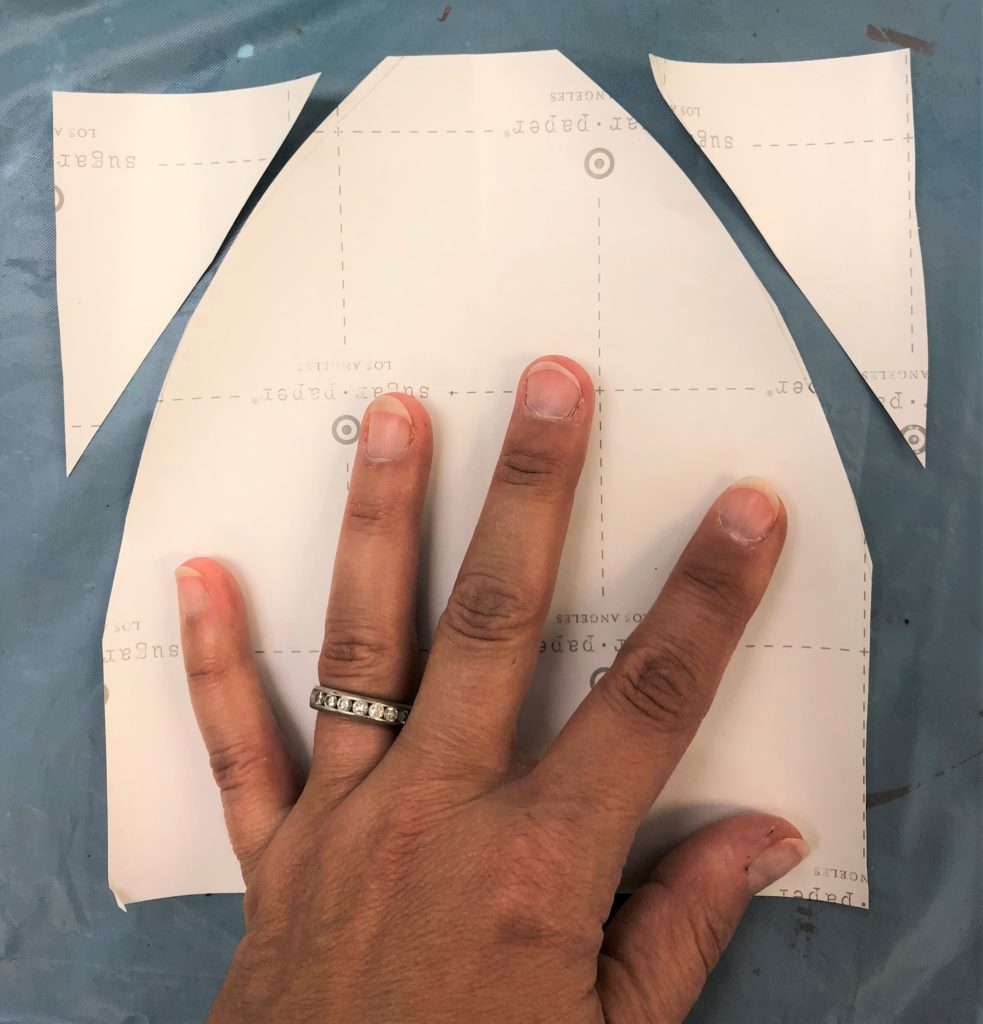
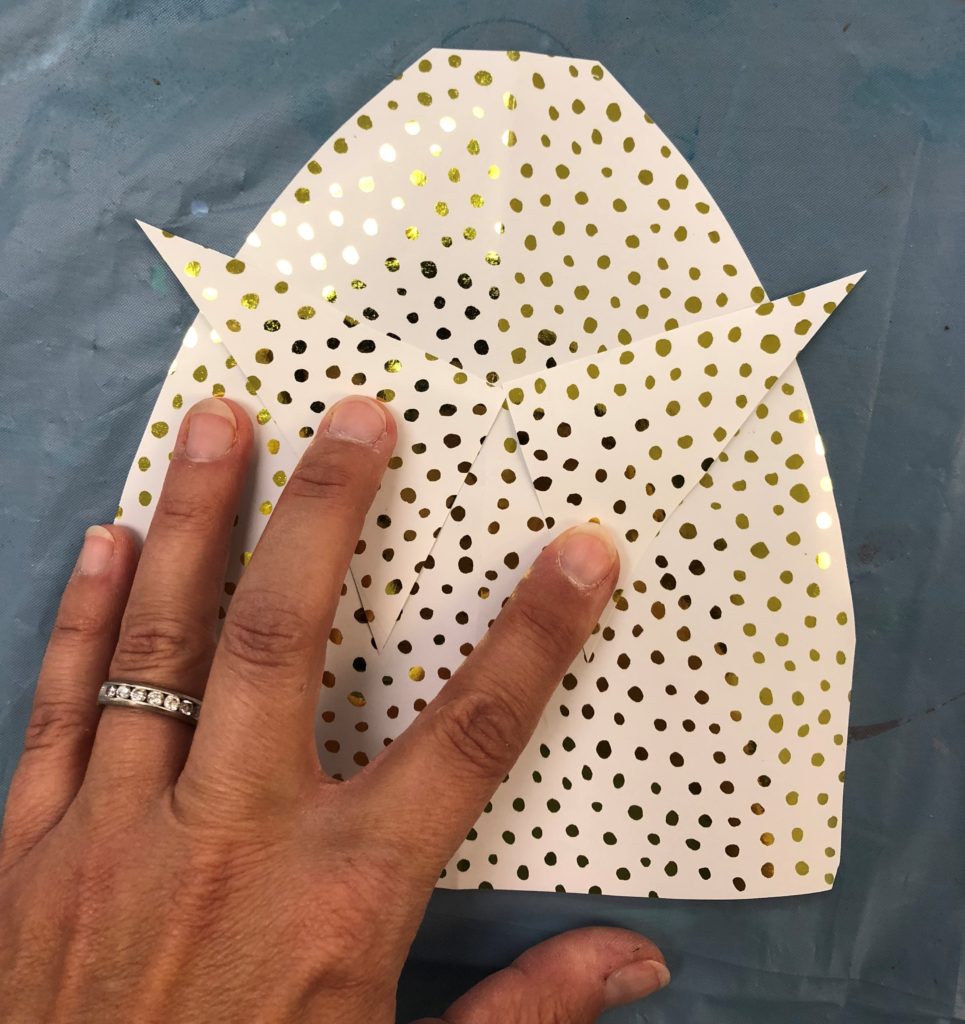
Making the dress is very easy. I pre-cut rectangles from the wrapping paper. Each rectangle is roughly the size of your hand. I also pre-drew a dress shape so students only had to cut on two lines. When these are cut off, they become the sleeves of the gown. Man do I look tan in these photos!
#2
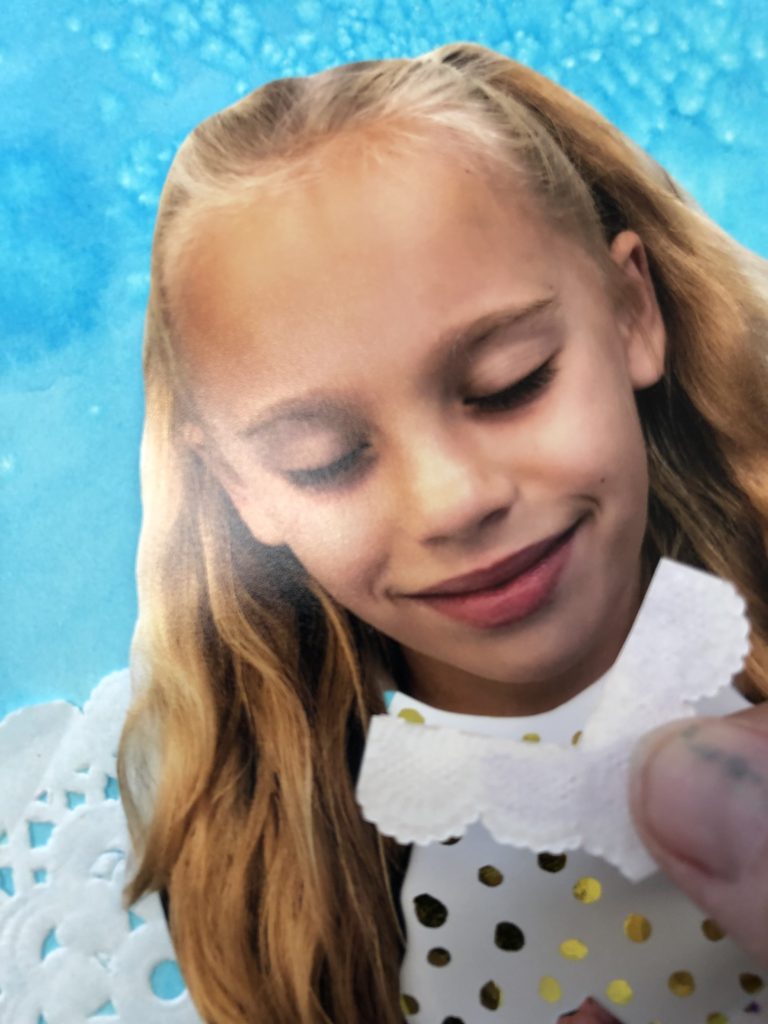
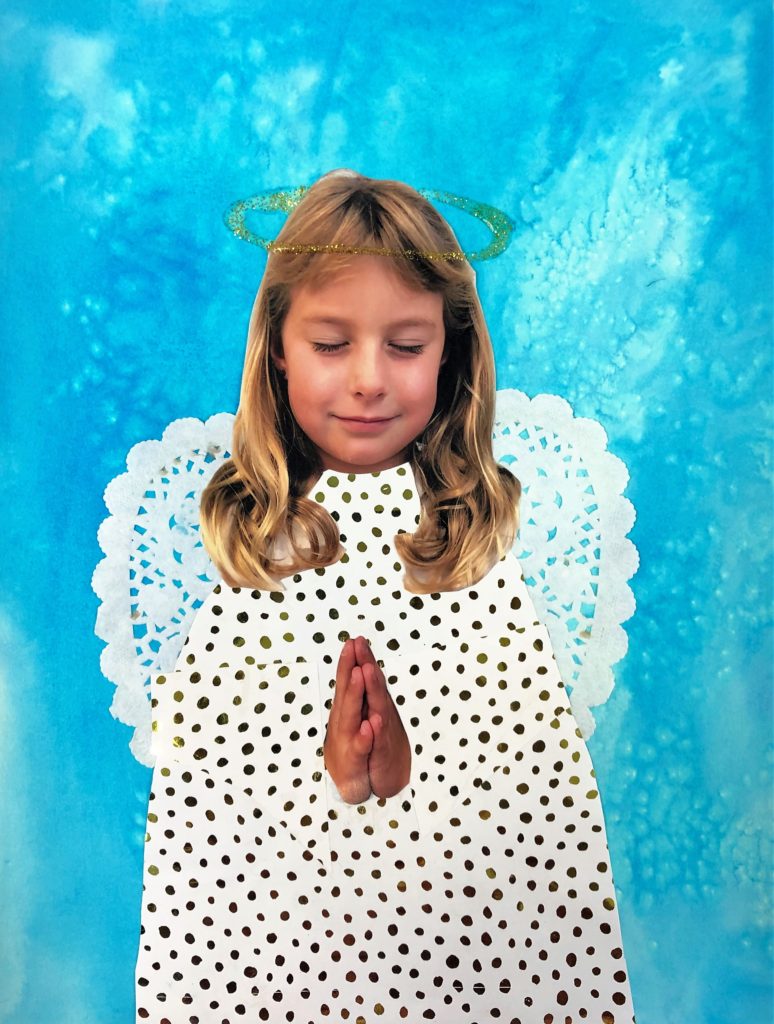
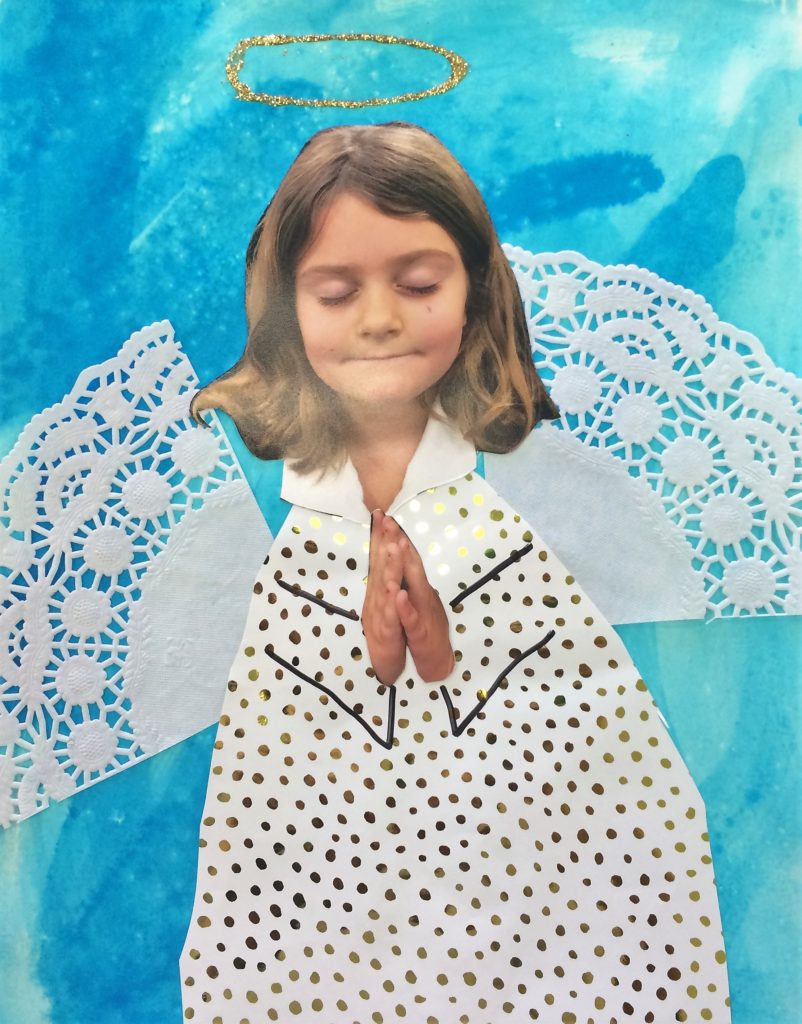
The wings are made from doilies As you can see in the final images, I have experimented with different types. One year I used large circles and cut them into quadrants. This year I used heart shaped ones I kept from Valentine’s Day last year. If you do use the heart, you can also use the bottom of the heart for the collar. Pretty smart eh?
#3
Pull a few students at a time to assemble their angel. I have a baggie with their head, hands and hearts in them.
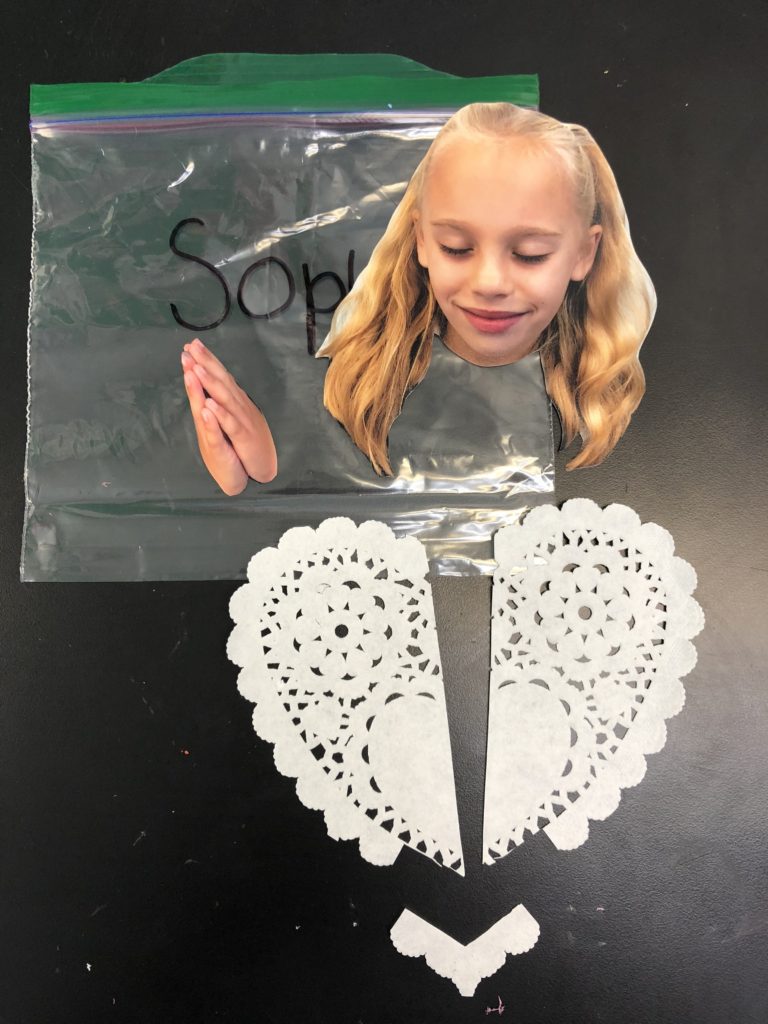
Tell them to put glue only on the bottom of their gown and glue them flush to the bottom of the paper.
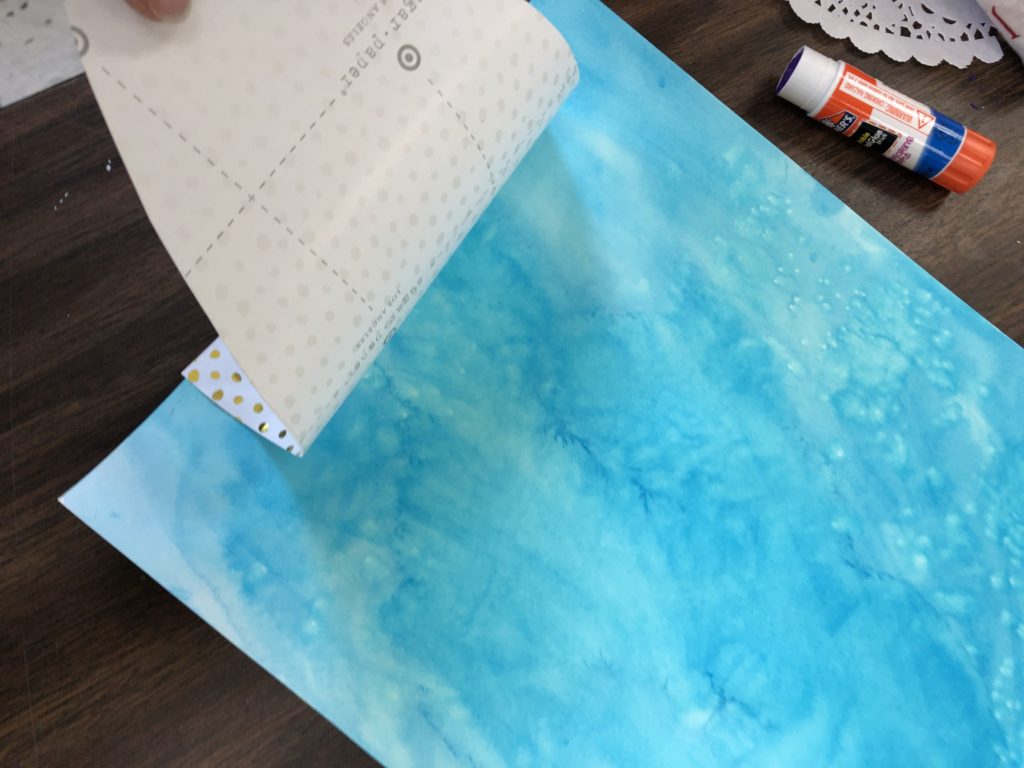
Next, add glue to the sides of the wings and glue them under the body.
Finally, add glue to the rest of the body.
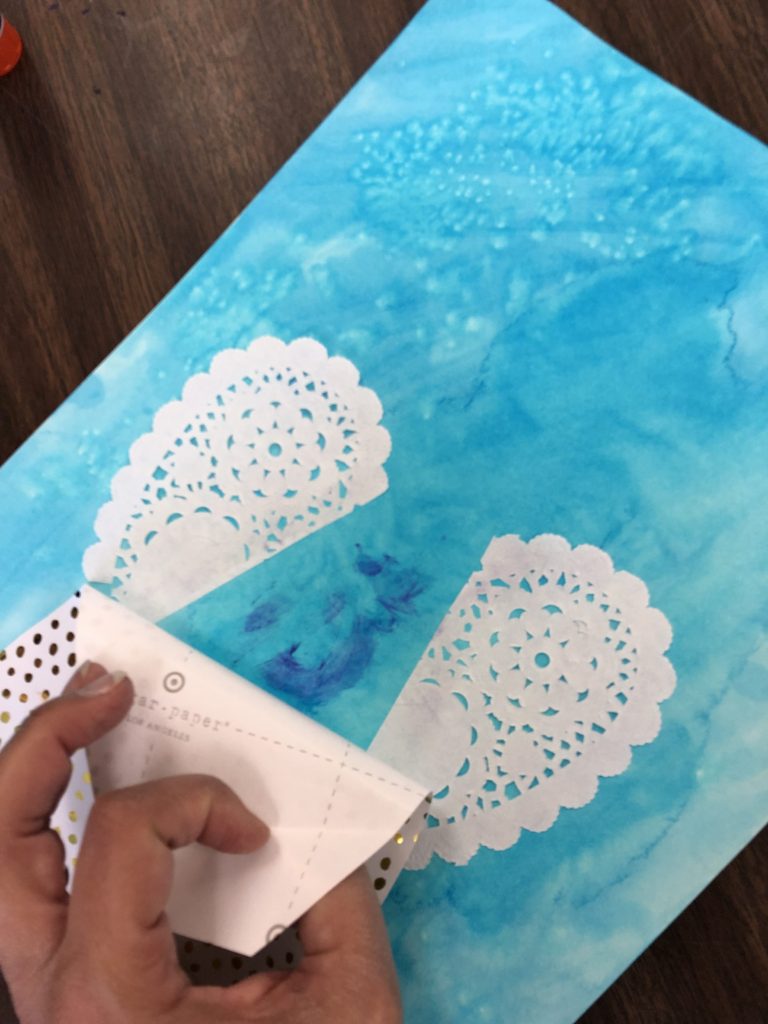
Glue on the head, sleeves, hands and finally collar.
#5
I would recommend having them trace around the sleeves with a sharpie marker so they stand out from the rest of the patterns.
#6
Finally I add a gold glitter halo over their heads. I tried doing an oval over the top of their head one year, and made it look like it was resting on their head another year. Your choice!

Leave a Reply