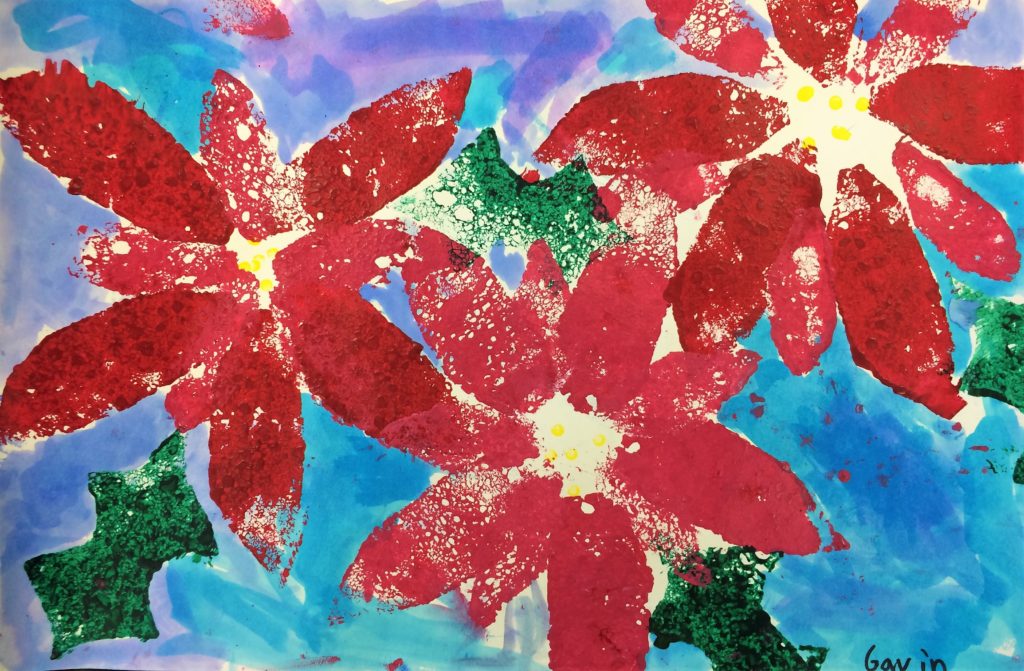
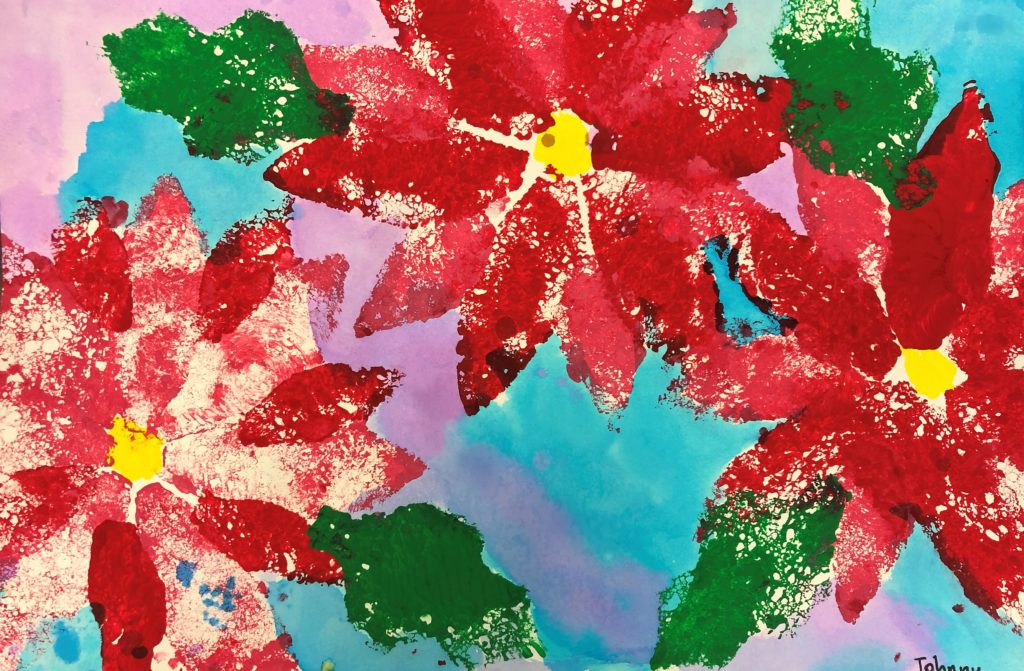
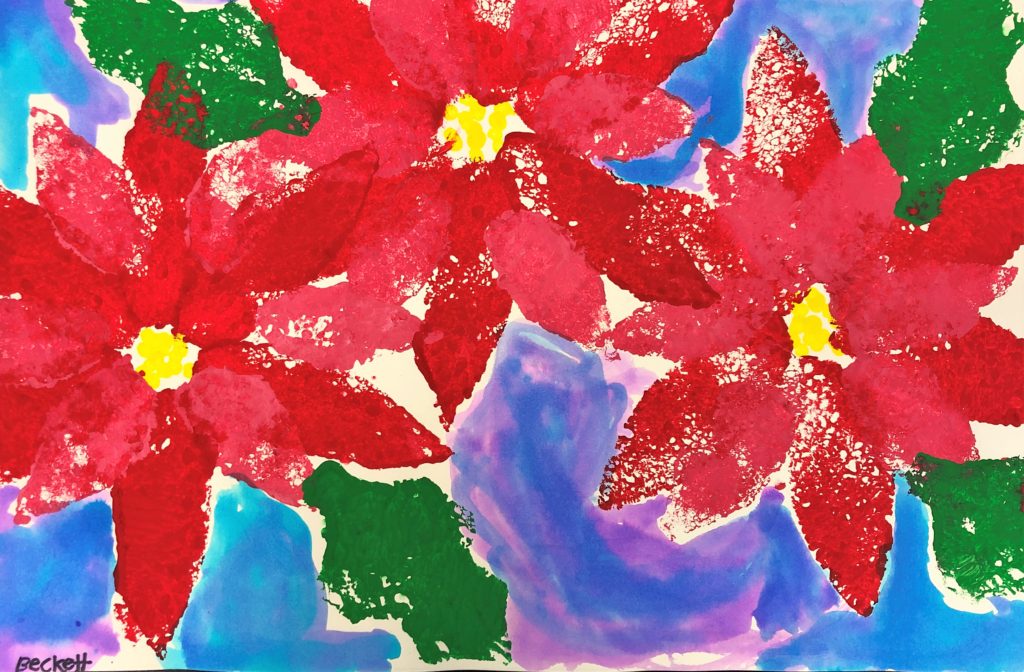
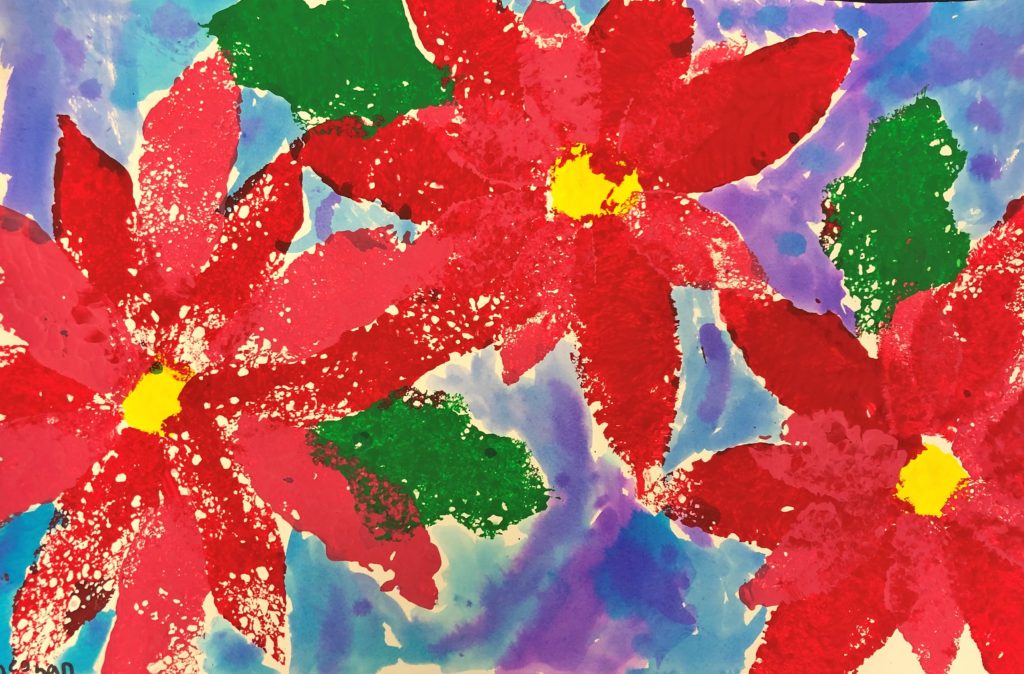
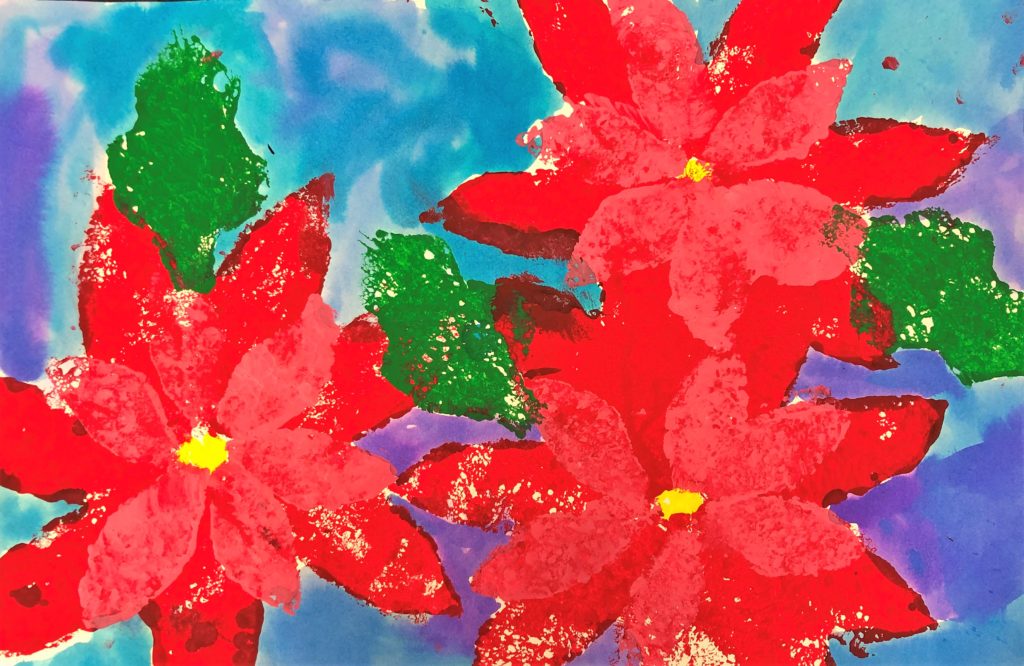
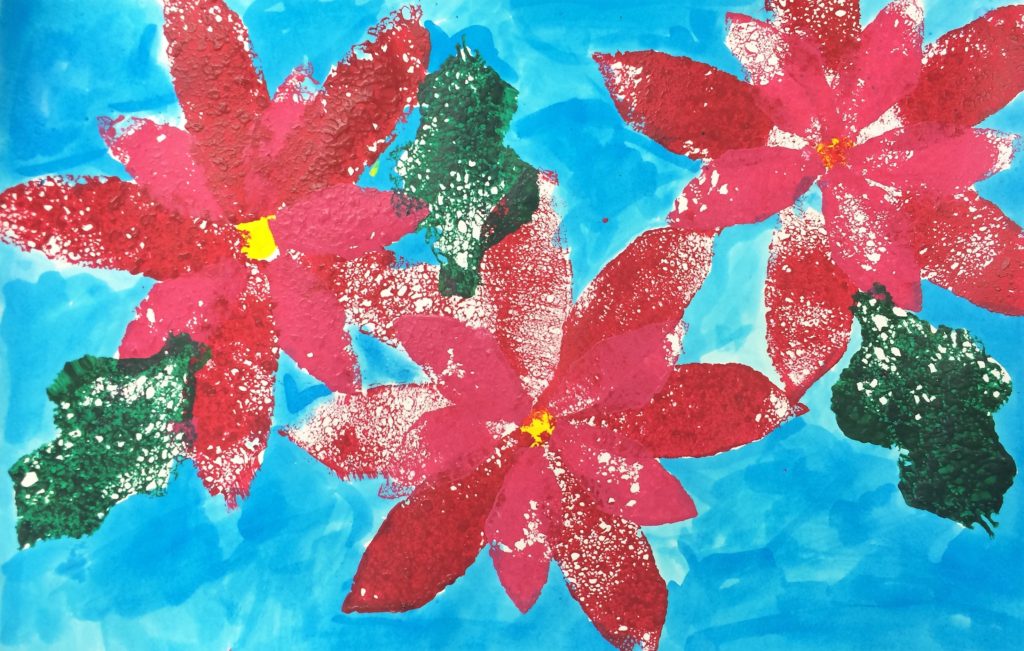
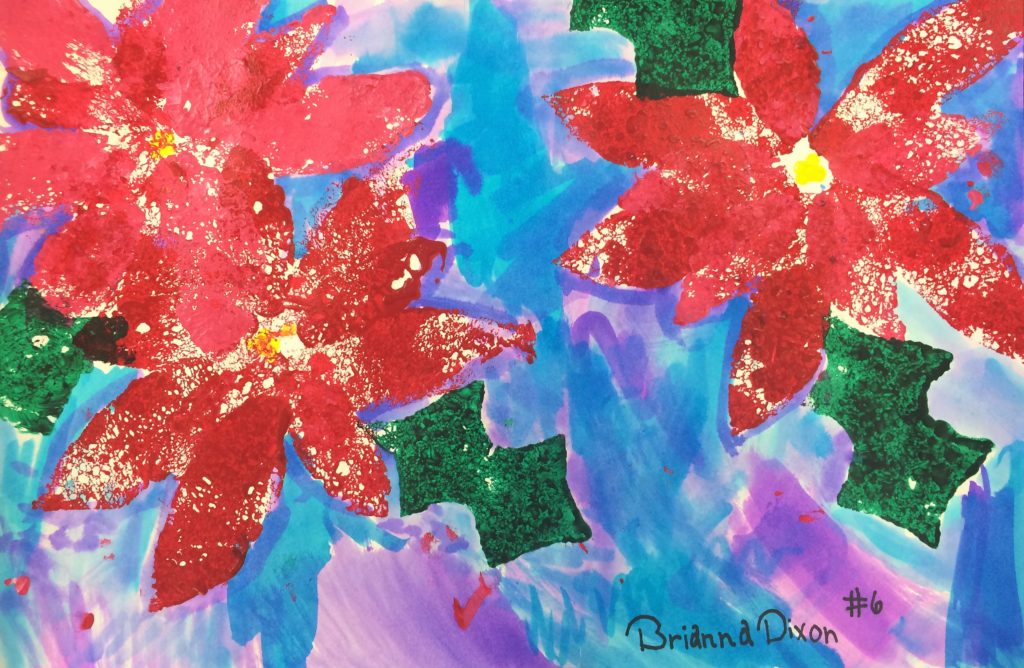
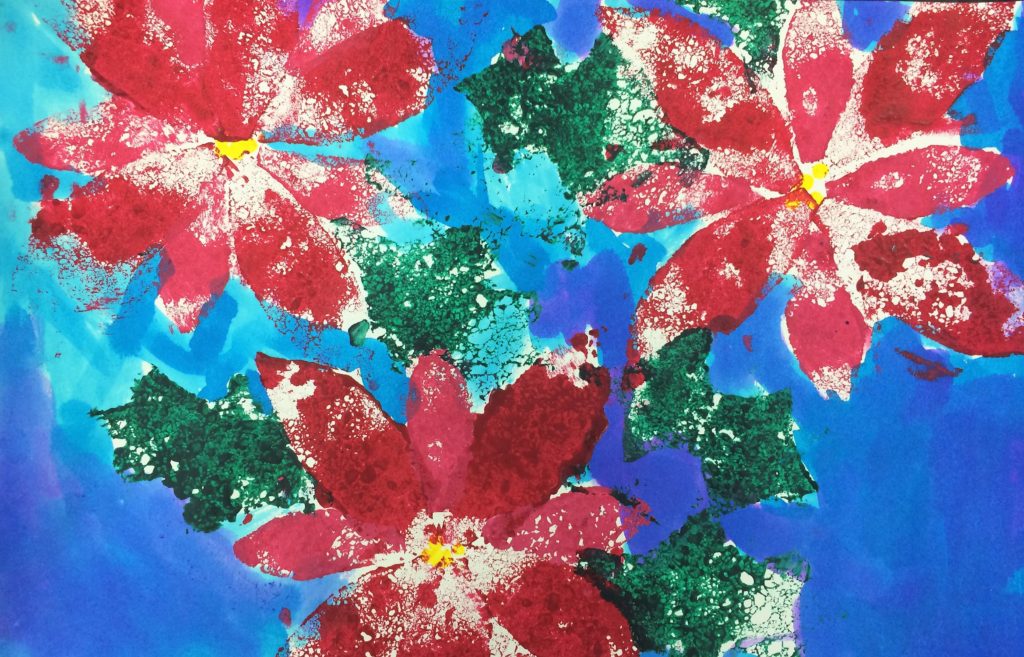
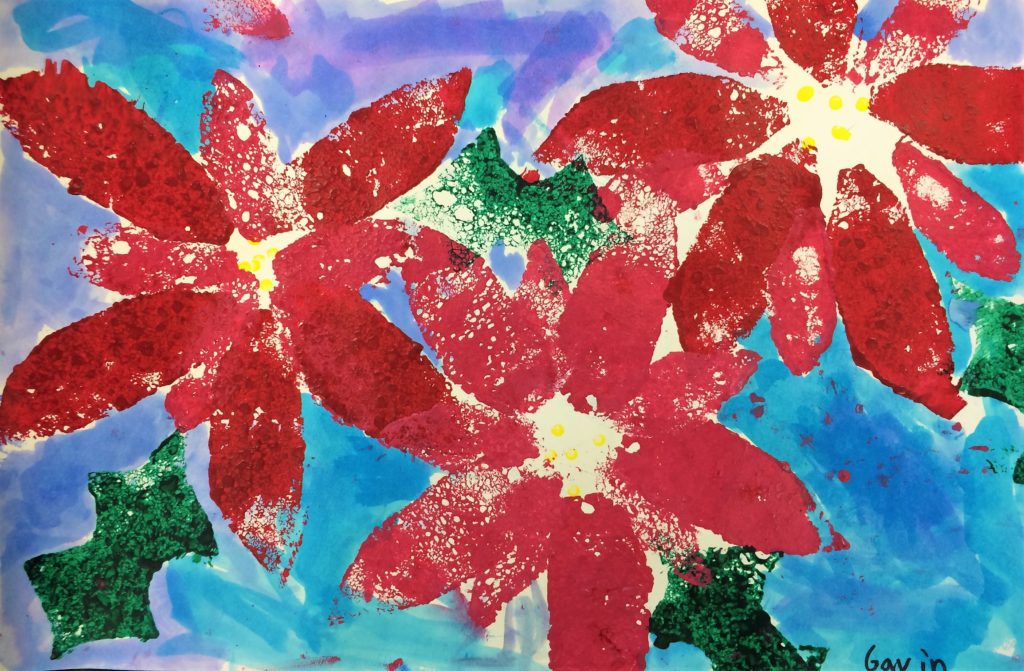
In this Poinsettia Flowers Art Lesson, students use sponges, acrylic paint and watercolor to paint flowers that look like they were professionally created.
Grade Level
2nd, 3rd, 4th Grades – The examples in this lesson are made by 3rd Grade.
Objective
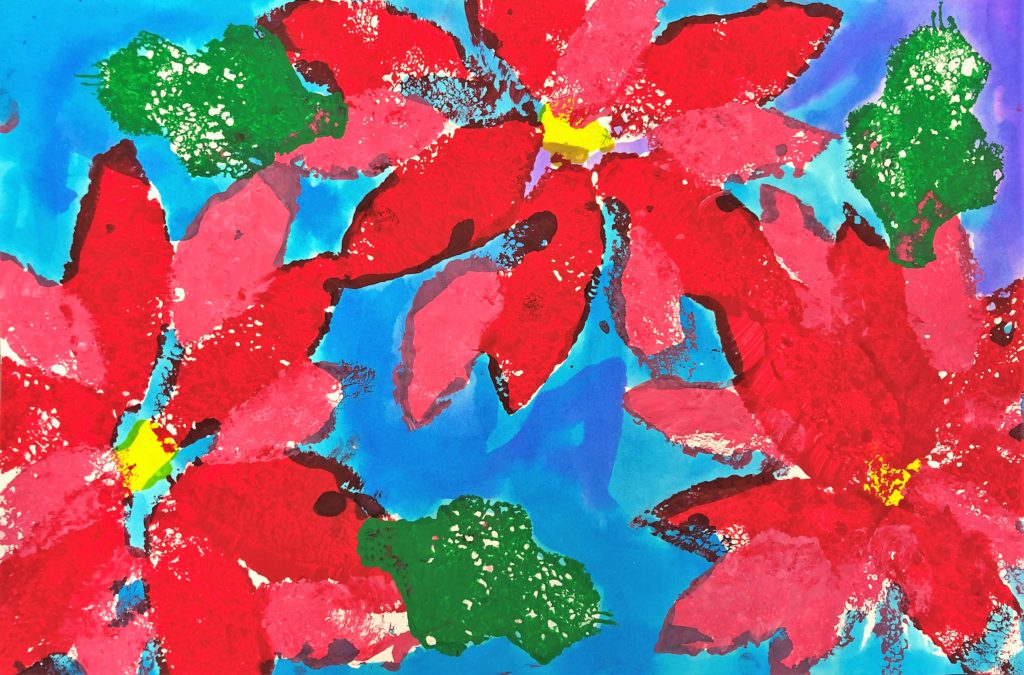
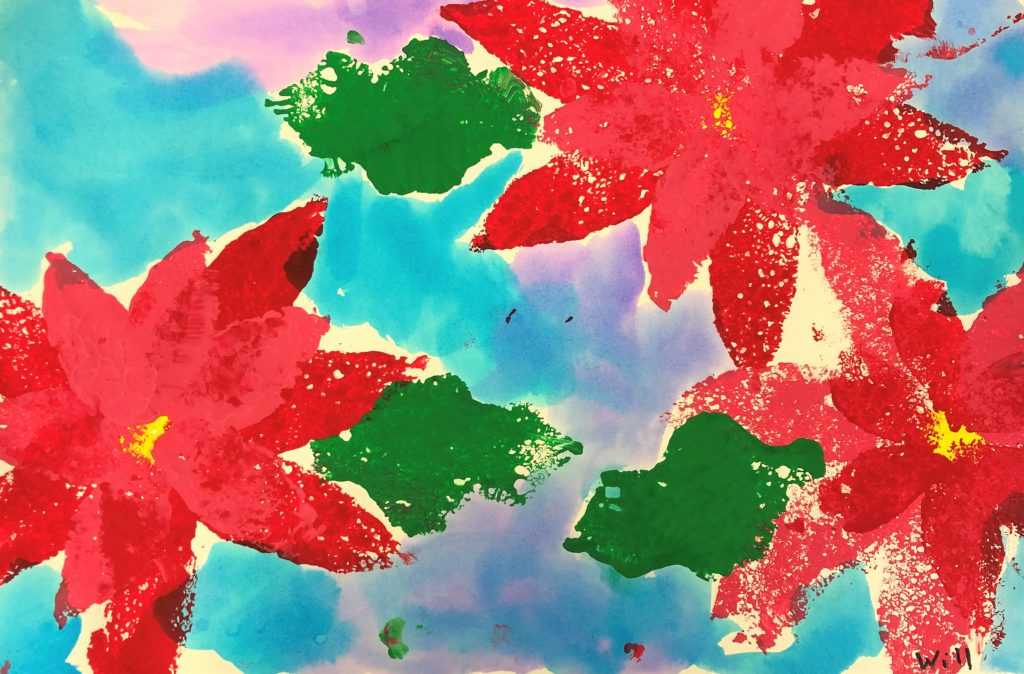
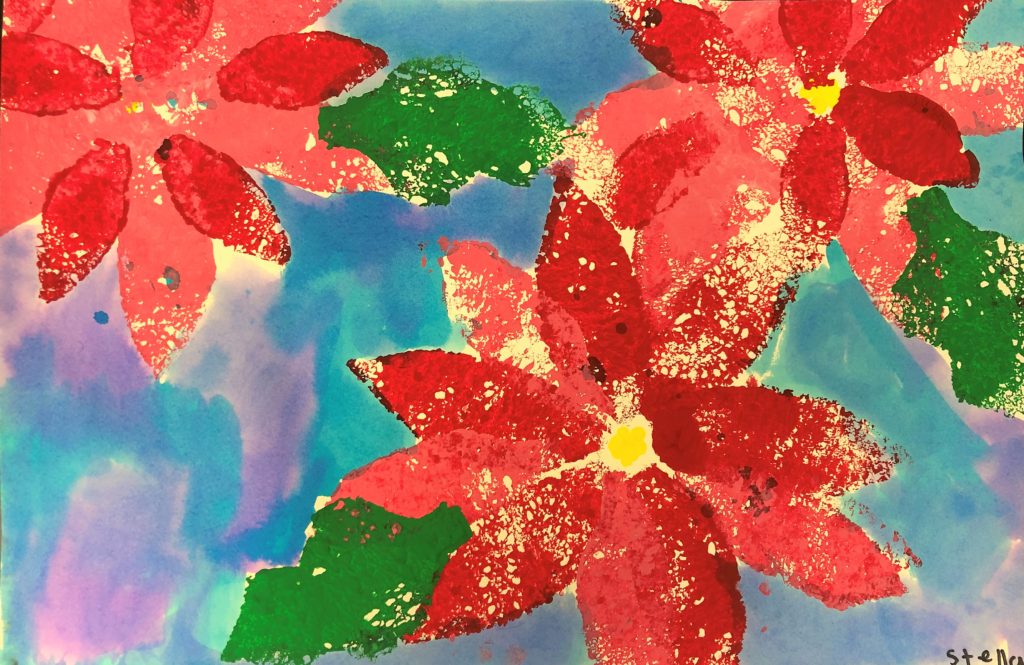
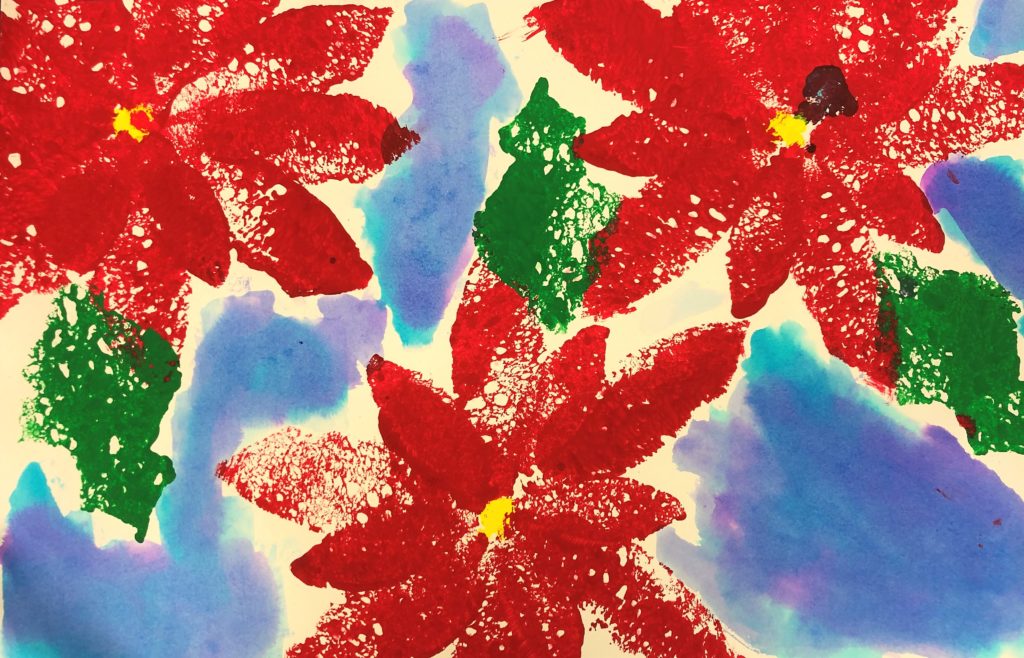
In this Poinsettia Flowers Art lesson, students will use sponges to create textured poinsettia flowers.
Time
3 – 60 min lessons
Materials
- Yellow, Red, White, Green Acrylic Paint – Crayola Washable Kids Paint Set, 10 Count
- Sharpie Marker – Sharpie Permanent Marker, Fine Point, Black, Pack of 5
- Q-tips
- 12×18 Watercolor paper – Canson XL Series Watercolor Textured Paper Pad for Paint, Pencil, Ink, Charcoal, Pastel, and Acrylic, Fold Over, 140 Pound, 12 x 18 Inch, 30 Sheets
- Brushes – Acrylic Paint Brush Set, 1 Packs / 10 pcs Nylon Hair Brushes for All Purpose Oil Watercolor Painting Artist Professional Kits
- Liquid Water Colors – Turquoise, Blue and Purple- Sargent Art 22-6010 10-Count 8-Ounce Watercolor Magic Set
- Or this mini version for homeschooling – Sargent Art 22-6210 10-Count 4-Ounce Watercolor Magic
- Kleenex for blotting paint
Inspiration/Artist
I was inspired to make this project after I saw this idea on DeepSpaceSparkle – Poinsettia Print Project: Click Here
Instruction with Questions
Day 1
Read the book, “The Legend of the Poinsettia,” by Tomie dePaola
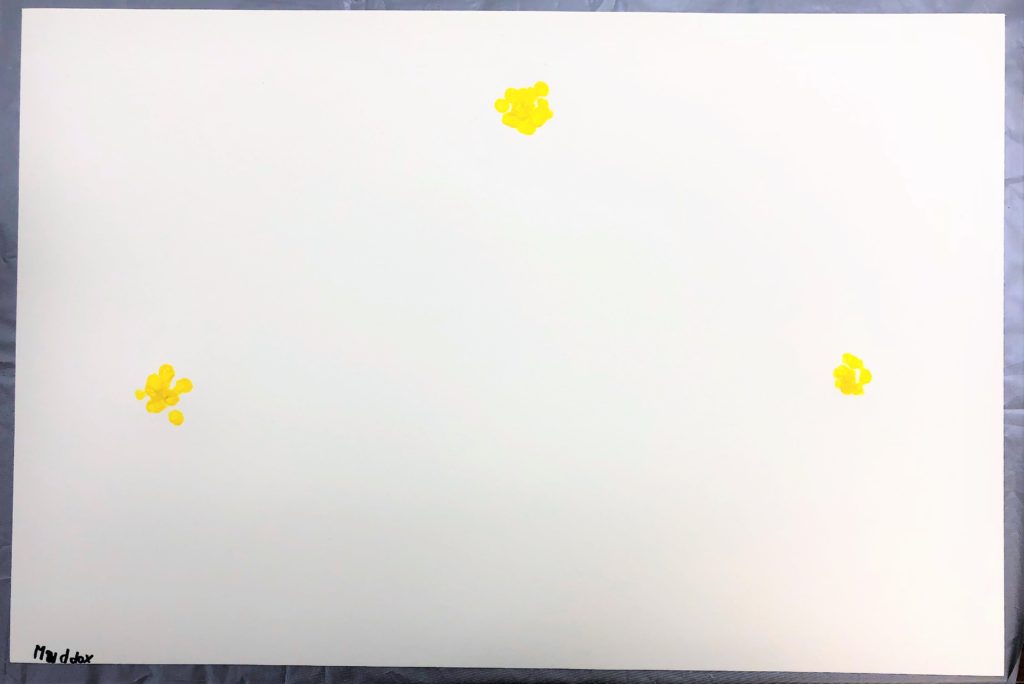
Show the students live photos of Poinsettia flowers on google images. Today the students will use a Q-tip to add the 5-6 yellow dots for the middle of each flower. I encourage them to make about 3 flowers. I also show them on the board how to space them out.
Day 2
I purchased regular old sponges at the Dollar tree. Cut out two sizes of petals, times a few of each size. One petal was approximately 4 inches long and the other one was about 2 inches long.
I set out two paper plates with paint in both a dark pink (red and white paint mixed) and red paint. Show them that their flower may be all red, or all pink, or large red and small pink, or reverse. Put a dollar tree plastic table cloth out, since, as you can see, I encourage them to allow their flower to “go off the page.” Get the sponge wet first. I recommend showing them ahead of time how to not get their petal too gloppy. The holes showing through have a nice aesthetic.
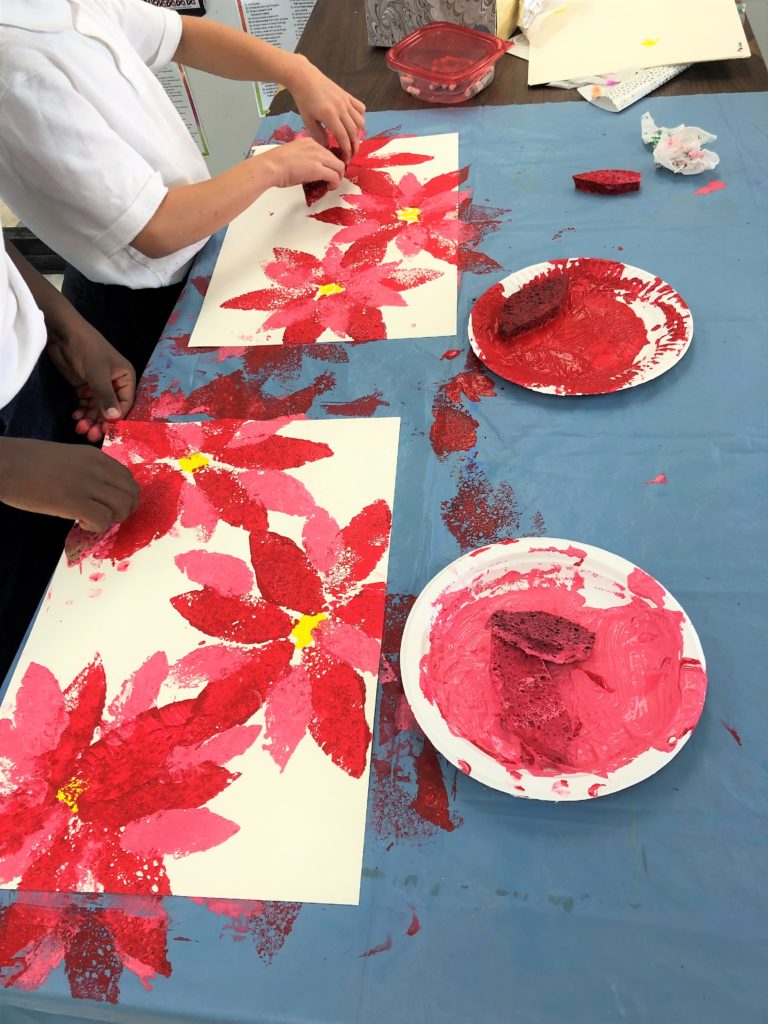
Do this in pairs and as they finish, and then pull them to another station where you will have pre-cut holly leaves for the green paint. One leaf is generally added in each white area.
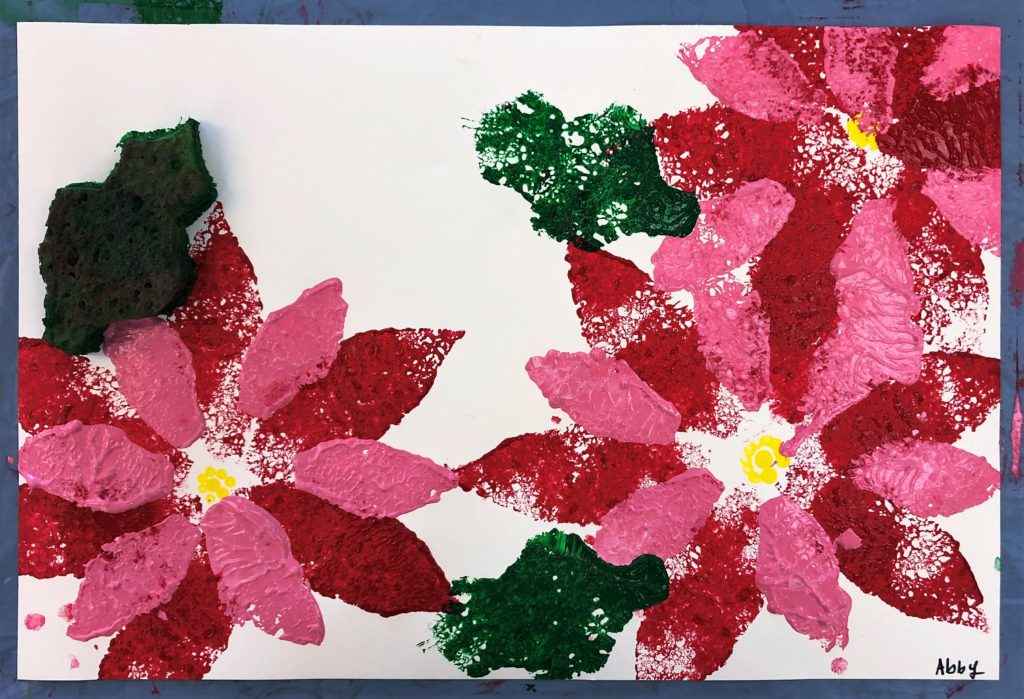
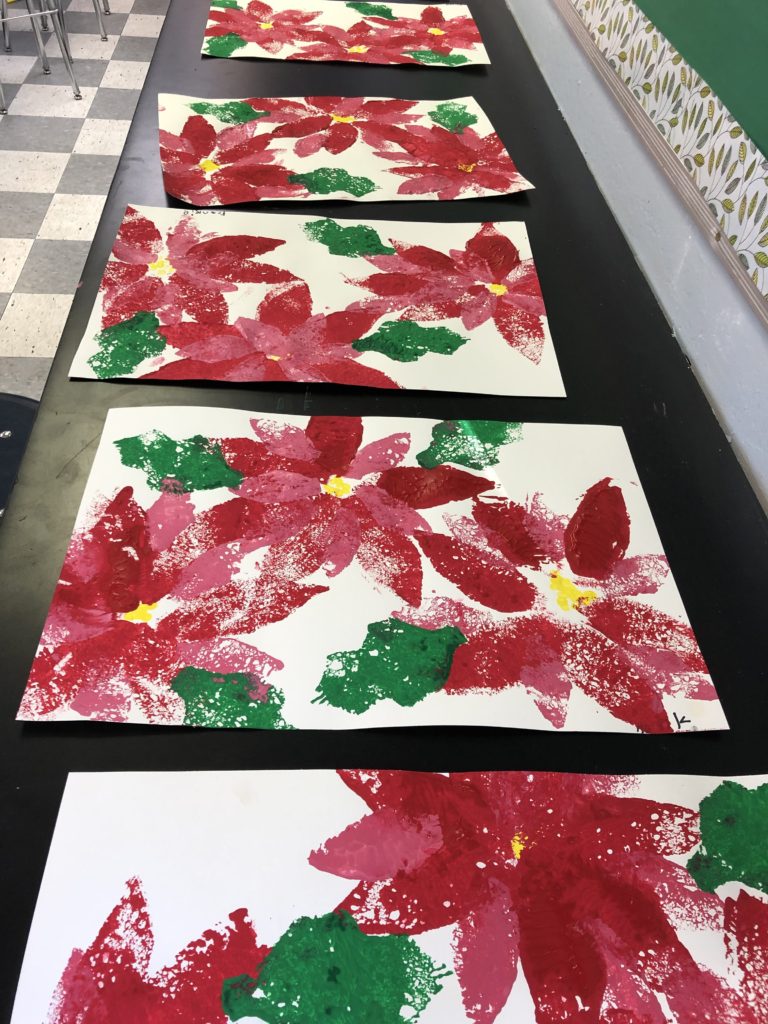
Heck, I think these look great in just the reds and greens! But they are even more glorious when you add the final step.
Day 3
Now that the paint has dried, set out a variety of turquoise, blue and purple watercolors. I dilute these with water so they are a little more muted. I encourage the students to be random and overlap their colors. They are also encouraged to make a choice about whether or not the watercolor is a space away from the flower rather than flush against it.
Each one comes out so professional looking! A mom shared with me that she framed her child’s artwork and a friend, visiting her home, asked her where she bought her poinsettia artwork! The person was amazed to learn it was created by a third grader!

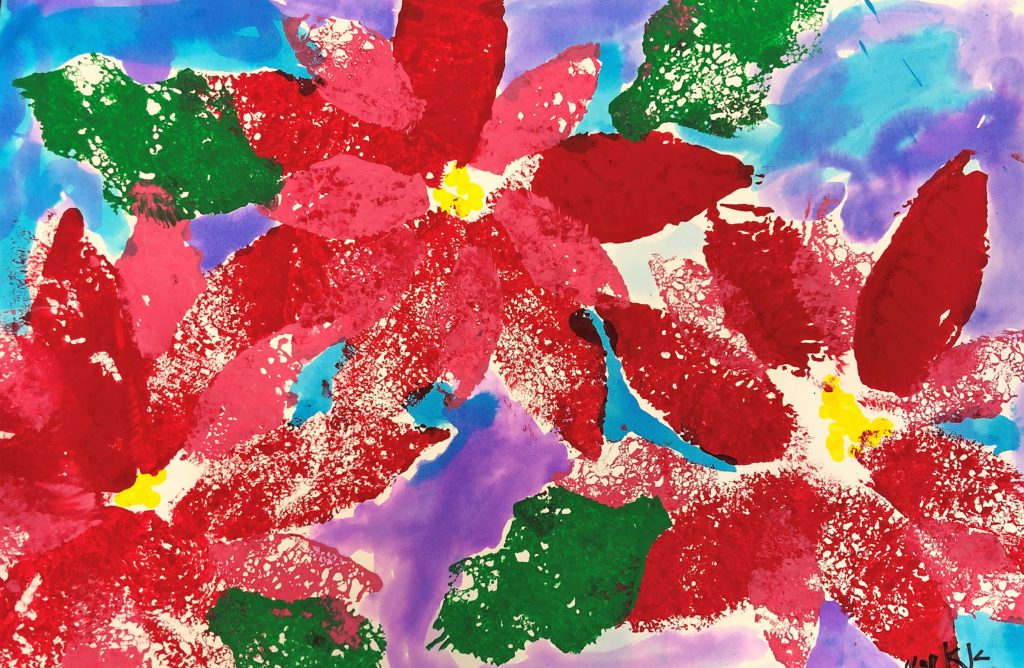
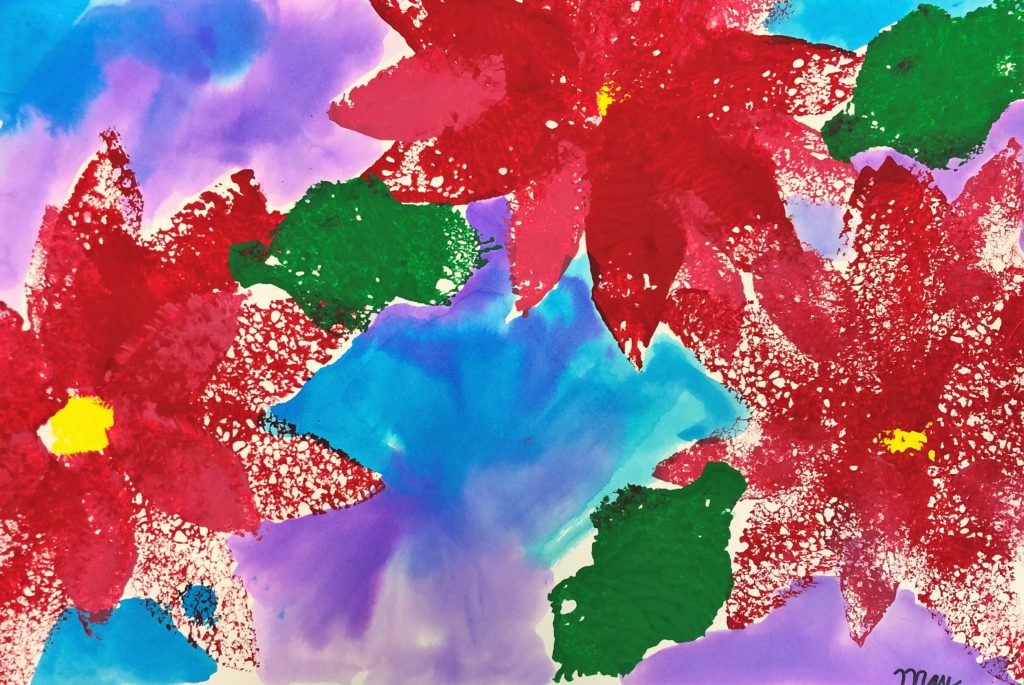
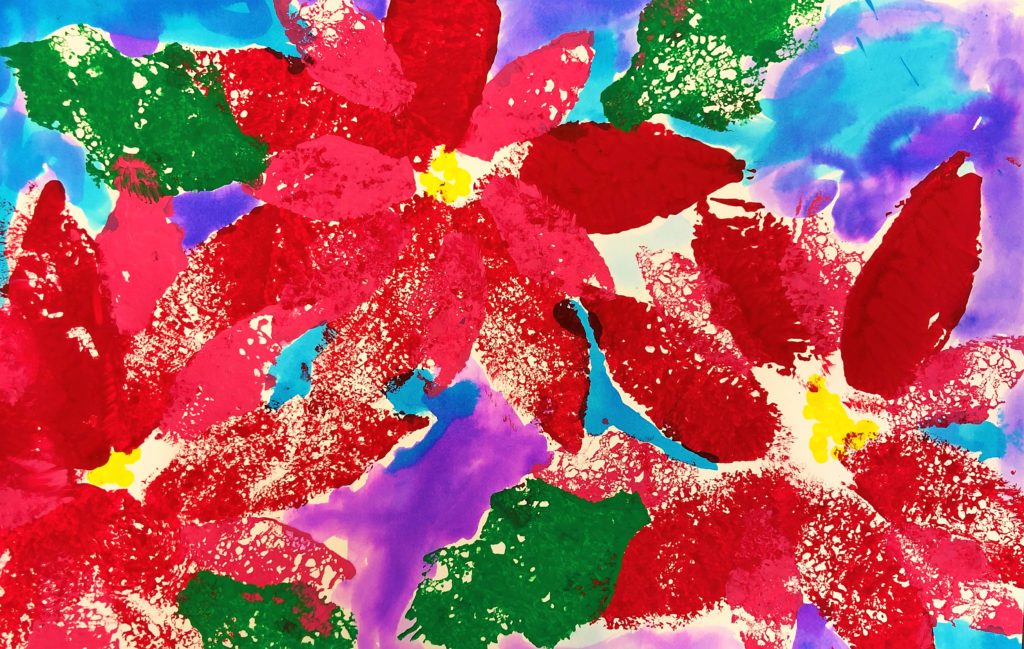

WOW!! Beautiful! Can’t wait to make these in December!!!! Going to try with First Graders! but will do them in small groups.
Have fun! Let me know how I can support you.
What are the black fine point sharpies used for? I love love love the final results. Thanks for sharing
This was one of my early lessons and it is just for them to add their first name on the front. You could definitely use many mediums for that.
Bellissima attività
Grazie!
These are beautiful! I’m going to make these with my 13 year old son in our homeschool. Fortunately he still loves doing art and crafting with mom! 🙂
Awesome! Let me know how it goes and how I can support you!
My now 21 year old son, created one of these beautiful poinsettia prints when he was in 2nd grade. I laminated it and hang it every year at Christmas! It’s my absolute favorite. I love the added background colors.
Thank you for your kind message and feedback. Merry Christmas!
I’m a little terrified of using watercolor paint (I’m a math major disguised as a grade 4 teacher). Would watercolor pencils work too?
I love your honesty. You do not need to be afraid of the watercolor. You can even skip the colorful background. As long as the flowers are dry the students are great about painting around them. I don’t even give many instructions about how to use the watercolor. If you use the liquid ones, put some (about a 1/4 cup) and diluted it with a tablespoon or so of water (see what I am doing here? Using math references to help you 🙂 ) Then have them come to a “station” area in your room where just a few of them paint at at time. You can just use turquoise or you can offer the three colors to blend. They somehow organically understand how to do it. Fourth graders are brilliant. You’ve got this! Please let me know how I can support you more from here. Feel free to email me as well. leahnewtonart@gmail.com
I forgot to mention that I do not recommend the pencils for this type of project. You will see scribble scrabble lines everywhere. Those are much better when used for texture. Good luck!
I have 4×6 or 5×7 flat canvas pieces, do you think I will be able to scale this down to have my 2nd graders create this on the canvas as a gift to wrap up and give to their families? I’m not sure about the water color on the canvas… do you have any recommendations about that? I am trying to use what I have so I don’t have to buy anything(The reason for the small canvas I already have) the budget is tight as a teacher
Hello! I think yes they could make these smaller. I think your biggest challenge will be making the sponges small but I think it is definitely doable. The watercolor should definitely work but I would test on one since different products yield different results. Please let me know how they come out! I would love to share your idea with others.
Are the leaves made from sponges?
Yes. I purchased some from dollar store and cut them into the shapes I wanted. I cut large ones and small ones.
great project idea, my 3rd graders loved it
I am so happy to hear this! Thank you for reaching out. Let me know how else I can support you!
Great project, I am planning this for my seniors living with dementia day service program. Thank you for sharing!!
This is gorgeous! I’ll be trying it out with 28 First graders in two days🥰 I I teach art as a volunteer at my daughter’s school and we’re always looking for great ways to get our little ones creating, using their imaginations and as many different mediums as we can get into their little hands💕
Would this work on a fabric apron with acrylic water-based paints? We are painting some white aprons for an auction basket.
They actually make inexpensive fabric paint that I would recommend instead.
Made this with my PreK 4 students. We stopped with just the red/pink flowers and green leaves, leaving the background white. They look great on our classroom wall!
Awesome!!