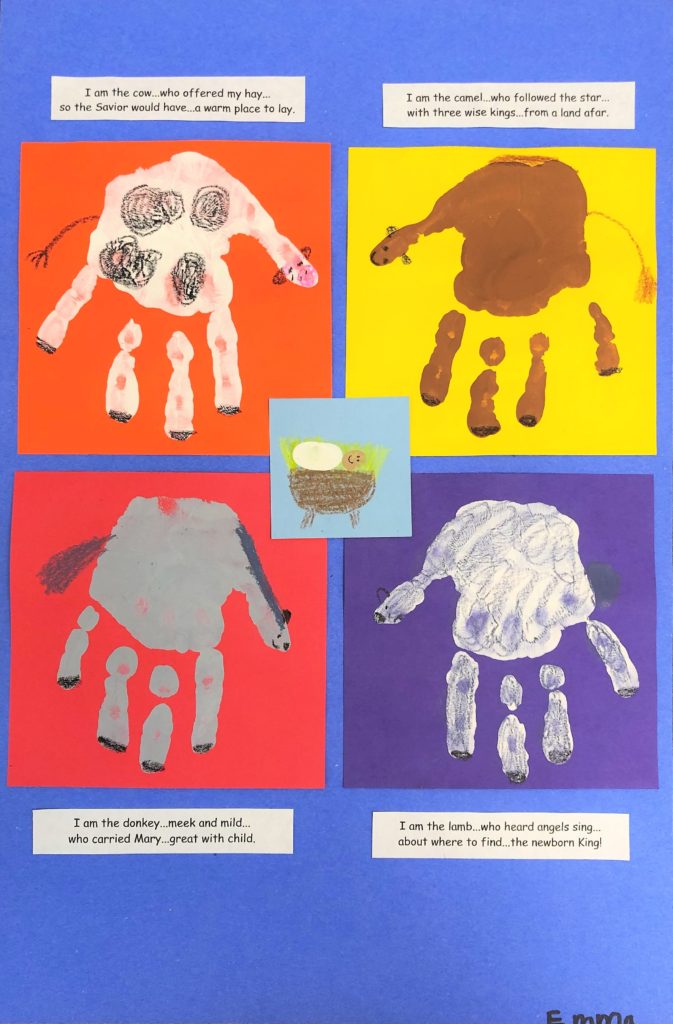
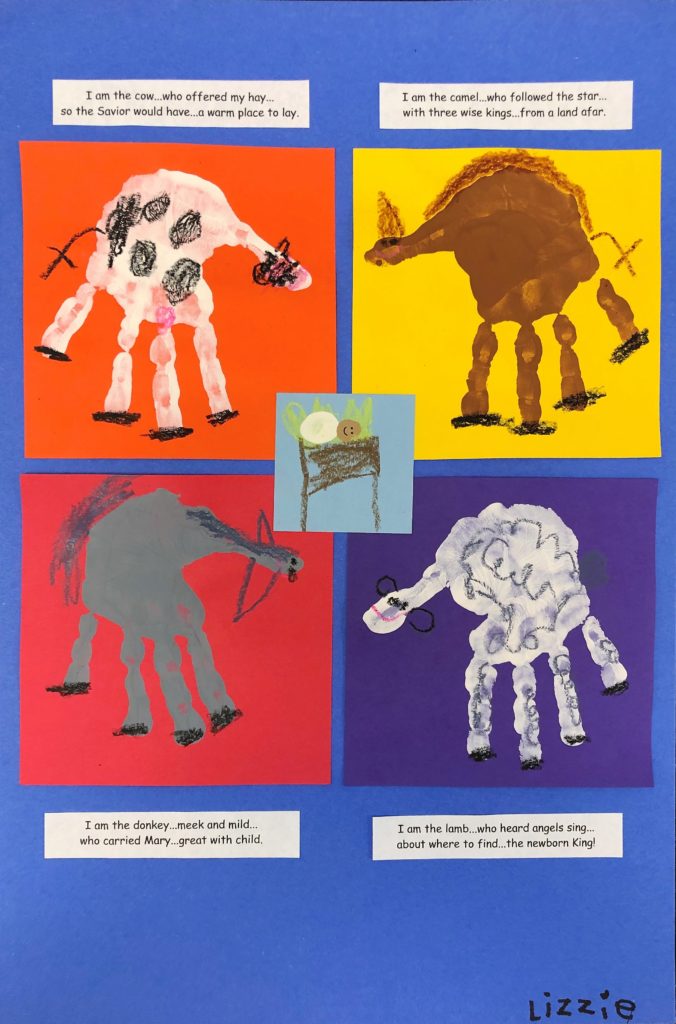
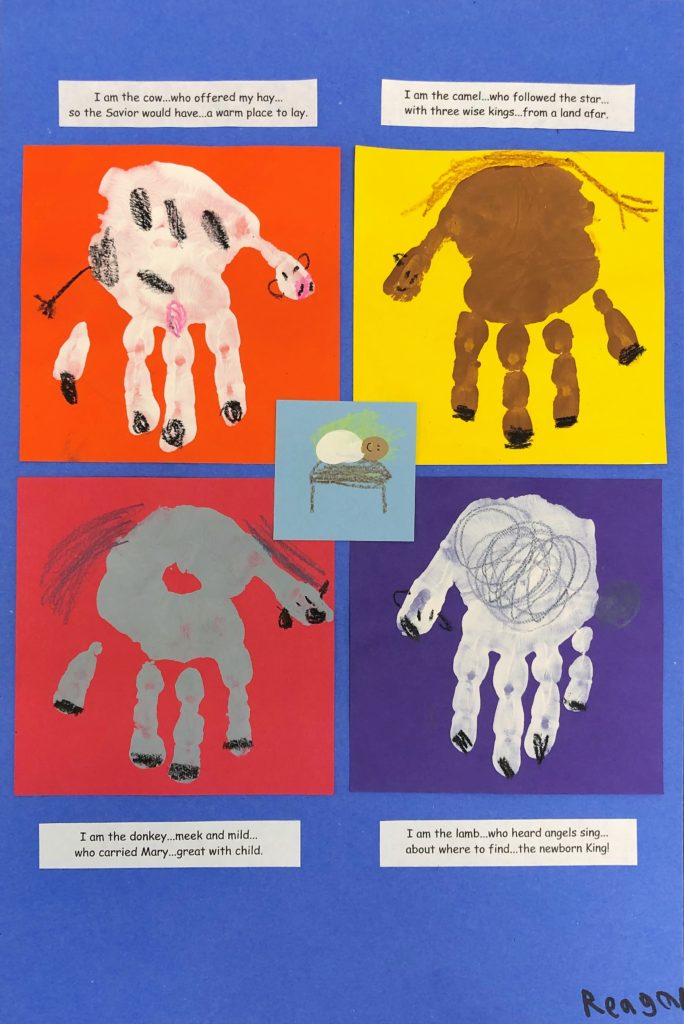
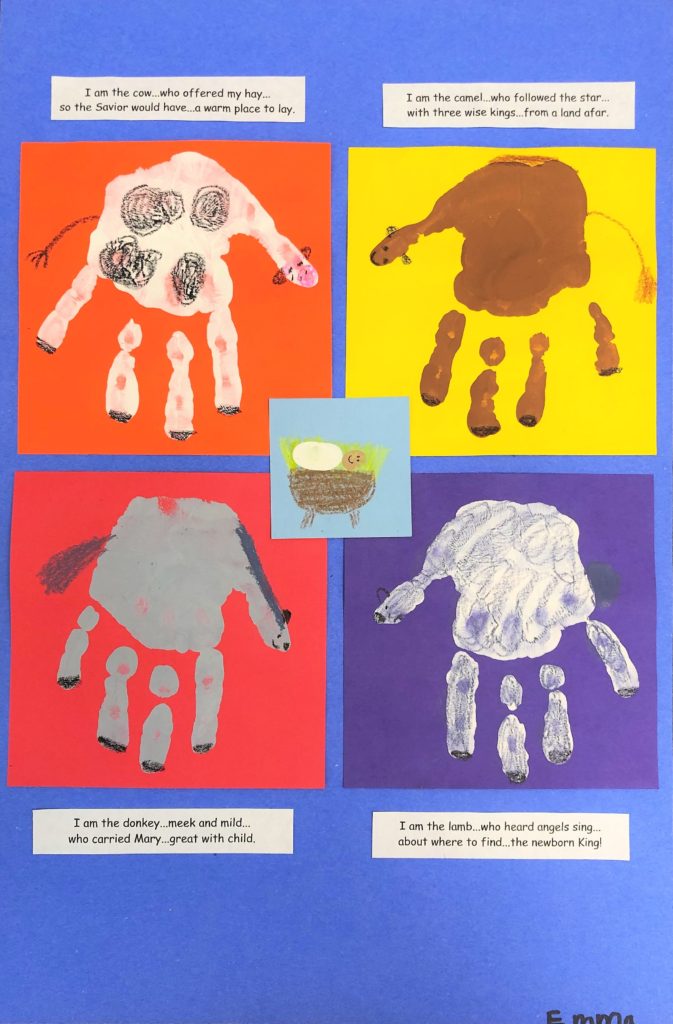
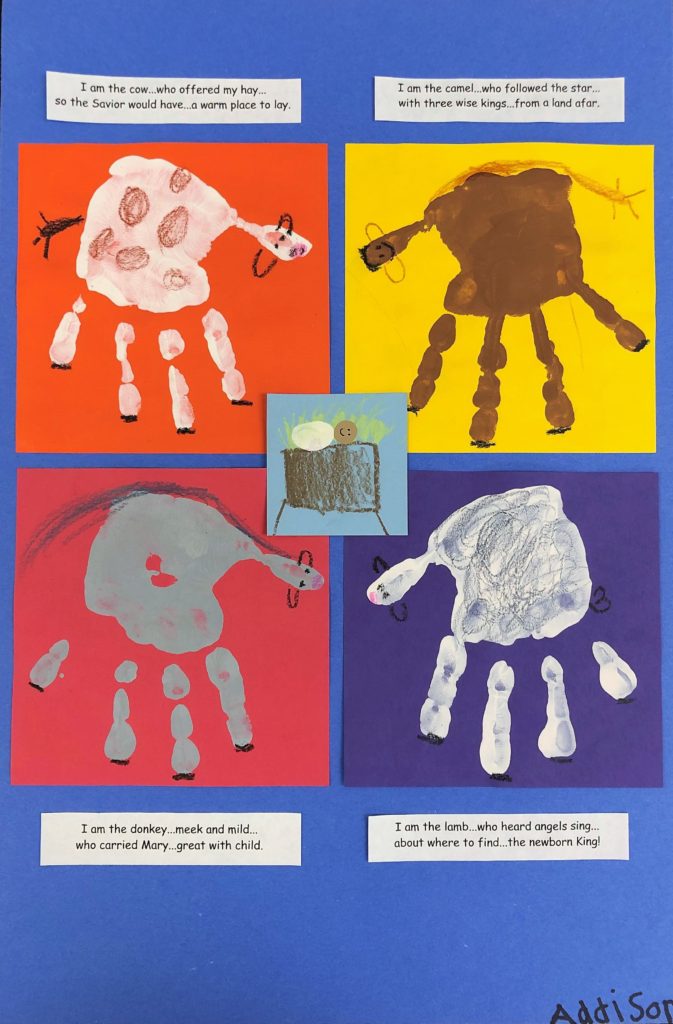
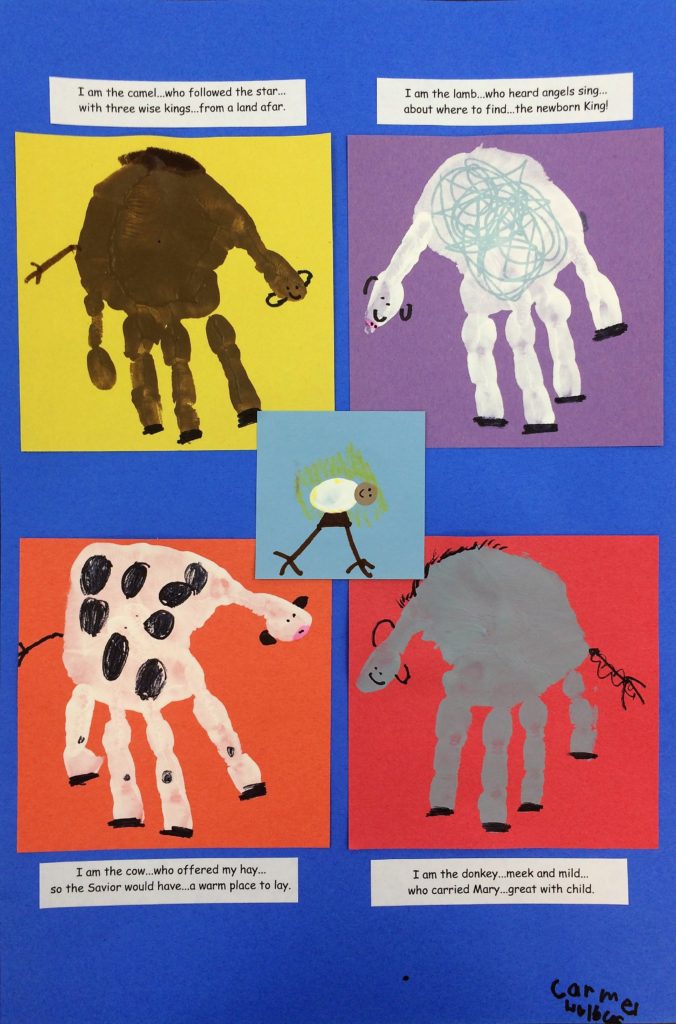
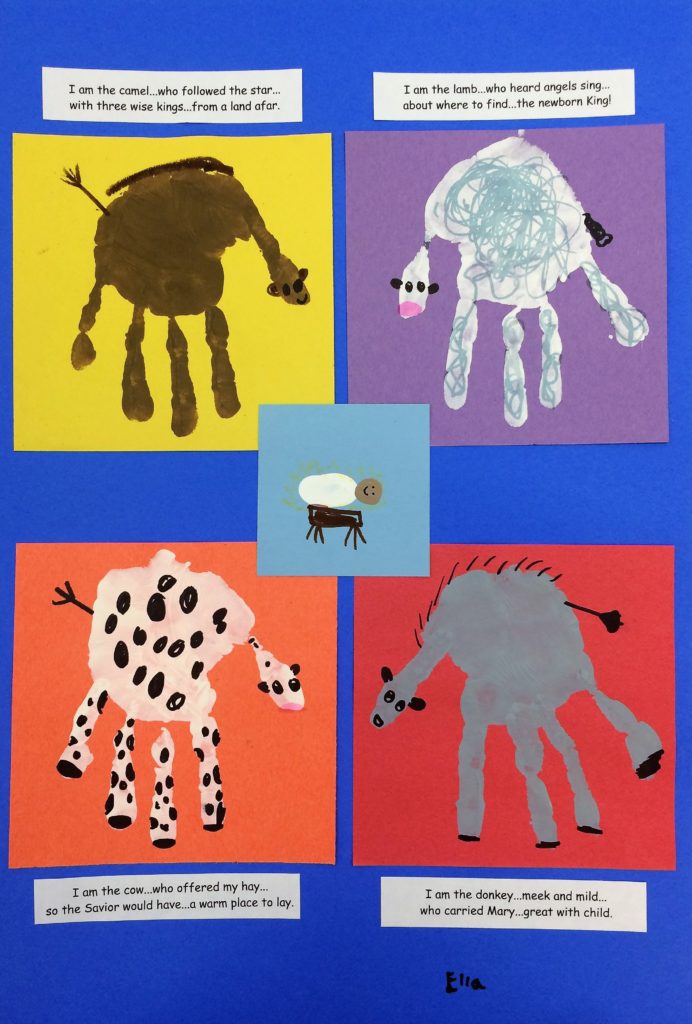
In this Nativity Animals Art lesson, young students will make an adorable scene of the animals visiting Jesus in the Manger.
Grade Level
Kindergarten, 1st grade – The examples in this lesson are made by Kindergarten.
Objective
In this Nativity Animals Art lesson, students will use their hand-prints to make animals visiting Jesus in the Manger for the Advent story.
Time
5 – 30 min lessons
Materials
- Glue Stick – Elmer’s Glue Stick (E4062) (7 sticks)
- White Acrylic Paint – Apple Barrel Acrylic Paint in Assorted Colors (2 Ounce), 20503 White
- Beige Acrylic Paint – Apple Barrel Acrylic Paint in Assorted Colors (2 oz), 4471E, Beige
- Black (to be mixed with white for grey) Apple Barrel Acrylic Paint in Assorted Colors (2 Ounce), 20504 Black
- Sharpie Permanent Marker, Fine Point, Black, Pack of 5
- Crayons (pink, yellow, brown) – Construction paper crayons work great
- Pacon Tru-Ray Construction Paper, 9″ x 12″, 10 Classic Colors, 50 Sheets (P103031) – light blue, purple, red, orange, yellow, red
- Construction Paper Blue – SunWorks Construction Paper, Blue, 12″ x 18″, 50 Sheets
- “Christmas in the Manger,” by Nola Buck: Click Here
- Words from the story to print: Click Here
Inspiration/Artist
I was inspired to make this Nativity Animal Art Lesson after I saw this idea: Click Here
Instruction with Questions
Day 1 and 2
Read the book “Christmas in the Manger” by Nola Buck
Pre-cut Red, Orange, Yellow and Purple construction paper into 5.5″ size squares. Either pre-write their names on the back of the square, or do this as you call the child over to do the next steps.
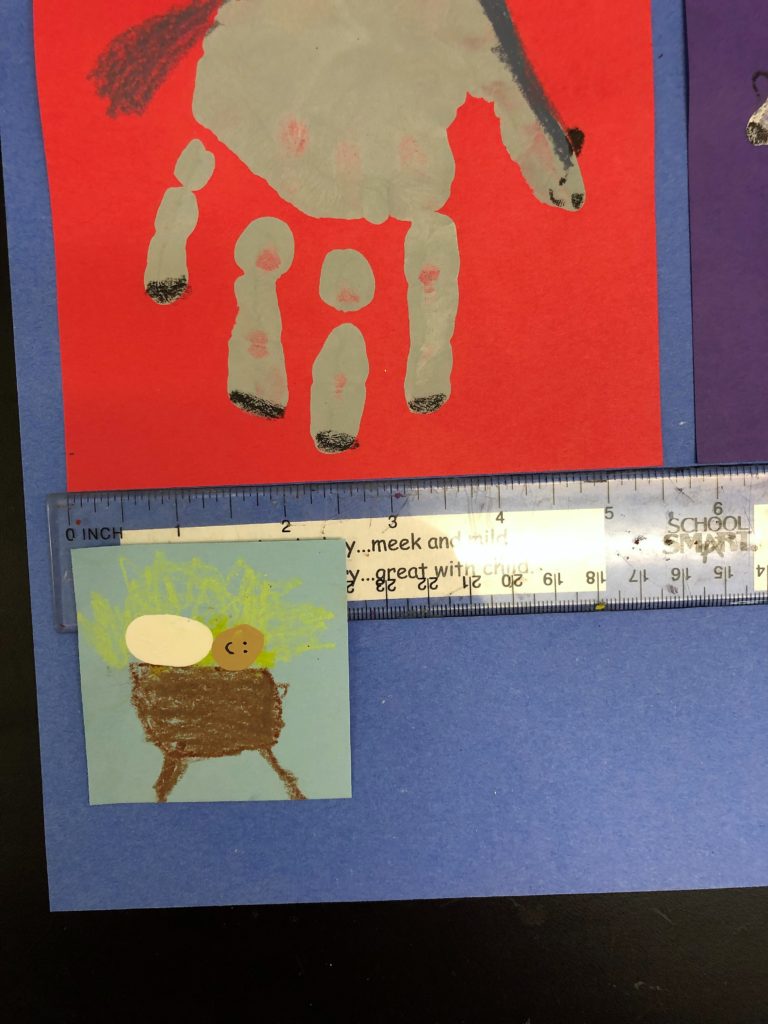
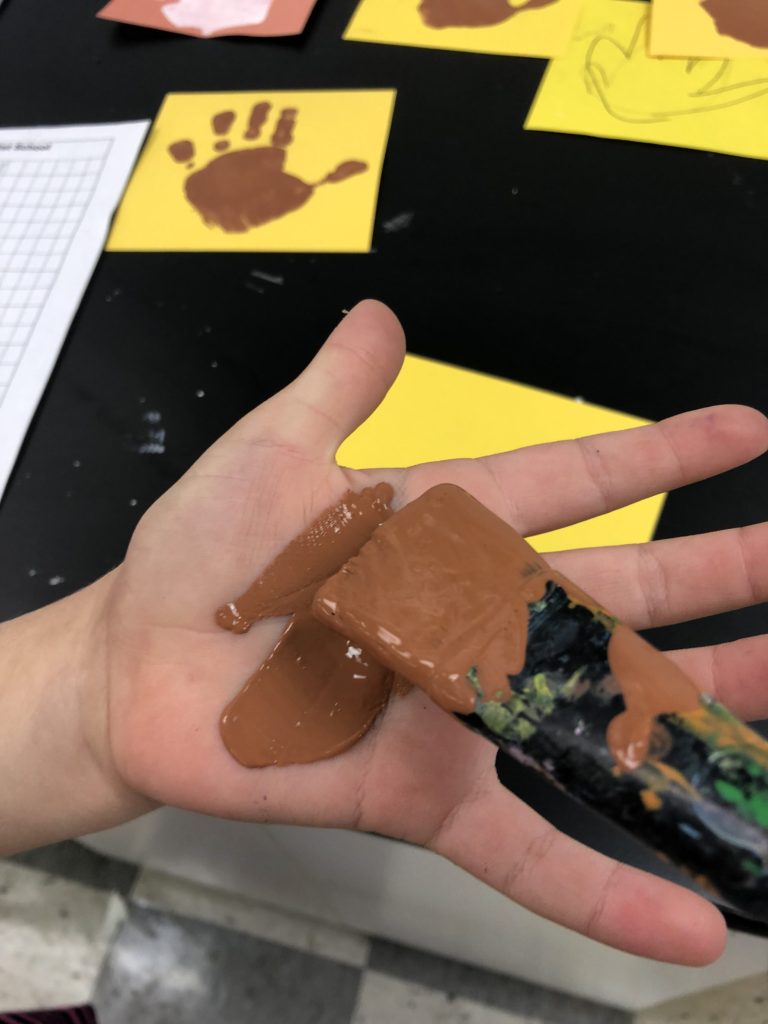
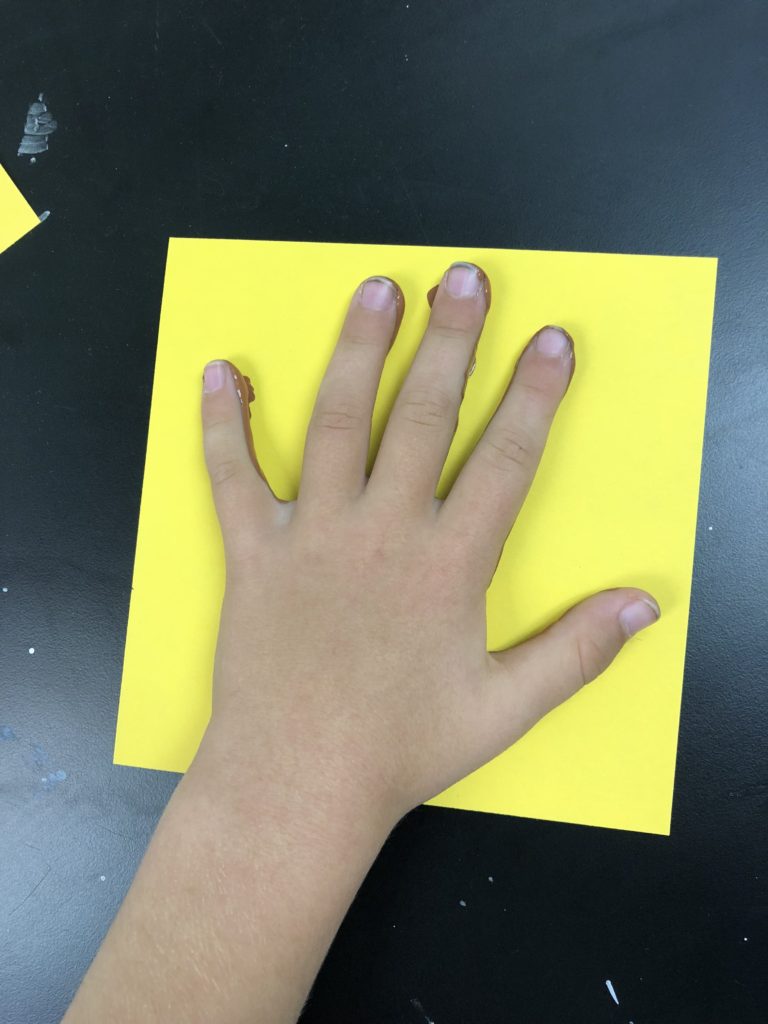
Pull students aside and paint their hands for the hand-prints.
I try to do two hands per day over two days. One of the days, you will paint both hands white for the orange and purple construction paper for the lamb and cow. The other day you will paint one hand grey and the other hand brown for the donkey and camel. Assuming you do not have an classroom aide (I do not), during these paint-the-hand days, students do coloring pages of nativity scenes.
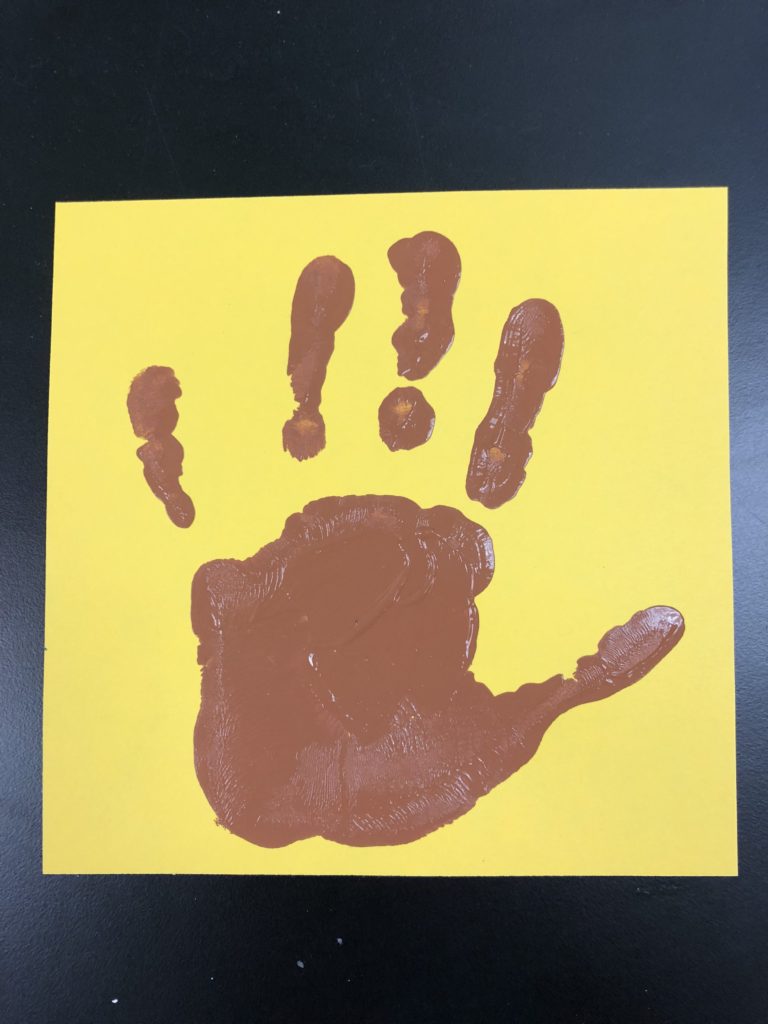
Set all of these aside to dry. (Keep in mind to have fingers placed as closely to the edge of the paper as possible.) Each child has such a range in the size of hands. However, this will help when the palm of the hand becomes the top of the body of each animal – especially the camel with the hump that you will add later
Once hand-prints are dry, paper clip together the set of hand-prints per child.
Day 3
Pass out the hand-print sets to each child. Tell them that you are going to show them how to make their hand-print into an animal.
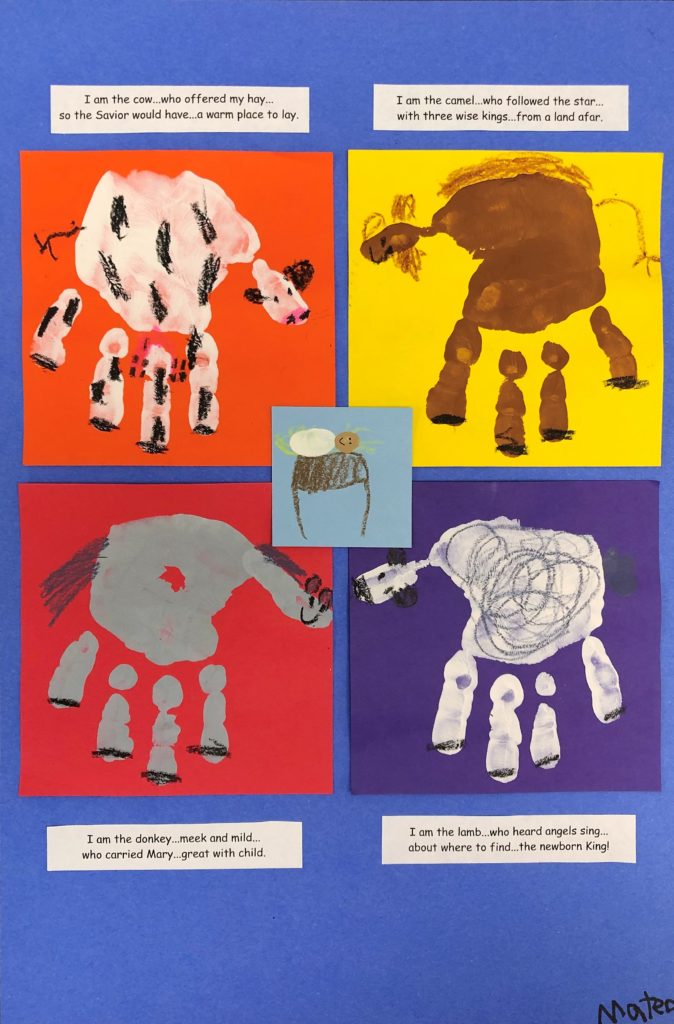
I do one animal at a time. First I do the example on the white board. Then I erase it, ask them to hold up which color paper we are working on and do it again, step by step. I put the colored crayons we will be using, pink, brown, grey in front of each cluster of kids (I have them sitting in groups of four) It is important to show them how the hand is upside down and that the thumb is the head. All four animals are made in a 30 minute session.
Sometimes their faces are a side profile. Other times children will make the eyes nose and big smile at the bottom of the thumb. All ways are welcomed.
Purple paper – White Lamb
Use the sharpie marker or black construction paper crayon for ears, eyes, and nose. Grey crayon squiggles all over hand for curly hair. Add a tail with grey crayon.
Orange paper – White Cow
Use sharpie marker or black construction paper crayon for the ears, eyes, tail and spots. They can also add lines on the feet for hooves. Use pink crayon for the nose.
Yellow paper – Brown Camel
Use sharpie marker or black construction paper crayon for the ears, eyes and nose. Use brown crayon for the tail and hump. The hump is just adorable.
Red paper – Grey Donkey
Use sharpie marker or black construction paper crayon for the ears, eyes and hose. Use grey crayon for the tail and mane.
Day 5
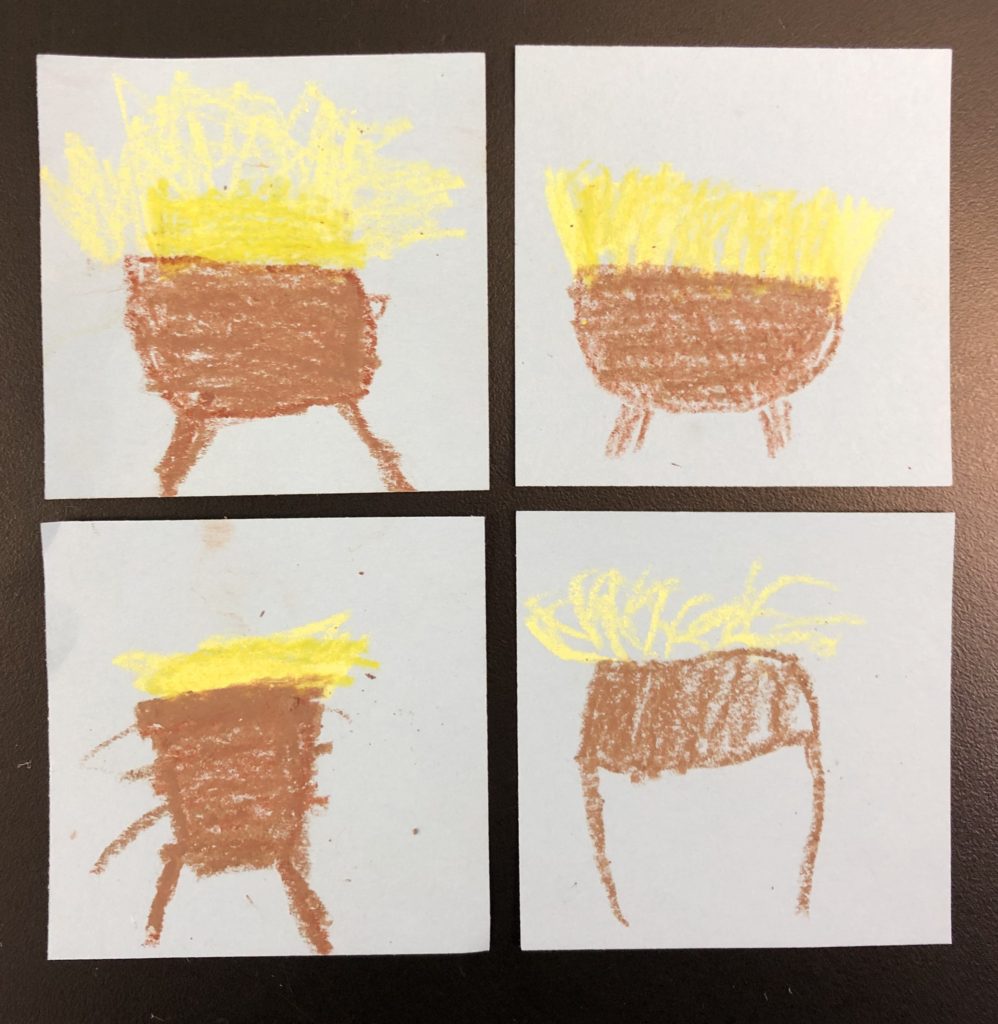
Pre-cut 2.5″ sized light blue squares. Show students how to make a simple crib for Jesus using brown crayon for the wooden box with legs, and yellow crayon for hay.
Then, pull students aside for a quick finger-print of white and finger-tip of beige (mix the brown and white) for Jesus.
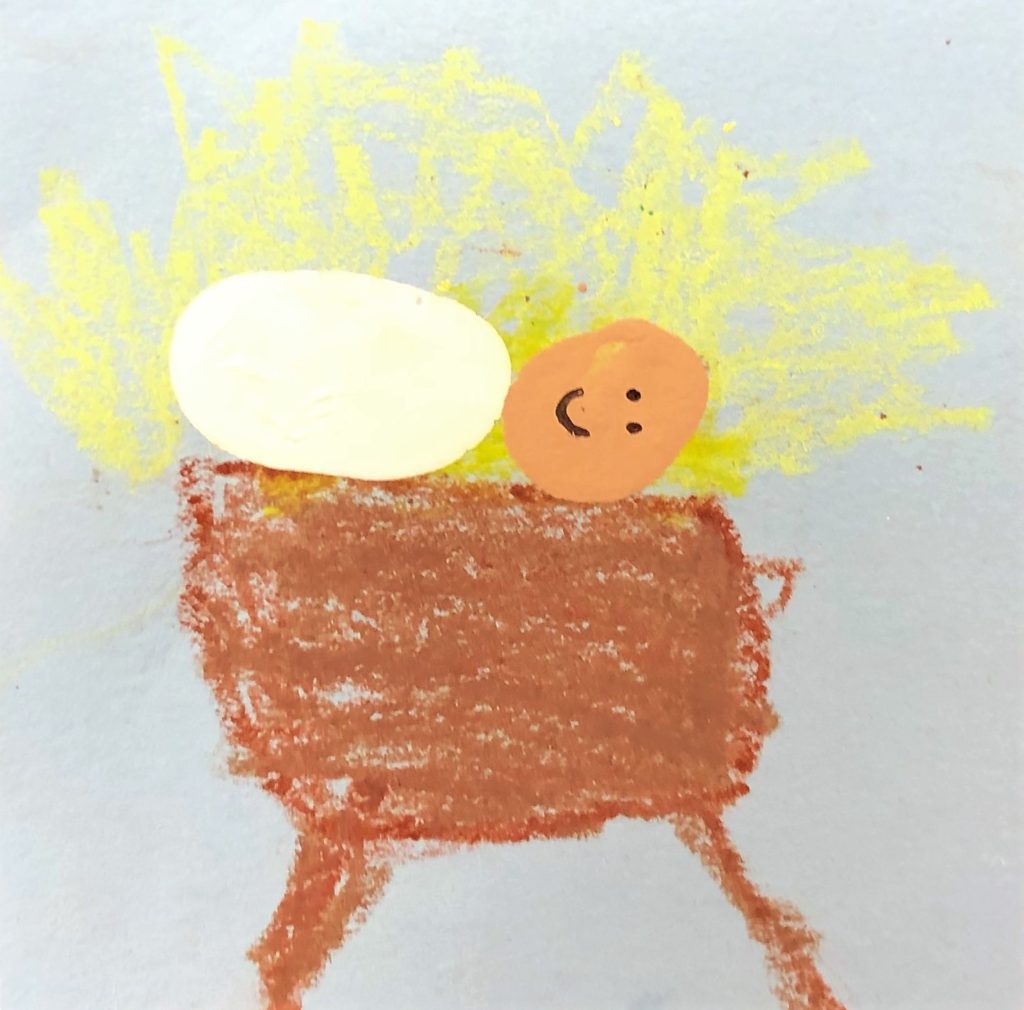
After the paint dries, I add two little eyes and smile on Jesus. I also glue the whole thing together, adding strips from the printed poem.


Leave a Reply