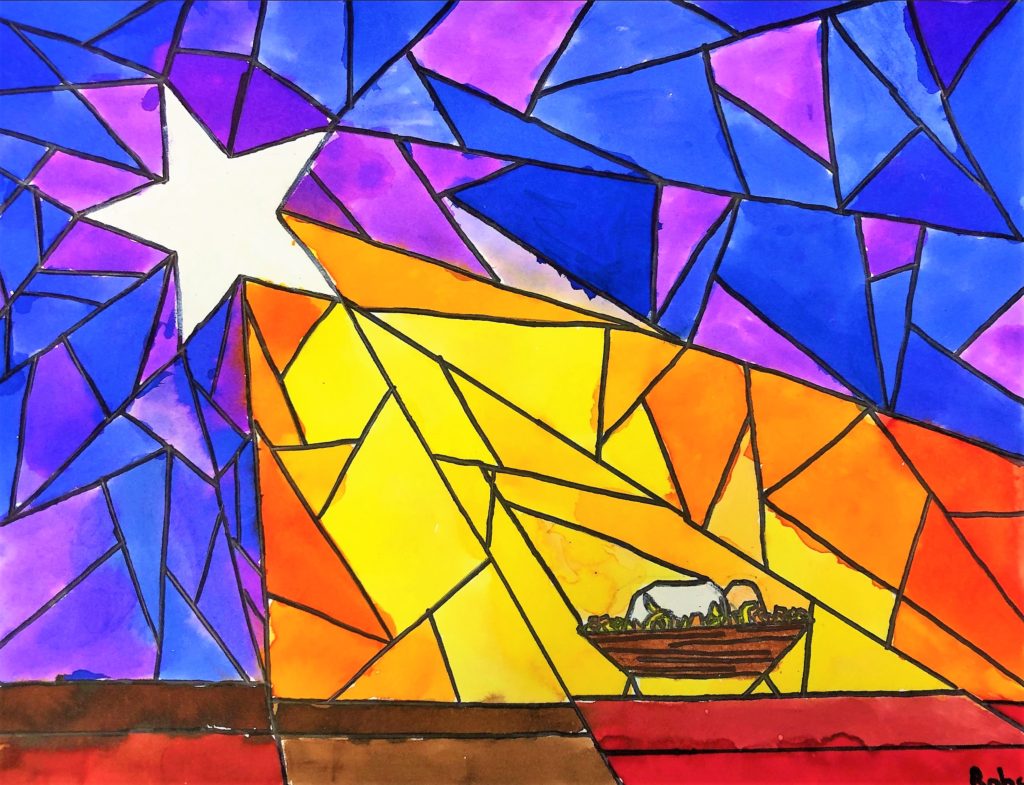
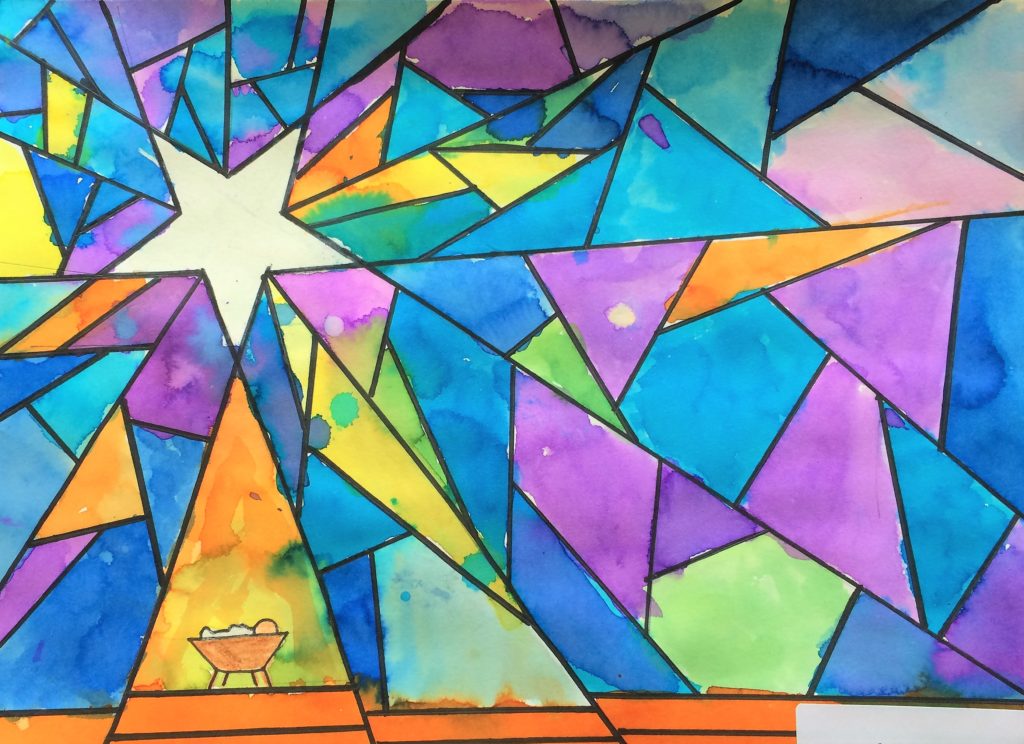
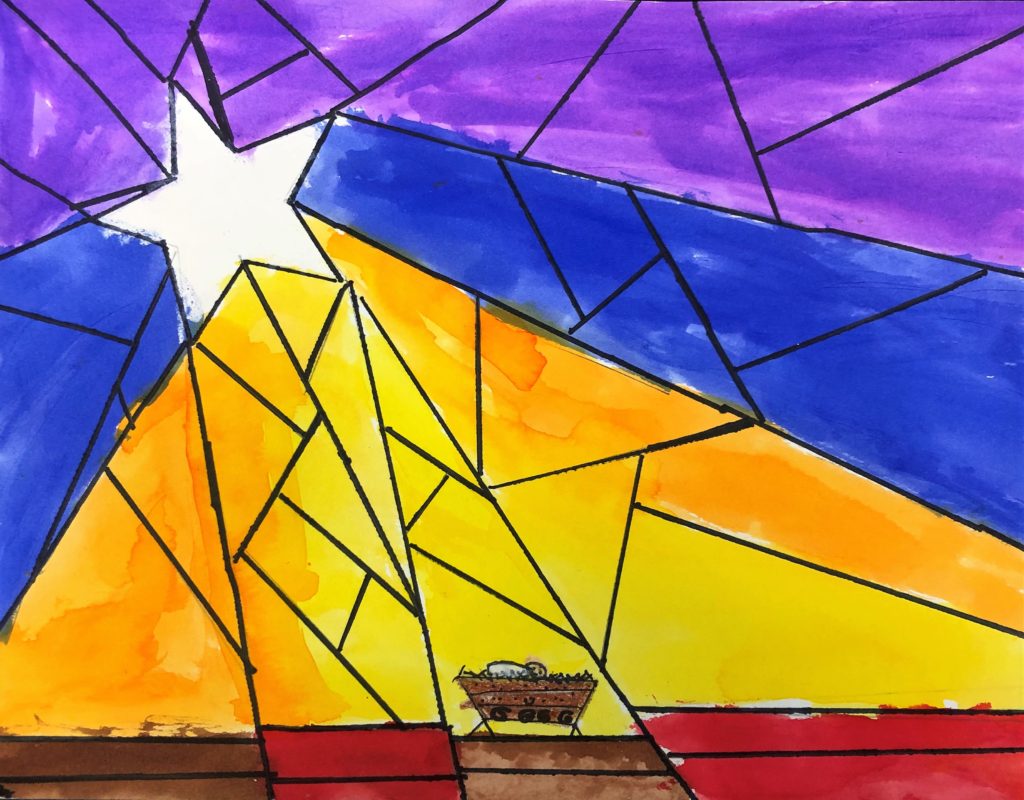
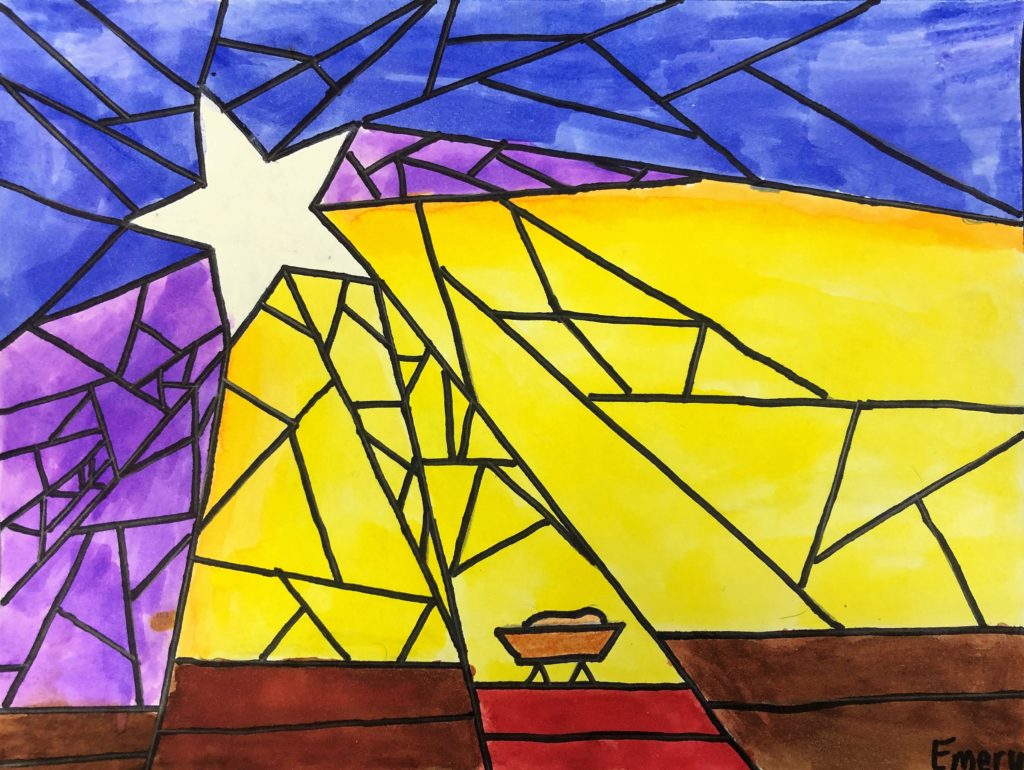
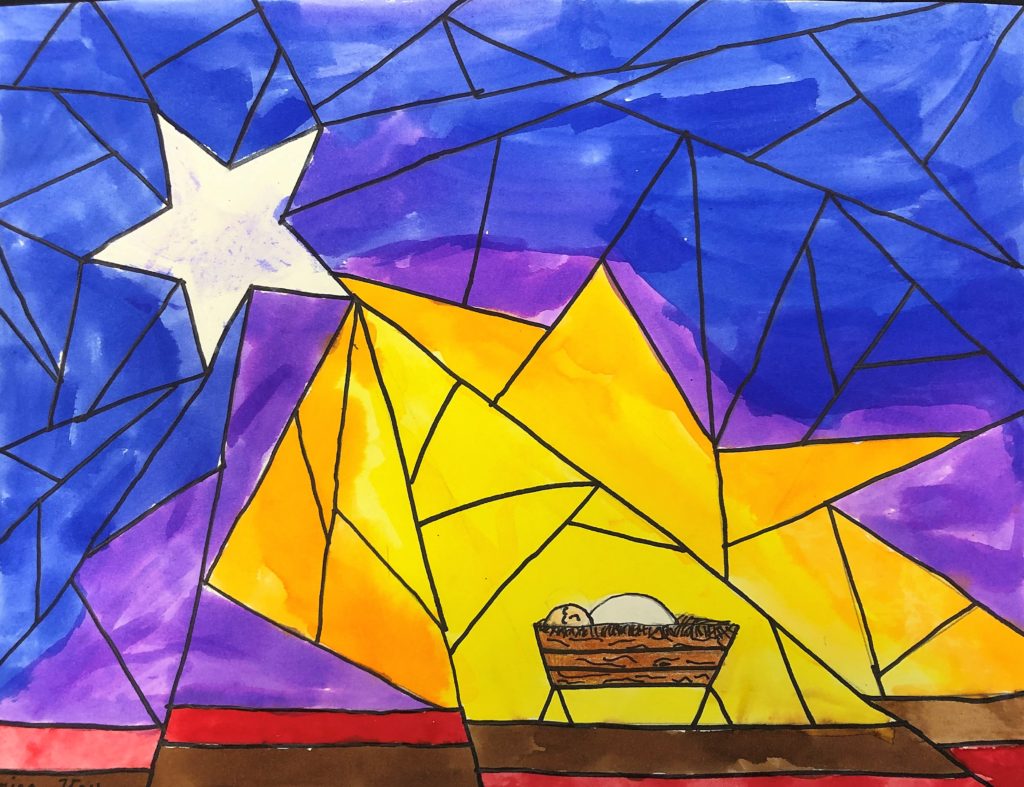
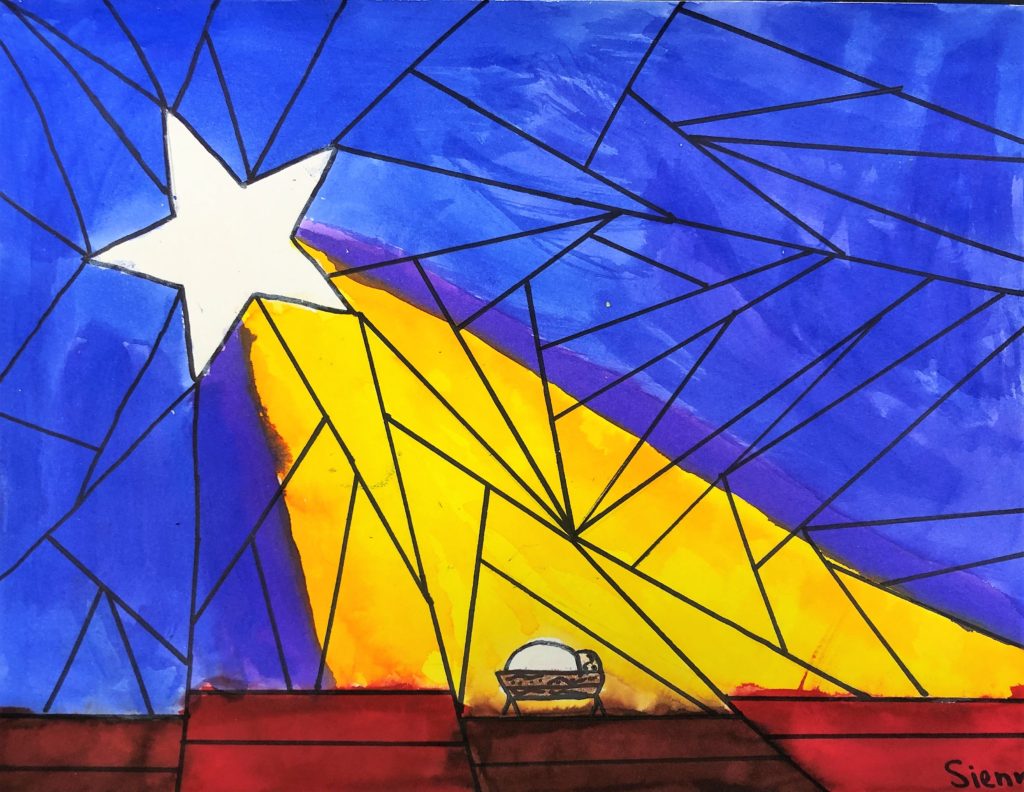
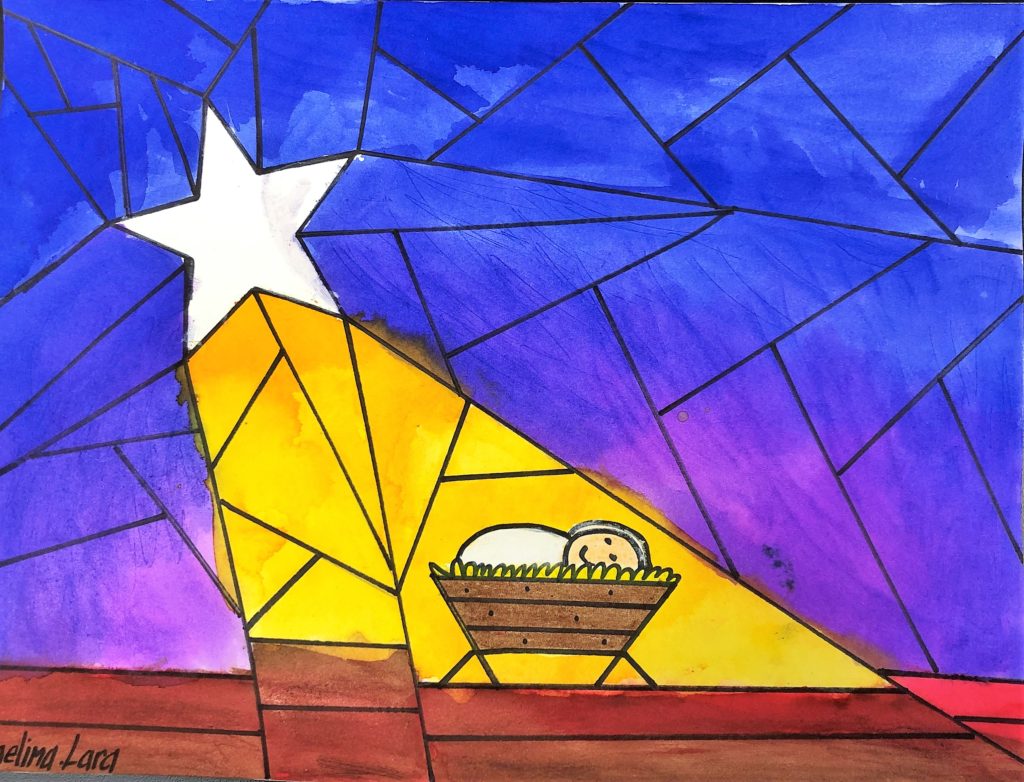
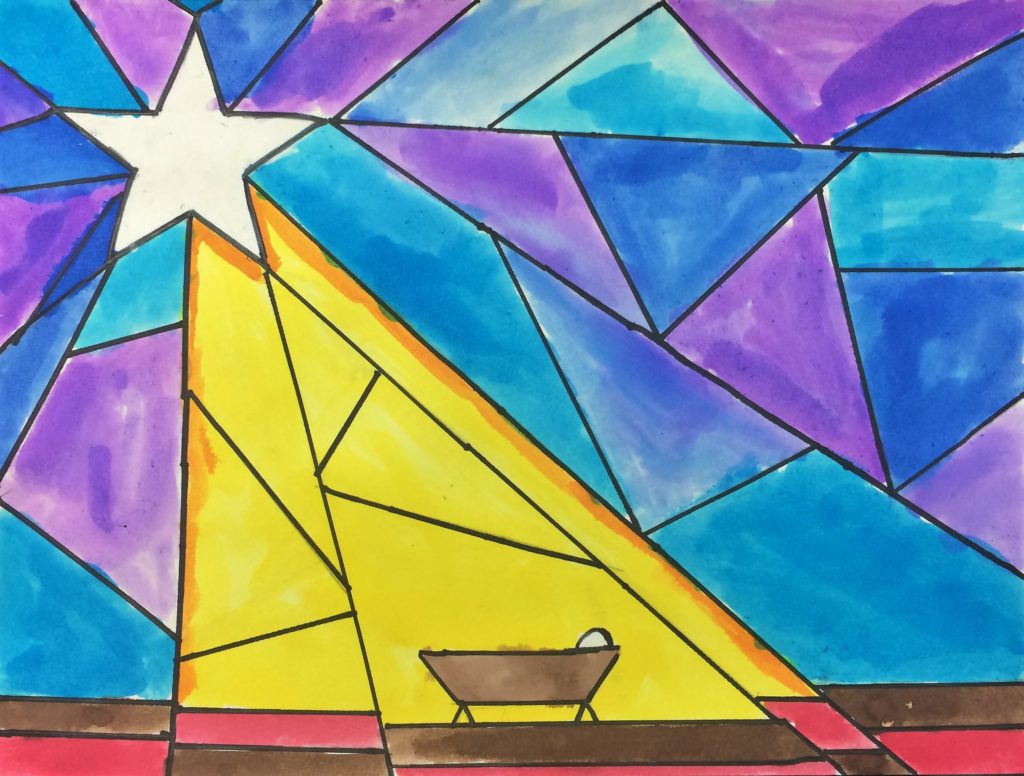
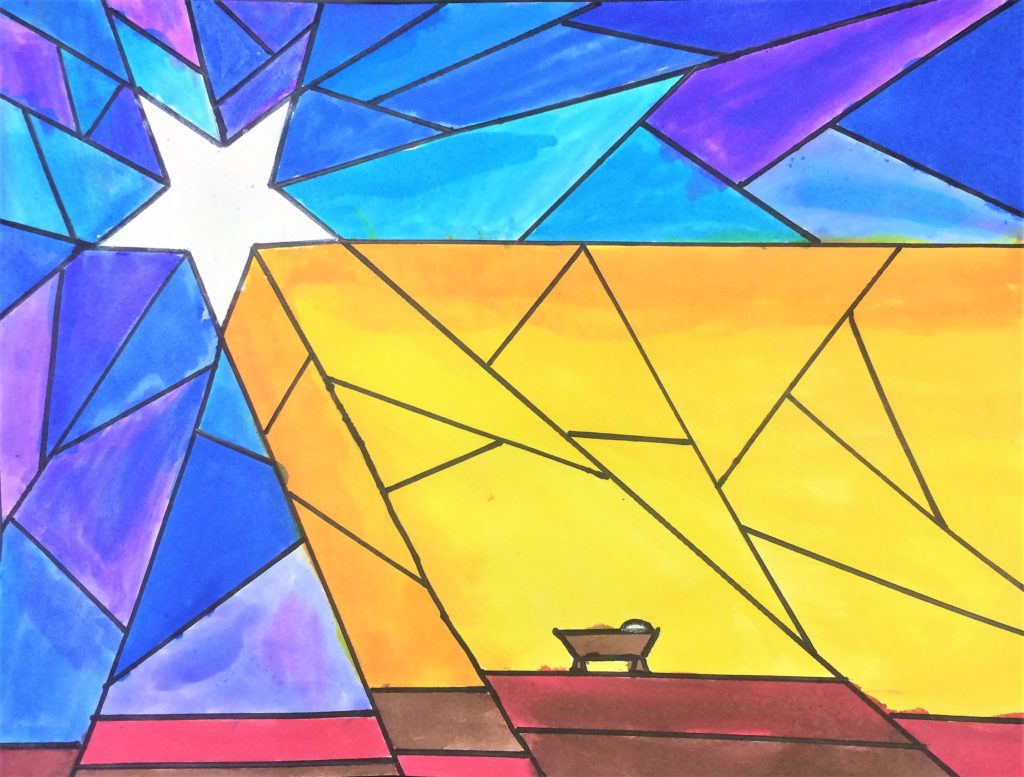
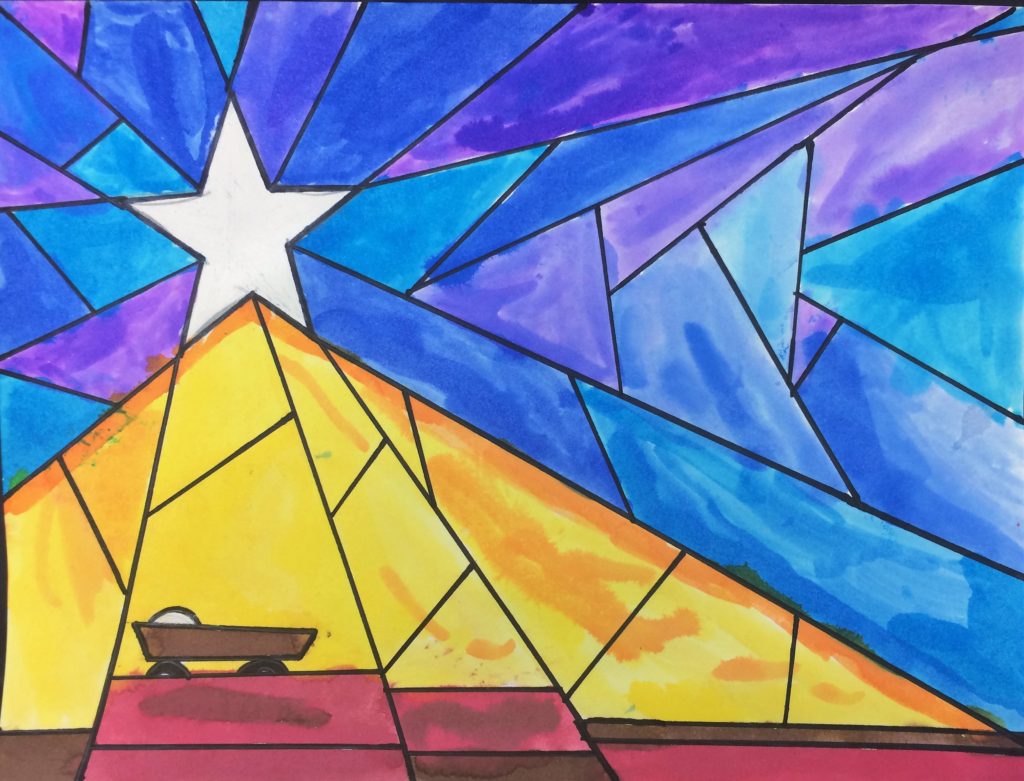
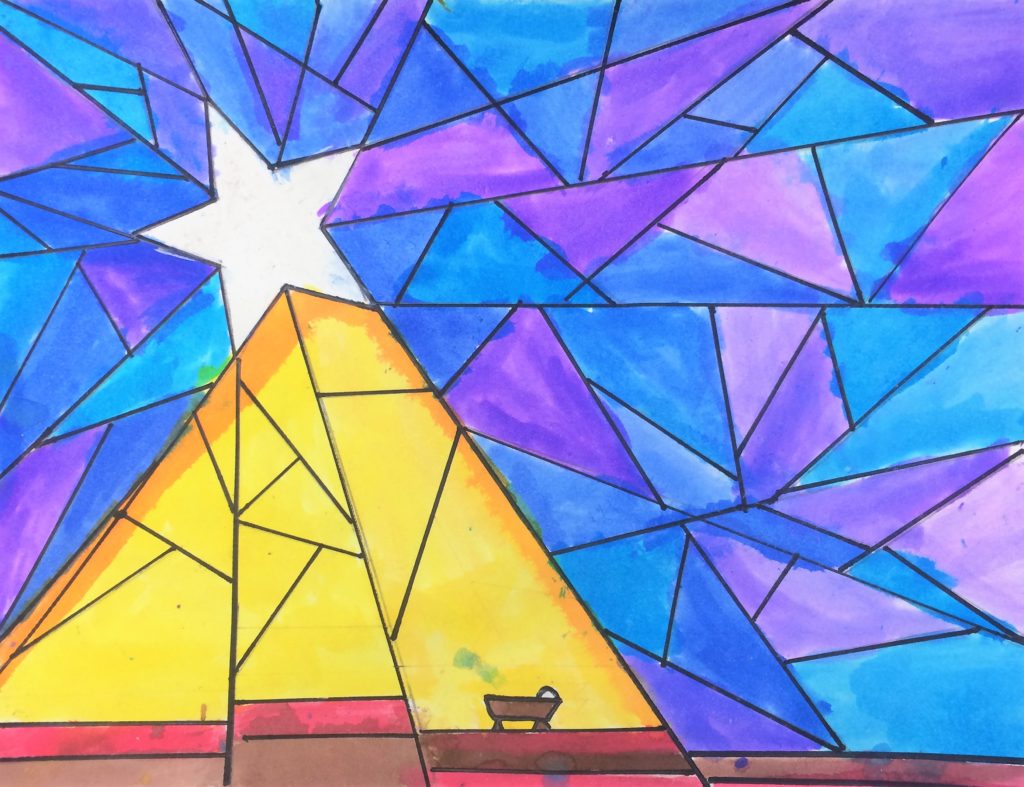
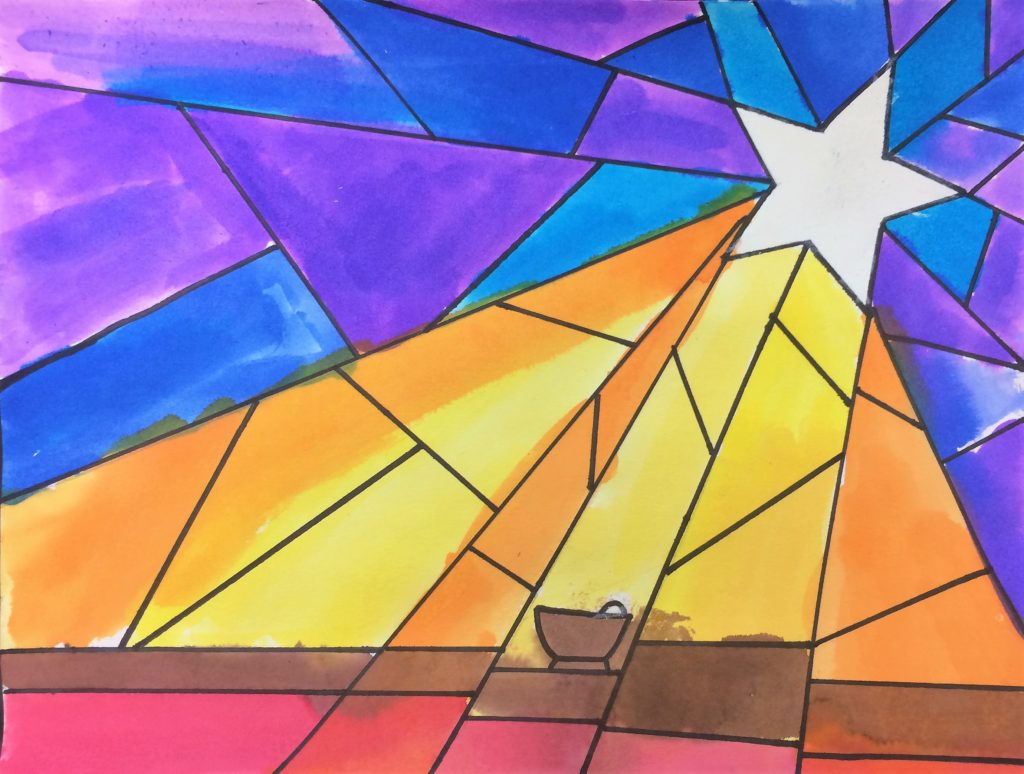
Middle school students will create a stunning stained glass Nativity art project with a “star of light,” on paper, honoring the birth of Jesus at Christmas.
Grade Level
5th, 6th, 7th, 8th Grades – The examples in this lesson are made by 6th Graders.
Objective
In this Nativity Star of Light lesson, students will create a stained glass effect using line elements.
Time
4 – 30 min lessons
Materials
- Pencils
- White, brown and skins colored crayons
- Rulers
- 9×12 Watercolor paper – Canson (100510941) XL Series Watercolor Pad, 9″ x 12″, Fold-Over Cover, 30 Sheets
- Brushes – Acrylic Paint Brush Set, 1 Packs / 10 pcs Nylon Hair Brushes for All Purpose Oil Watercolor Painting Artist Professional Kits
- Liquid Water Colors – Sargent Art 22-6010 10-Count 8-Ounce Watercolor Magic Set
- Or this mini version for homeschooling – Sargent Art 22-6210 10-Count 4-Ounce Watercolor Magic
- Kleenex for blotting paint
- Black Sharpie Marker – Sharpie Permanent Marker, Fine Point, Black, Pack of 5
- Star template copied on card stock and cut for tracing: Click Here
Inspiration/Artist
I was inspired to make this project after I saw this idea: Click Here
Instruction with Questions
Day 1 and 2
#1
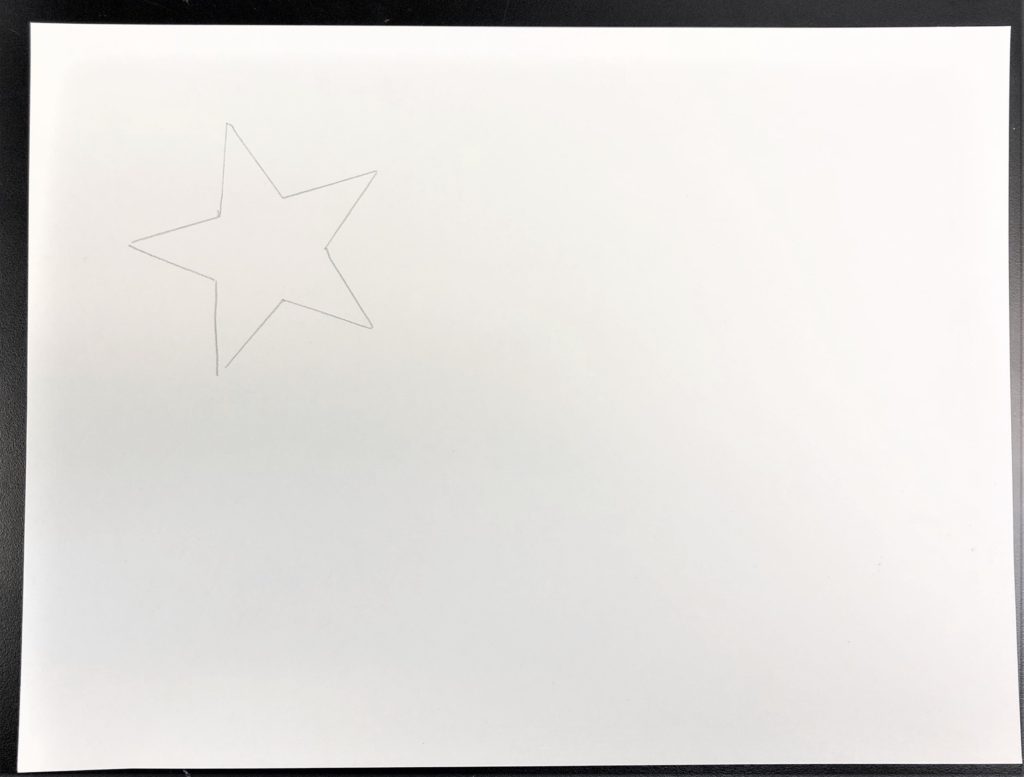
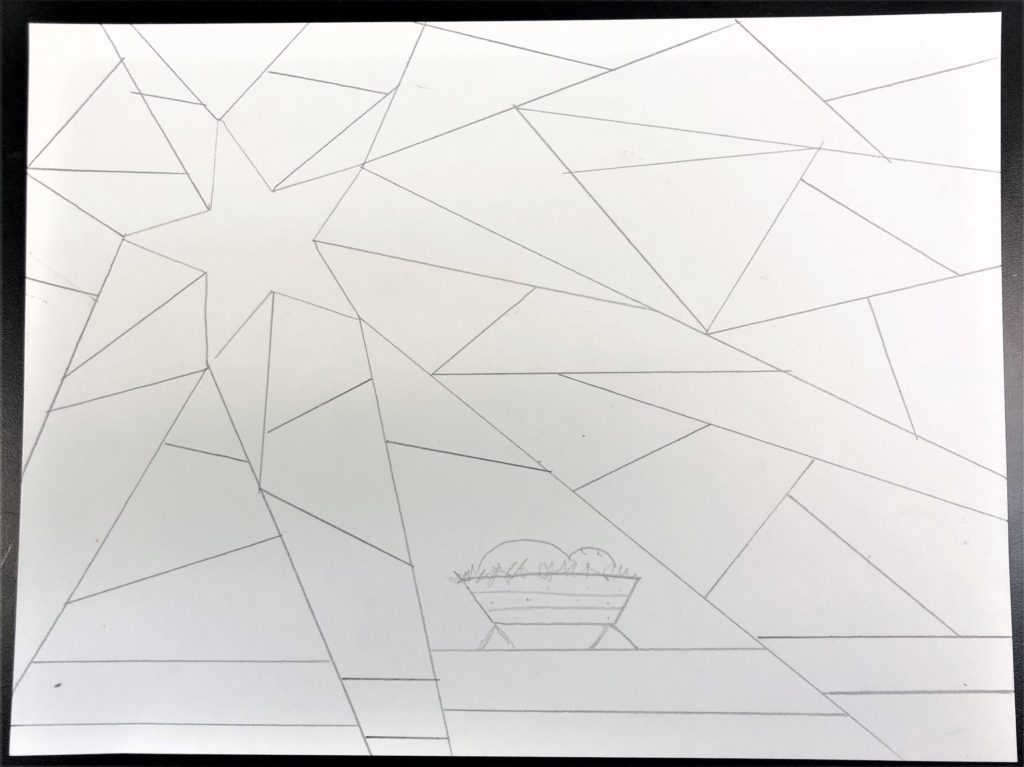
In order to create the star of light for this project, ask students to trace a star in the top left area of their horizontal paper. Use the template provided in the materials section of this post.
#2
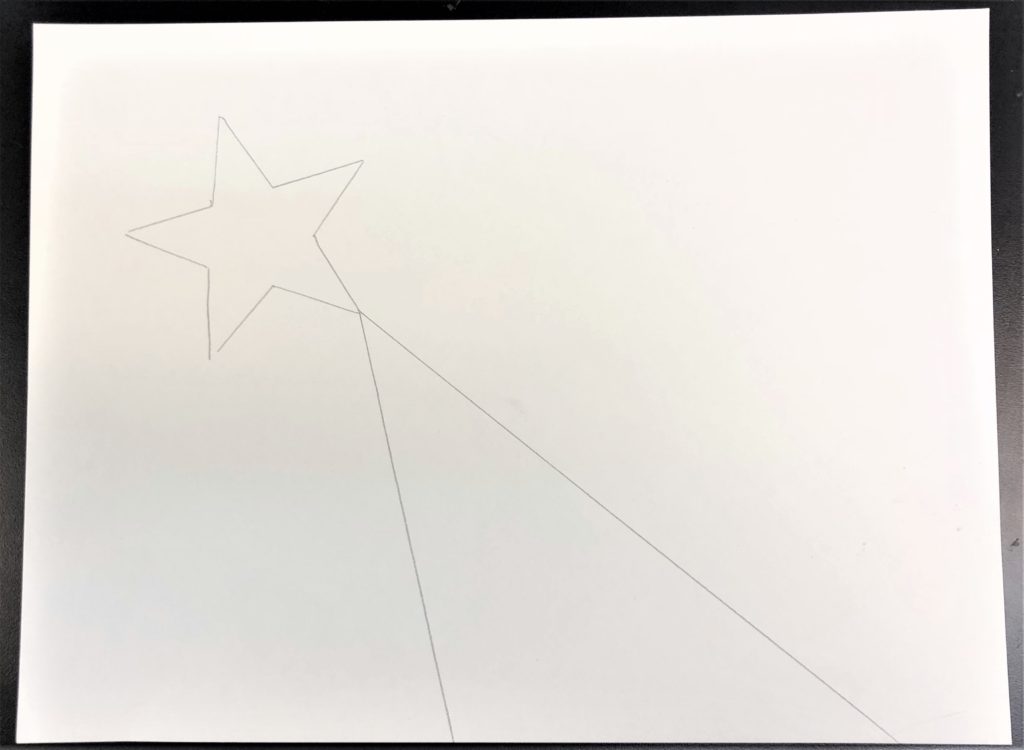
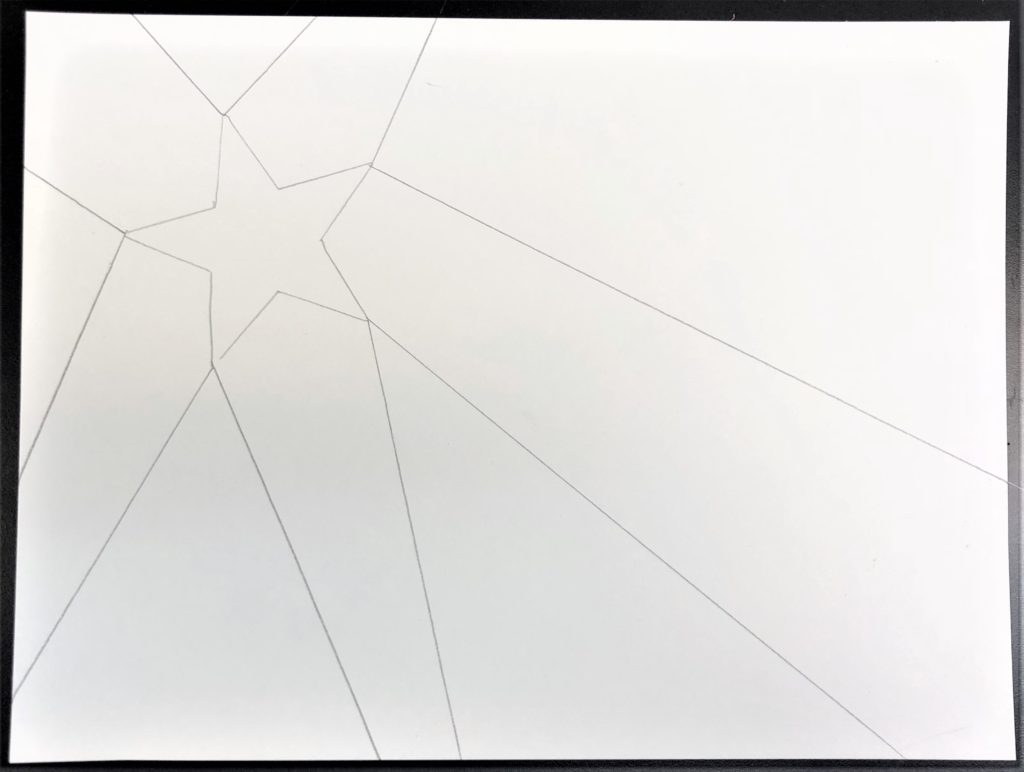
In order to create the stained glass effect follow the following steps.
Ask students to draw two lines, using their ruler, out from the tips of each star tip.
#3
Next, students draw lines from the inside corners.
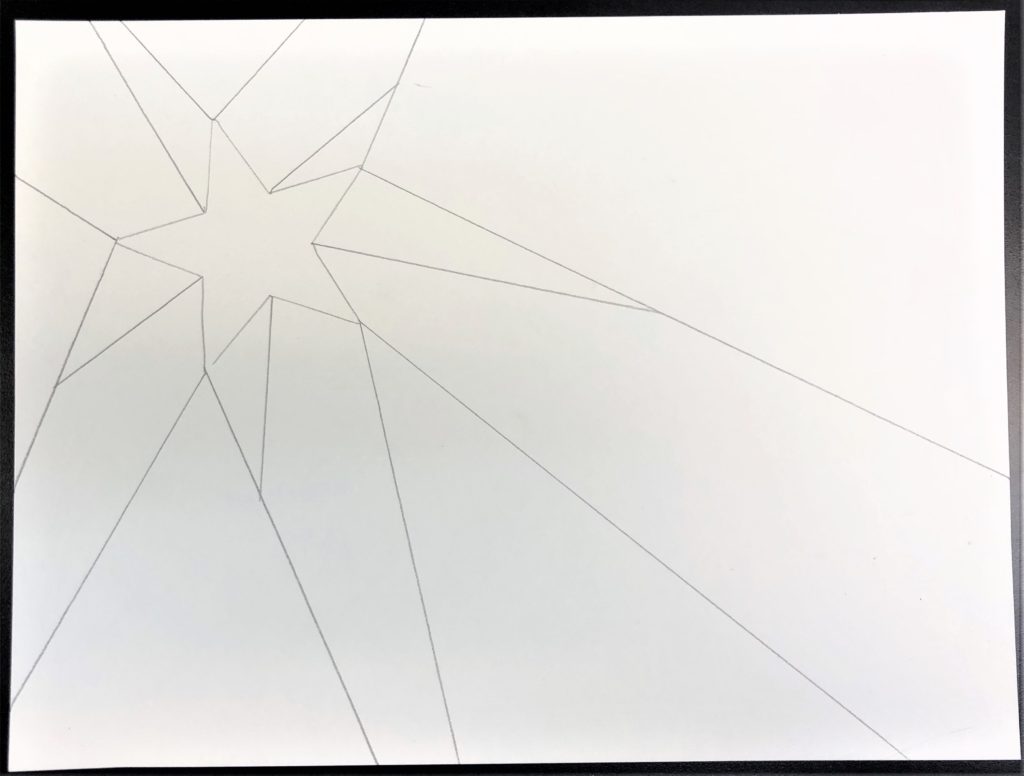
#4
Show them how to make layered horizontal steps. Make at least two steps in each area between lines, alternating the heights.
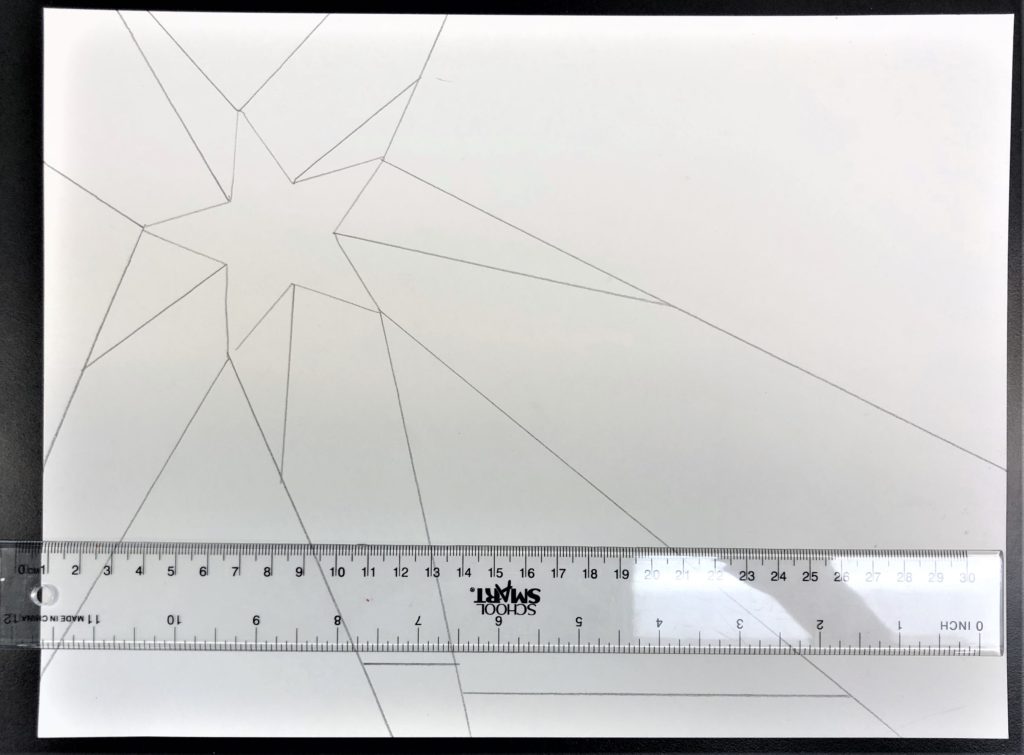
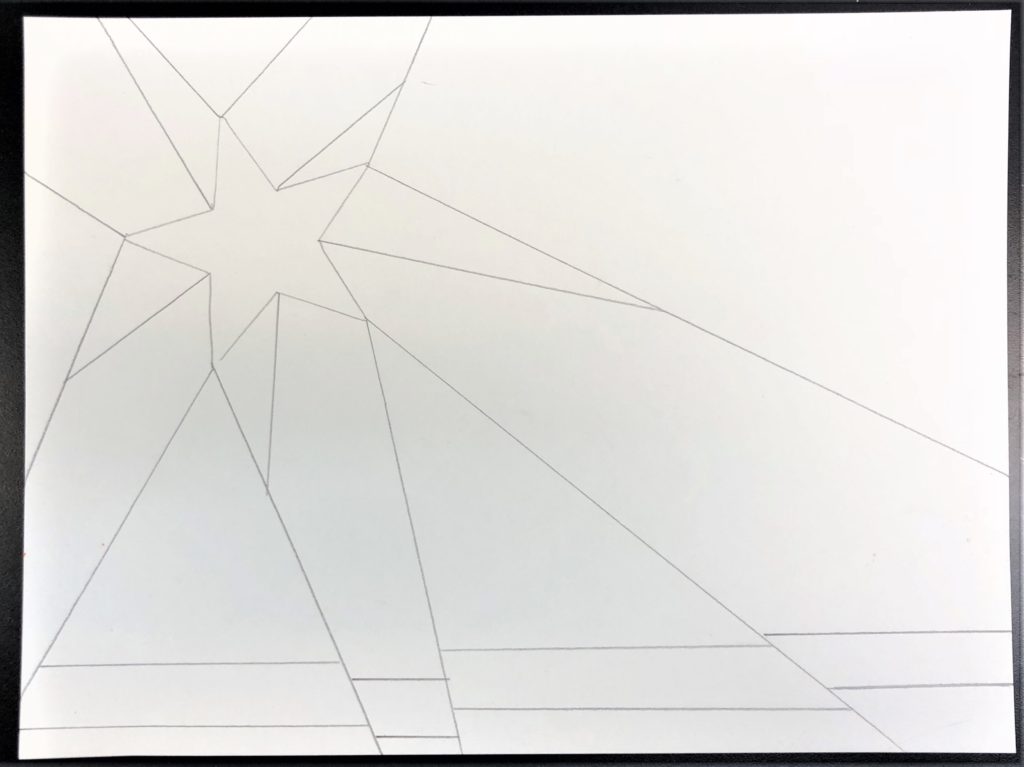
#5
Add baby Jesus in a manger in the area under the middle ray.
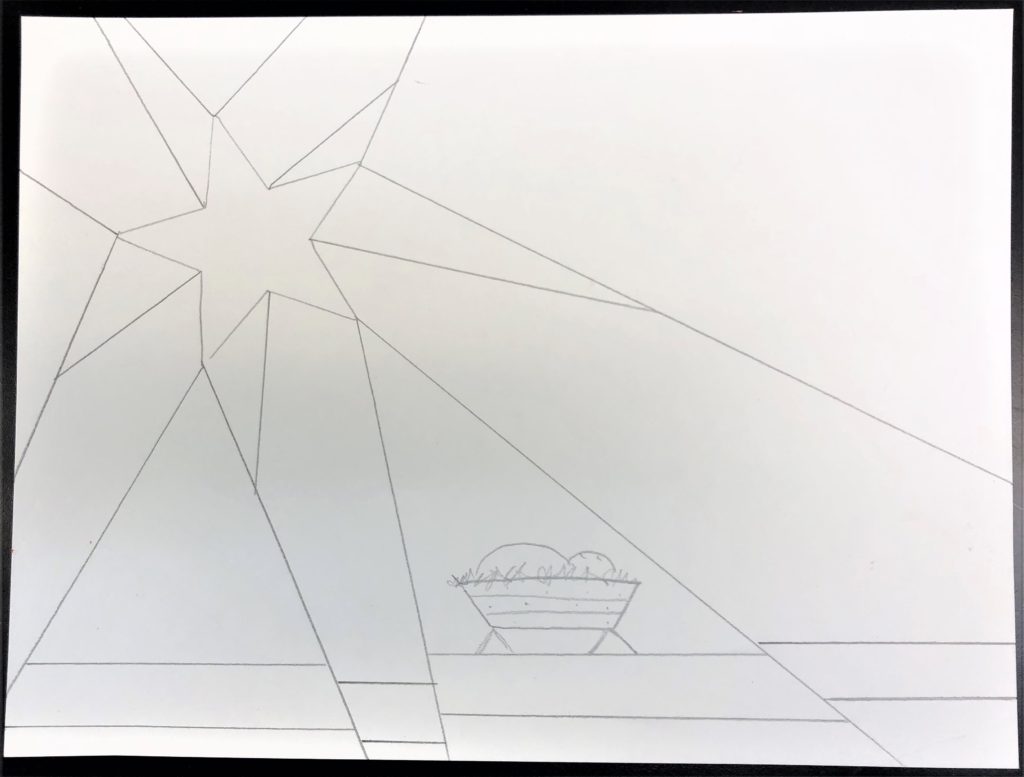
#6
Finally, finish filling in the stained glass lines. Make sure none of the lines are parallel, and make sure they “do not cross the streams” (this is a great moment for a Ghostbuster’s joke)
#7
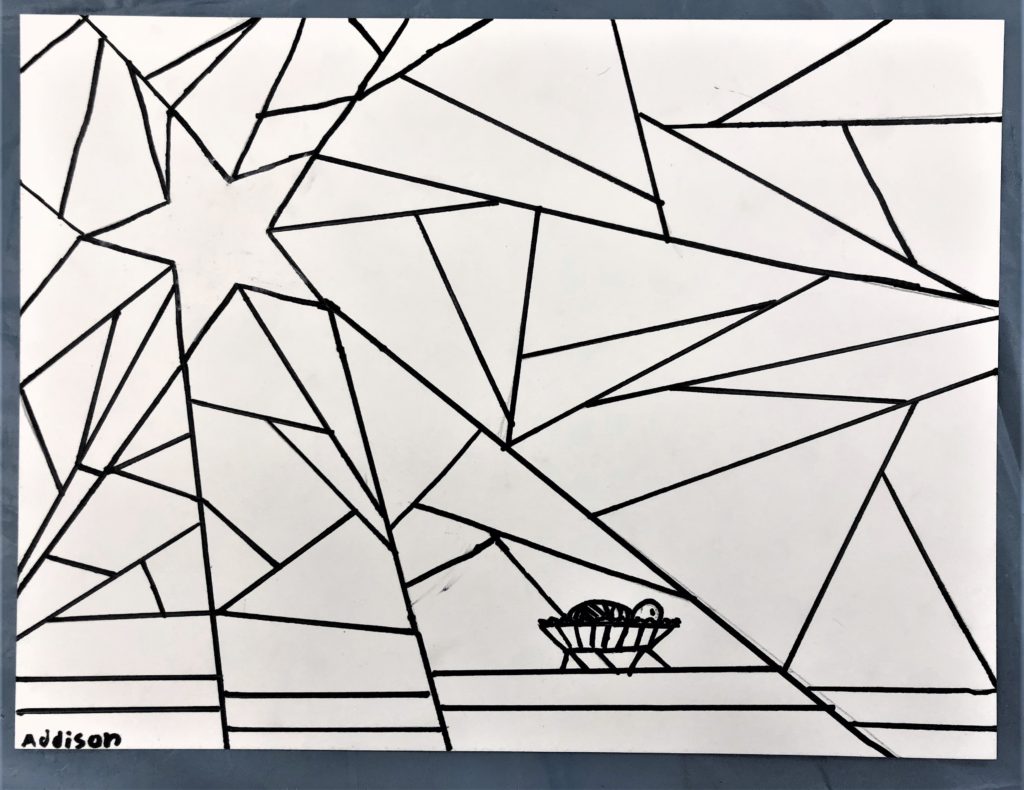
Go over all of the lines with Sharpie Marker.
#8
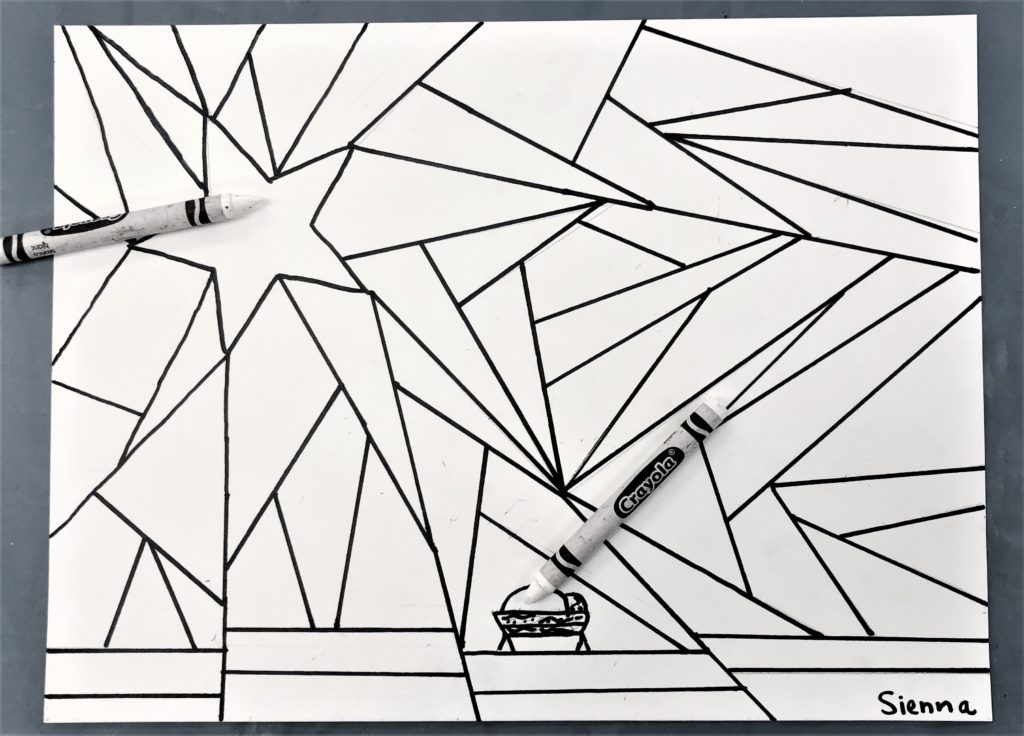
Use a white crayon to block out the star, and blanket covering Jesus. Then, color in the crib and head of Jesus with brown and beige crayons.
Day 3 and 4 if needed
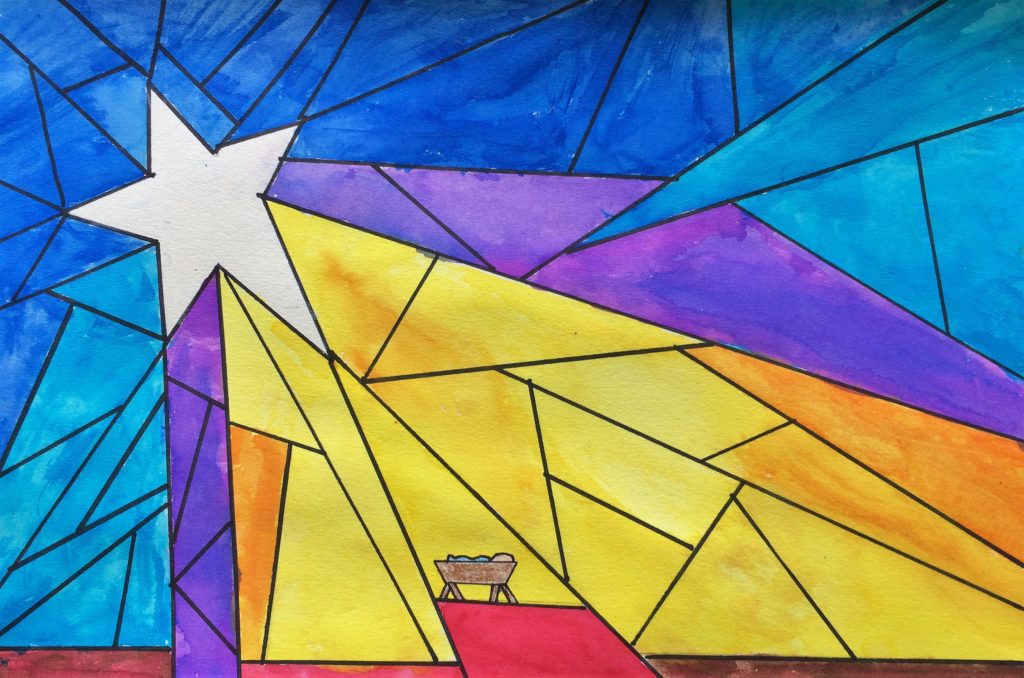
Set up stations around the classroom with a variety of watercolor paints. I have one area with the yellow and orange. One with the red and brown. And finally, one with the purple, blue and magenta.
Ask students to consider where the light is shining on Jesus.

Hi – I just happened upon you and read your bio. Yesterday I was on the Crocker Art Museum website looking up Wayne Theibaud. I teach K-8th in Catholic school in suburb of Chicago. Thank you for this stain glass nativity art project – just what I was looking for! Katy Costello
What a small world. This made my day! Enjoy making this project. I have a number of Nativity themed and Lenten themed projects. Let me know how I can support you. Feel free to email me. leahnewtonart@gmail.com
Hello, I really like your idea. I am from California, but teach at a public classic academy K-8 in Michigan. I am taking a college course for art teachers. I have the assignment to present an art lesson relating to a different subject. Since I am studying to be a Spanish teacher a Spanish lesson in art would be appropriate. However, since it is Christmas and I asked if I could teach theology theology and art. This project is perfect for the Christmas story. I love working with liquid watercolor. I found your project and BINGO! Thank you so much for your work!
Hope you are well.
Merry Christmas,
Diane
Woohoo! I am so glad you found success with this project! Thank you for sharing your story with me. Please reach out anytime.
Who created the original design?
Thank you for reaching out. I wish I knew the original creator. I found this on this site on Pinterest as a stand alone image. I tried to deep dive on it but this is all I found. I did credit them on my site. I just came up with the lesson to teach how to do it. I hope that helped. https://get.google.com/albumarchive/106072491730586073350/album/AF1QipO70G0xD2A36Zm1ZKdsjW3ZYWVR6XC0Tn6j7fCz
This is a beautiful art project. I love Nativity themed art and can’t wait to use it at Christmastime. Thank you so much for sharing. I love how you showed each step of the project and included many finished examples done by kids.
Let me know how they turn out! I am so glad you reached out. Let me know how I can support you.
Thank you so much for the accessibility and EASE of this project. I did it last year with my 5th graders and will be doing it again this year. I just LOVE it!!
I am so glad to hear this! Thank you for reaching out. Let me know how else I can support you.
The project Nativity Star of light art lesson is beautiful. I was searching for ideas for a poster for amateur stageproduction. Can I use, with using the instructions you gave, this project to design our poster for our christmas production in December this year. Hope to hear from you. Thank you very much for the effort. Greetings Marja (I’m from Holland)
Yes absolutely! I am in California in USA. So excited to hear from you. Share pictures with me…I would love it. leahnewtonart@gmail.com
I am going to try this with my 4th grade classes. I am not able to access the link to your inspiration though.. Was it a stained glass artist that inspired you? Thank you so much for posting all of your advent lessons. This 2nd year art teacher (at a Christian school) is very grateful!
What a beautiful idea. We are in the UK and will be using this as part of our Nativity theme next week, Thank you for sharing!