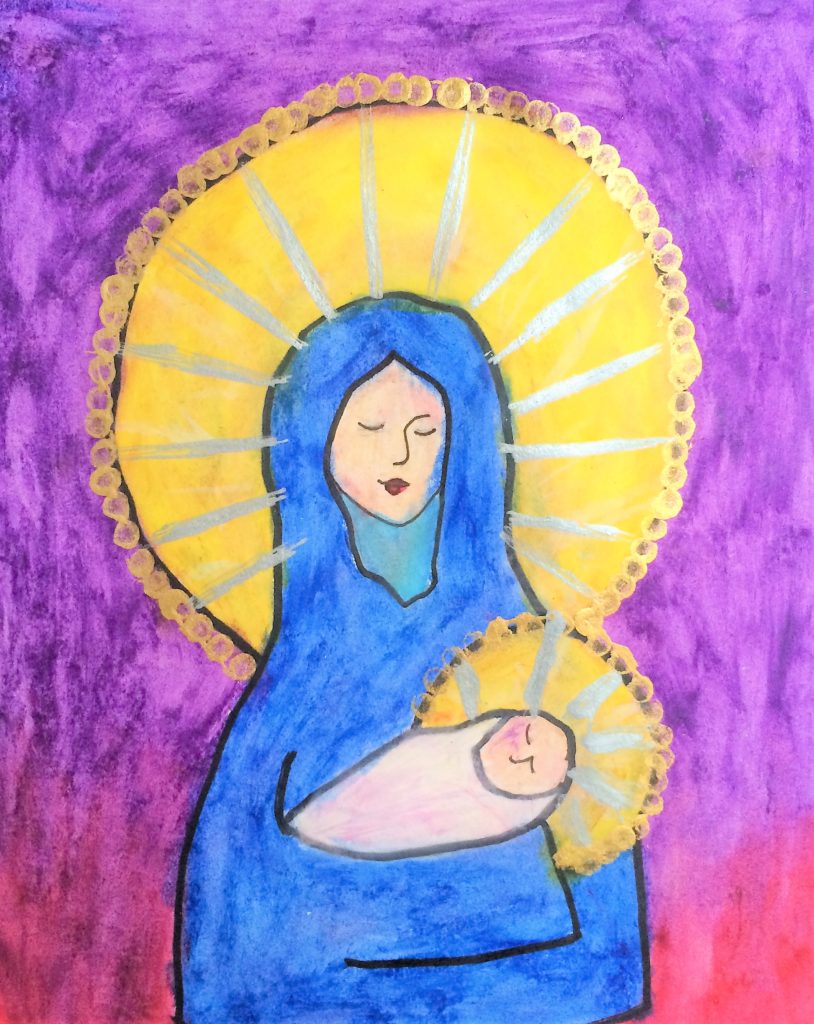
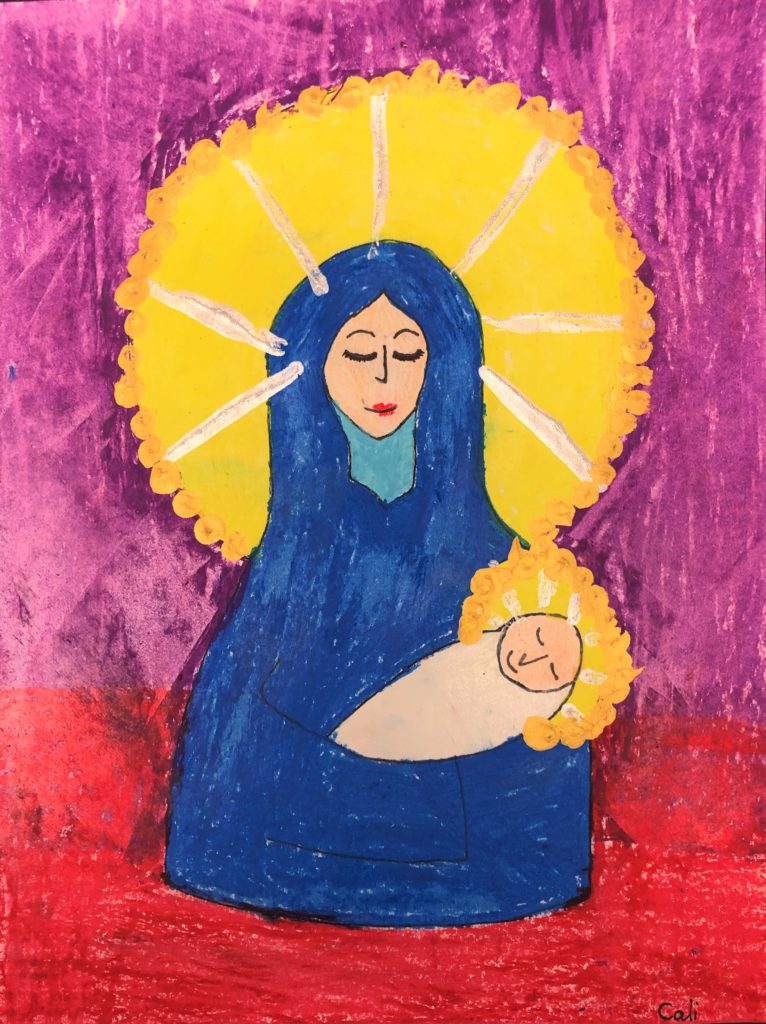
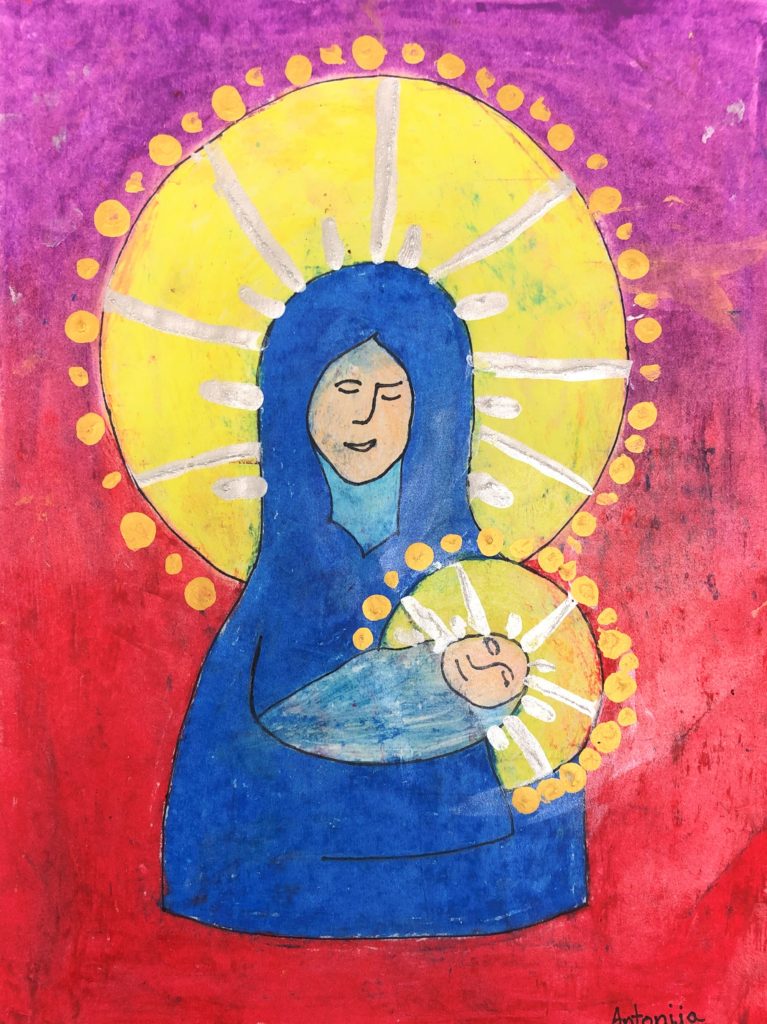
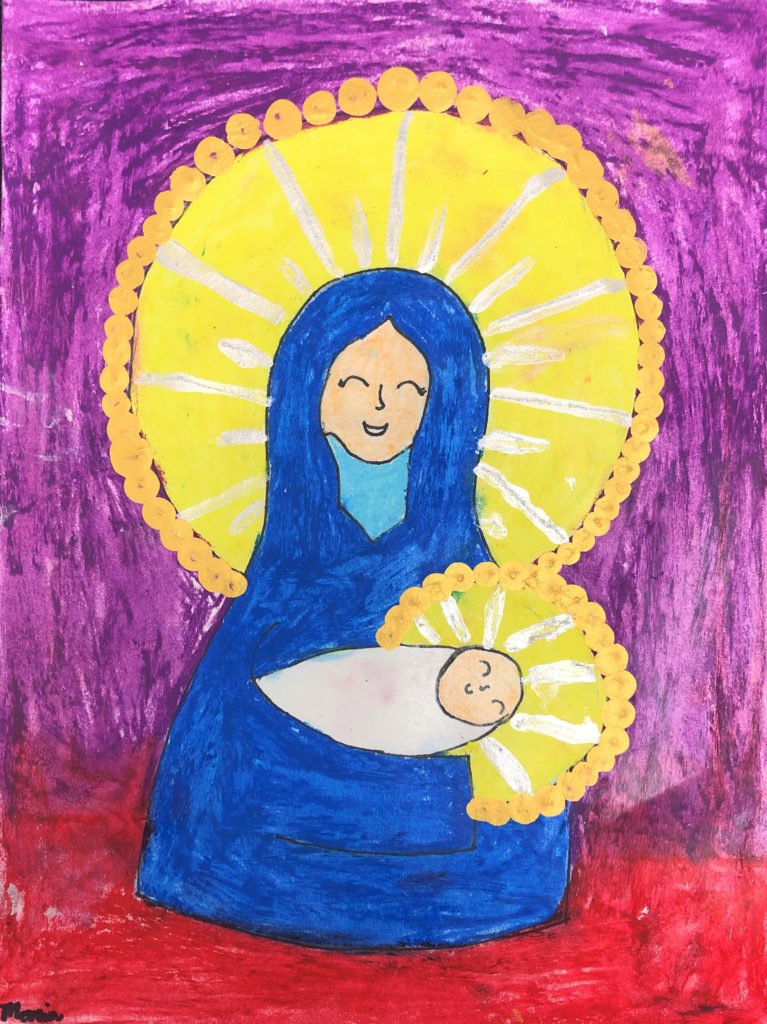
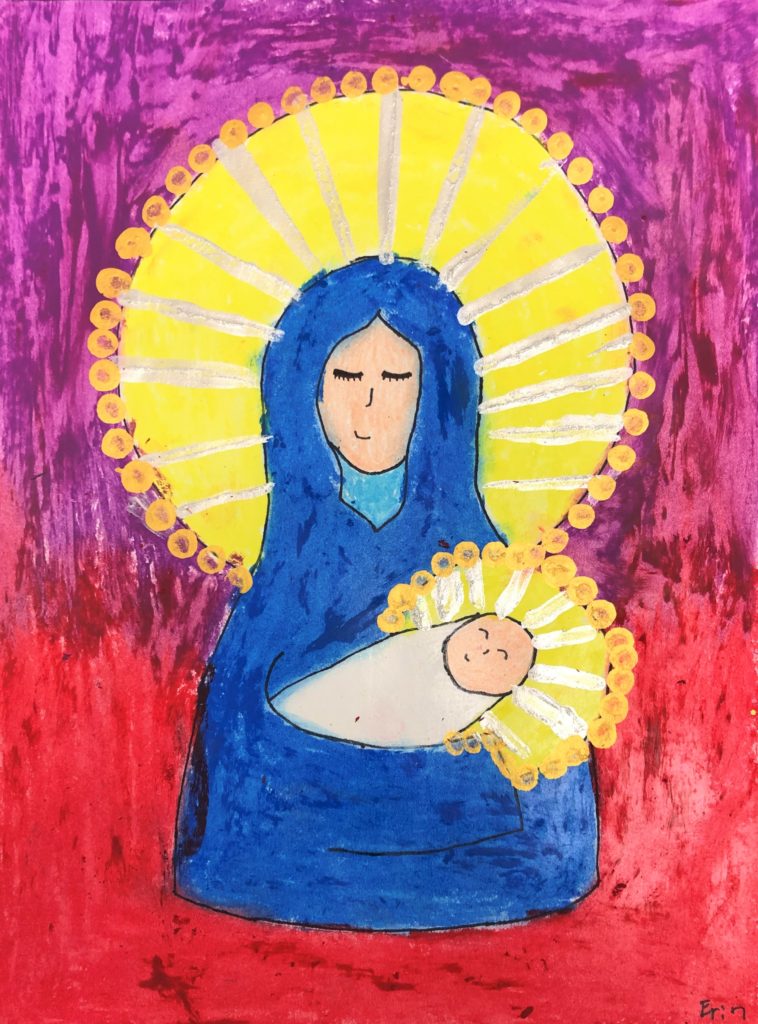
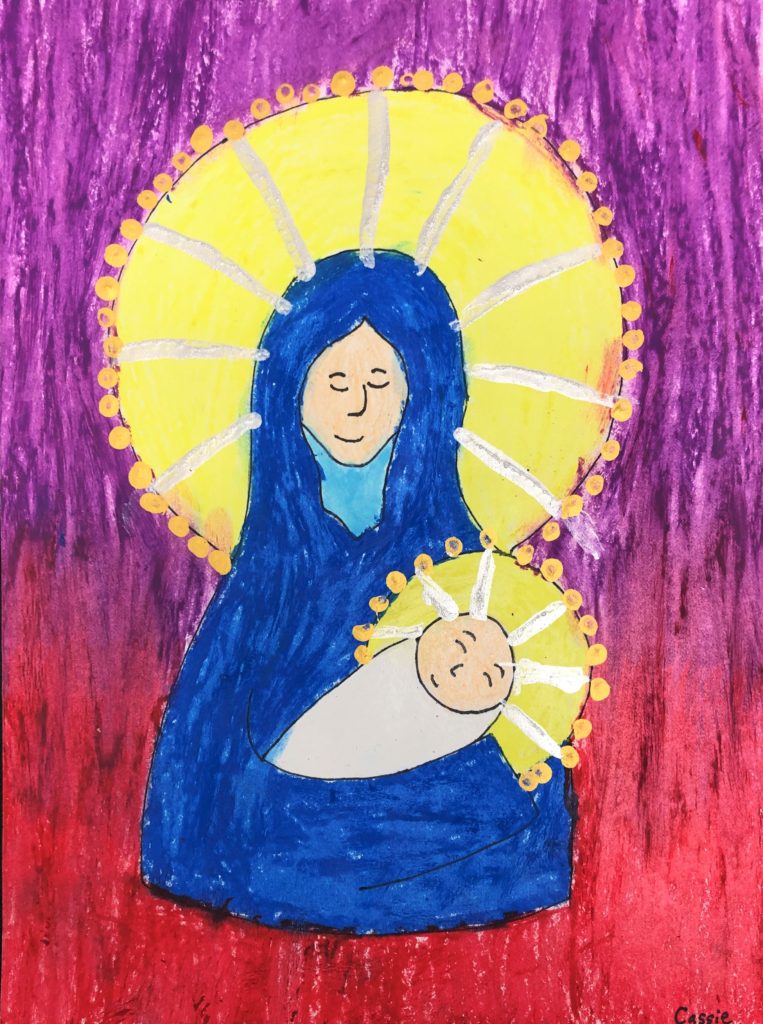
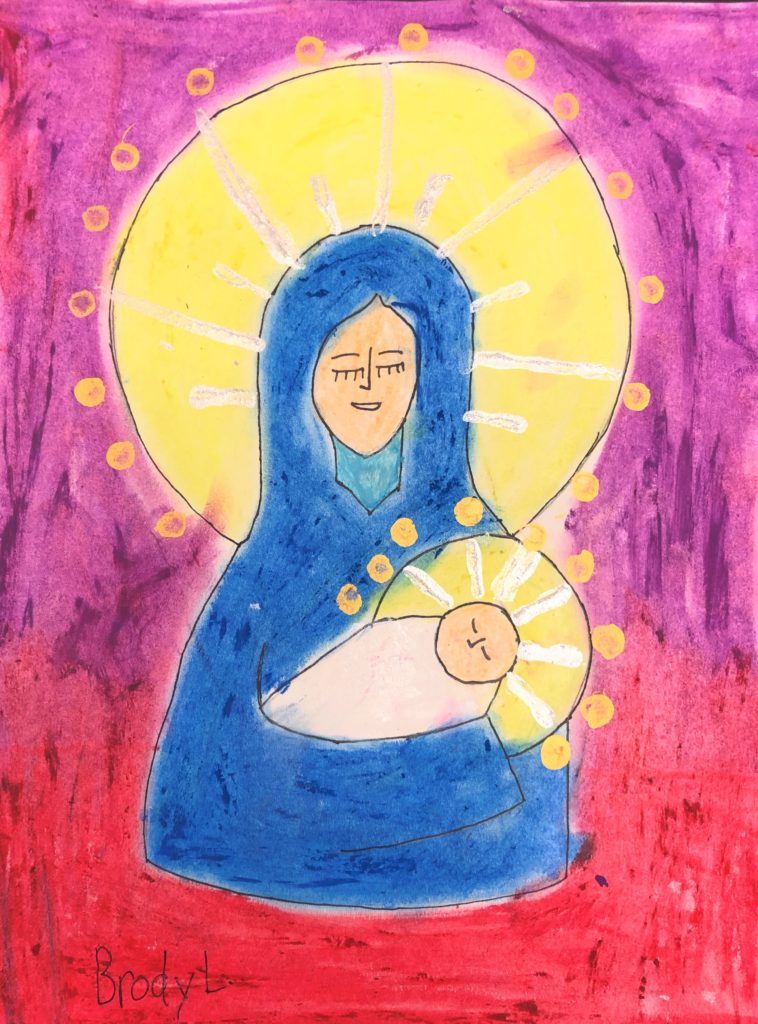
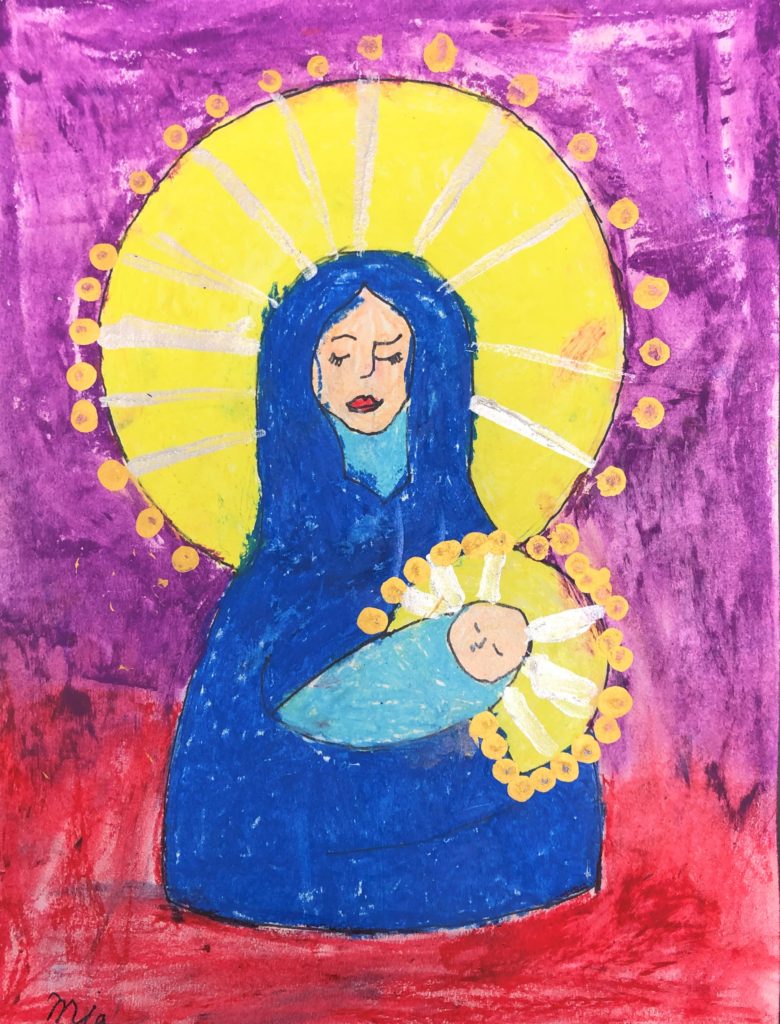
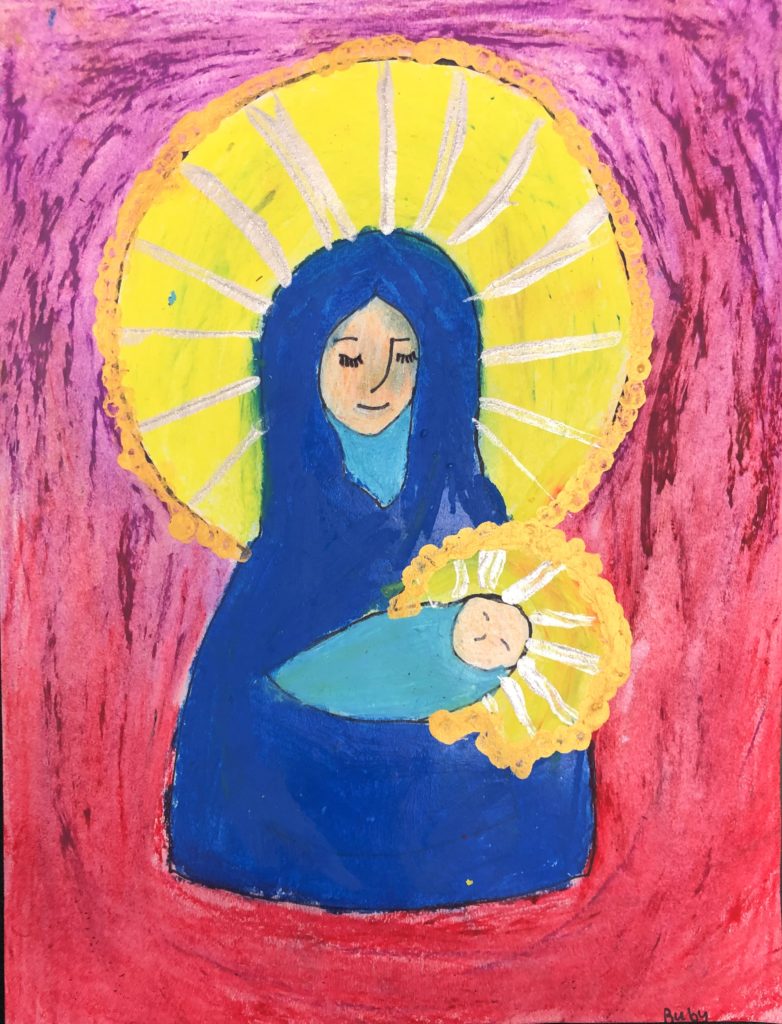
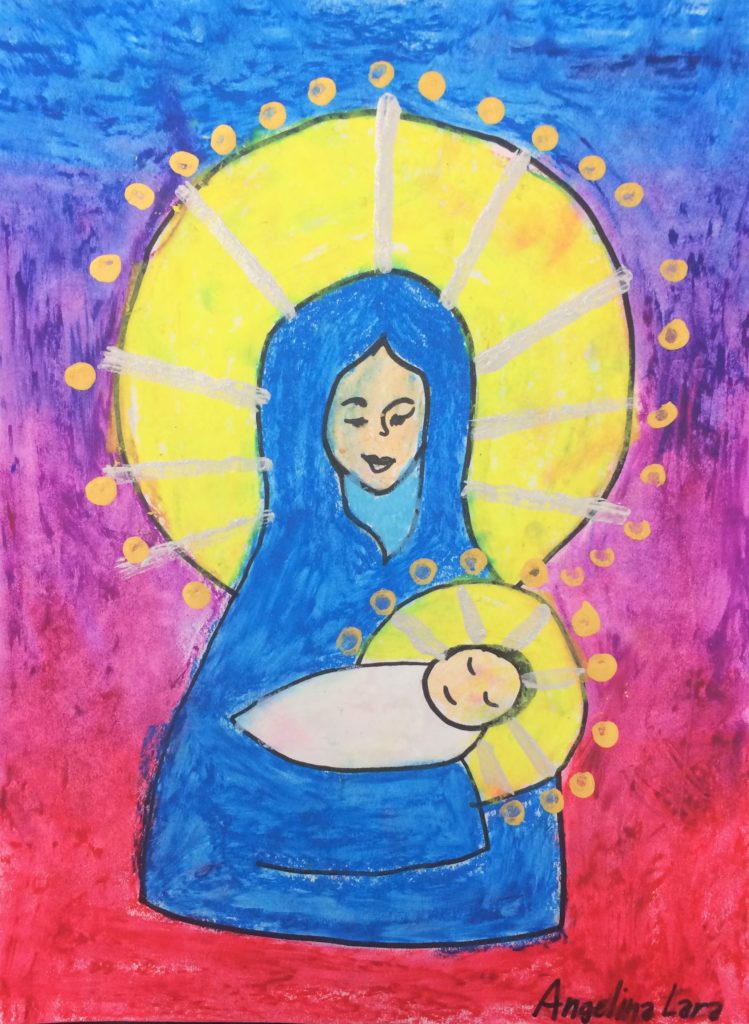
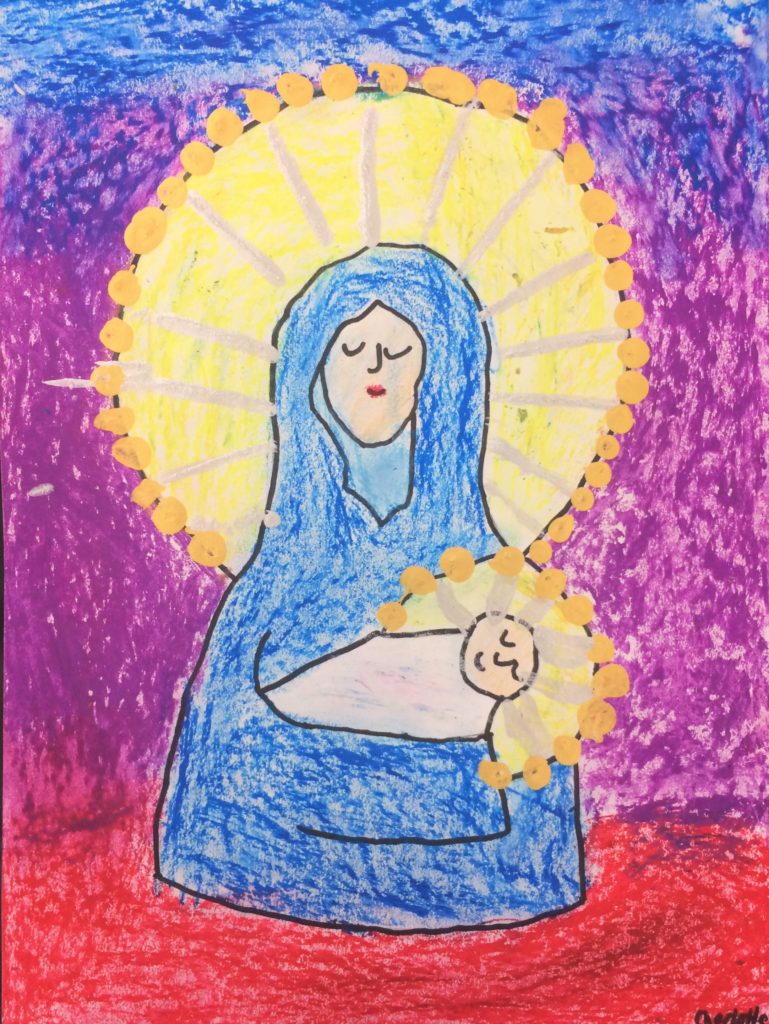
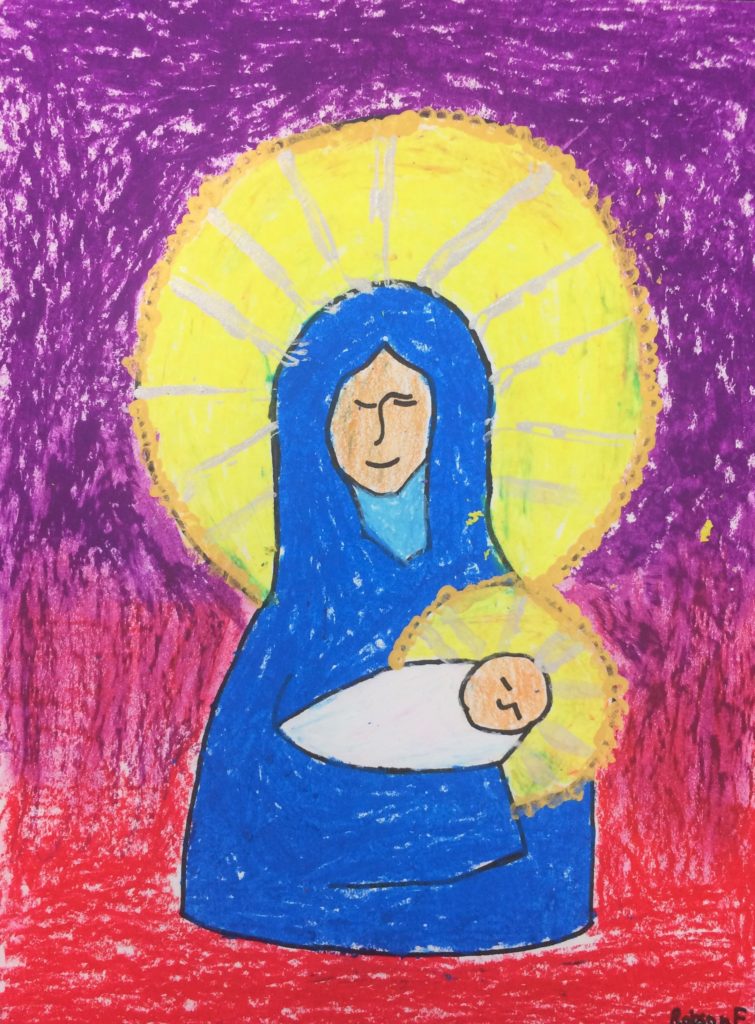
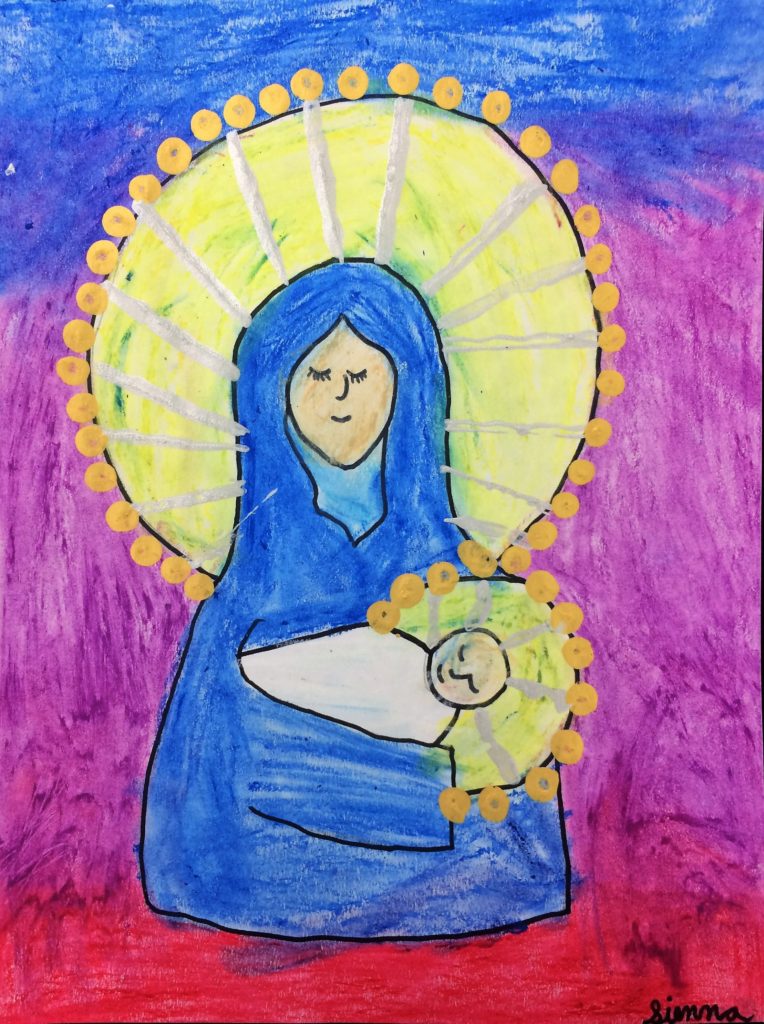
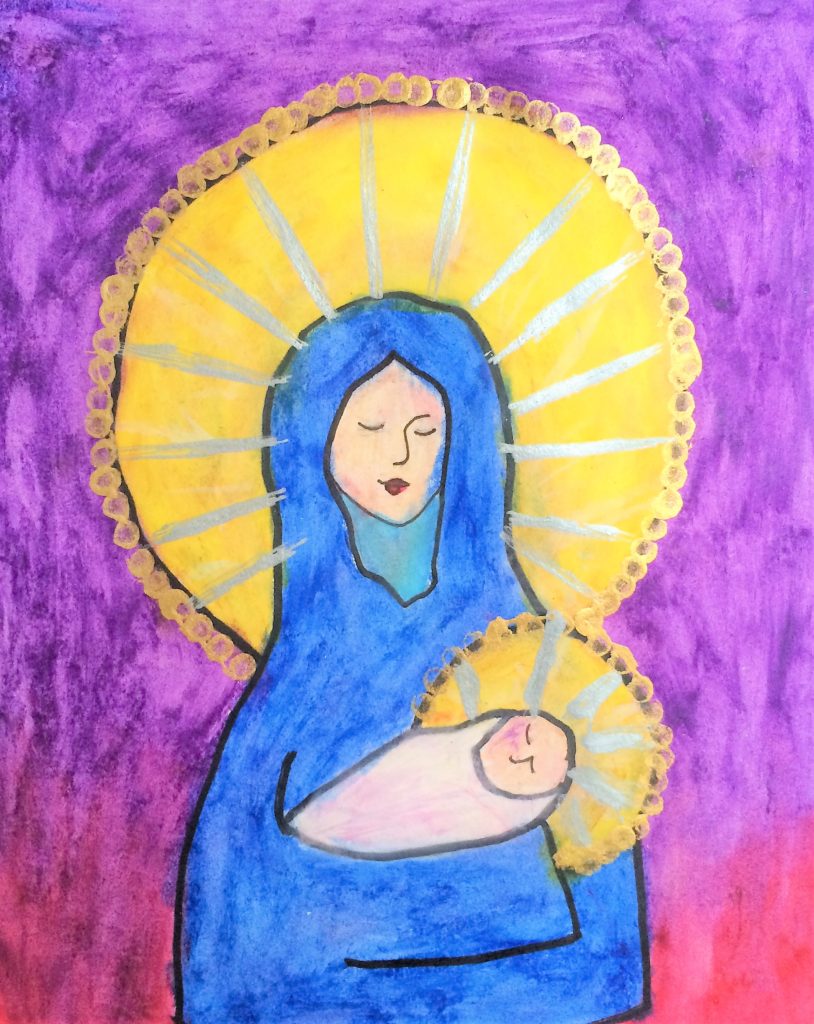
Middle school students create an Advent art piece using oil pastels honoring Madonna and Child. These are totally frame-able when sent home to families.
Grade Level
4th, 5th, 6th Grades – The examples in this lesson are made by 5th graders.
Objective
In this Madonna and Child Advent Art lesson, students will use a variety of mediums to create the image of Mary holding baby Jesus.
Time
3/4 – 60 min lessons
Materials
- Gold Acrylic Paint – DecoArt 2 Ounce, 24K Gold Extreme Sheen Paint, 1
- Silver Acrylic Paint – DecoArt 2 Ounce, Sterling Silver Extreme Sheen Paint
- Oil pastels – Pentel Arts Oil Pastels, 50 Color Set (PHN-50)
- Sharpie Permanent Marker, Fine Point, Black, Pack of 5 – yellow, red, royal blue, light blue, white, purple
- Crayons – multicultural skin colors
- 9×12 Watercolor paper – Canson (100510941) XL Series Watercolor Pad, 9″ x 12″, Fold-Over Cover, 30 Sheets
- Card stock for photocopying
- Q-Tips
- Small cardboard rectangle pieces
- Templates found on That Artist Woman’s site: Click Here
A note on paper. The image example above was done on watercolor paper. It is the best choice. The tooth of it is perfect for this project. I also tried construction paper and card stock. These did not go well. Some of my final examples are done using one of these varieties. The oil pastel ends up sitting on the paper and has nowhere to go so it becomes gunky.
Inspiration/Artist
I was inspired to make this project after I saw this idea from That Artist Woman: Click Here
Instruction with Questions
Day 1
Please use the templates found on That Artist Woman’s site for this project.
I have the templates pre-copied onto card stock and pre-cut for tracing. Students sit in groups of four, and I copy one set for each group.
Students trace the template pieces onto their construction paper in pencil. (You may want to practice this ahead of time so you can easily guide them with each piece. The tricky ones to trace are the arm and sleeve. They will need to add a scoop to finish the sleeve. (This will make sense when you do it.) Also, they may need to adjust for the halo around Jesus’ face)
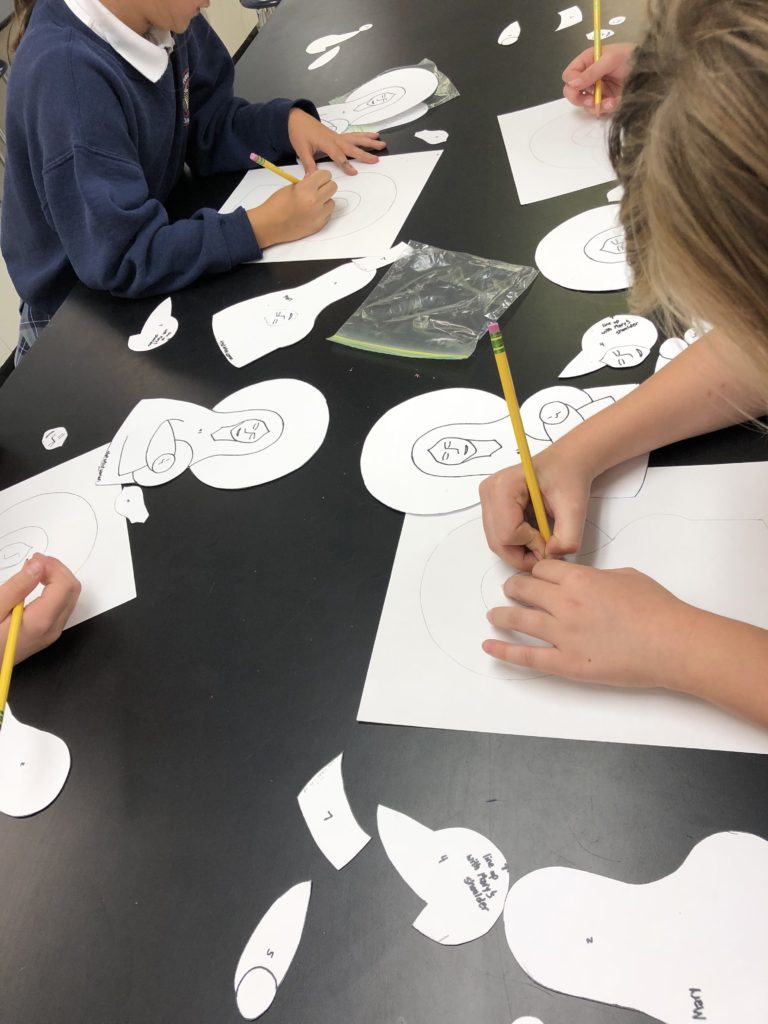
Students will add their own face to Mary and Jesus. I recommend having Mary and Jesus with closed eyes. They may want to add eye lashes to Mary. I also show them a variety of ways to make a nose on Mary. Using the left eyebrow to start the nose is effective. The same is true on Jesus. I also show them different ways to make Mary’s mouth (i.e. small smile, lips, etc.)
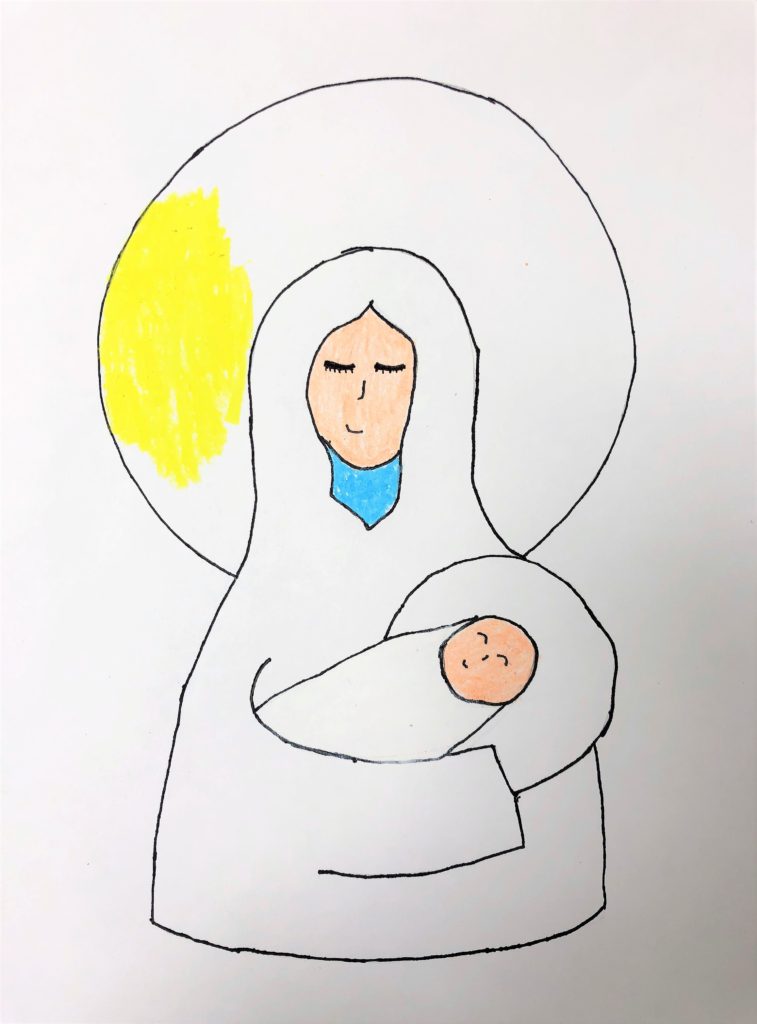
Finally, Sharpie all pencil lines.
Day 2
Finish sharpie on pencil lines as needed.
Have them use white and yellow oil pastel first! Use white for Jesus’ blanket and yellow on the halos. Add light blue on the neck of Mary, and royal blue on her veil and dress. Since I do not have beige oil pastels, I use this opportunity to allow students to choose from my multicultural skin colors and color in Mary’s face and Jesus’ face.
Day 3 and 4 as needed
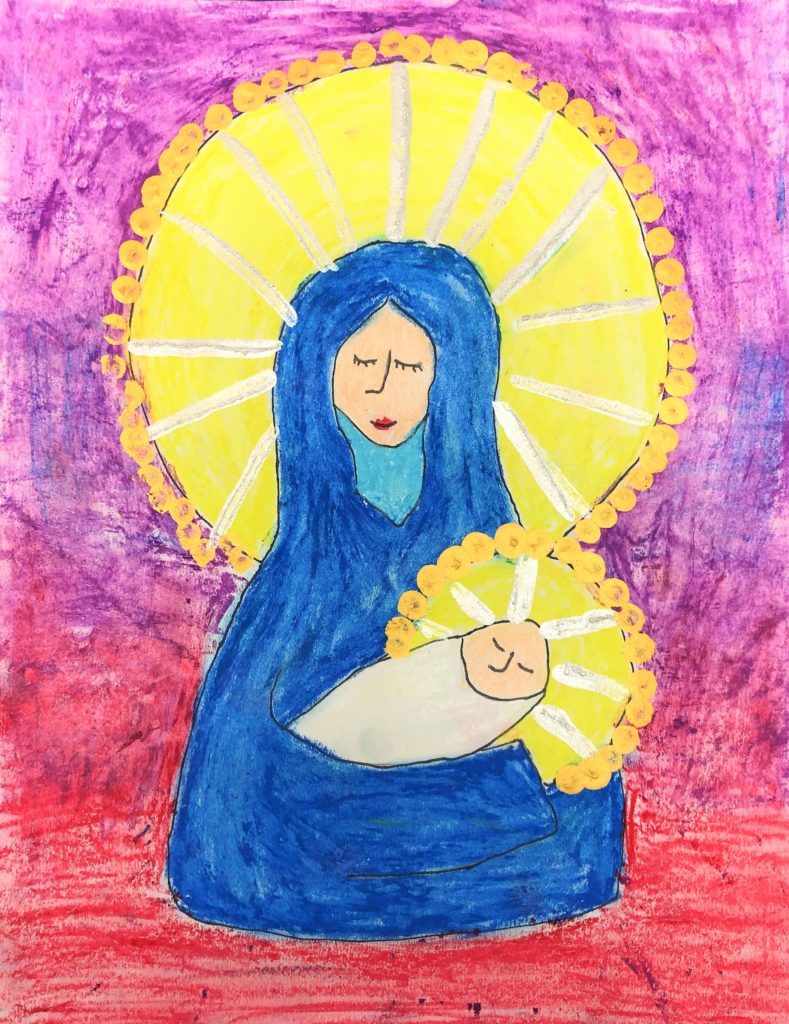
On some scratch construction paper, allow students to practice a blend of red, purple and blue oil pastels. Give them some directions on successful ways to bleed these colors by overlapping them so there is not a line separating each color. Show them how hard to press to achieve this bleed. Give them a tissue to cover their image so it is not compromised.
Finished students will be pulled aside to add gold and silver paint embellishments.
In one tray, add silver paint. Using the small cardboard strips, create the lines of the halo. Show them how to always face the corner of the piece toward Mary’s nose. This will create a “ray” around the halo. Otherwise, some students end up making the rays parallel on accident. The Artist Woman shows this technique perfectly.
At another station have a tray with gold paint and Q-tips. Students make the dots around both halos. Make sure they finish all the way around Jesus’ halo. I love how different each piece is!

Leave a Reply