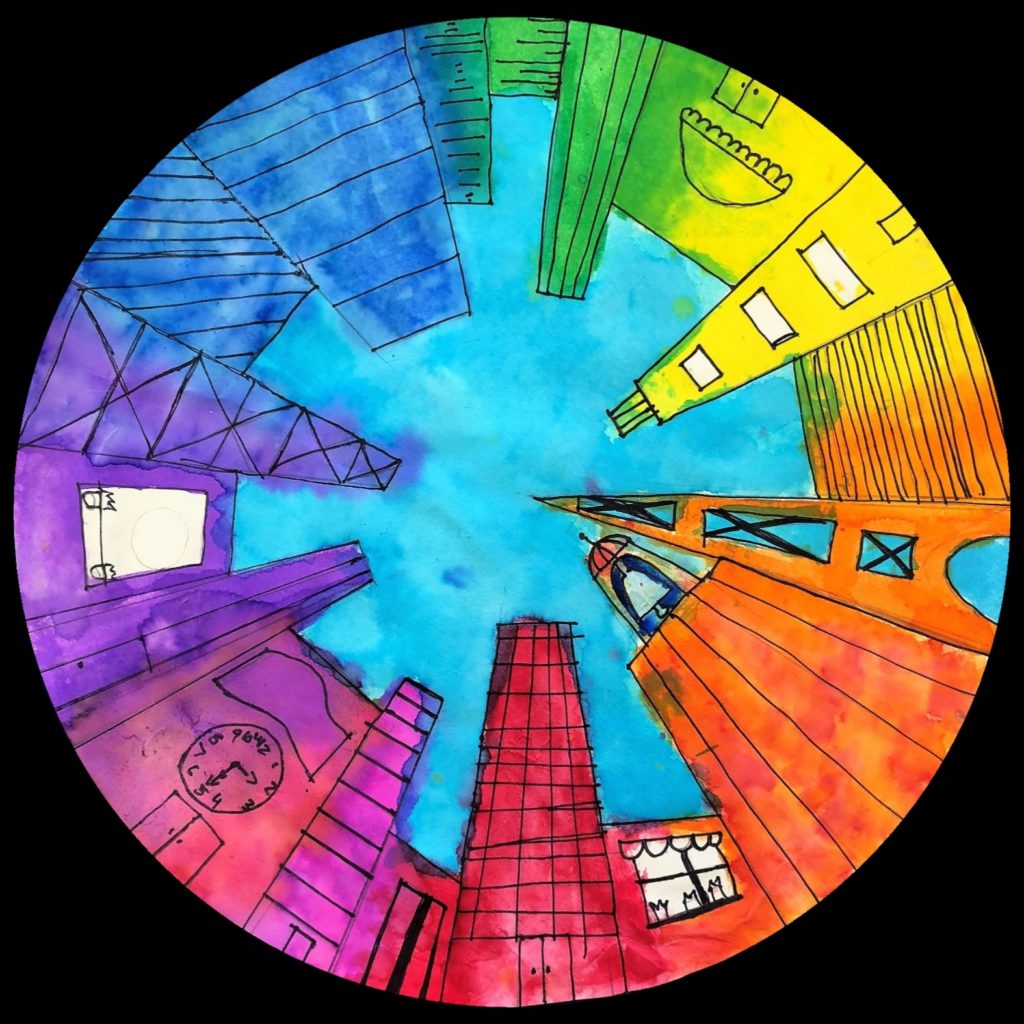
This ground view perspective art for middle school students is a great tool for teaching one point perspective and could also be used to teach color theory. This project covers Common Core Standards for Math for grades 4-8 which can be found at the end of the lesson.
Grade Levels
4th, 5th, 6th, 7th and 8th Grades – The examples shown were made by a 4th grade class.
Objective
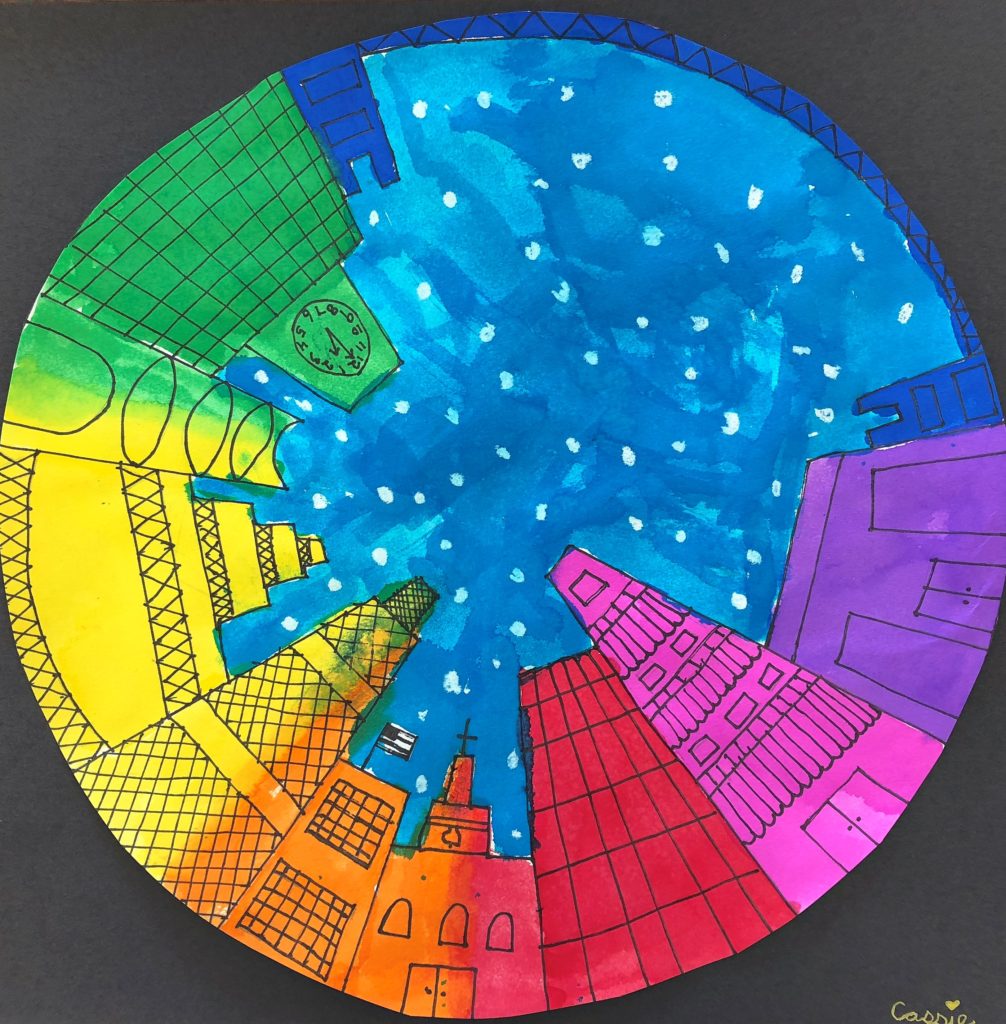
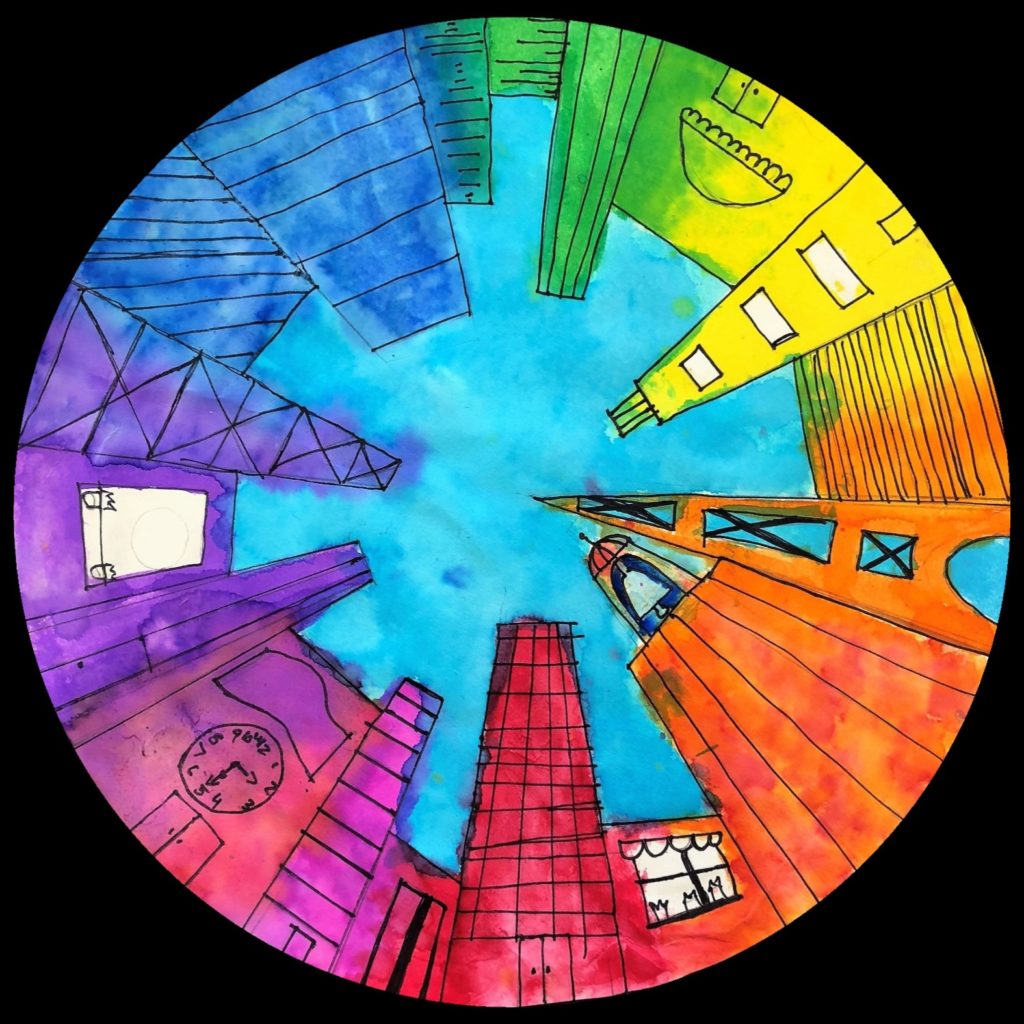
In this Ground View Perspective Art lesson, students will demonstrate one-point perspective by creating a city skyline seen from the ground view level.
Time
4 60 min lessons
Materials
- Pencils
- Rulers (yard stick and one foot)
- Scissors
- Glue
- Crayons
- 12×18 Watercolor paper – Canson XL Series Watercolor Textured Paper Pad for Paint, Pencil, Ink, Charcoal, Pastel, and Acrylic, Fold Over, 140 Pound, 12 x 18 Inch, 30 Sheets
- Brushes – Acrylic Paint Brush Set, 1 Packs / 10 pcs Nylon Hair Brushes for All Purpose Oil Watercolor Painting Artist Professional Kits
- Liquid Water Colors – Sargent Art 22-6010 10-Count 8-Ounce Watercolor Magic Set
- Or this mini version for homeschooling – Sargent Art 22-6210 10-Count 4-Ounce Watercolor Magic
- Kleenex for blotting paint
- Sharpie Marker – Sharpie Permanent Marker, Fine Point, Black, Pack of 5
- Black Construction Paper – Tru-Ray Sulphite Construction Paper, 12 x 18 Inches, Black, 50 Sheets – 054150
Inspiration/Artist
I got the idea for this project from this site – Click Here
Instruction with Questions
Day 1
Use this Color Theory for kids inspired by Disney PowerPoint Presentation: Click Here

Watch videos and discuss concepts of how to create perspective.
Brain Games: “What do you see?” – Click Here
Brain Games: “Perspective Cues, Linear Perspective, and Size Contrast” – Click Here
Ways to Create the Illusion of Space – Click Here
One Point Perspective – Click Here
Discuss with students:
- Which direction are the lines facing in all of the examples? (vertical, horizontal, perspective (diagonal))
- Horizontal, vertical, perspective, parallel vocabulary. Have students use their arms to show you which is which.
- Are they consistent? Do you see any lines that do not follow the rule of these lines? (pst…the answer is no)
I actually project a photo in one-point perspective onto the white board. Using a yard stick, I literally trace the lines onto the white board. When I turn off the projector, the students can see that the “science” behind this technique truly works. The horizontal lines remain horizontal. The vertical lines are exactly that. Even though our brain wants to make the vertical lines “lean,” they actually remain vertical.

Day 2
Students watch this video found on Youtube.
How to Draw a City with Dramatic Perspective: Step by Step: Click Here
Unless you are very comfortable with One Point Perspective, or your students are in higher middle grades, I recommend staying away from sides of the buildings for this project, and only allow the facade of the building to show. The great thing about this lesson is that it really reinforces the rules for One Point Perspective.
Main points: Lines are either parallel vertical, parallel horizontal, or they are on the perspective line. For this lesson, ALL OF THE SIDES OF THE BUILDINGS ARE PERSPECTIVE LINES. That includes the sides of windows and doors. The tops and bottoms of every building and every window and every door is horizontal to you. Meaning, as you turn the paper, and a building is facing you, the lines are horizontal.
#1
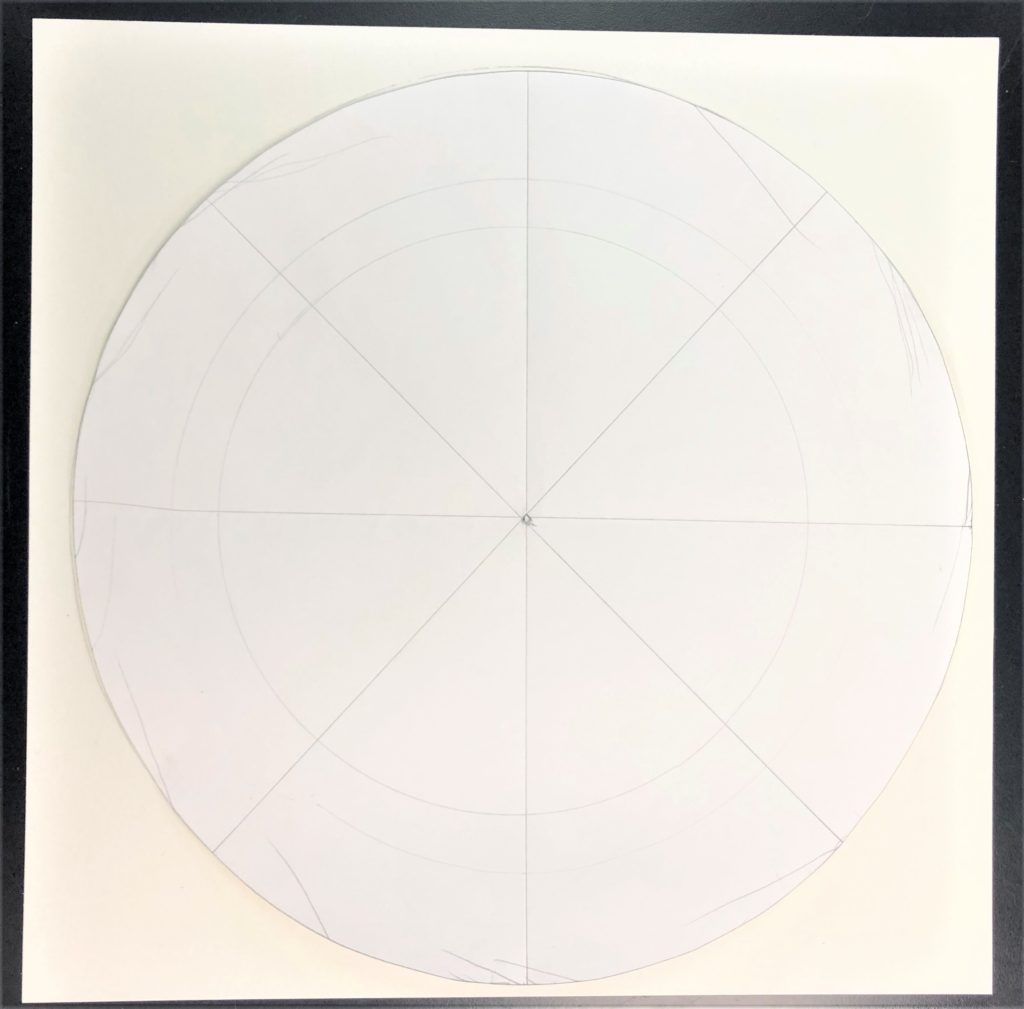
Students use a square 12×12 piece of watercolor paper. I used this pie shaped circle as a template to trace a large circle. A large plate could work as well. I folded this template and found the center which I used to poke a hole and find my point for the one point perspective.
#2
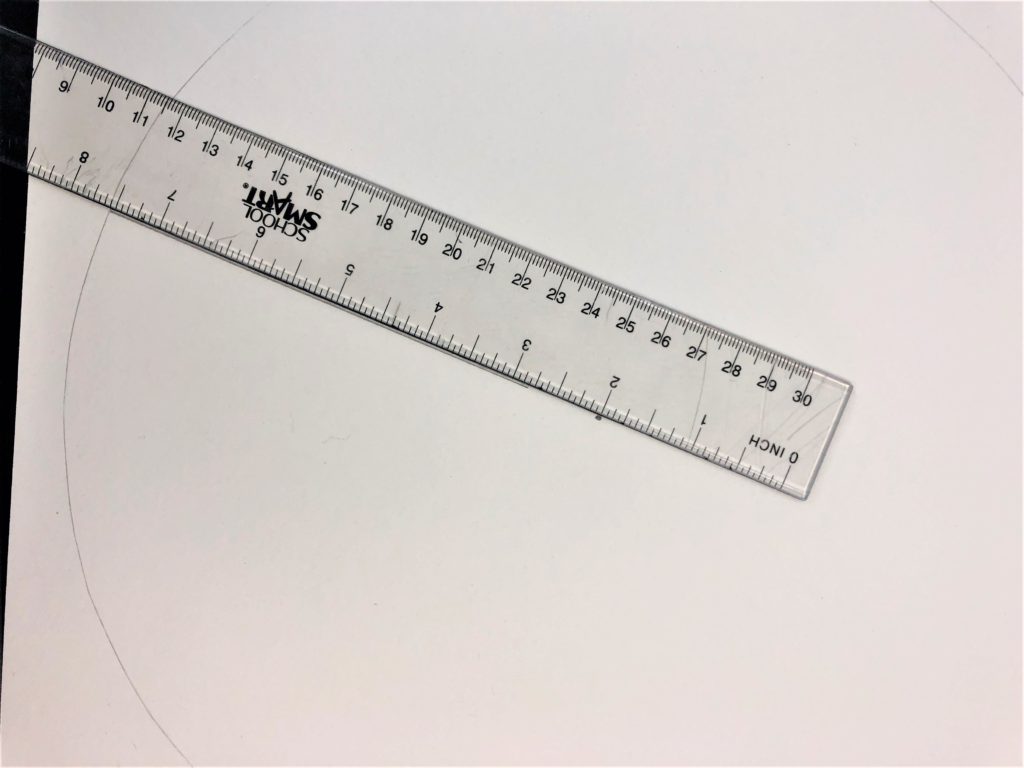
Next, using your ruler, begin drawing your building lines. Always have the rule touch the point in the center. I show my students how to keep the ruler edge that you are tracing along on the side easiest to trace it with whichever their dominant hand is. In other words, you do not need to cross over the top and make it more difficult than it needs to be to trace the side edge of a ruler. Notice how the line I drew is not of any particular length, but it does not reach all the way to to point in the middle.
#3
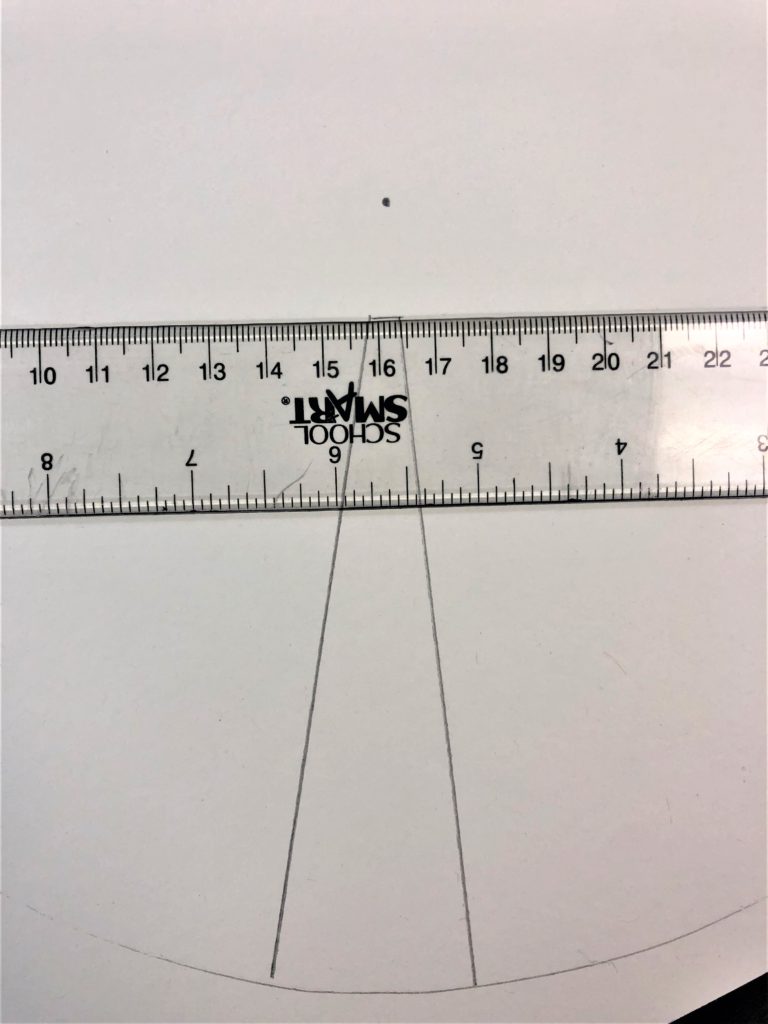
Here I show how two lines have been drawn on the perspective lines. The paper is facing me, so I draw the top of the building horizontally.
#4
Repeat this process for each building as you move around the circle. Sides are in perspective with the dot…tops are horizontal while facing you. As you add windows and doors, they also need to have sides in perspective and tops and bottoms horizontal.
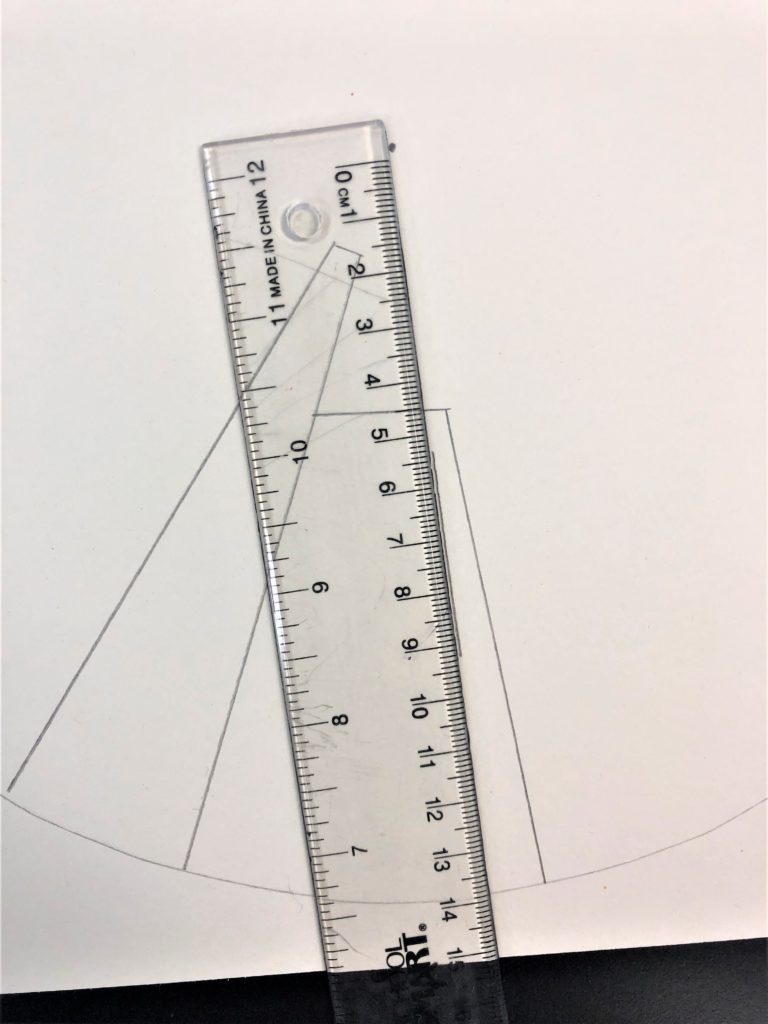
There will be a student who wants to add the side of a building that does not touch the dot. Or that, Heaven Help Me, does not use a ruler. I tell them I am the ruler fairy and I go around with a ruler to check their work. They think this is hilarious and somehow think their lines will be just as straight as a ruler. Insert funny eye rolls. Not going to happen. I do allow one building to touch the dot, but only after they become comfortable with the process. I ask them to problem solve why this rule exists. Finally they discover that it would mean that more than one building is touching the top of another building. Geniuses. I also allow them to explore incorporating bridges and opening similar to the Eiffel Tower.
Day 3/4
The next steps vary on time per class. I wait until Day 3 to have any students even touch a sharpie. Sometimes some students need to fix some lines. Having a break at this point allows me to double check each child’s paper before they continue. If you feel like they can move onto sharpie, by all means go for it.
I tell them to consider the windows. Do they want them to be yellow or white? We recall the magical nature of white crayons as a resist when using watercolor. Before anyone paints, crayon is applied so the lines stay clean and sharp.
Your Ground View Perspective Art is almost complete! Finally, I add some liquid watercolor stations around the room. This is also a great color wheel support. I encourage them to use red, yellow and blue first spread into thirds. The other colors blend well in between. Another idea is to have them mark their watercolor paper with each color ahead of time. After paint is applied these are cut out so any marks will be cut off. The paper is then glued to a 12×12 piece of black construction paper. Viola!
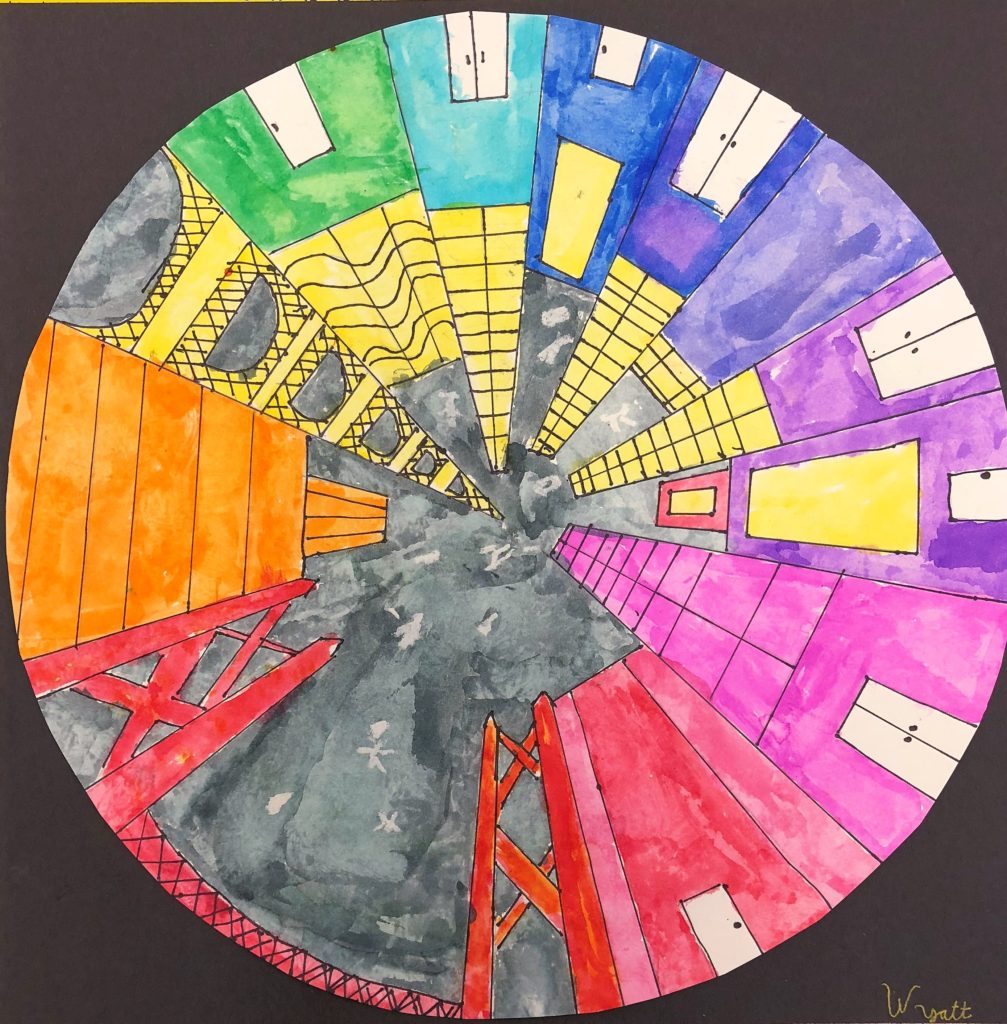
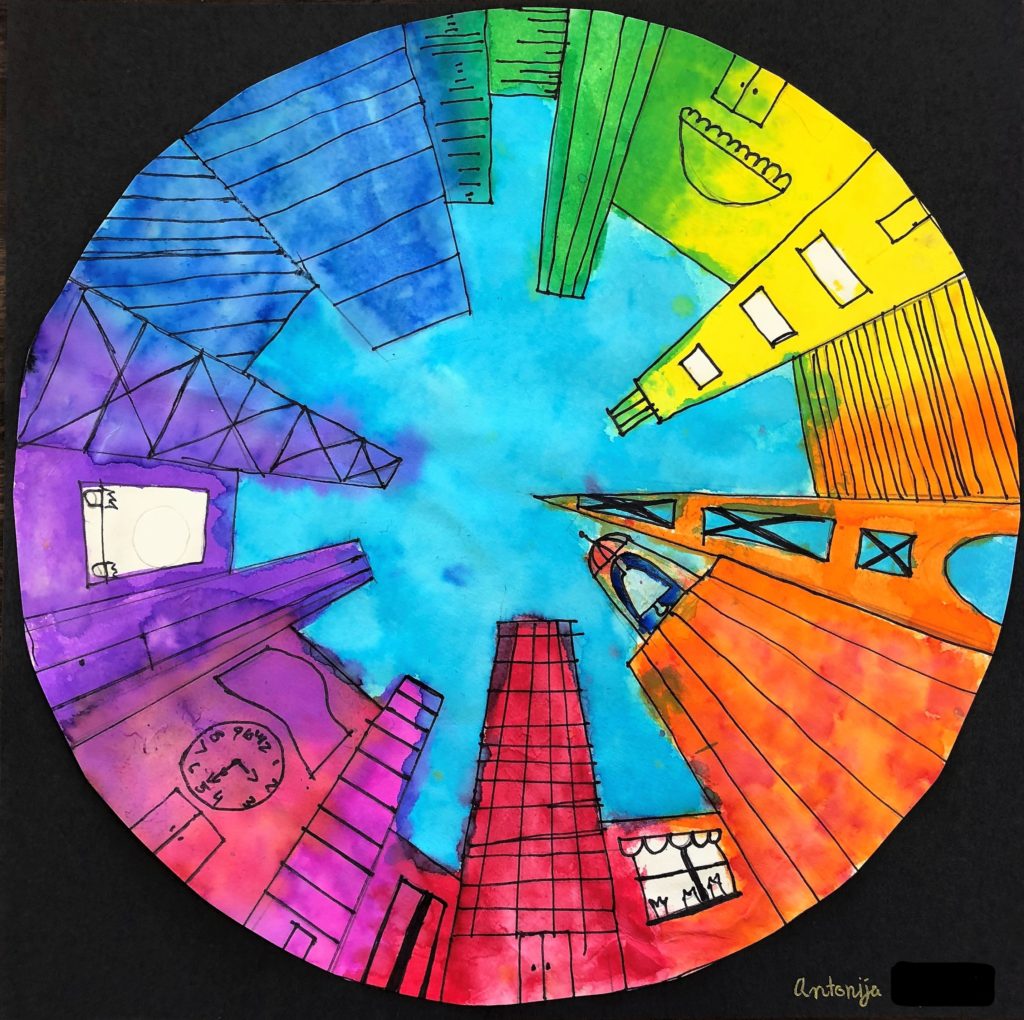
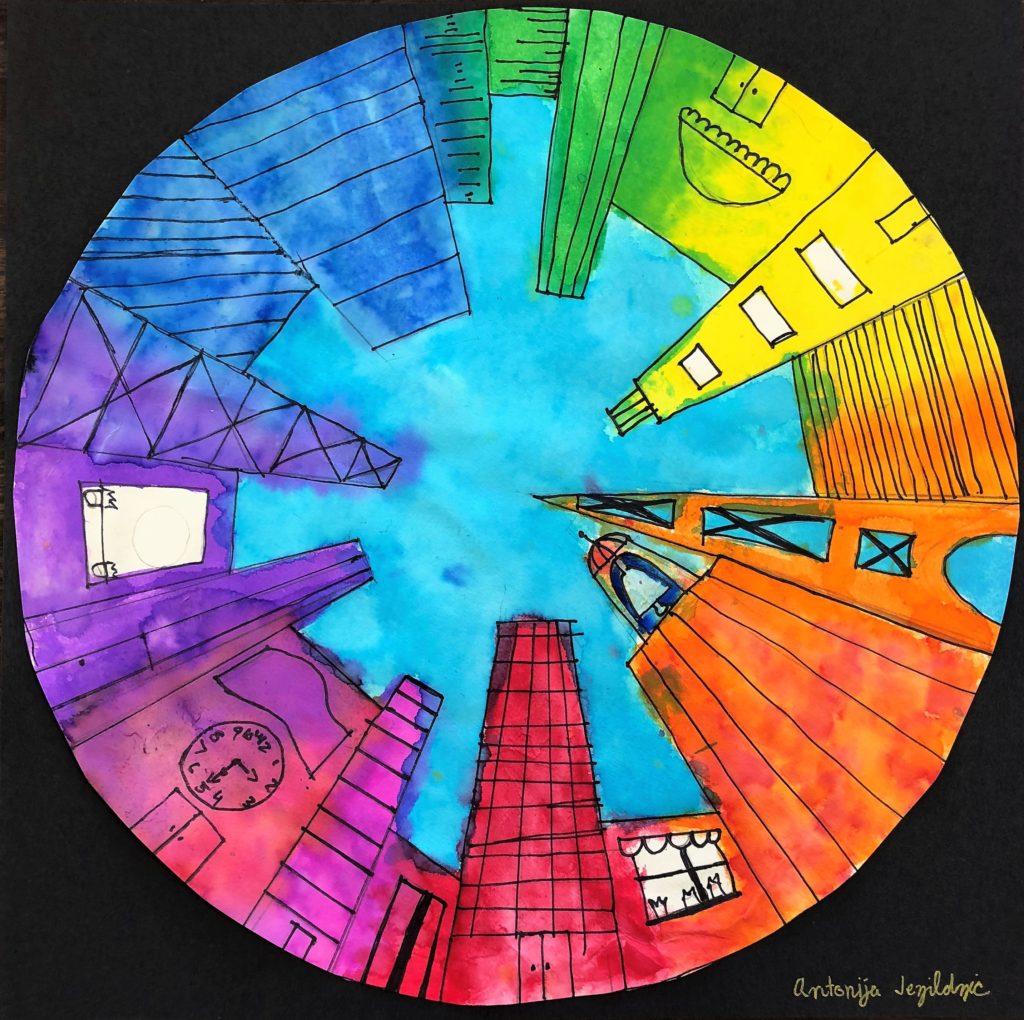
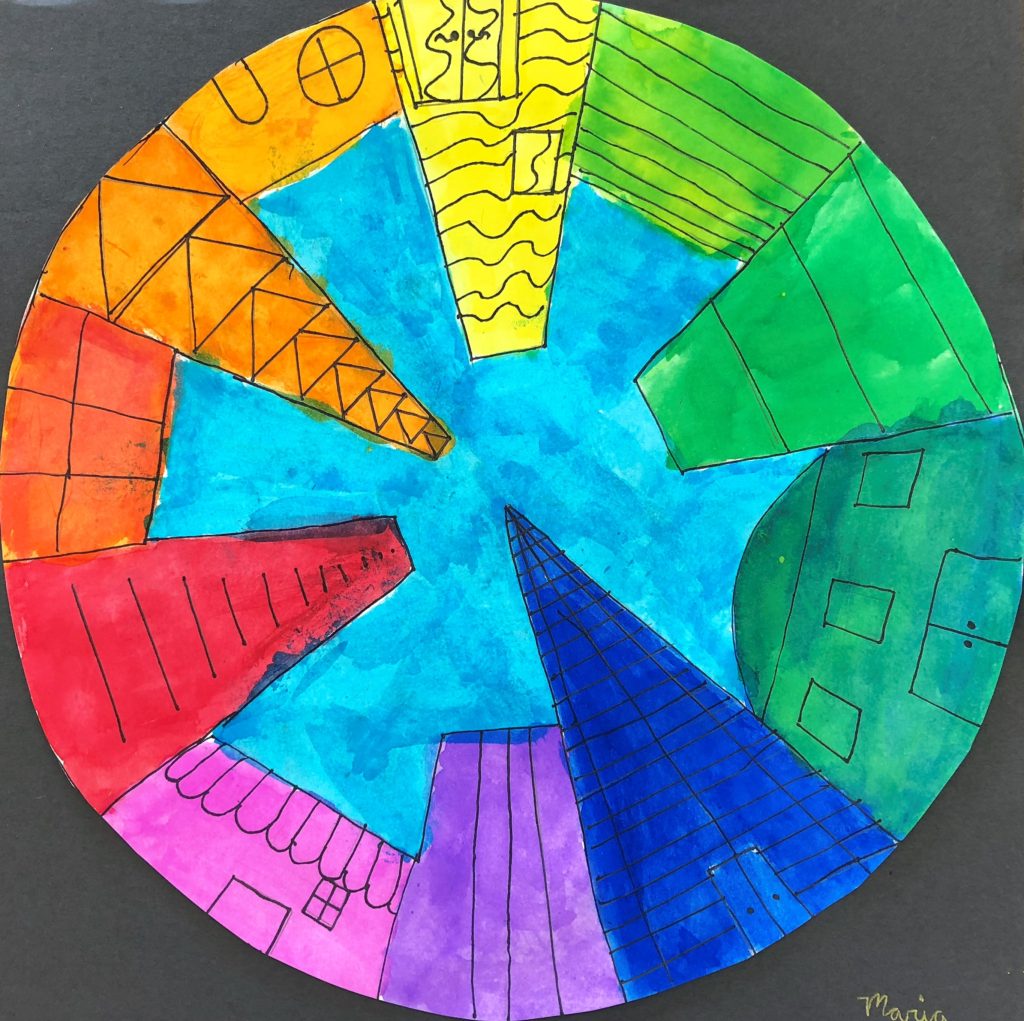
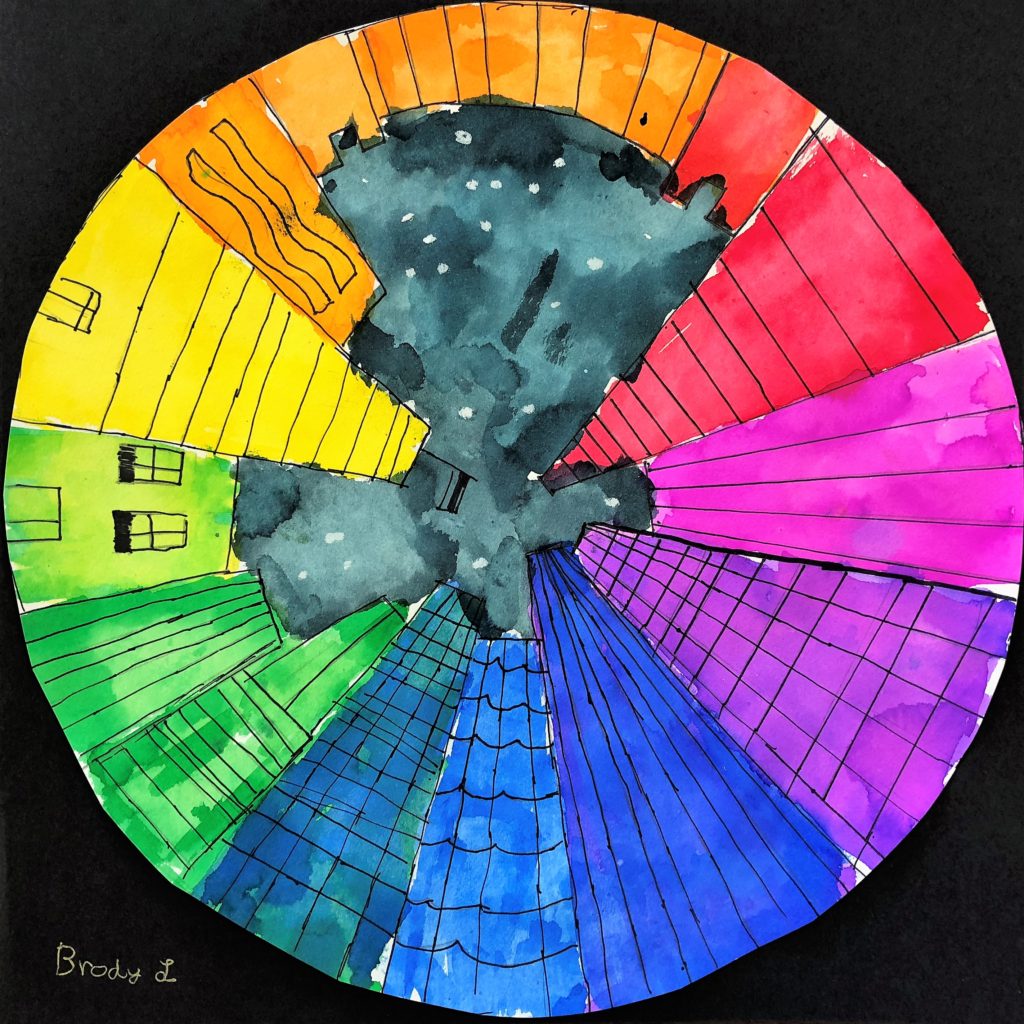
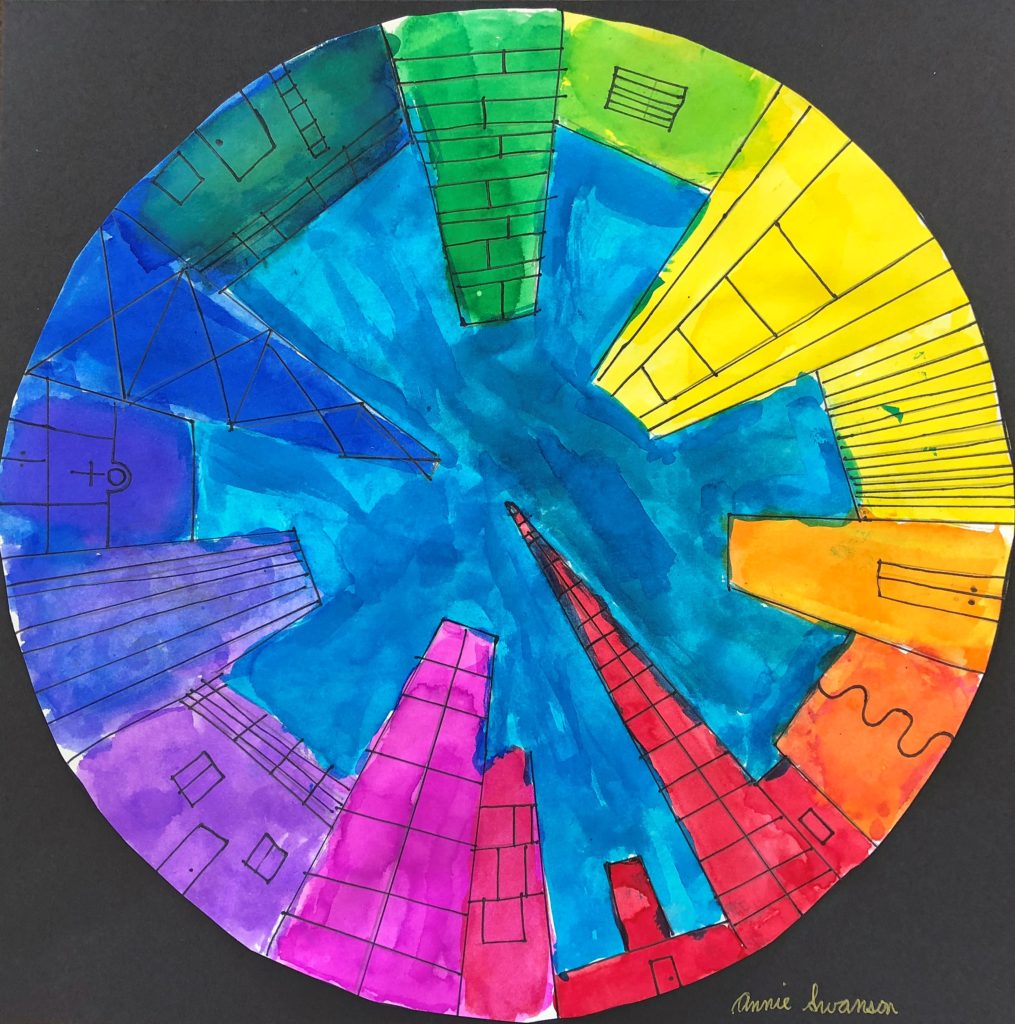
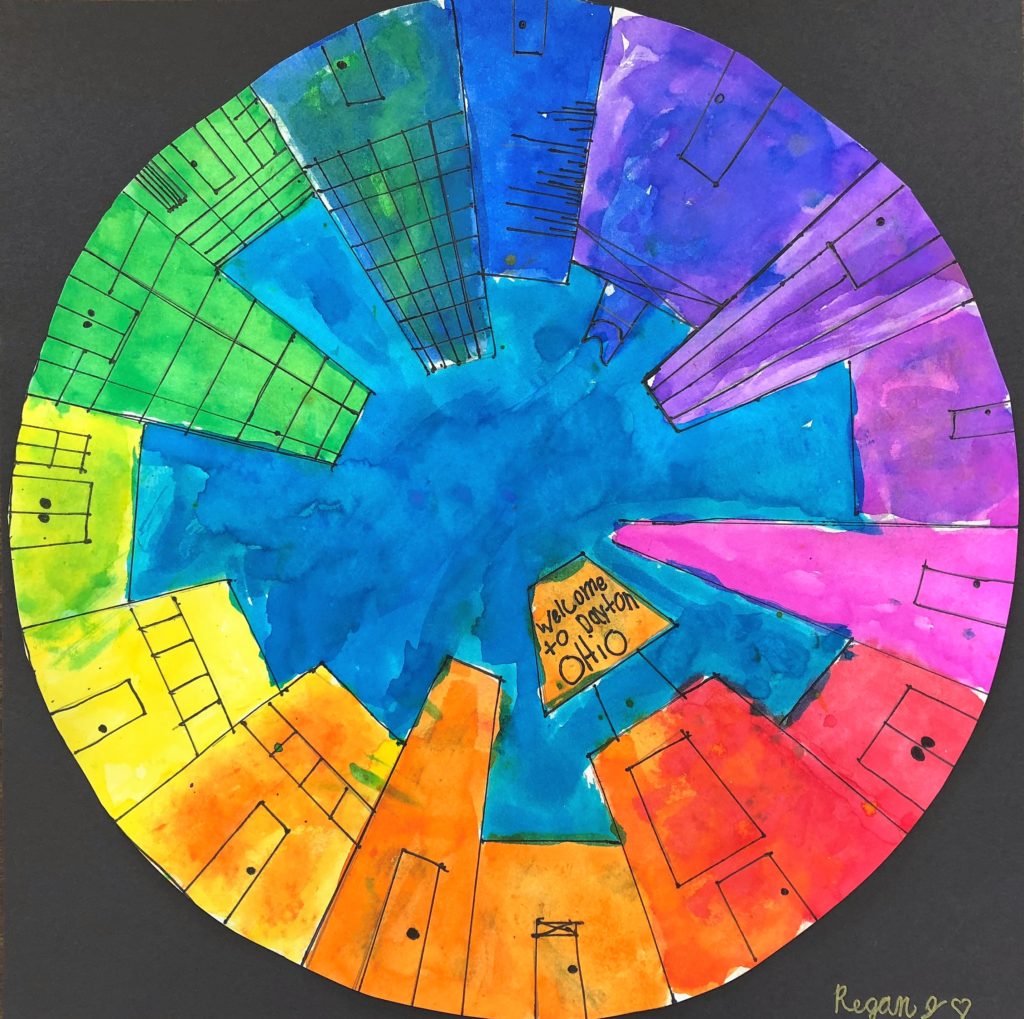
Here are some finished Ground View Perspective Art pieces!
Common Core Standards
4th grade – Math – Geometry
Draw and identify lines and angles, and classify shapes by properties of their lines and angles. (3)
5th Grade – Math – Geometry
Graph points on the coordinate plane to solve real-world and mathematical problems. (1-2)
6th Grade – Math – Geometry
Solve real-world and mathematical problems involving area, surface area, and volume. (1-4)
7th Grade – Math – Geometry
Draw, construct, and describe geometrical figures and describe the relationships between them. (1-2)
Solve real-life and mathematical problems involving angle measure, area, surface area, and volume. (5)
8th Grade – Math – Geometry
Understand congruence and similarity using physical models, transparencies, or geometry software. (1-4)

Leave a Reply