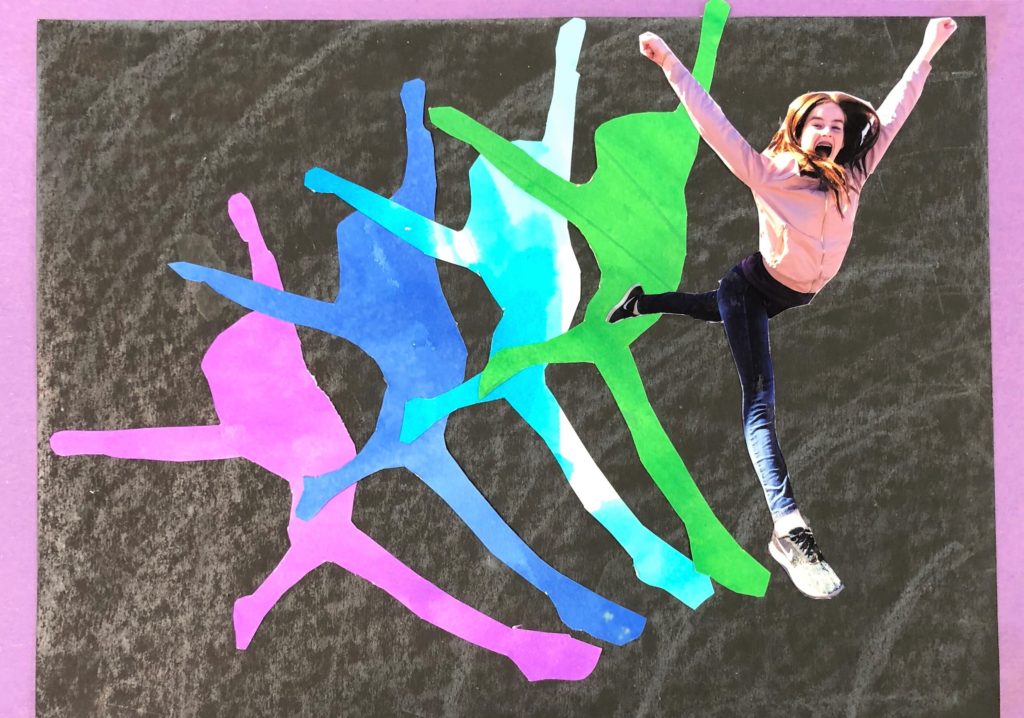
Middle School students will love this pop art lesson that focuses on the principle of movement. It also makes a great abstract portrait that is frame-able! This project covers Common Core Standards for Science for grades 8 which can be found at the end of the lesson.
Grade Levels
6th, 7th and 8th Grades, the examples in this lesson are from an 8th grade class.
Objective
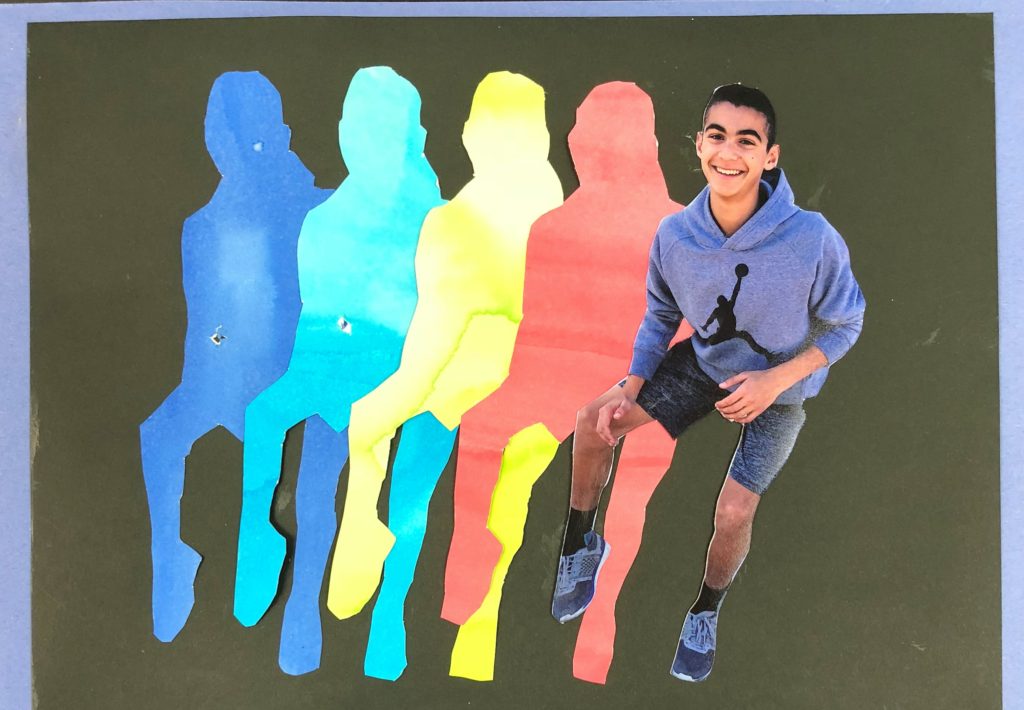
In this Pop Art Movement Lesson, students will use an image of themselves, replicate it and layer it to create the illusion of movement.
Time
2-3 – 60 min lessons
Materials
- Pencil
- 9×12 Watercolor paper – Canson (100510941) XL Series Watercolor Pad, 9″ x 12″, Fold-Over Cover, 30 Sheets
- Brushes – Acrylic Paint Brush Set, 1 Packs / 10 pcs Nylon Hair Brushes for All Purpose Oil Watercolor Painting Artist Professional Kits
- Liquid Water Colors – Sargent Art 22-6010 10-Count 8-Ounce Watercolor Magic Set
- Or this mini version for homeschooling – Sargent Art 22-6210 10-Count 4-Ounce Watercolor Magic
- Kleenex for blotting paint
- Black Construction Paper – SunWorks Heavyweight Construction Paper, 9 x 12 Inches, Black, 100 Sheets
- Assorted Construction Paper – Pacon Tru-Ray Construction Paper, 9″ x 12″, 10 Classic Colors, 50 Sheets (P103031)
- White crayons or oil pastels
- Glue Stick – Elmer’s Glue Stick (E4062) (7 sticks)
- Scissors
Inspiration/Artist
Andy Warhol
Marcel Duchamp
I was inspired to make this lesson when I saw this idea: Click Here
Instruction with Questions
Pre-Art
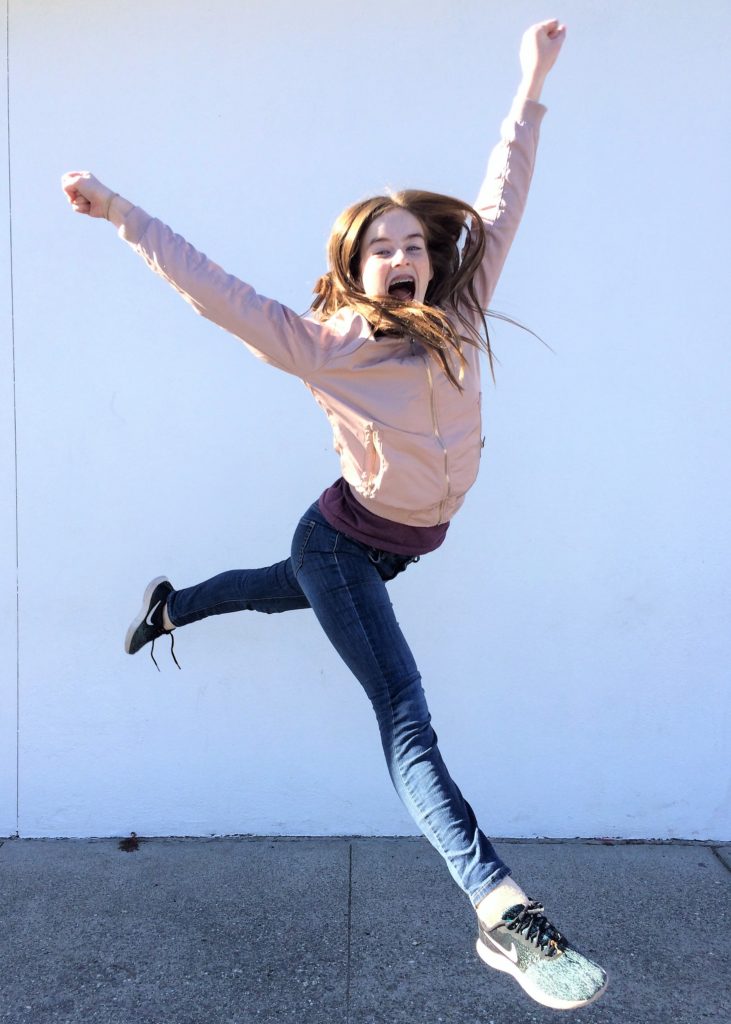
Photograph each student in a unique pose. This girl is a dancer and asked if she could leap. AMEN! Make sure all hands and feet are showing in your photograph. Print these photos out to a 5×7 size.
Day 1
Students watch videos about Andy Warhol and the Pop Art, Art Movement.
Youtube: What is Pop Art? | Tate Kids: Click Here
Youtube: The Case For Andy Warhol | The Art Assignment | PBS Digital Studios: Click Here
(If you only have time for one, this is my favorite) Youtube: Pop Art Lesson for Kids and Teens: Click Here
Have a class discussion about what they saw and learned from the videos. What struck you while you watched these? What stood out?
Show them a photo of Duchamp’s painting, “Nude Descending the Staircase”
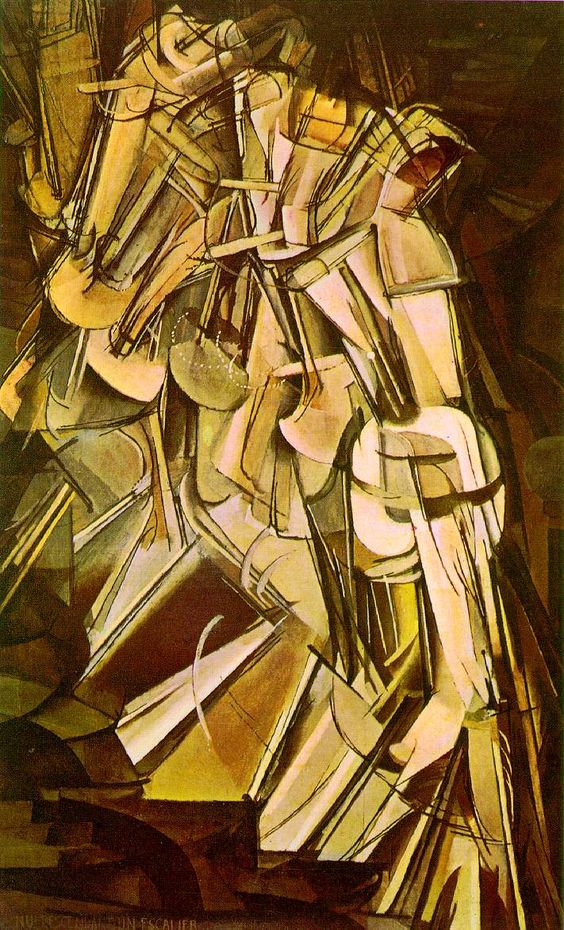
Here is a great Youtube video of this painting by Nowness. I love the idea of mindfulness that is connected to watching this video.
Next show them Warhol’s print of “Eight Elvises”. As they look at each image ask them to share anything that they see in the image. (Notice, for instance, that the image is not evenly spaced out.) Why is this effective? Is the whole image even fully repeated? Note that there is only “part of a few” Elvises and staircase dudes.
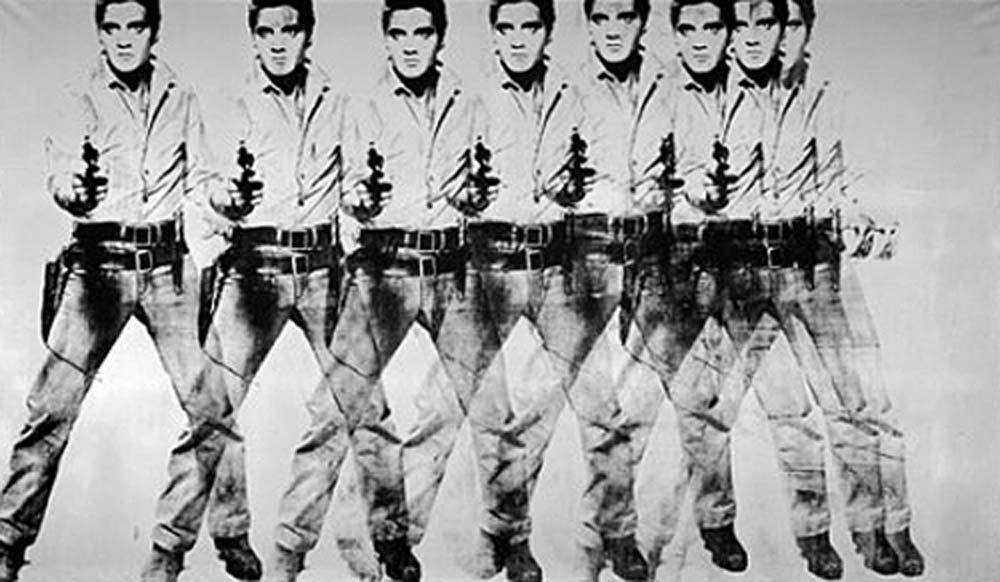
Ask them to name what they see in common in the photographs.
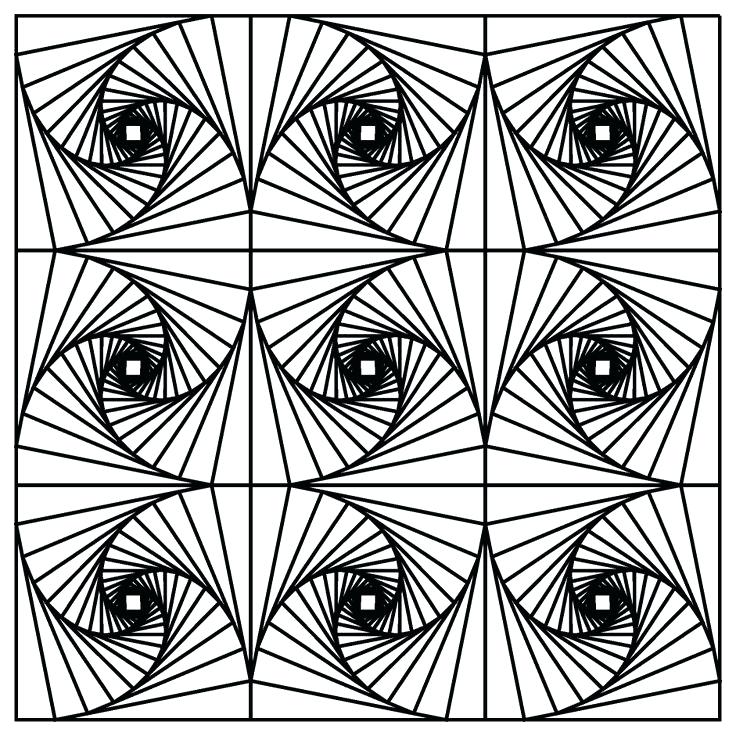
I have coloring sheets, like this one, for them to color while students do the next step. These are great for reinforcing the idea of repetition.
This website has several PDFs to choose from Click Here
Students watercolor various papers with liquid watercolor. Have each student paint one piece of paper each. This will allow you to have at least 2 reds 2 yellows etc. These will be the papers we cut images out from, for our collage.
Day 2
Students cut out their image from a photo. Depending on your students, cut out the photo prior to class. 🙂
Students trace their image onto the watercolor paper. NOTE: Have them trace right around the image onto the colored paper OR tell them to face the photo and the paper upside down. I like this option best. This first example shows it facing up. The challenge here is you may get pencil marks on the photo AND the pencil marks may show after they cut out the shape.
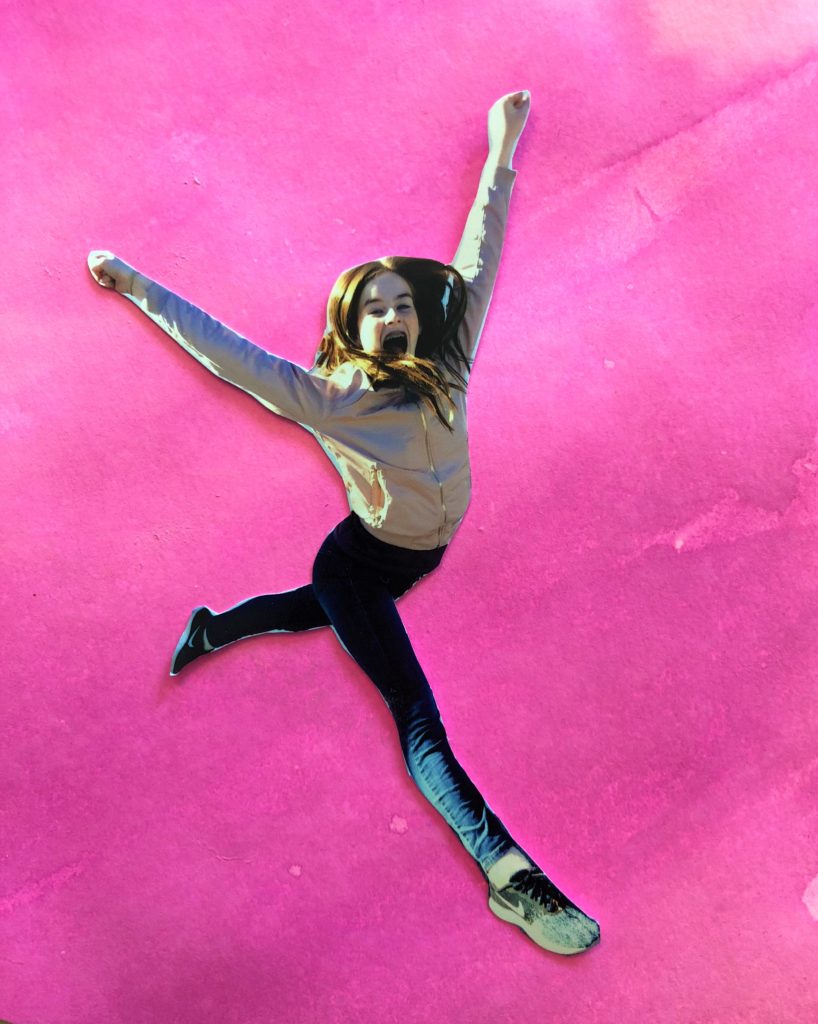
Using the approach shown below will not show pencil marks either way. Win!
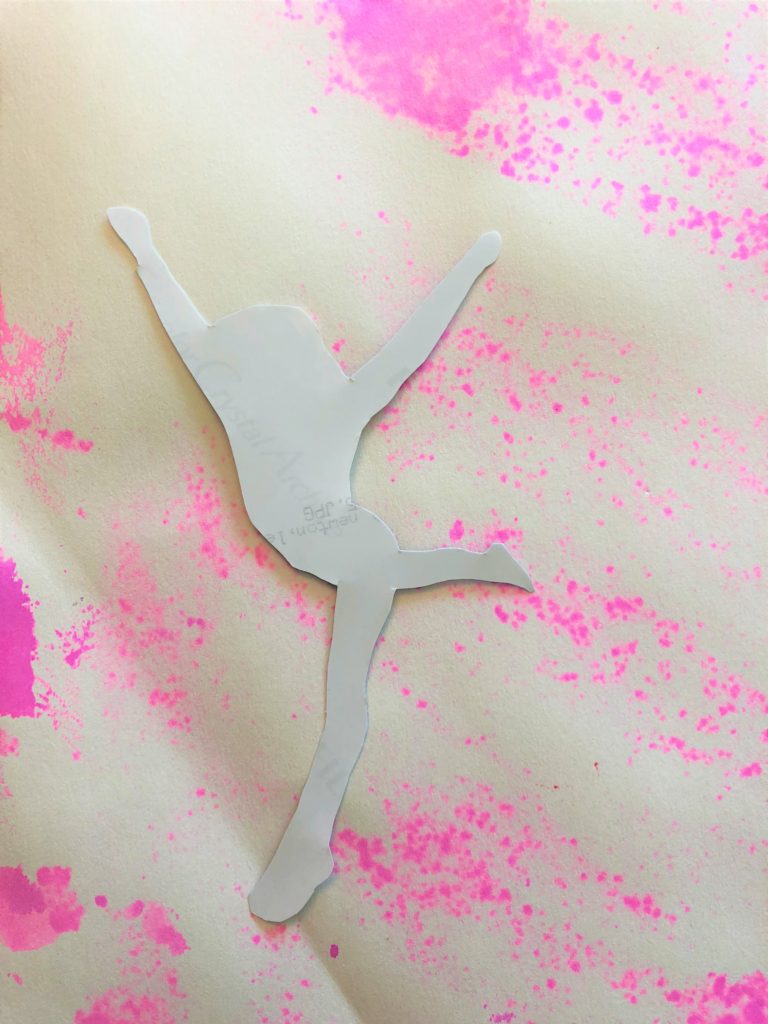
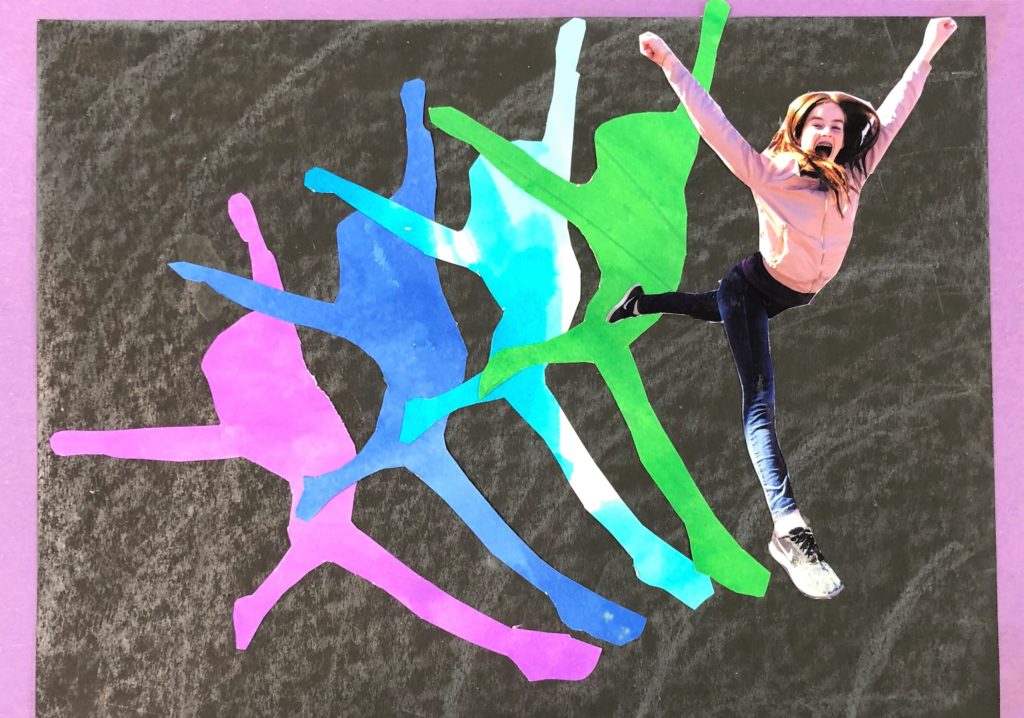
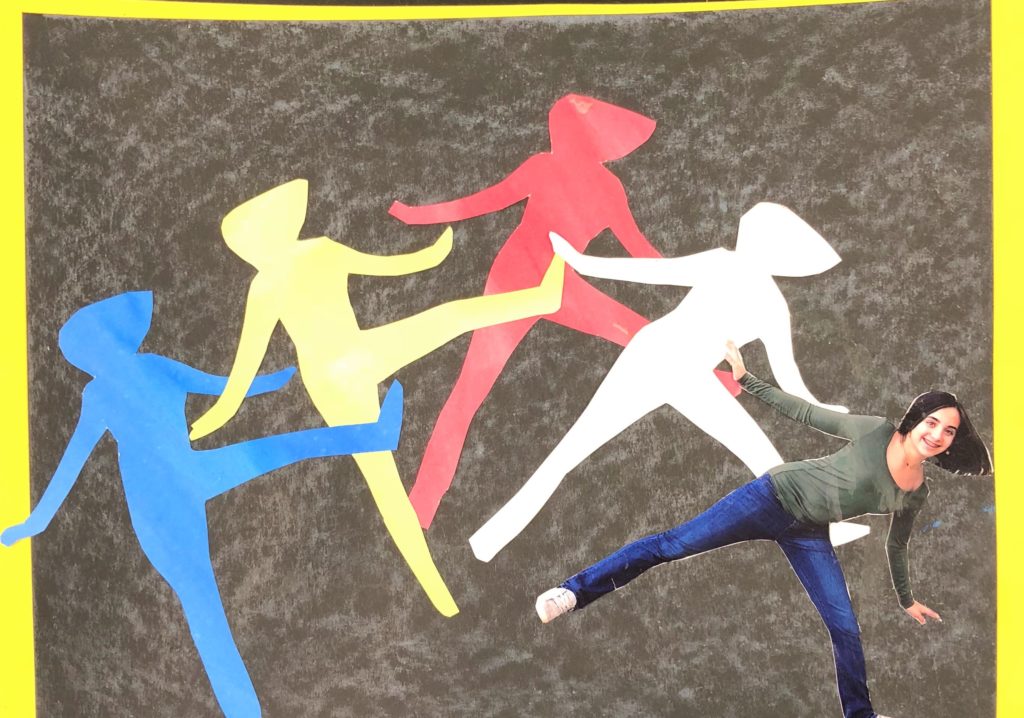
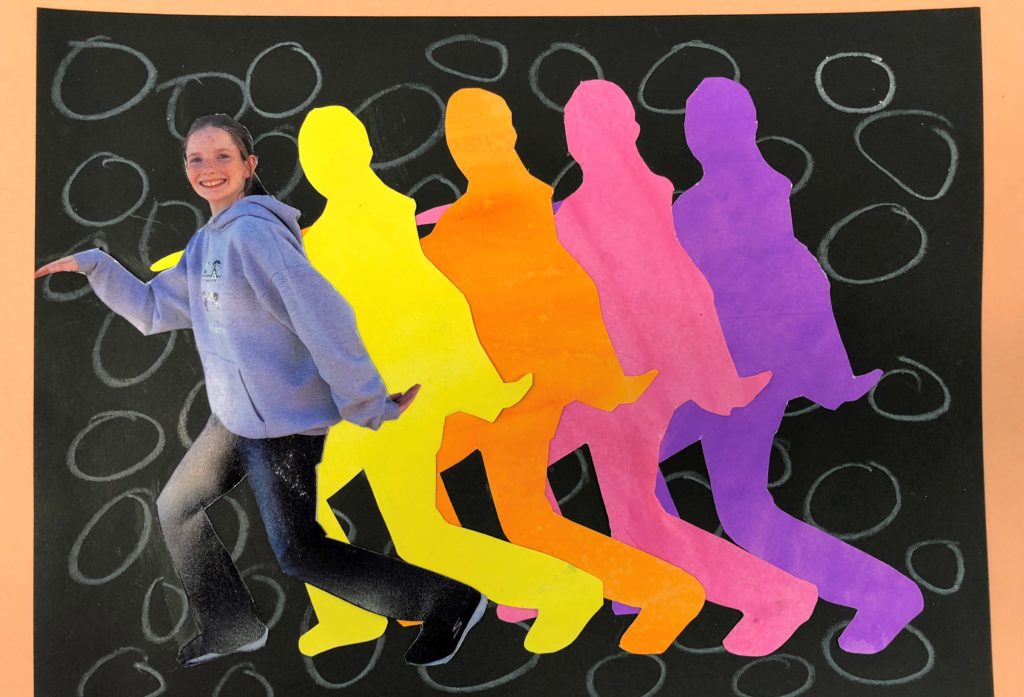
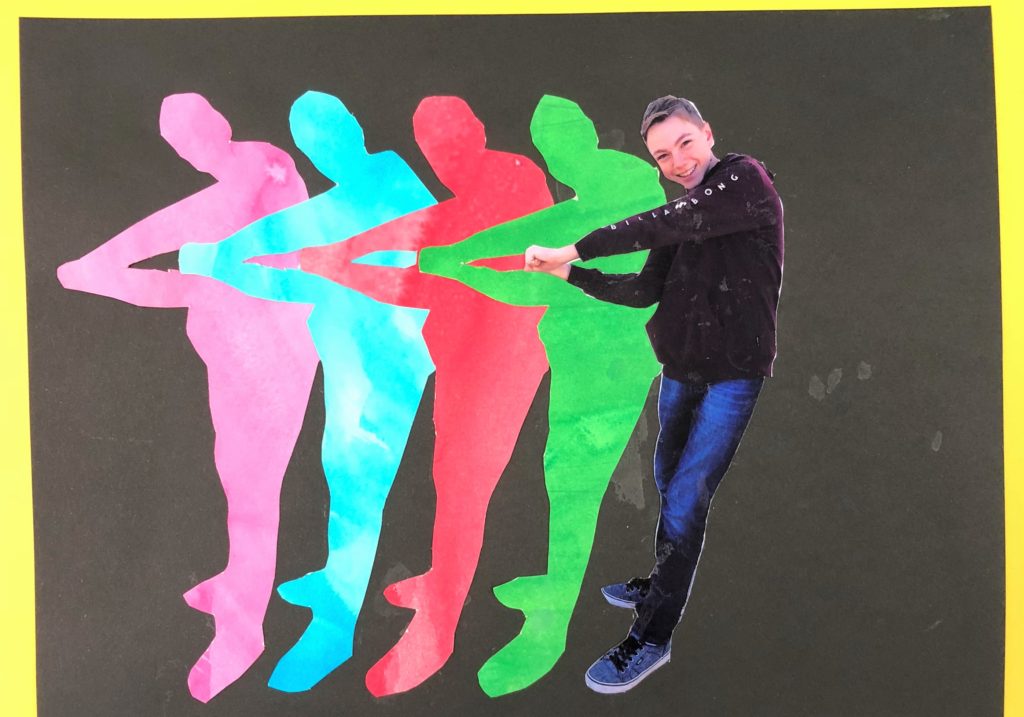
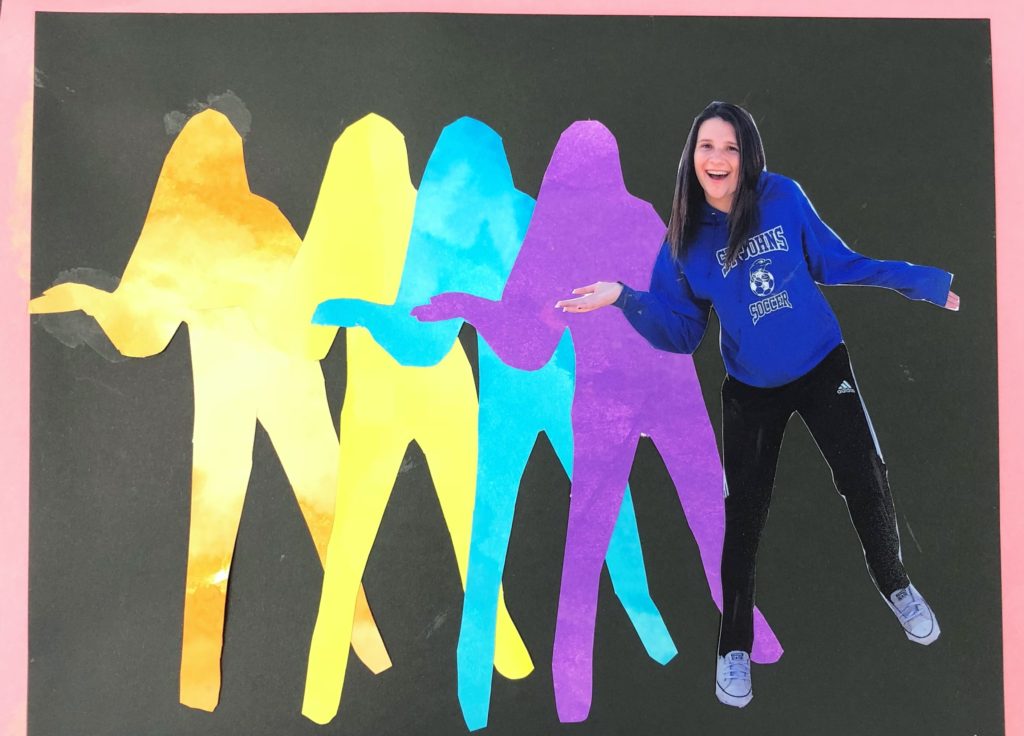
Students repeat this process several times (minimum 4 times) on different colored papers. Next, have students glue all of the images to a black piece of paper. Each image should layer in an interesting format. Encourage students to play with them, and not just settle on a straight across approach.
Use a larger sheet of colored construction paper and glue the black paper to it to really help it pop! Some students used a rainbow for their color flow, some used primary colors, some used analogous colors (colors next to each other on the color wheel), and others allowed their colors to be random.
Use white crayons (or oil pastels) as an option to add texture and interest in their artwork. This was up to their discretion and creative design.
Here are some finished Pop Art Movement Lesson pieces!
Common Core Standards
8th Grade – Science
Focus on Physical Sciences – Forces
2. Unbalanced forces cause changes in velocity.
a. Students know a force has both direction and magnitude.
b. Students know when an object is subject to two or more forces at once, the result is the cumulative effect of all the forces.
c. Students know when the forces on an object are balanced, the motion of the object does not change.
d. Students know how to identify separately the two or more forces that are acting on a single static object, including.

Leave a Reply