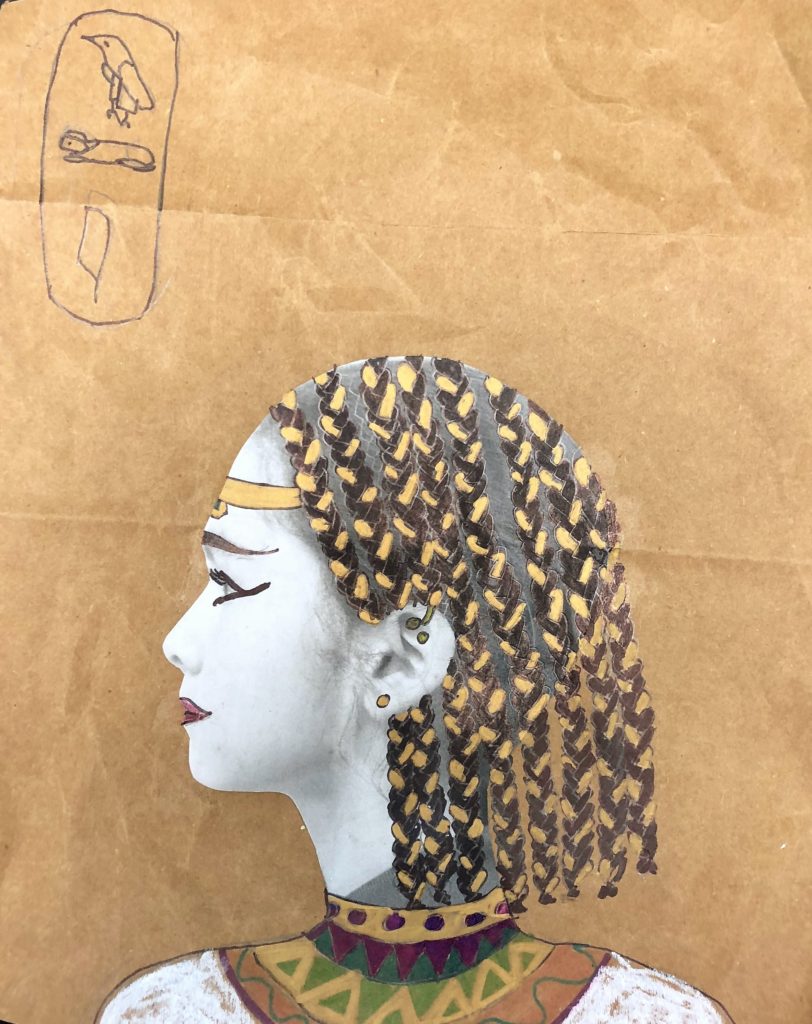
During this Egyptian portrait lesson, middle school students will study Nefertiti, create a portrait like a famous ruler, and make their own cartouche. This project covers Common Core Standards for History for grades 6-7 which can be found at the end of the lesson.
Grades
6th, 7th, 8th Grades – The examples in this post are from 7th graders.
Objective
In this Egyptian Portrait lesson, students will design their own portrait in the style of an Egyptian profile.
Time
3 – 60 min lessons
Materials
- Pencils
- Paper bag (grocery store brown paper normal large size)
- Photo of profile of student on white copy paper
- Scissors
- Glue Stick – Elmer’s Glue Stick (E4062) (7 sticks)
- Black Sharpie Marker – SHARPIE Permanent Markers, Fine Point, Black, 2 Ct
- Silver Sharpie Marker – Sharpie 39108PP Fine Point Metallic Silver Permanent Marker, 1 Blister Pack with 2 Markers each
- Gold Sharpie Marker: Sharpie Metallic Permanent Markers, Fine Point, Gold, 2 Count
- Oil pastels – Pentel Arts Oil Pastels, 50 Color Set (PHN-50)
- Crayons
- Colored pencils
Inspiration/Artist
Egyptian Art and the Bust of Nefertiti
I was inspired to make this lesson from these ideas: Click Here and Click Here (this link takes you to Pinterest where I found the Pin, but it was uploaded from an unknown Instagram account)
Instruction with Questions
Day 1
Students watch videos about Egyptian Art and the Bust of Nefertiti.
Examining A Lost Queen | National Geographic: Click Here
Egyptian Art History from Goodbye-Art Academy: Click Here
For fun I show them the music video from the Bangles, “Walk Like an Egyptian”: Click Here
Students receive a packet with the following worksheets in it.
Egypt Gods and Crowns – I honestly cannot find the source for this one because I have had it forever, but I did not create it myself: Click Here for PDF

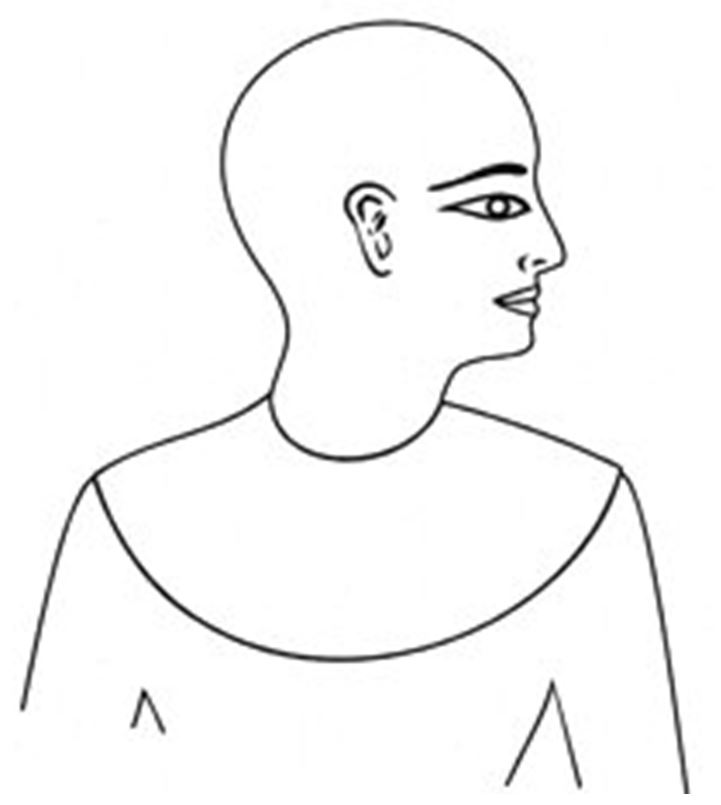
Bald Egyptian for practice drawing – Click Here for PDF
Assortment: I threw together this conglomeration of some great designs to inspire their own artwork. You could also throw up some images from Google on your overhead. Click Here for PDF

You can purchase this on Teachers Pay Teachers for handouts on Hieroglyphics and Cartouche Art (which I had my students add onto their portrait) – Click Here
This is also a great site for information on this topic – Click Here
While students work on their packet, each student is pulled aside and their profile photo is taken. Do not worry that their body does not morph to a 2-dimensional pose (heehee). They will ultimately cut the photo just below the neckline. More info on this later in this post. If you have extra copy privileges, make two copies of their head so they can do a practice round.
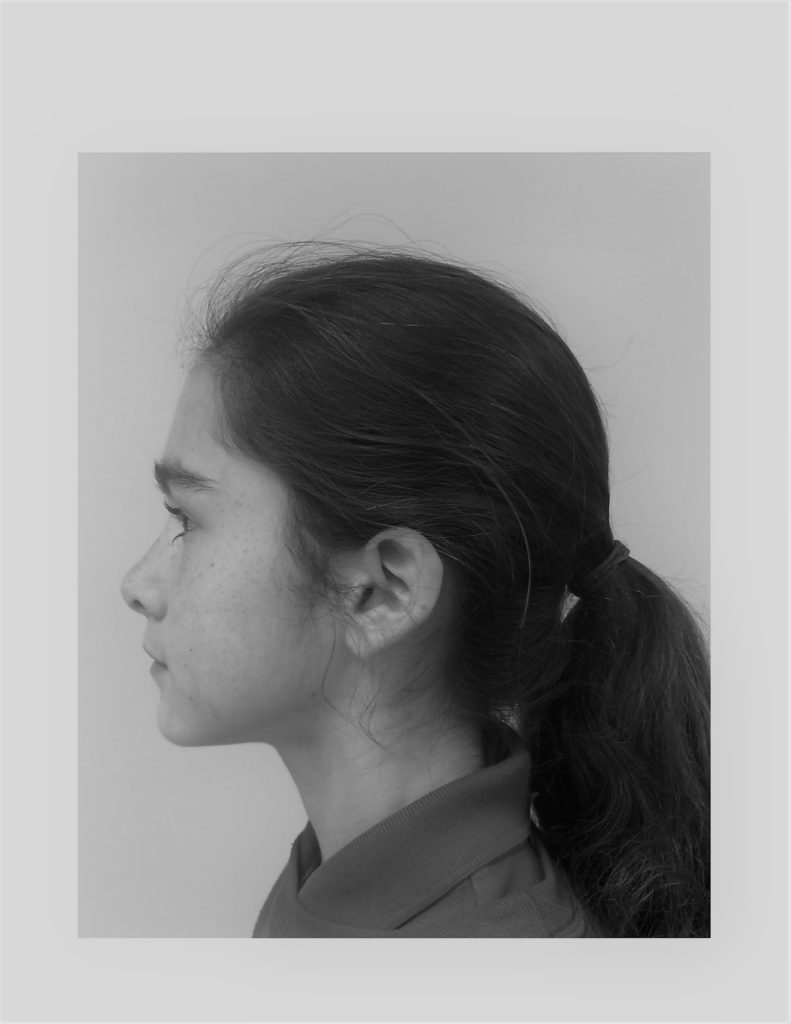
Note: This is how their photo will look on an 8.5×11 regular size piece of copy paper. I recommend that the girls have their hair pulled back into a braid or pony tail. This gives them the option of having their ear show in their final version.
Day 2
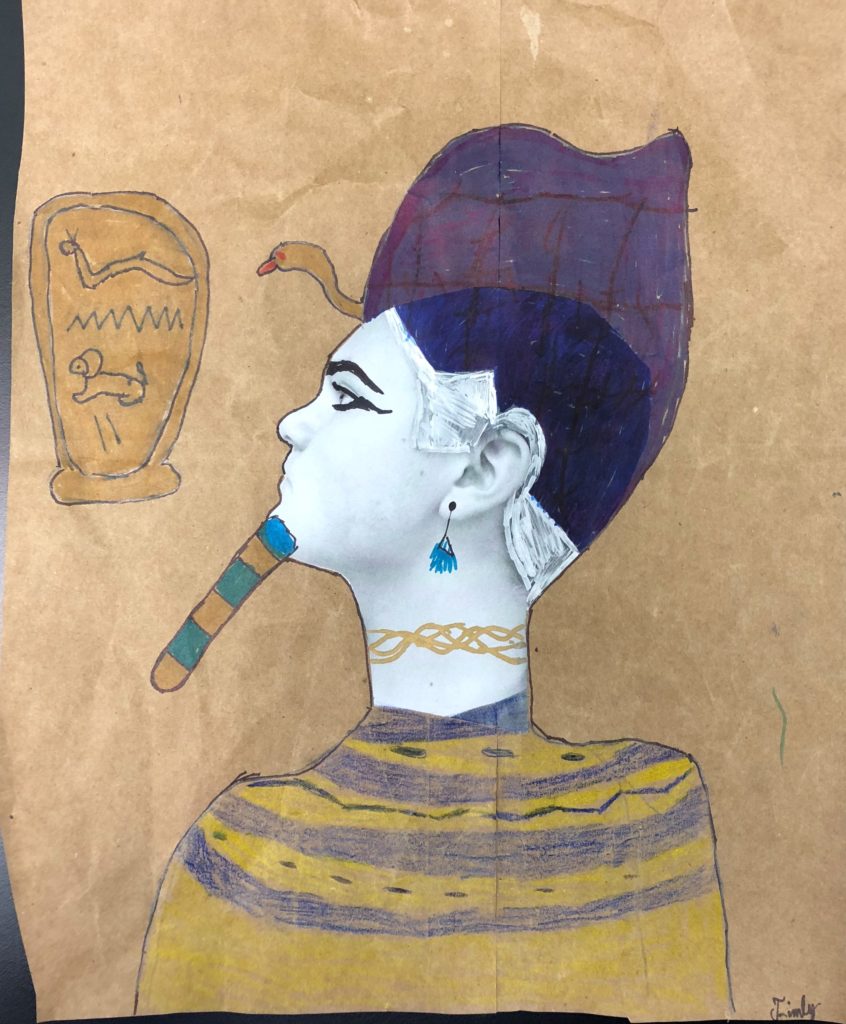
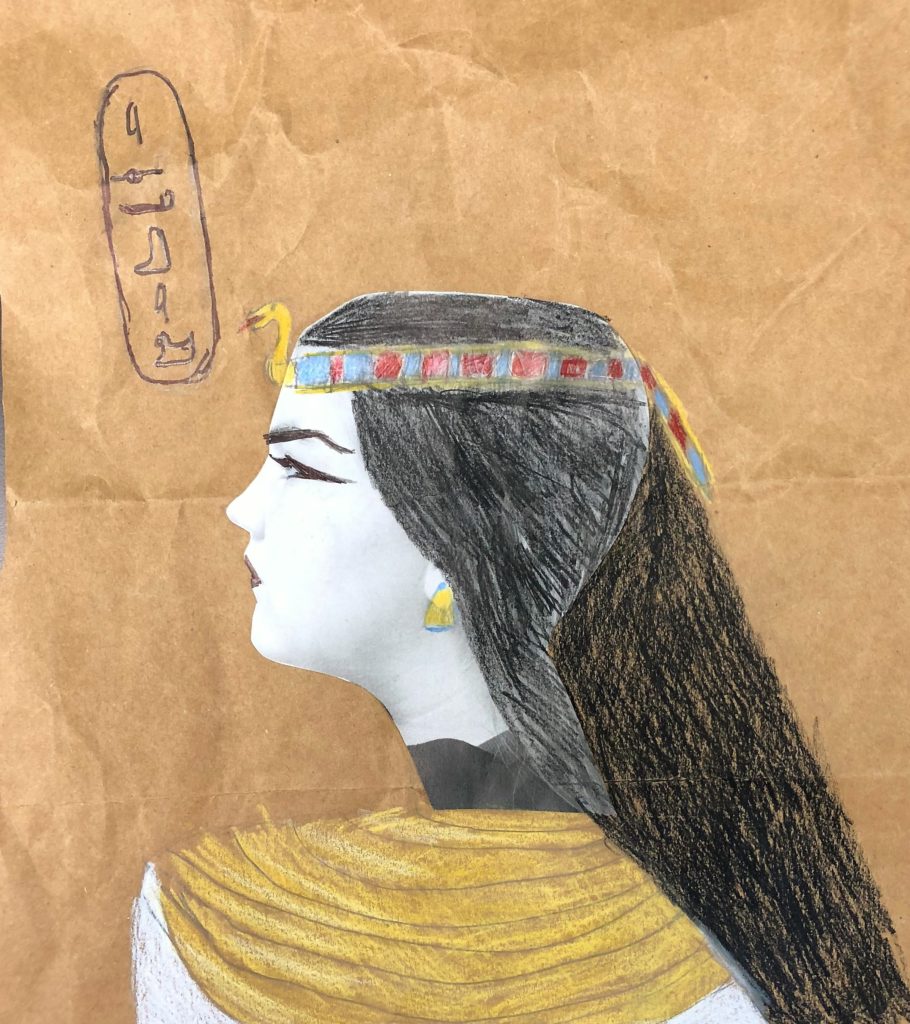
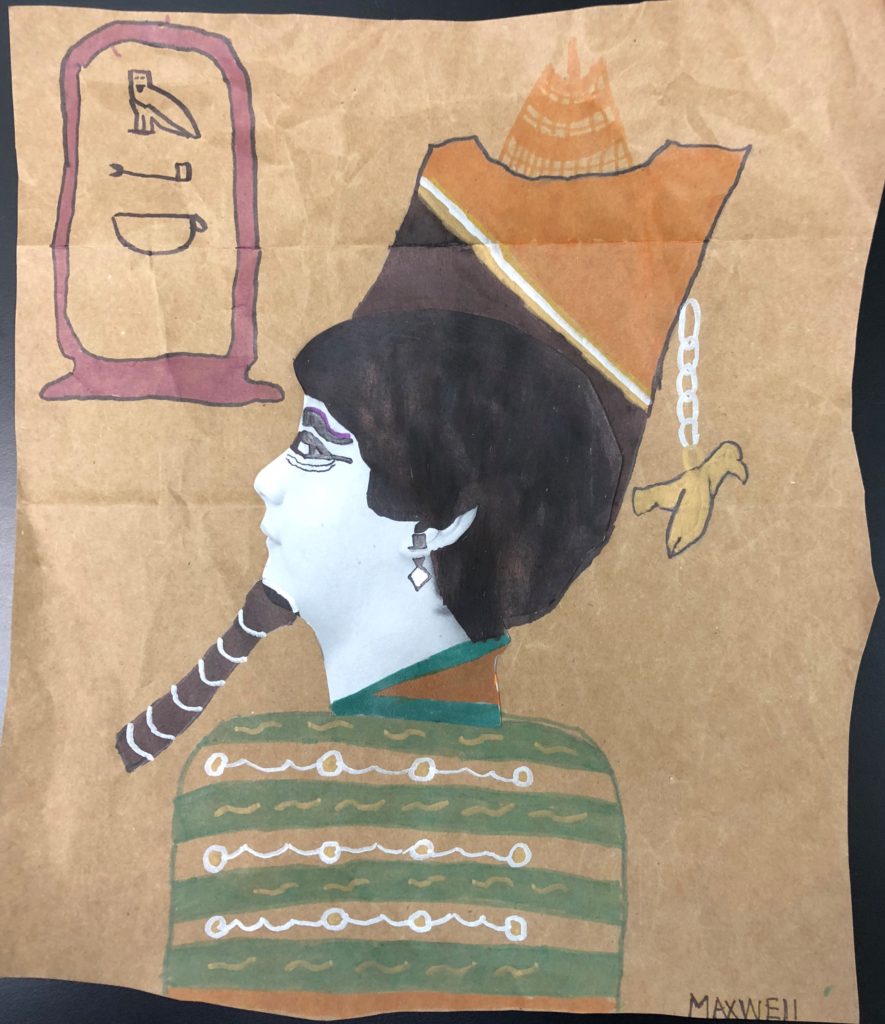
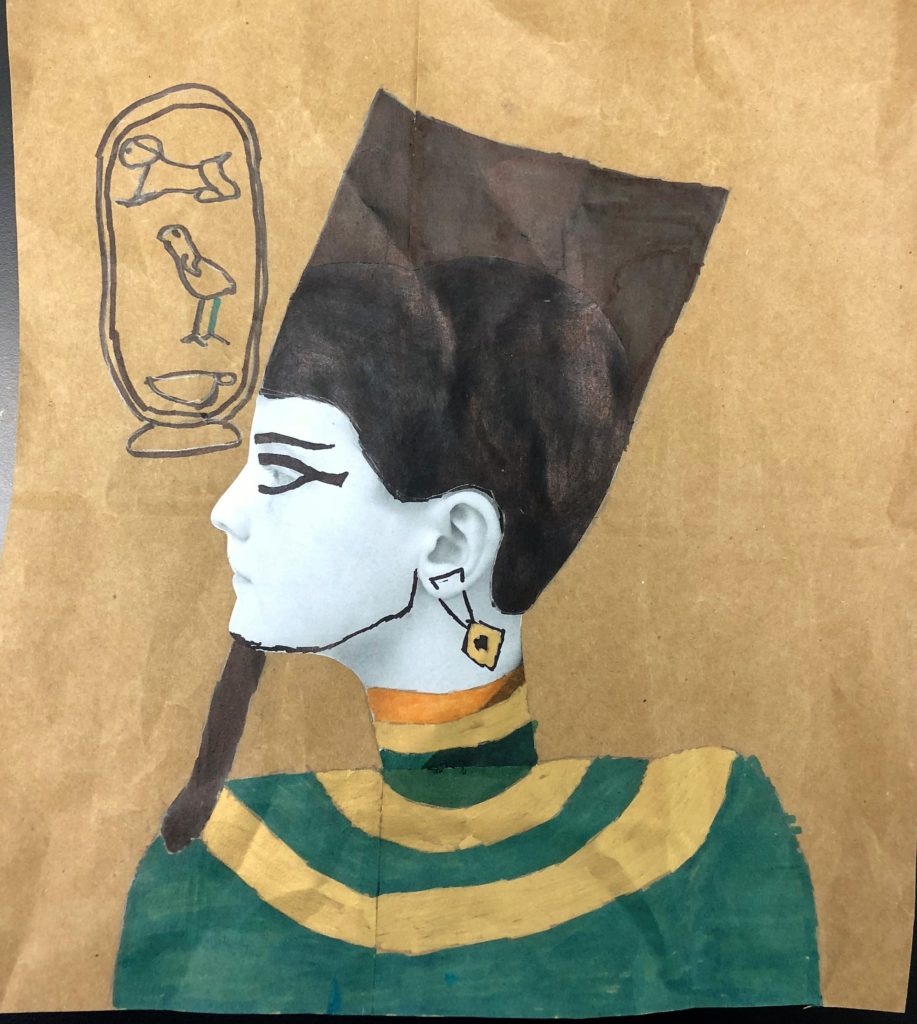
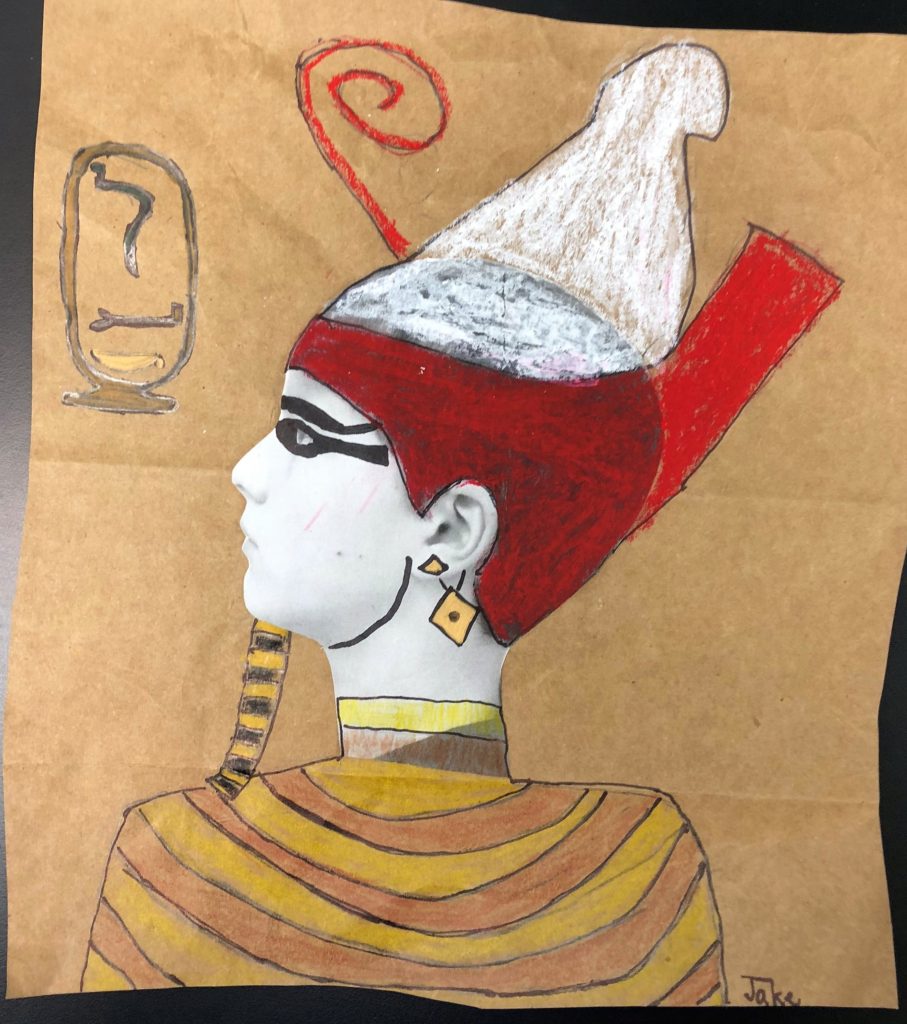
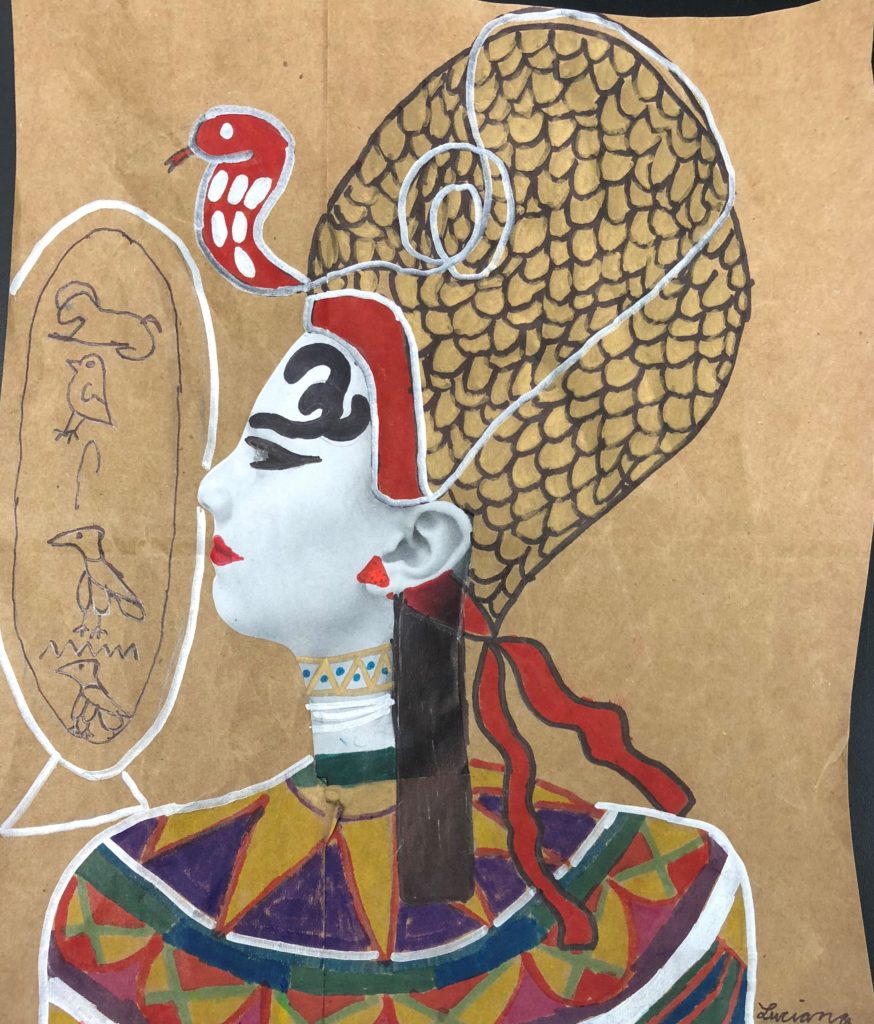
Prepare cut out paper bags. Do not measure or over think this step. Literally, cut the bag so that the handle part doesn’t show and the sides were cut cleanly but haphazardly. I wanted a more “organic, maybe this is a piece that was recovered in a tomb” look. Students are instructed to cut out their head. Do not include ponytail if one is sticking out. Also, cut at the base of the neck. I definitely recommend showing them an example of what to do and what not to do. For instance, do not allow them to cut straight below their chin. They glue their head onto the middle of the paper.
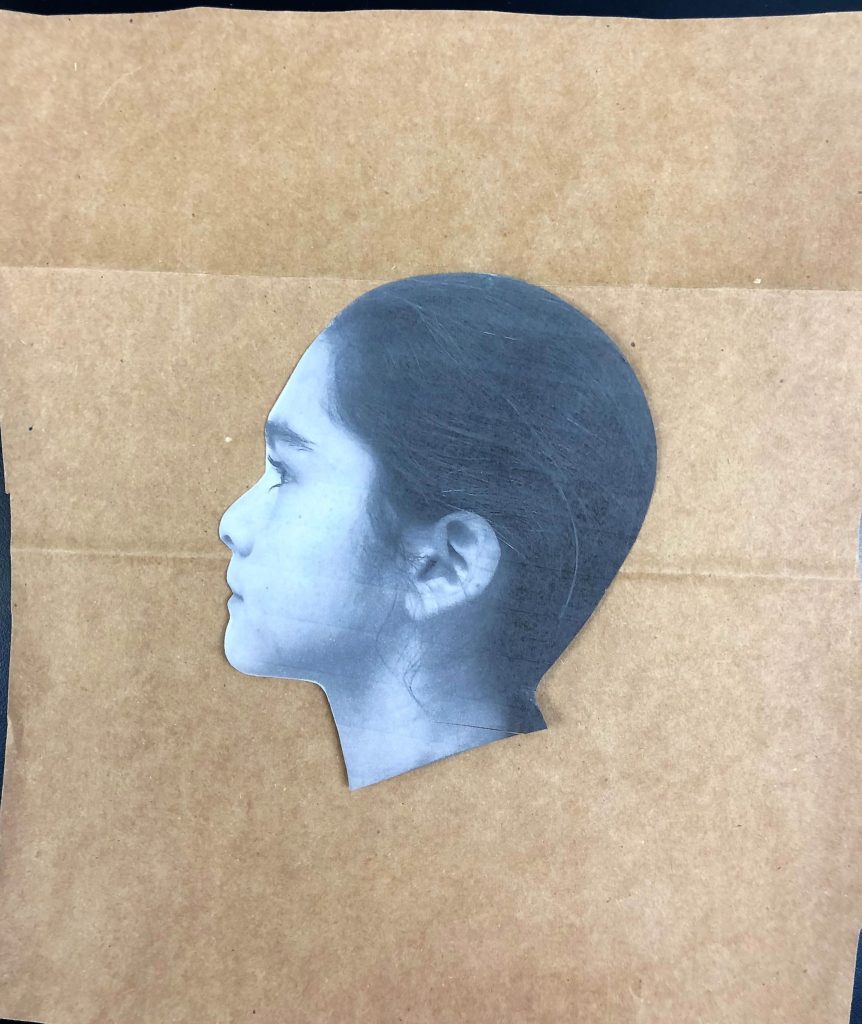
Next students create the neck and shoulders. This is awkward, because it is not in perspective. This is more ala Flat Stanley. I do an example on the board. Good notes to give them:
- Sides of neck are parallel
- Shoulders are the same height straight and even across
- Shoulders are just slightly wider than the sides of the head (This helps to prevent tiny bodies 🙂 )
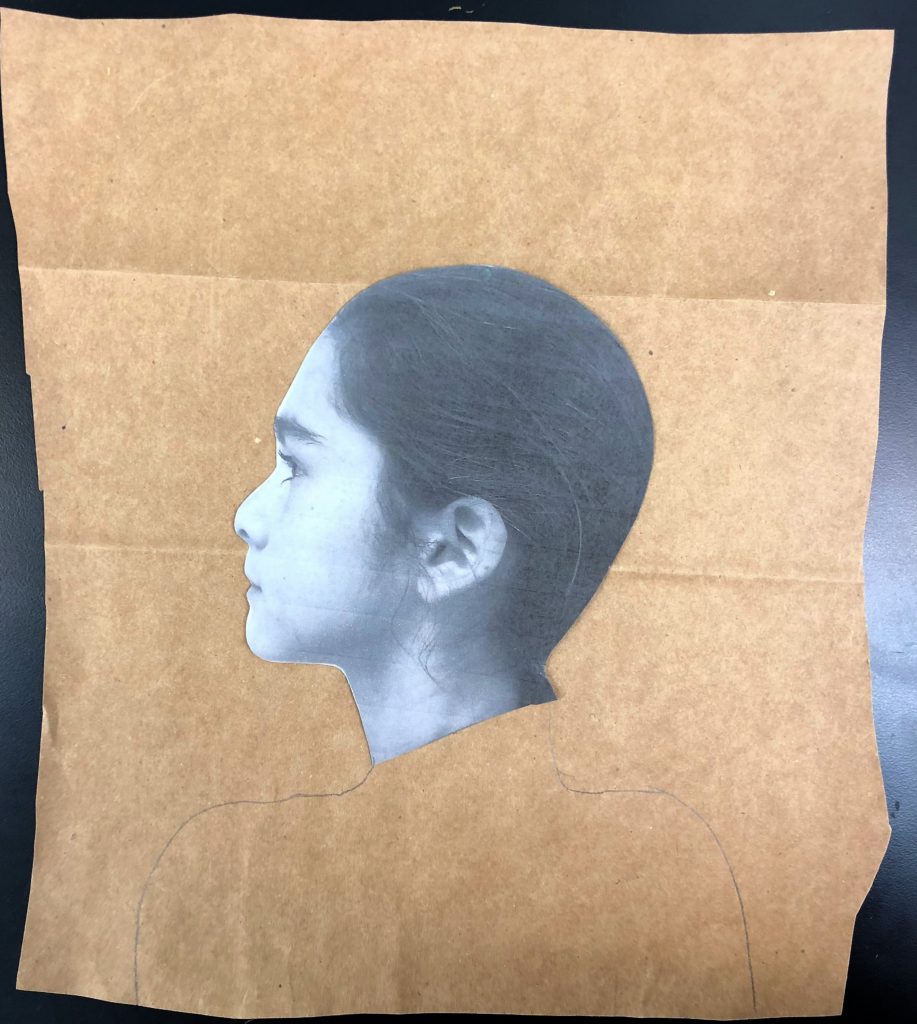
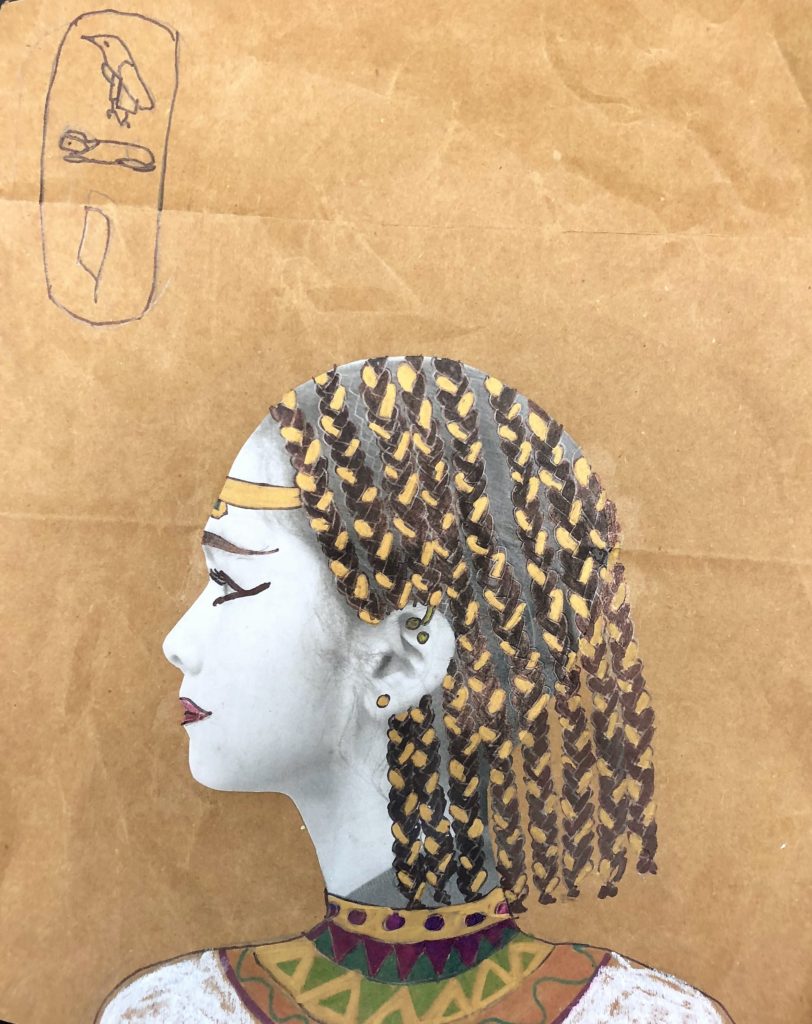
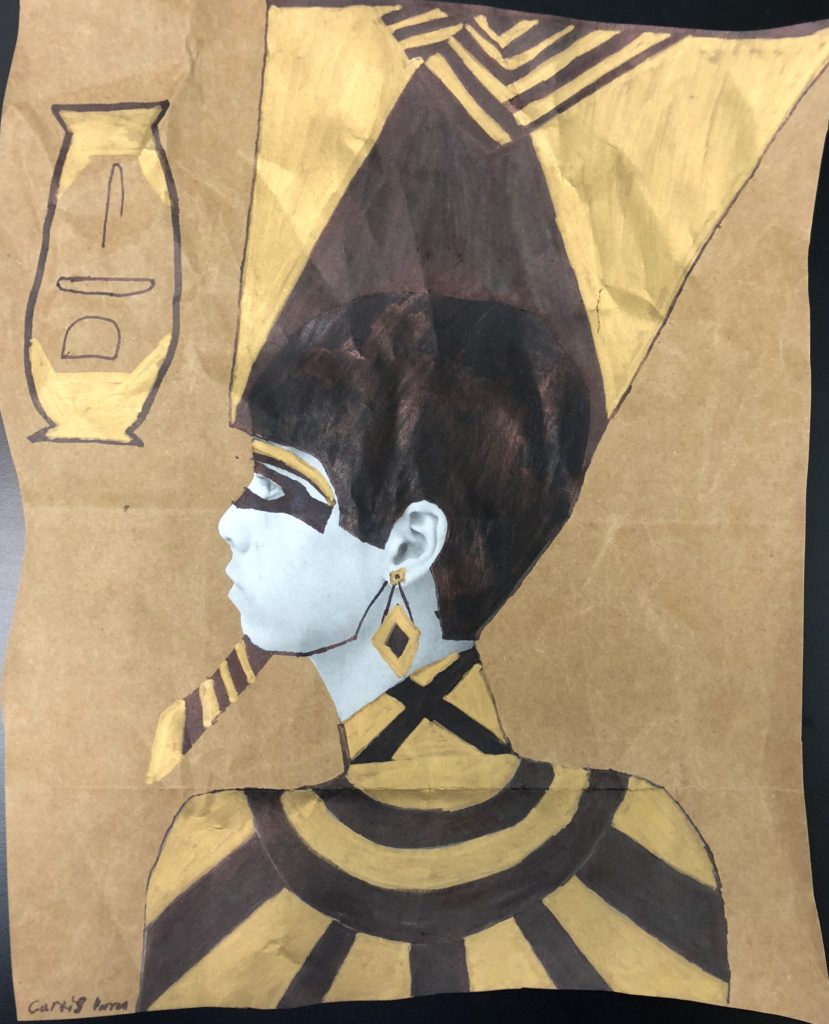
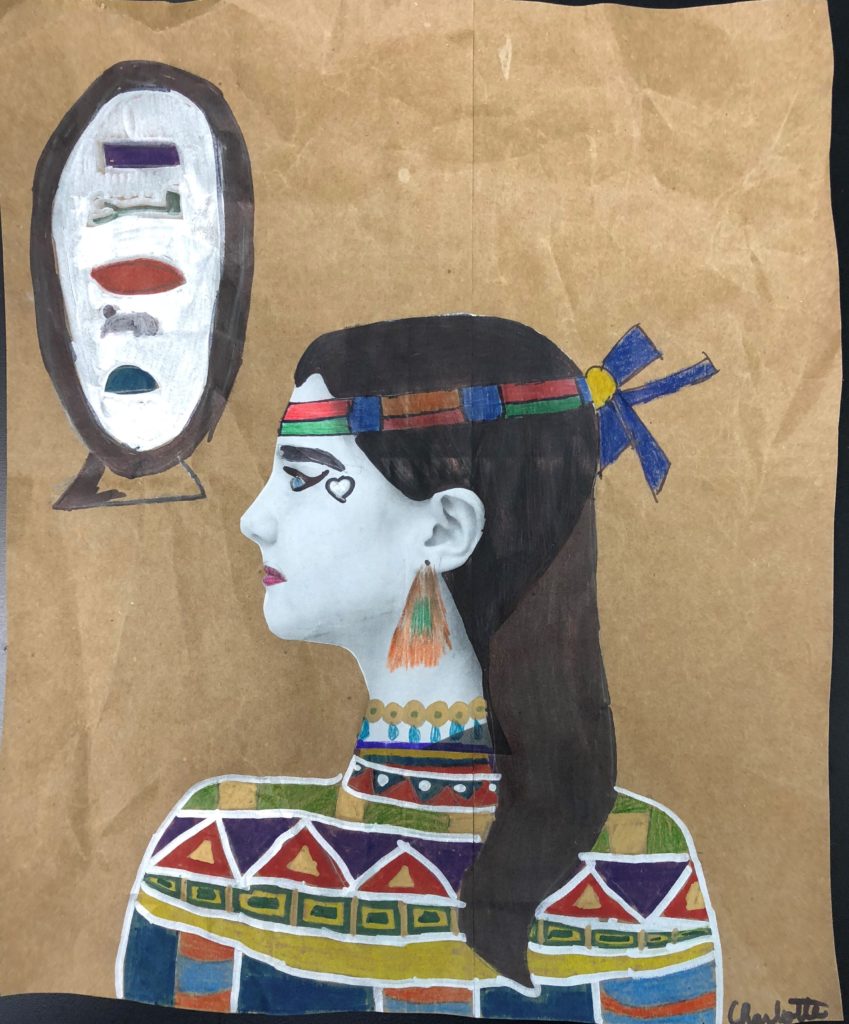
Students use metallic and regular sharpies, oil pastels and colored pencils to decorate their image. If time allows, add the cartouche of their name in the corner. I tell them to use the sounds that make the letters, not to actually use a symbol for every letter. You can purchase this on Teachers Pay Teachers for handouts on hieroglyphics and cartouche art – Click Here
Here are some finished Egyptian Portrait pieces!
Common Core Standards
6th Grade – History
6.2 Students analyze the geographic, political, economic, religious, and social structures of the early civilizations of Mesopotamia, Egypt, and Kush.
5. Discuss the main features of Egyptian art and architecture. 9. Trace the evolution of language and its written forms.
7th Grade – History
7.4 Students analyze the geographic, political, economic, religious, and social structures of the sub-Saharan civilizations of Ghana and Mali in Medieval Africa.
- Study the Niger River and the relationship of vegetation zones of forest, savanna, and desert to trade in gold, salt, food, and slaves; and the growth of the Ghana and Mali empires.
- Analyze the importance of family, labor specialization, and regional commerce in the development of states and cities in West Africa.
- Describe the role of the trans-Saharan caravan trade in the changing religious and cultural characteristics of West Africa and the influence of Islamic beliefs, ethics, and law.
- Trace the growth of the Arabic language in government, trade, and Islamic scholarship in West Africa.
- Describe the importance of written and oral traditions in the transmission of African history and culture.

This is brilliant! I can’t wait to do this with my 6th graders, because I know they are going to really love it. Thank you for your generosity in providing the lesson plan!
Thank you! I am so glad it is helpful!
This has bean so helpful!! Thank you
I am so glad! Let me know how else I can support you.
Love will definitely be doing it with my 8th graders
Thank you! Let me know if you have questions.
hi I really like your picture.
Thank you!
Love this project! I’m going to try it out as part of my Ancient Egypt unit with my 9th grade Art students.
Awesome! Let me know how it goes and how else I can support you.
Great lesson. It is well thought out. The link to the video we watched worked and the video itself was brief, on point and interesting. The instructions are clear and the materials needed are accessible. The photos are great! I did this with a 12 year old as part of an art history and art course. This was our project for prehistoric/ancient art. We are following the video series by Sister Wendy’s Story of painting. Thanks for this project!
Thank you so much for the positive feedback! Let me know how I can support you.
I get to be the substitute teacher in a 5th & 6th grade classroom tomorrow and we are doing this project. I’m so excited!
Awesome! Please feel free to email me and I can send you my direct contact info in case you need any help. Let me know how it goes! Leahnewtonart@gmail.com
Did this project with my secondary students to reinforce their history studies. Supercool!
Awesome! I would love to see the results!
I’m going to try this for our middle school Festival of Dionysus – can’t wait to see the results!
Awesome! I would love to see how they come out! Let me know how else I can support you.
Thanks so much! Doing this lesson with 5th/6th tomorrow ! My daughter helped me make a sample one and it looks great .
Awesome! Let me know how it goes and how else I can support you.
I would love to adopt this for young grammar school (think 2nd grade). Any recommendations on how you would modify it for younger ages?
I think you could still have them photographed, and just allow them to add their headdress in their own voice and age level. Even my TK students have been able to experience the process of adding to their image…the main idea is the process not the product. I hope that helps.