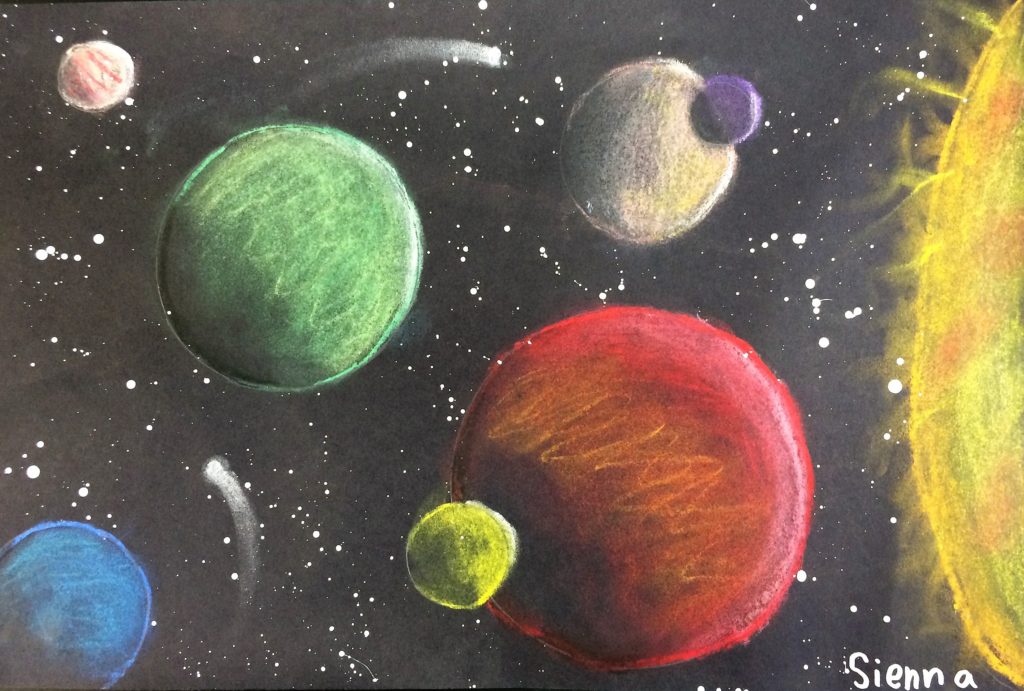
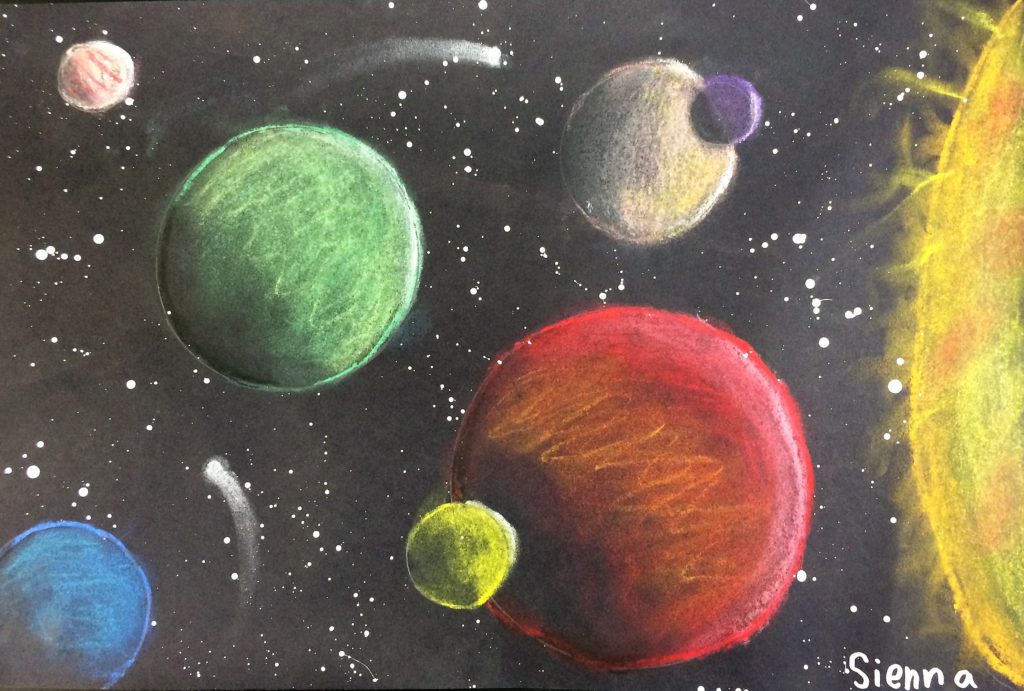
Students will design their own unique solar system using the element of art – values in this lesson that is out of this world! This project covers Common Core Standards for Science for grades 5-8 which can be found at the end of the lesson.
Grade Levels
5th, 6th, 7th and 8th Grades – The examples shown were created by a 5th grade class.
Objective
In this Solar System Values Lesson, students will demonstrate their understanding of “value and form” by creating an imagined solar system with one light source.
Time
3 – 60 min lessons
Materials
- Pencils, round objects (empty yogurt containers etc.)
- Chalk – including black and white – Mungyo Non Toxic Square Chalk, Soft Pastel, 64 Pack, Assorted Colors (B441R078-7003A)
- Tru-Ray Sulphite Construction Paper, 12 x 18 Inches, Black, 50 Sheets – 054150
- White acrylic paint (optional) for splattering stars (you can also just have the students use the chalk, making random dots) Crayola Washable Paint, White Art Tools, Plastic Squeeze Bottle, Bright, Bold Color, 16 Ounce, Pint
- Kleenex – a must!
- Fixative Spray – Krylon K01303007 Acrylic Spray Paint Crystal Clear in 11-Ounce Aerosol : or sometimes I use hairspray (shhhhhh 🙂 )
- “Values shading” practice worksheet
- “Planets” coloring sheet
- Overhead viewing of Google images of planets
Inspiration/Artist
I was inspired for this idea from this artsonia post – Click Here
Instruction with Questions
Day 1
#1
Me…and My…Shaaaadow. Remember the tune? I like to sing that for my students in my most off key voice…throw in a little soft-shoe tap dance and you will have their attention. 🙂
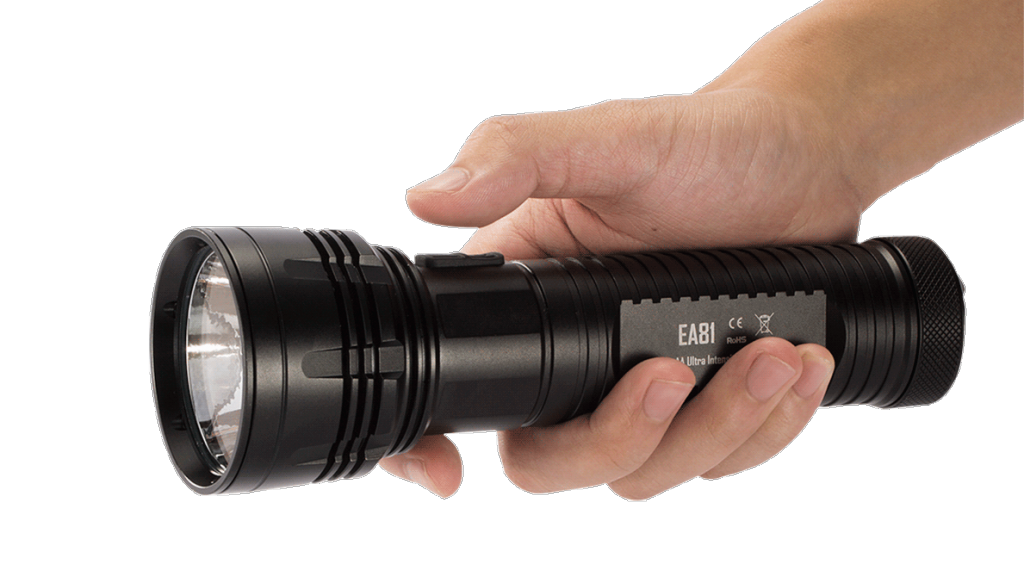
Show students a round object and shine a flashlight on one side. Students identify what they see.
#2
Watch videos about value, form and the solar system.
The Elements of Art – Value: Click Here
Value: The Elements of Art: Value – KQED Arts: Click Here
The Elements of Art: Form – KQED Arts: Click Here
Opening scene from movie Contact: Click Here
#3
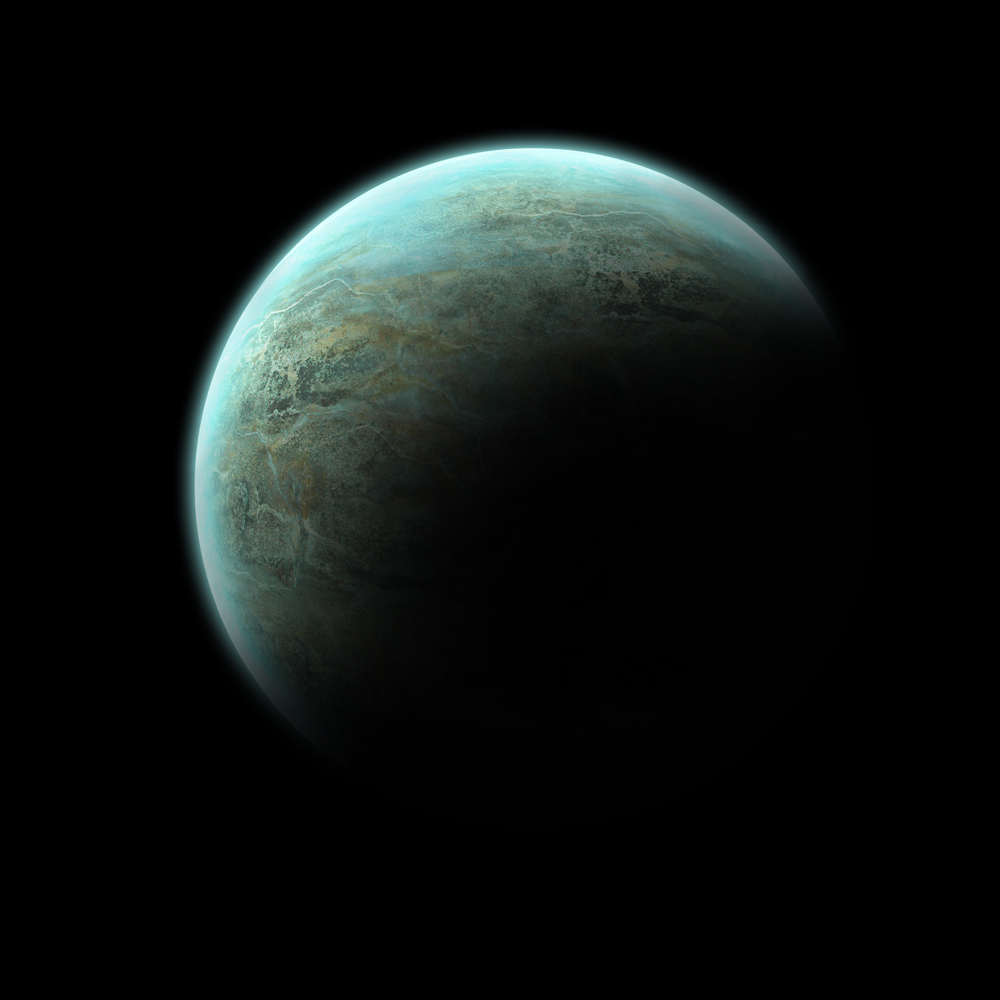
Next, on your overhead projector if you have one, Google: “planets with shadow” or “planets in shadow.” Students describe what makes the planet look round – like a sphere not a circle.
- What shapes do you see in the shadows – Is there a straight line down the middle? Or does the shadow curve? Do you see any other lines on the planets like clouds? Or
- Is there a dramatic difference between the light and dark or is it gradual?
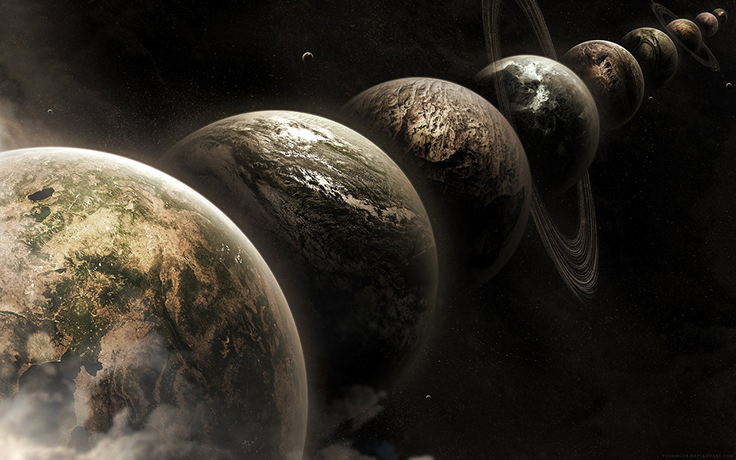
The discussion continues with how the planets “overlap” and it affects the light and shadow of each planet. Ask them what will happen if one planet is in front of another planet. Notice where the light and dark meet.
#4
Using pencil, students complete a “values worksheet” (see below) demonstrating an understanding of a value scale with a graduation of dark to light. On this worksheet there just happens to be sphere practice. Yay! Students also receive a planets coloring sheet. I found several on a great website I found called Bestcoloringpagesforkids.com. There are actually several different choices of planet coloring pages on their site.
For the Values Worksheet – Click Here

For the coloring page of planets – Click Here

Day 2
Review what you discussed and learned on Day 1. This day is a practice day. For the next steps I am going to show you what to show them. You will be demonstrating it first. I give my students a half of a black sheet of the paper and allow them to explore and experience this process.
#1
Students are given various sized round objects (empty yogurt containers, apple sauce, Cool Whip, Oatmeal lids, etc.) and a pencil. Trace the objects with the pencil in various locations on the paper. Students are encouraged to make at least five planets and have at least two planets overlap.
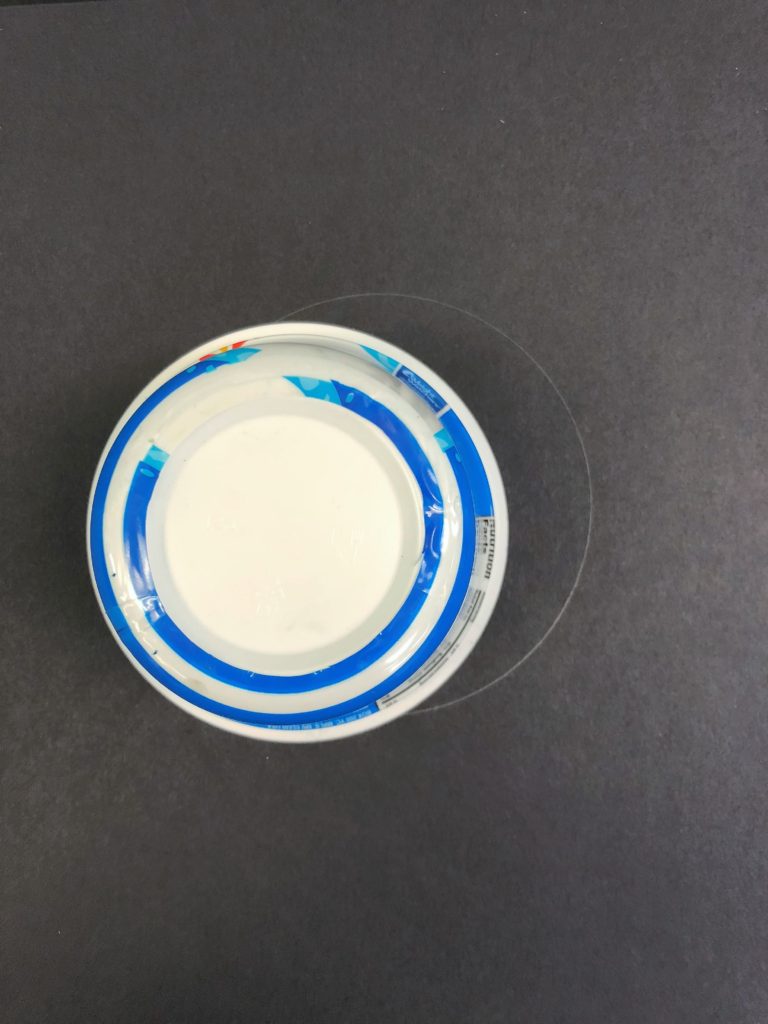
Here is an overview of what they will do. You may want to put these “rules” of what they need to include on the board. Or just write the underlined words on the board to remind them. I put extra notes in parentheses.
Remember
- Light source ONE! A student asked if they could have two. (For this lesson only allow one, since you are trying to work with value and it will change values with additional light)
- Five or six planets (The same student asked if their planets could be gas planets. For this lesson they must be solid to get the sphere effect)
- Each planet must be a different color (A planet can be more than one color and have texture swirls, as long as they can still make the gradient scale appear)
- Overlap at least one set of planets.
- Do not trace around the entire planet with chalk at first. (Only color hard on half of each planet in a crescent shape. The dark side may have a faint outline added later)
- Do not over-chalk or over-work the rubbing. (The paper can only hold so much chalk before it goes bald)
- Add white chalk along the curve facing your light source. (It really makes a difference)
- Rub only with fingers not with tissues. (The oils in your fingers will make all the difference. Tissues just rub it off)
- Use tissues to clean up art, and protect your non drawing hand from messing up your artwork.
- Do not breathe on chalk too hard. It will spread the mess. You can lightly blow on it or tap it so the chalk falls off.
#2
Students choose a light source and mark it on their paper. They will all make different types of suns in their final project.
- Round orbs that sit in the corner.
- Showing through part of the corner.
- Directly on one side of the paper.
Anything is fine. But for their practice, I encourage them to just put a big x and come back to the sun later. You just need our brains to remember where the light is coming from at this point.
Next, show them how to create “planets” using colored chalk. A lighter color and darker color of each chalk is encouraged along with white.
To demonstrate this, I think it is helpful to first show what not to do. #1 Don’t trace the entire outside of the circle by pressing hard. #2 Don’t fill in the whole circle.
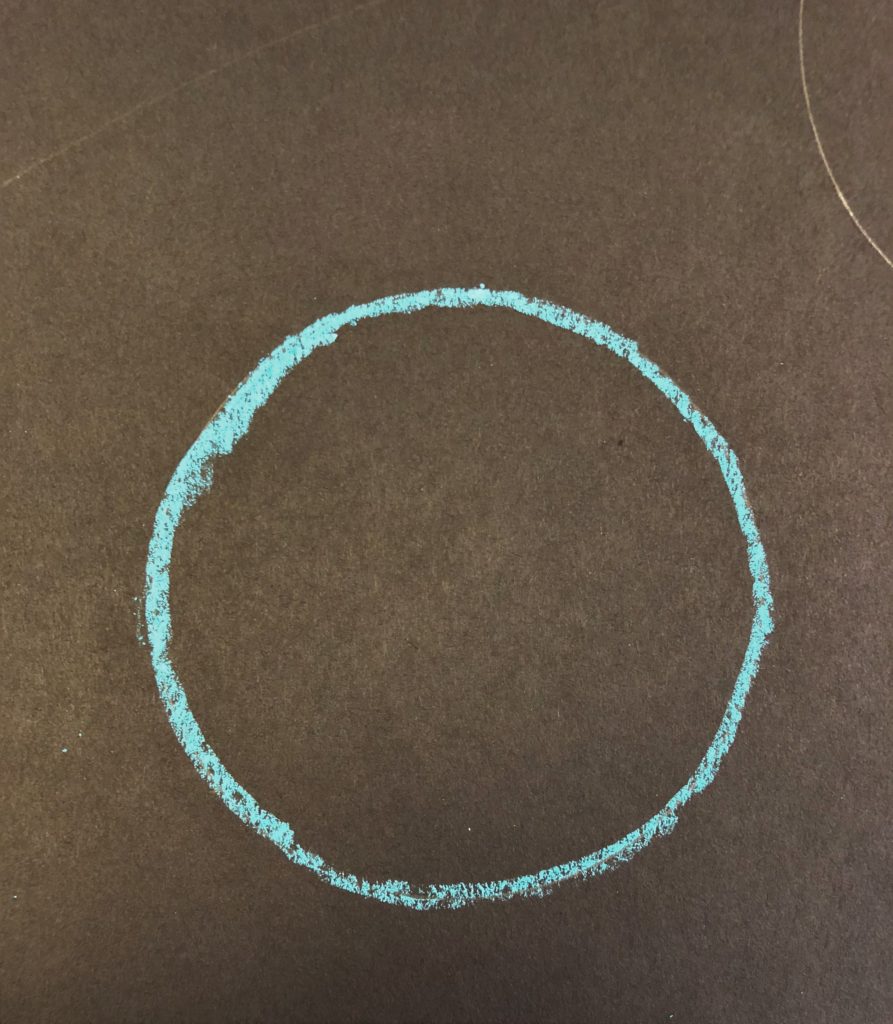
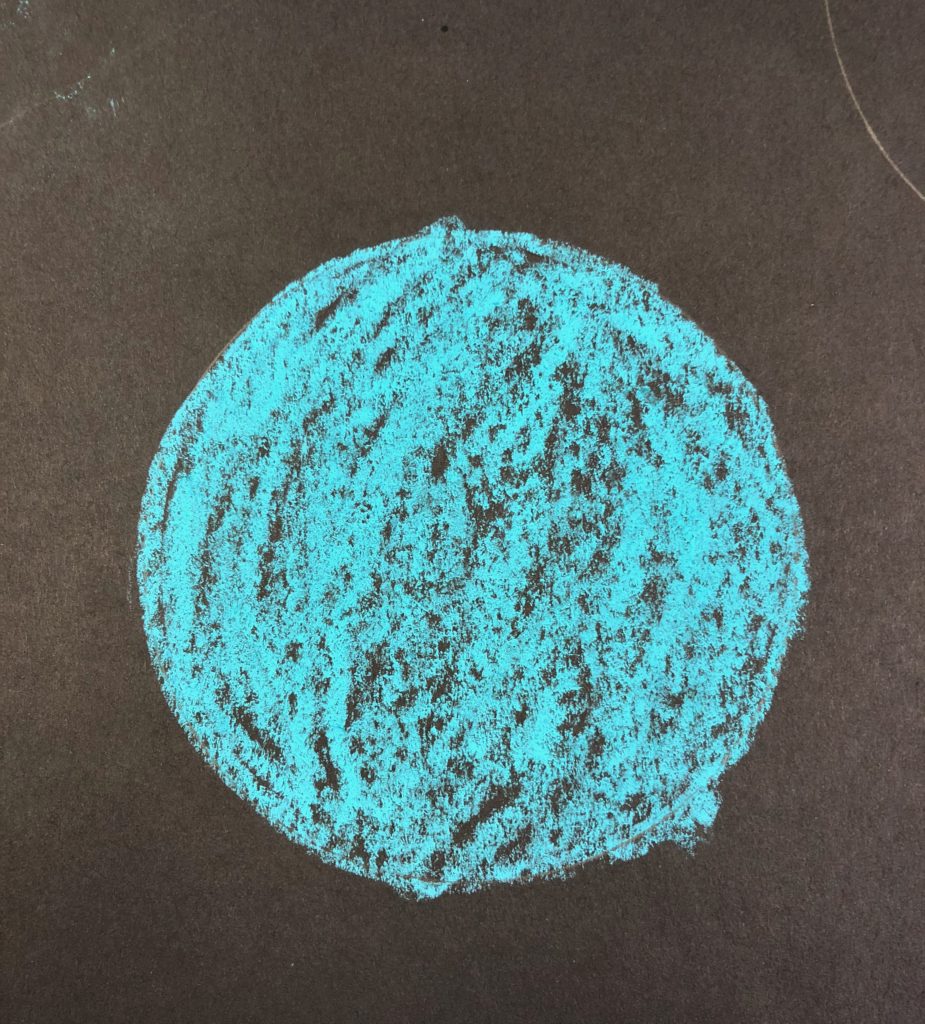
I repeat…do not do these examples. Once the chalk is on the paper it is almost impossible to achieve true blended black.
Tell them…”Do not to use the black chalk unless necessary. The black paper creates the shadow once the chalk is rubbed into the shadow area.”
Here is what we are looking for in our Solar System Values Lesson. The first one is obviously bad. It is just a solid shape. The other three have some things in common.
- They all have a gradual light to dark sphere look.
- The all have a white side light source showing on them.
- There are no fuzzy outside lines making them appear solid. If your planet becomes fuzzy, clean up the edges with a tissue.
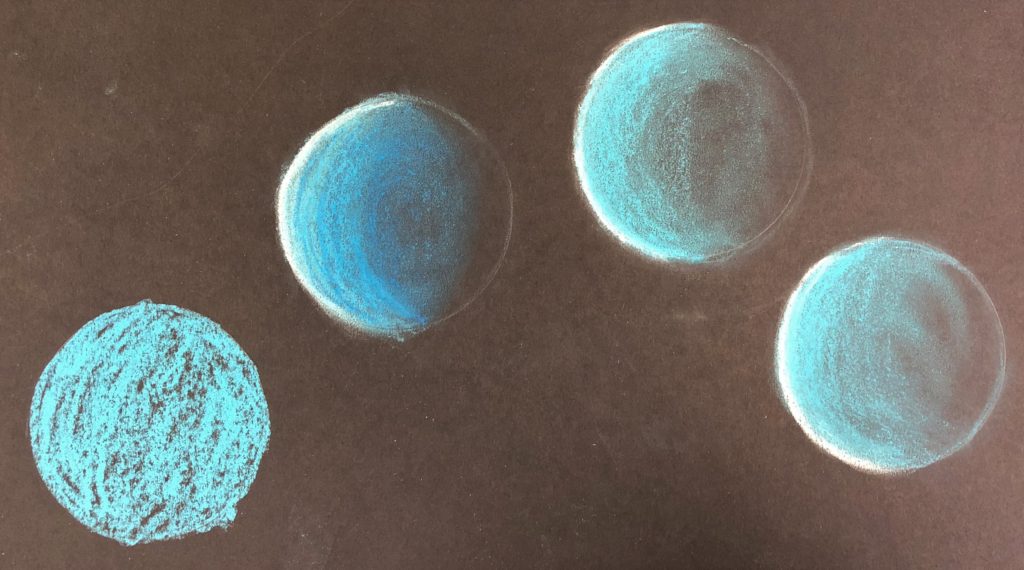
After our first failed attempt…we see a planet with light and dark blue…a planet with only light blue…and a third planet that shows a final light chalk trim that was added at the end.
Here we go…
Step 1
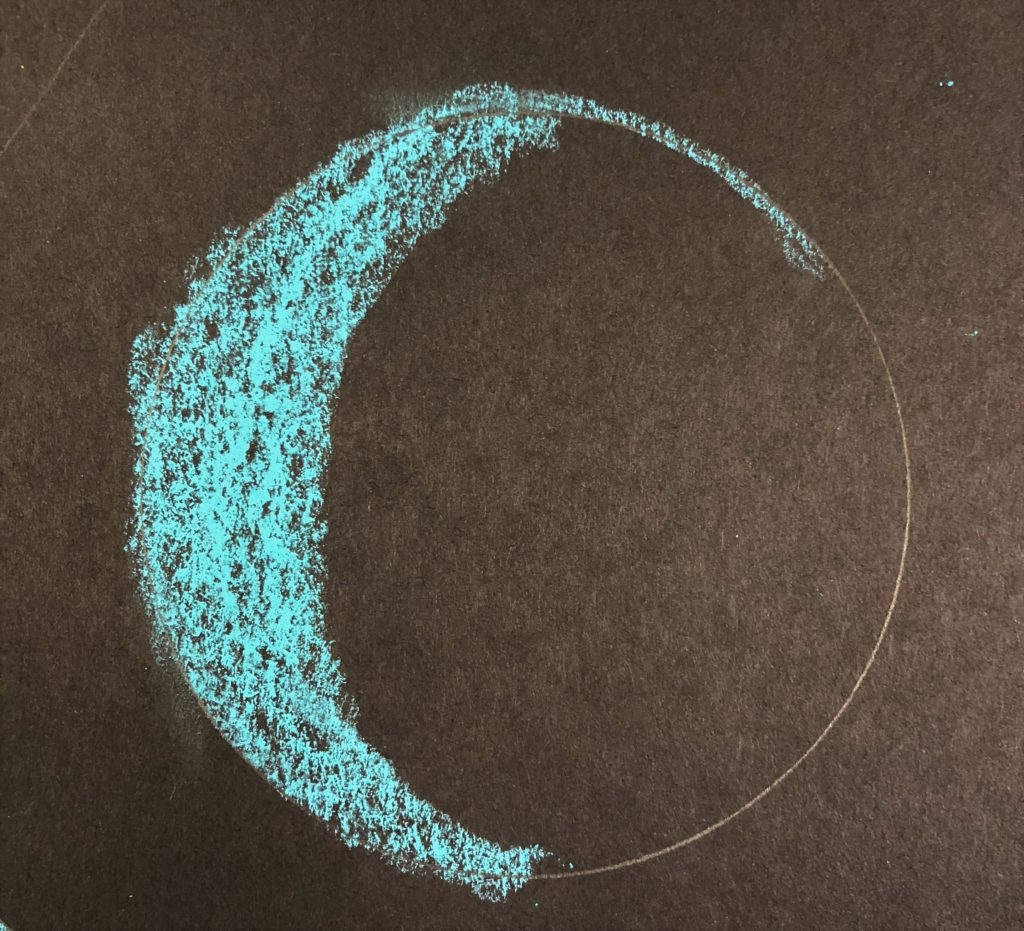
Trace on the pencil line on only one side of the circle. It doesn’t have to be exactly half, but close enough. I then pressed hard with my chalk to create a crescent shape…haha…think of a moon.
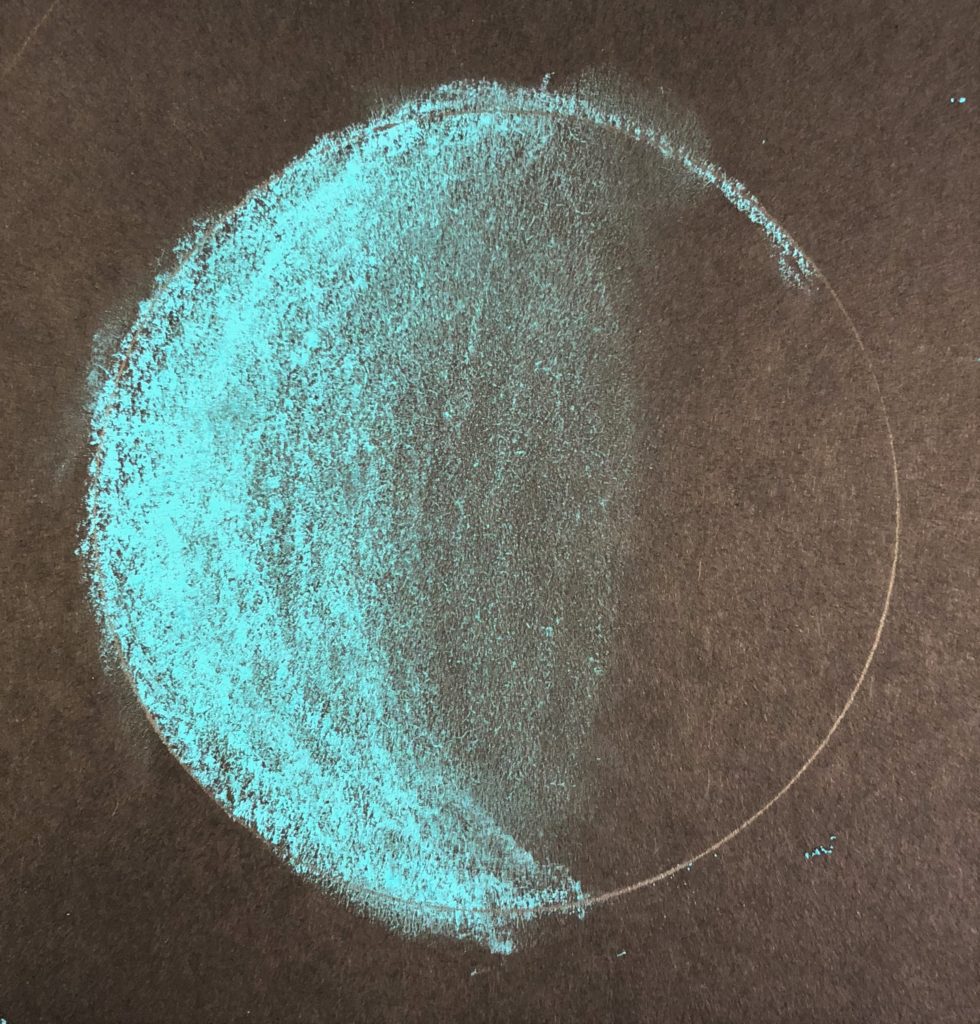
Step 2
Using your finger only…no tissue…finger…begin rubbing in the shape of your drawing and start spreading it like you are making vertical ovals. This will spread the chalk lightly through the middle. Can you see the reverse crescent showing in the black area? Notice I have only used the light blue chalk and no other chalk. Not even the black.
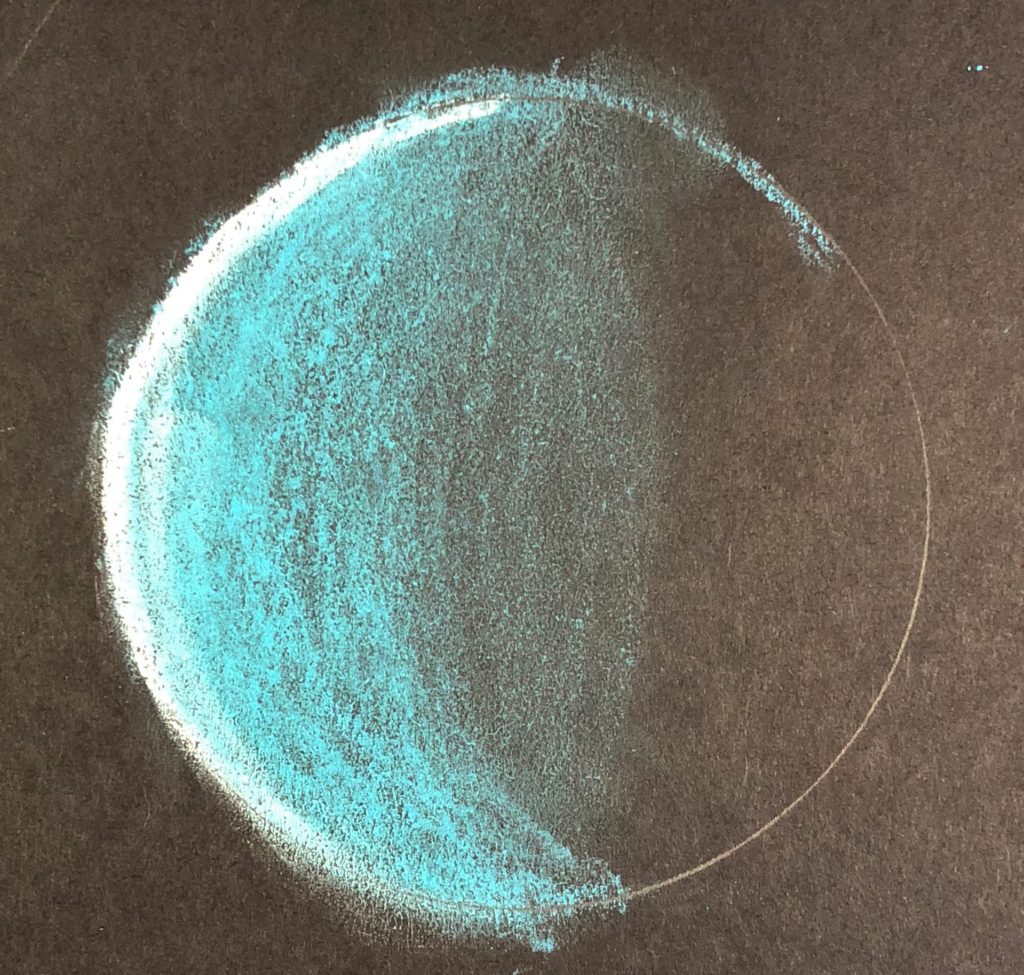
Step 3
Add a strip of white chalk along the side facing your light source. You can already see how dramatic the effect is!
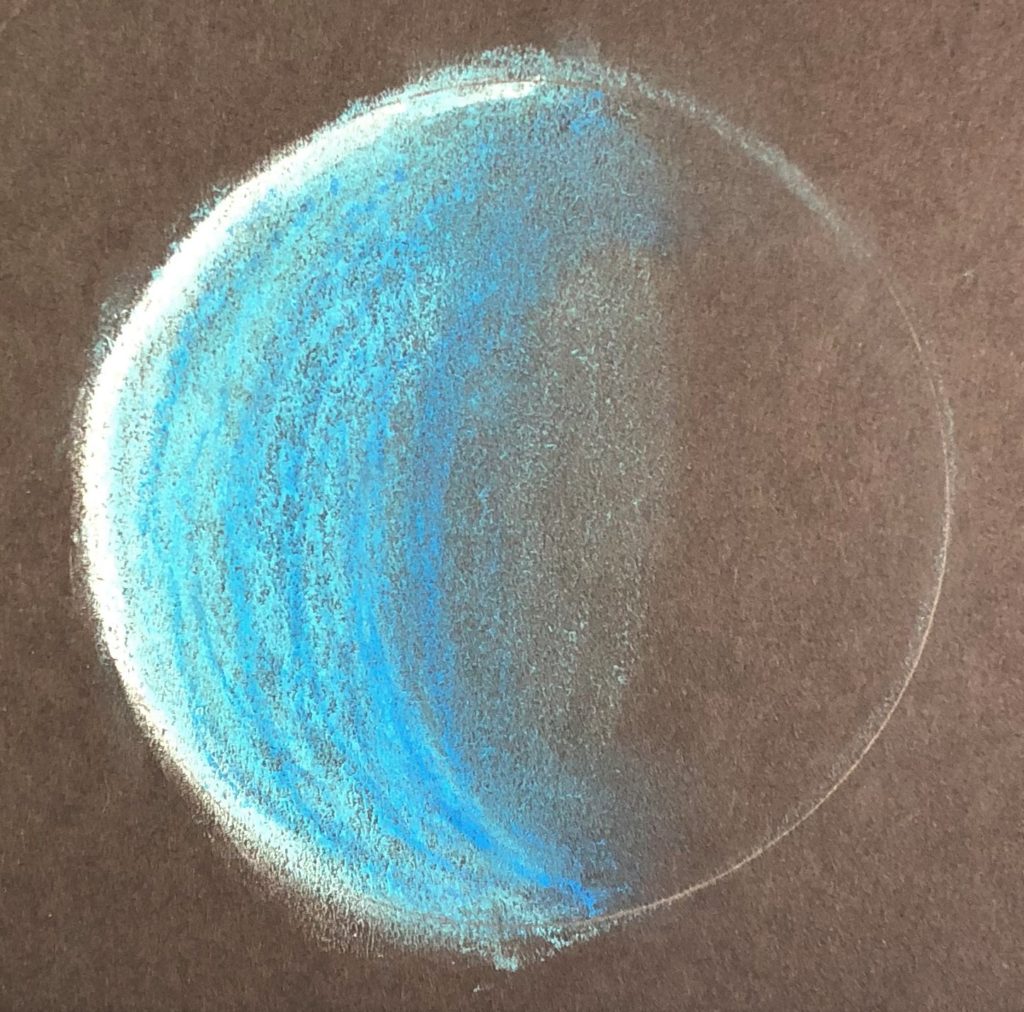
Step 4
This is an option to add a darker colored chalk. Here, again, I kept the drawing strokes in the same shape as the crescent. Note the darker blue lines are not vertical or horizontal, they are curvy. The inside area is very dark and I pressed lighter as I moved toward the white.
Step 5
Now I am making full circle spirals with my finger to create what looks like it could be a weather system on my planet.
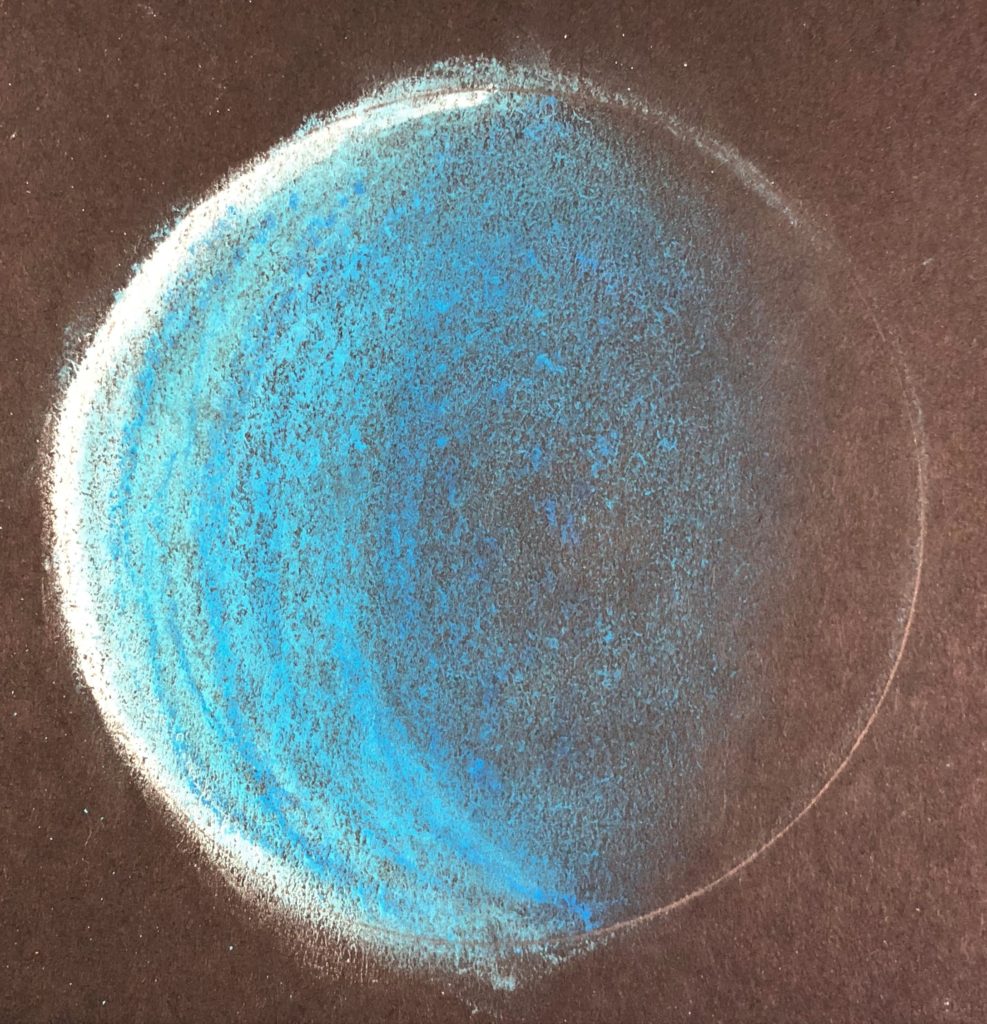
At this point, if you would like to add a faint chalk line along the dark side, knock yourself out. You may even have plenty of chalk on your finger and can just rub along that outer line. Here is another example with this technique. It is BARELY there.
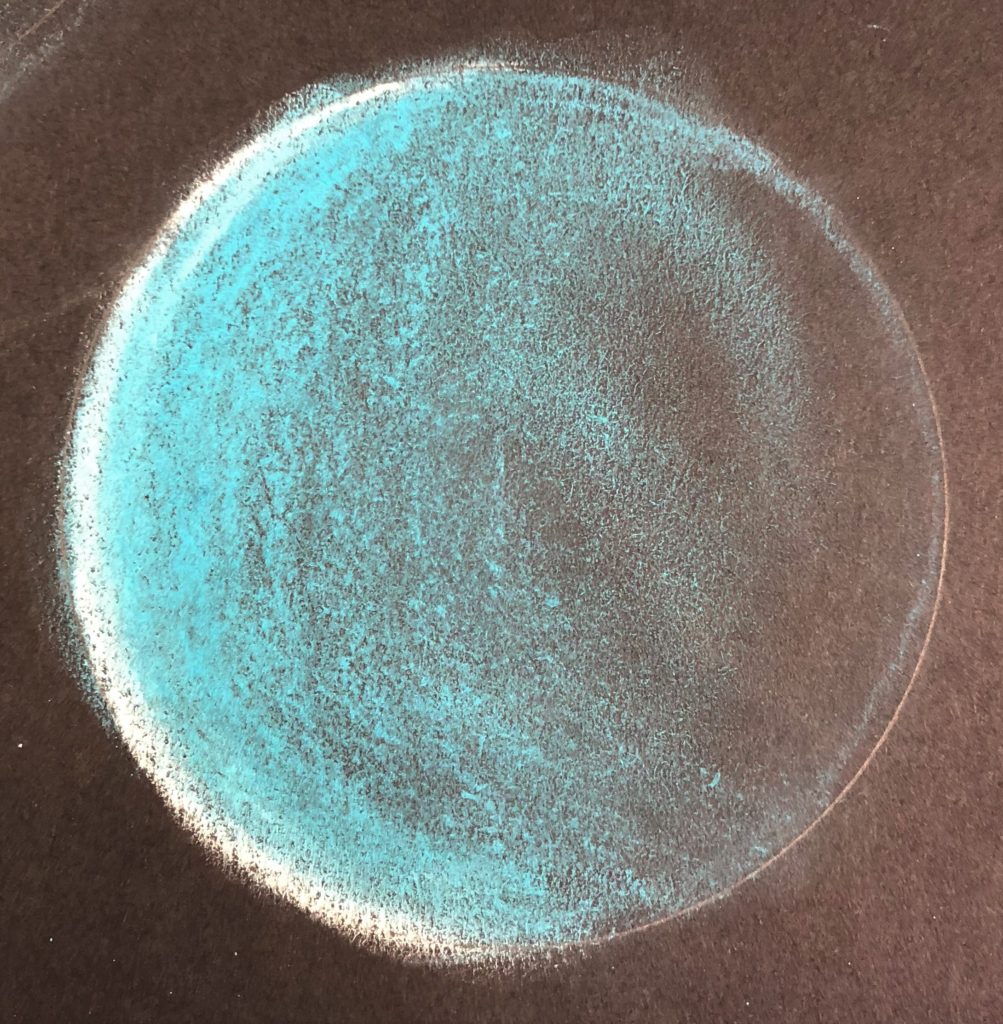
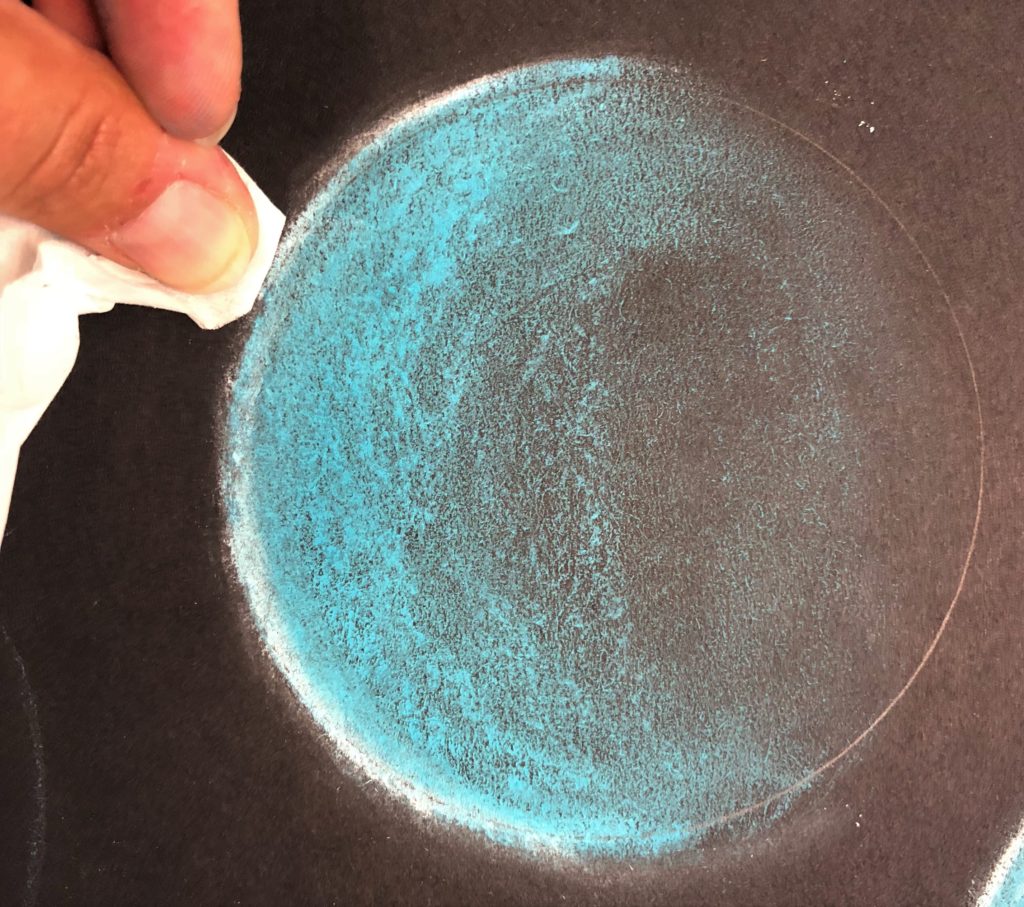
You may notice that some of your planets look fuzzy. In order to clean them up and create sharper lines around them use your tissue. It is a fabulous “eraser” for this project.
Students should now practice making planets on their practice paper for the remainder of the period. If the time allows, have them practice the sun. This is a great opportunity to use the rubbing technique to make their sun look gassy and glowy by blurring the outside edge of their sun.
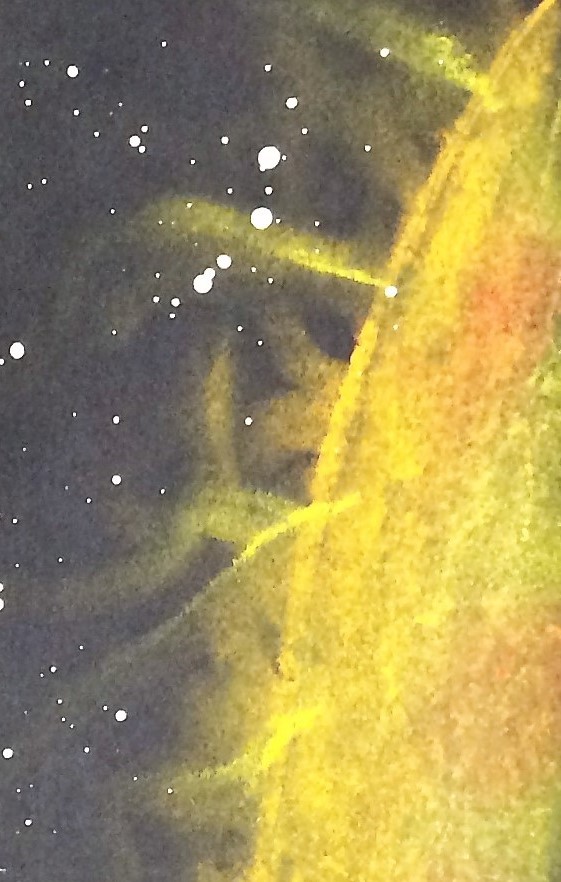
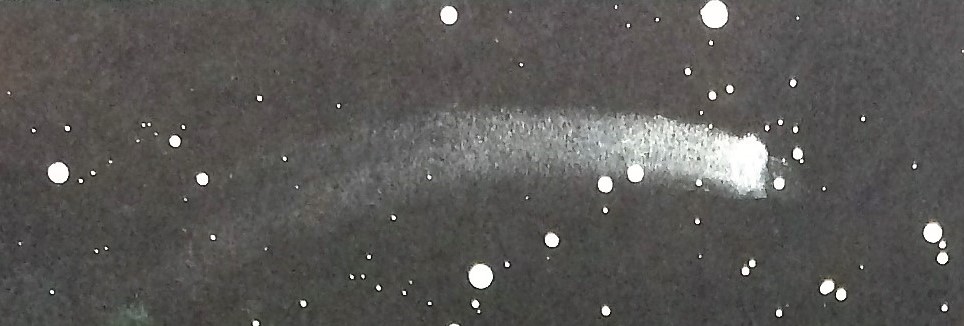
They can also practice making shooting stars. Make a heavy dot with the white chalk and rub it in a single swooping curved stroke.
Day 3
For their final Solar System Values Lesson piece, students are asked to recall the qualities they need to include in their artwork.
Once completed, the teacher will splatter paint (watered down white acrylic paint) to create stars. To splatter paint, use a paint brush and tap on it, allowing the paint to randomly drip in a variety of spots. In order to not have the planets covered in stars, cover each planet with a container the student originally used to trace the planets. If you choose not to splatter paint, students can also use the white chalk and polka dot all over their black paper. The challenge with this process, is making sure they do not make their dots too regular and organized.
Last but not least, please use some kind of fixative sealer spray to protect the chalk from rubbing off. There are some great ones out there, but if you are in a pinch financially, some good old cheap hair spray will do the trick.
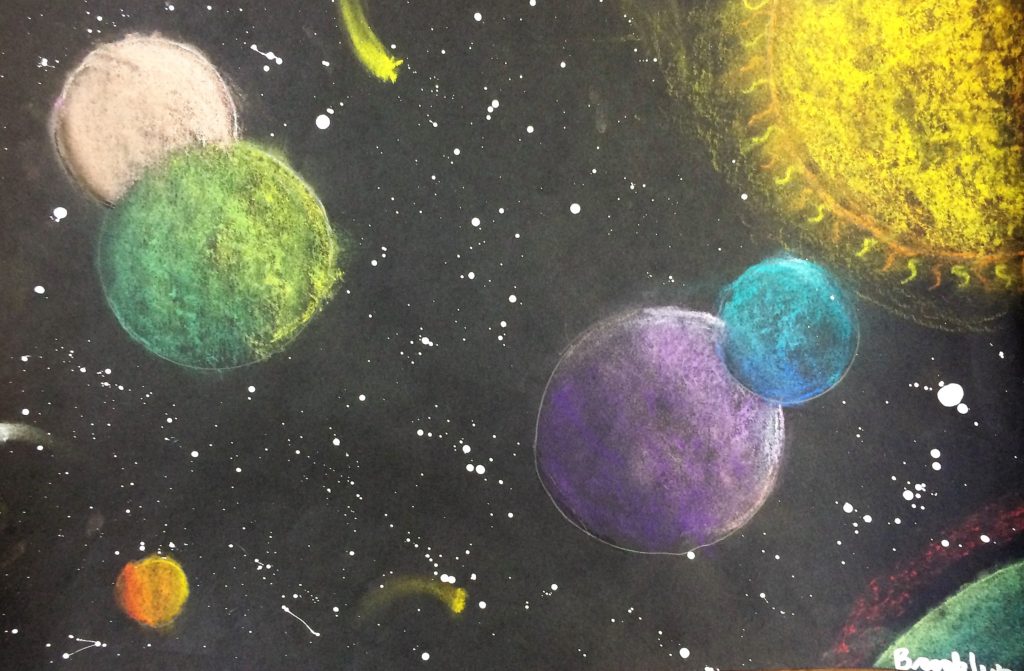
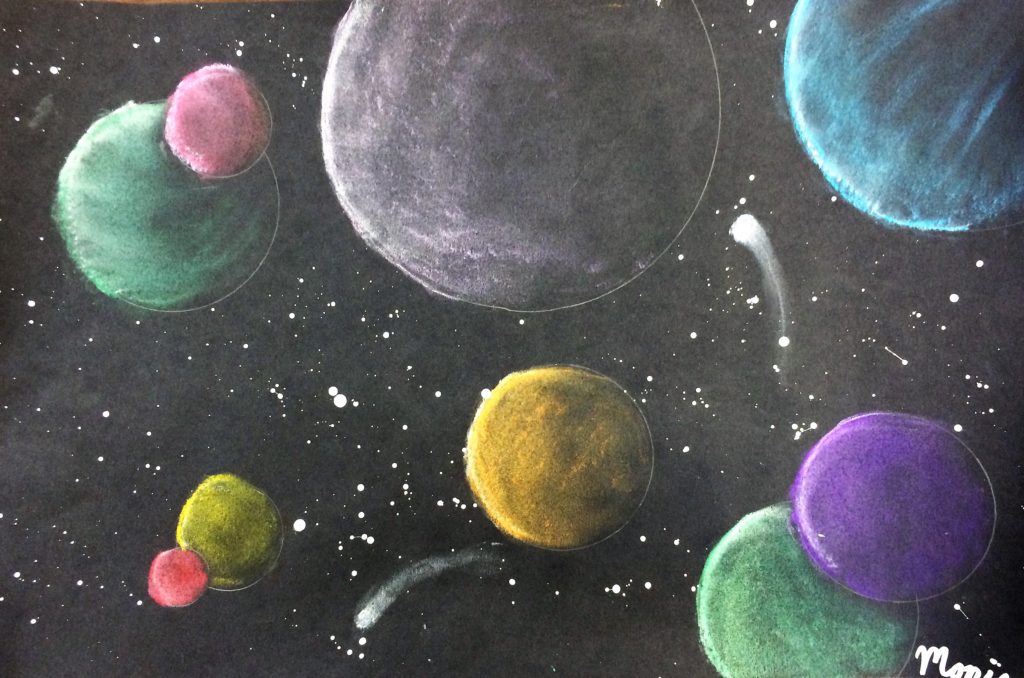
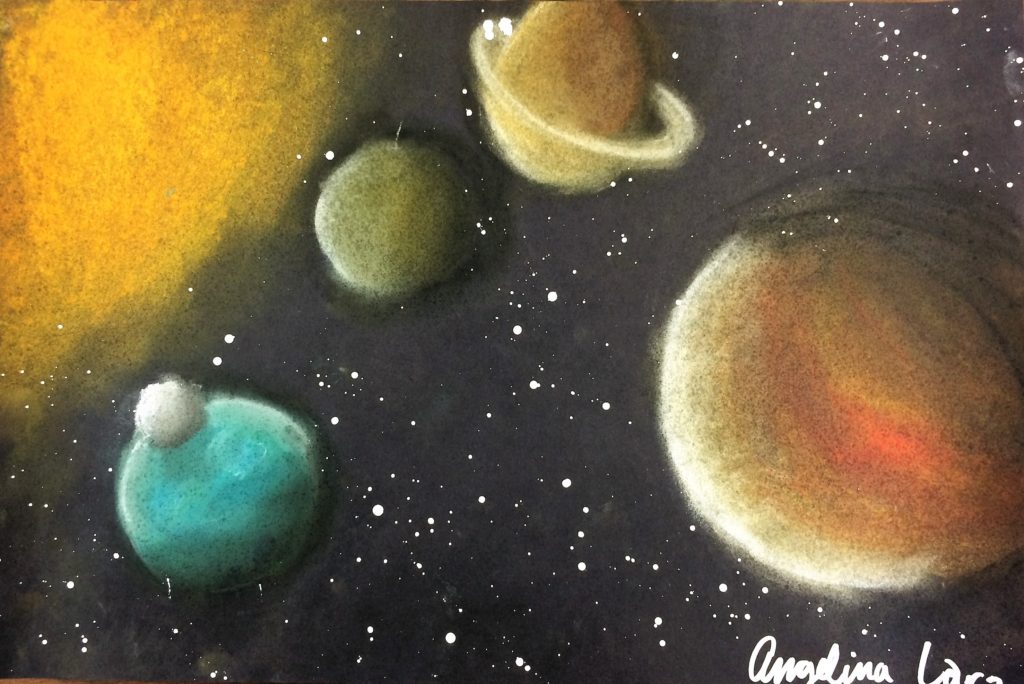
Check out these finished Solar System Values Lesson pieces!
Common Core Standards
5th Grade – Science – Earth Science
5. The solar system consists of planets and other bodies that orbit the Sun in predictable paths.
a. Students know the Sun, an average star, is the central and largest body in the solar system and is composed primarily of hydrogen and helium. b. Students know the solar system includes the planet Earth, the Moon, the Sun, eight other planets and their satellites, and smaller objects, such as asteroids and comets.
6th Grade – Science – Energy in the Earth System
4. Many phenomena on Earth’s surface are affected by the transfer of energy through radiation and convection currents. As a basis for understanding this concept:
b. Students know solar energy reaches Earth through radiation, mostly in the form of visible light.
7th Grade – Science – Physical Principles in Living Systems (Physical Sciences)
6. Physical principles underlie biological structures and functions. As a basis for understanding this concept:
a. Students know visible light is a small band within a very broad electromagnetic spectrum.
b. Students know that for an object to be seen, light emitted by or scattered from it must be detected by the eye.
c. Students know light travels in straight lines if the medium it travels through does not change.
8th Grade – Science – Earth in the Solar System (Earth Sciences)
4. The structure and composition of the universe can be learned from studying stars and galaxies and their evolution.
a. Students know galaxies are clusters of billions of stars and may have different shapes.
b. Students know that the Sun is one of many stars in the Milky Way galaxy and that stars may differ in size, temperature, and color.
c. Students know how to use astronomical units and light years as measures of distances between the Sun, stars, and Earth.
d. Students know that stars are the source of light for all bright objects in outer space and that the Moon and planets shine by reflected sunlight, not by their own light.
e. Students know the appearance, general composition, relative position and size, and motion of objects in the solar system, including planets, planetary satellites, comets, and asteroids.

Excellent lesson! Thank you!
Awesome! Thank you for reaching out!
Working through this lesson with my students this week and they are LOVING IT!! So often teachers have to keep Art as a sidebar. Thank you for posting these REAL Art lessons!
This is such great feedback! Thank you for reaching out. Let me know how else I can support you.
This is wonderful! Thank you!