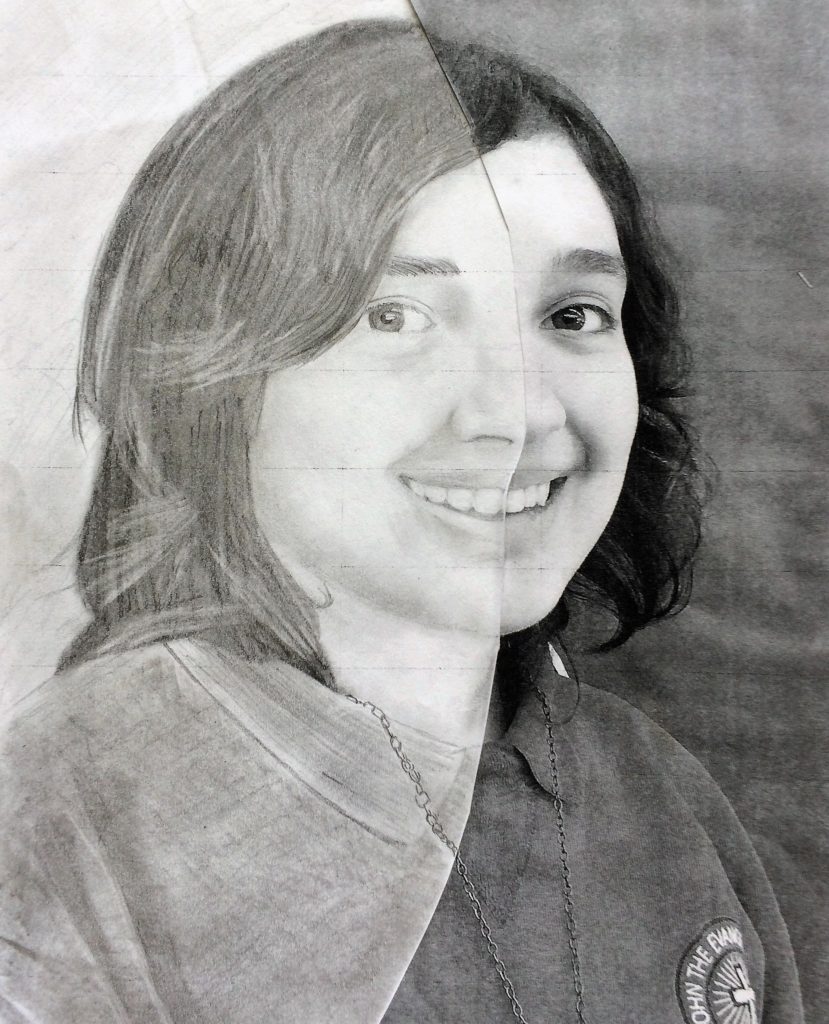
In this Half Portrait Value Lesson, Middle school students will use the elements of value and form and represent who they are at face value.
Grade Levels
7th, 8th Grades – The examples in the post were created by 8th graders
Objective
In this Half Portrait Value Lesson, students will create a self portrait demonstrating their understanding of value and form using a grid technique.
Time
4 – 60 min lessons
Materials
- Pencils
- White copy paper
- “Values shading” worksheet
- “Grid art practice” worksheet
- Black Construction Paper – SunWorks Heavyweight Construction Paper, 9 x 12 Inches, Black, 100 Sheets
Inspiration/Artist
I was inspired to create this project from this idea: Click Here
Instruction with Questions
Pre-Art
Photograph each student against a solid background. I encourage them to smile. Pull one of their friends to stand behind you while you take the photo and make them laugh. A laughing smile looks even better than the “I’m trying to smile” smile.
Day 1
Students watch videos regarding value and form, and various artists who created self-portraits.
Artists and their Self Portraits: Click Here
The Elements of Art – Value: Click Here
Elements of Art: Value – KQED Arts: Click Here
Elements of Art: Value – KQED Arts: Click Here
Discuss:
- Identify the darkest parts of an image and the lightest parts.
- How do black and white create depth in an image?
- How does grey play a role?
Students complete a “values shading” worksheet to practice a gradient scale.
For the Values Worksheet – Click Here
Students review proportions and placement of facial features. This is just a review. If you have not taught proportion for self-portraits, you may want to spend slightly more time on this part. Cue shock and panic from students. Or any human who does not go to art school. Since I am not teaching in an “art specific” school, and this is their first experience of grid drawing and or drawing a self-portrait, I of course let them squirm for many minutes. Bwahahaha. Okay…here is a great link for drawing a face.
Website: Learn to Draw Lessons: Create a Face – Click Here
As you go over the page, I recommend having them actually touch their face and discover the proportions.

Day 2
I Google something like, “portraits drawn shaded” and have a class discussion about what makes the image work. I have them point out the darkest darks and the lightest lights. Most of them will want to stay in a safe grey zone and this will not be dramatic enough to make the image “pop.” I tell them we are going to practice making art using a grid. Artists use grids to make a copy of an image either much smaller or much larger than the original. I have them brainstorm how this works. It’s all about proportion.
The grid practice I give them is very elementary. I do not teach in an art school specifically, so for some of my students this may be their first experience. I am training their brains to find the shadows in their own image as they copy it with pencil shading for later. It is amazing how hard it is for some of their brains to count squares and copy the shapes in those squares. What I mean is…many of them will choose what is easy. I had several 7th graders in my art room recently, finishing up a project. They said, “Mrs. Newton, we love art, but it sure is hard!” Win!! I am challenging them to grow!
Teens love pizza so this is perfect.
For the Grid Worksheet – Click Here

Day 3
Students use a classroom window to trace the outline of their head. The focus of this project is not to make a drawn self-portrait from scratch. The focus is on the shading. Students focus on creating shadows and light using a pencil and eraser only. You do not need fancy types of pencils for shading for this beginner level lesson. Your basic #2 will be perfect for this first experience.
#1
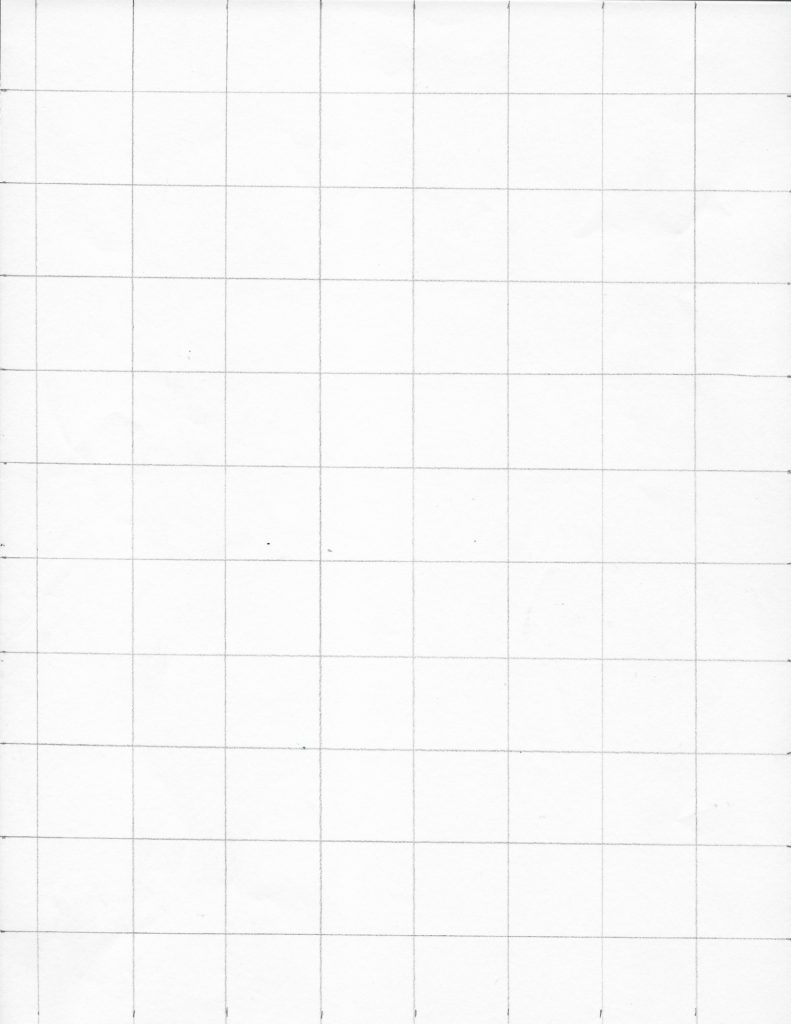
Give them a piece of plain 1″ grid paper. You can purchase pre-made grid paper for a little over $5 on Amazon – Click Here. You can easily make your own. I use a pencil to create the grid, and then practice with our school copy machine to make it lighter. Here is another one for your use. Click Here
#2
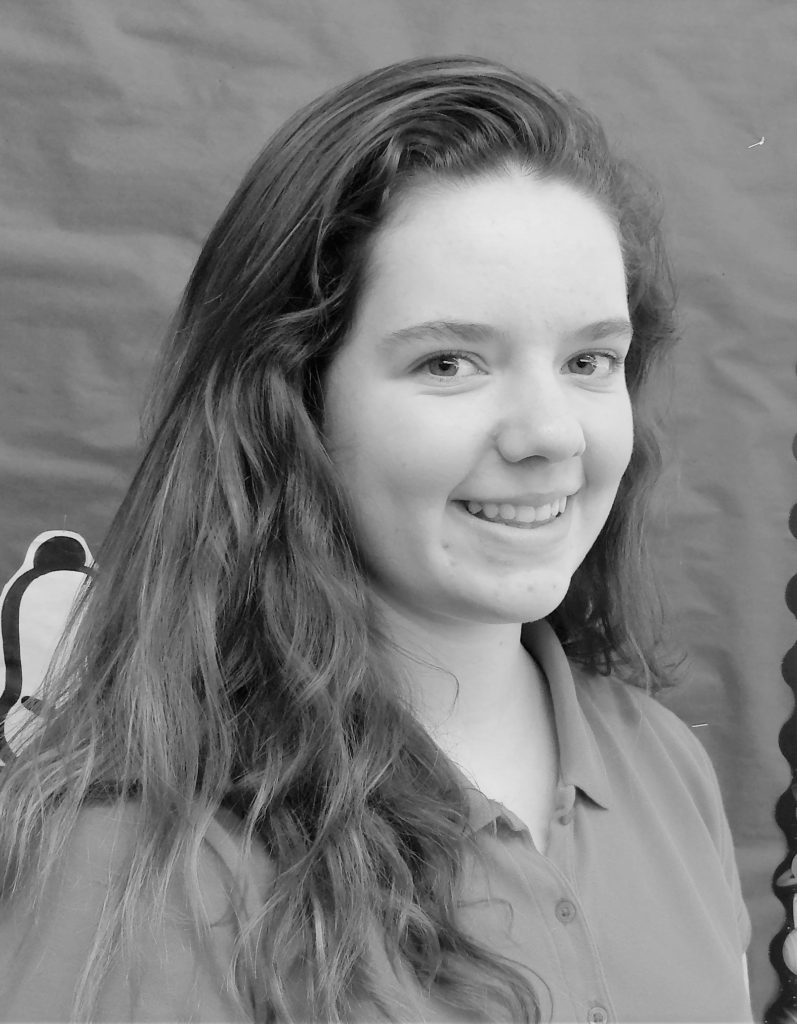
Separately, I print out a black and white photo of each child. The photograph is for reference. The grid is where they will draw themselves.
#3
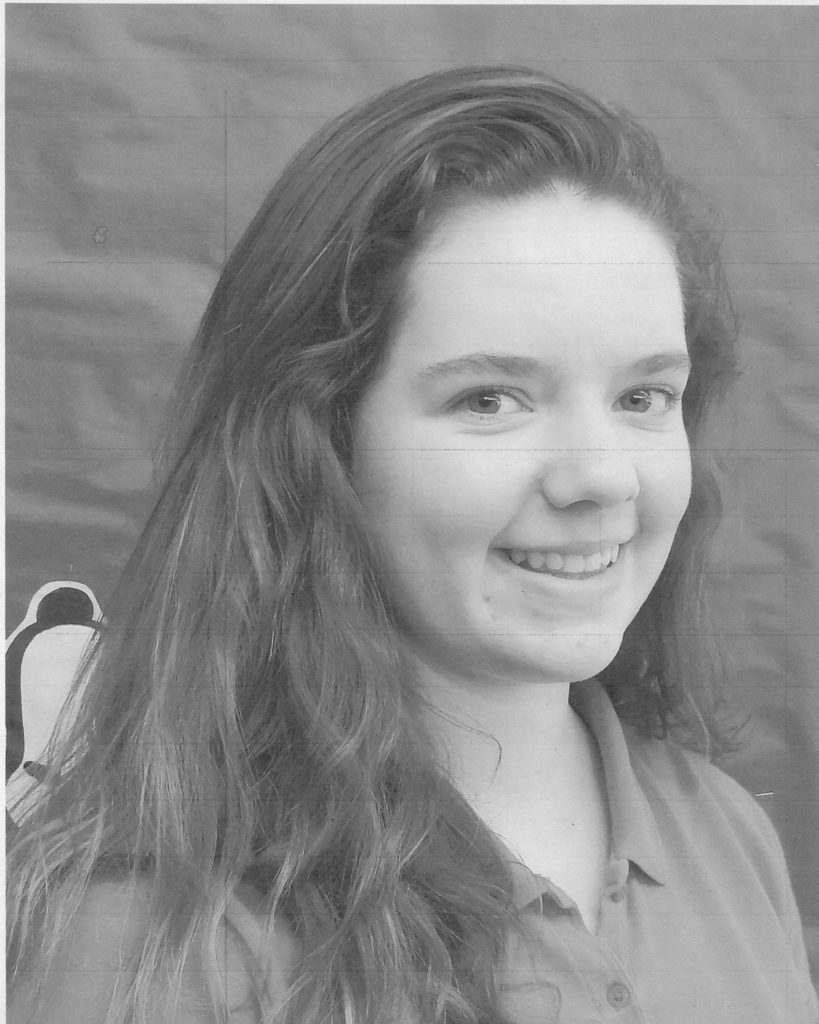
I put the necessary amount of printed grid paper into the copy machine and print this photo image right on top. Now they have a grid paper empty. And a grid paper with their face imposed.
#4
Cut the paper, so that the line traces through the center of the forehead, nose, lips and chin. I like to find a natural hair line if possible, so the line does not start straight down, but curves naturally.
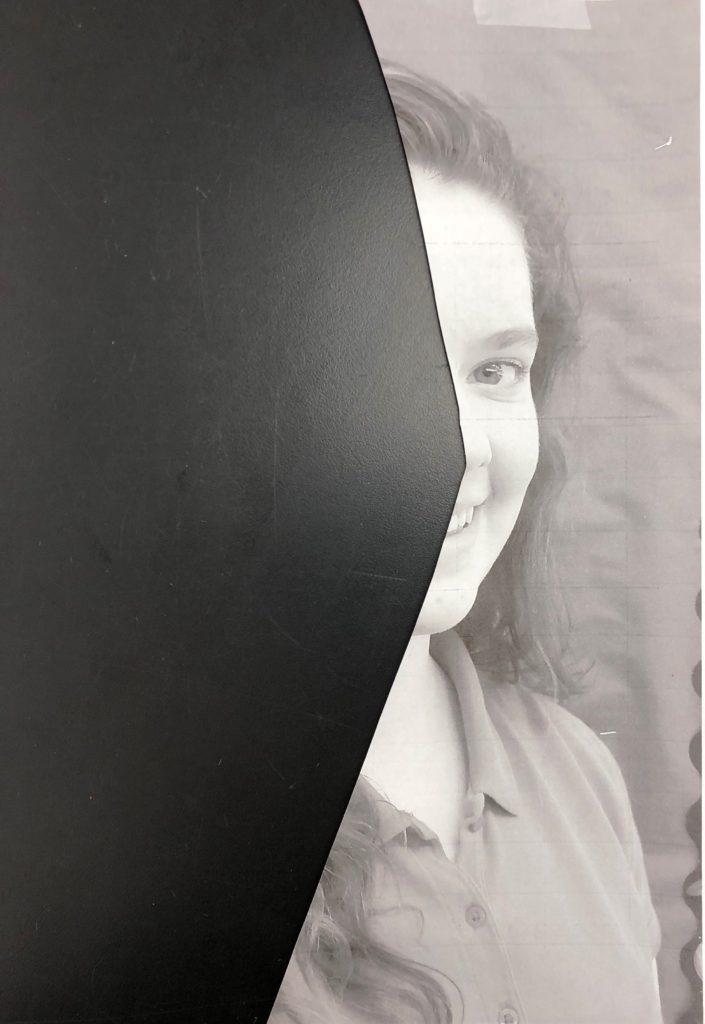
#5
If time will allow, give them a practice blank grid paper. Tell them they are going to use the grid to copy their face from the photo and draw what you see. They mostly become paralyzed. I literally allow them to do this for several minutes. The struggle is REAL!
I finally let them off the hook and show them how to trace the main lines of their features using the classroom windows. I pre-glue half of their face onto a blank grid sheet. ONE piece of tape to hang the photo. ONE piece of tape to hang the grid paper on top. You cannot believe how many pieces of tape they will use if these directions are not used. 🙂 I ask them to tell me back the directions. I simply cannot get over how there will always be one kid that massively tries to tape their papers to the window. This ends up being kind of funny, but also an issue because you ultimately have to remove all of the tape and well, it will tear the paper.
I tell them, we are not copying every strand of hair. Just lightly finding the shape of their face and shape of their eyes. I ask them to raise their hand if they have a triangle or circle for a nose. They look at me blankly. I show them that we just want to find the edges of the nostrils and where their nose meets at the bridge near their eyes. The rest will just be shadows. The grid is important in this respect, because they can reference how large and where those shadows belong.
Glue one half of their face to the grid paper and tape the other half UNDER the paper in the window.
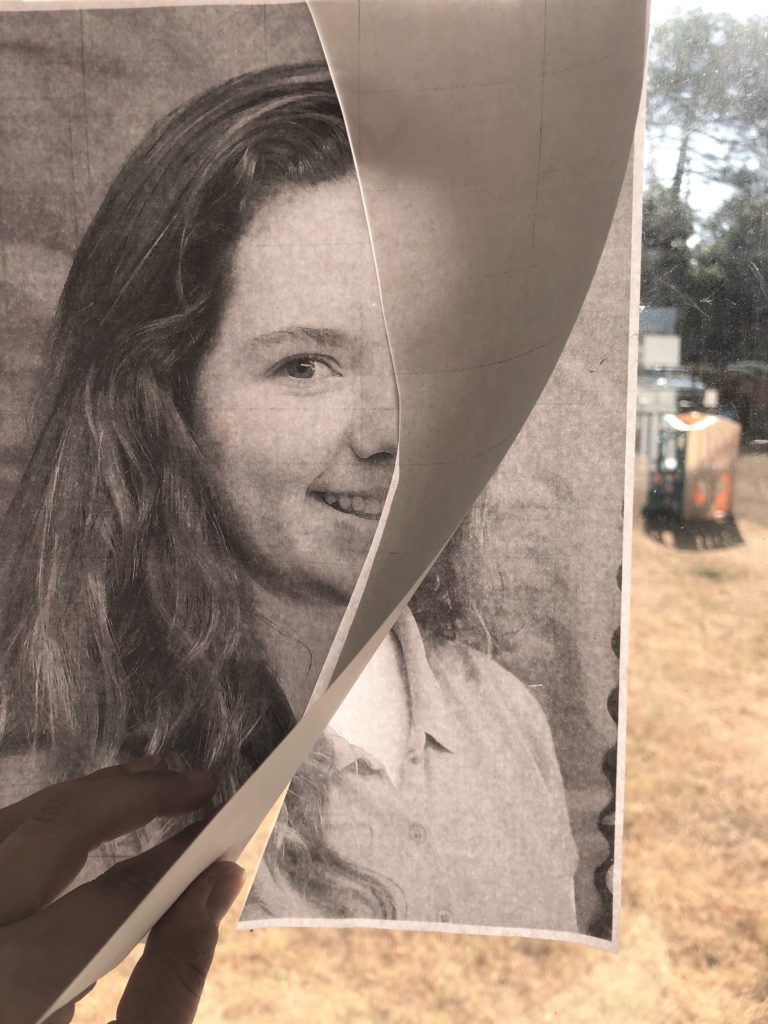
#6
They trace the second half of their face onto the grid paper.
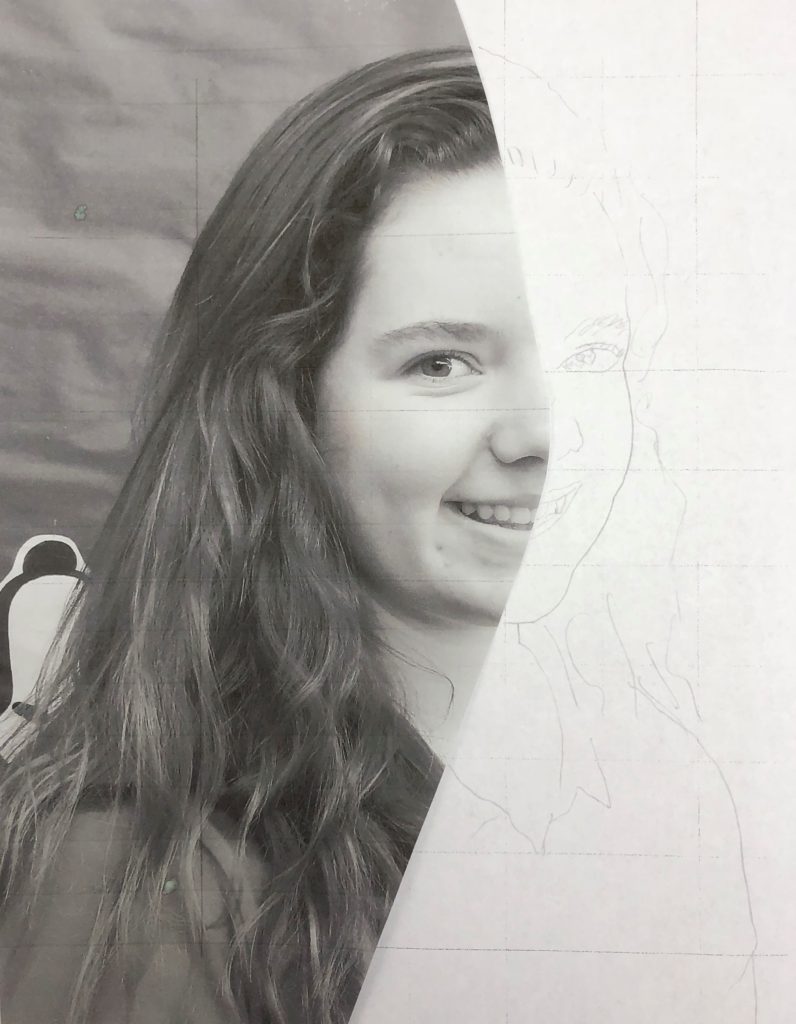
#7
Once students have drawn the basic outline, they begin shading. I say aloud about a thousand times, “Make your dark dark and your light light. “
Day 4
Finished artwork is glued to a black piece of construction paper.
Here are some finished Half Portrait Value Lesson pieces!
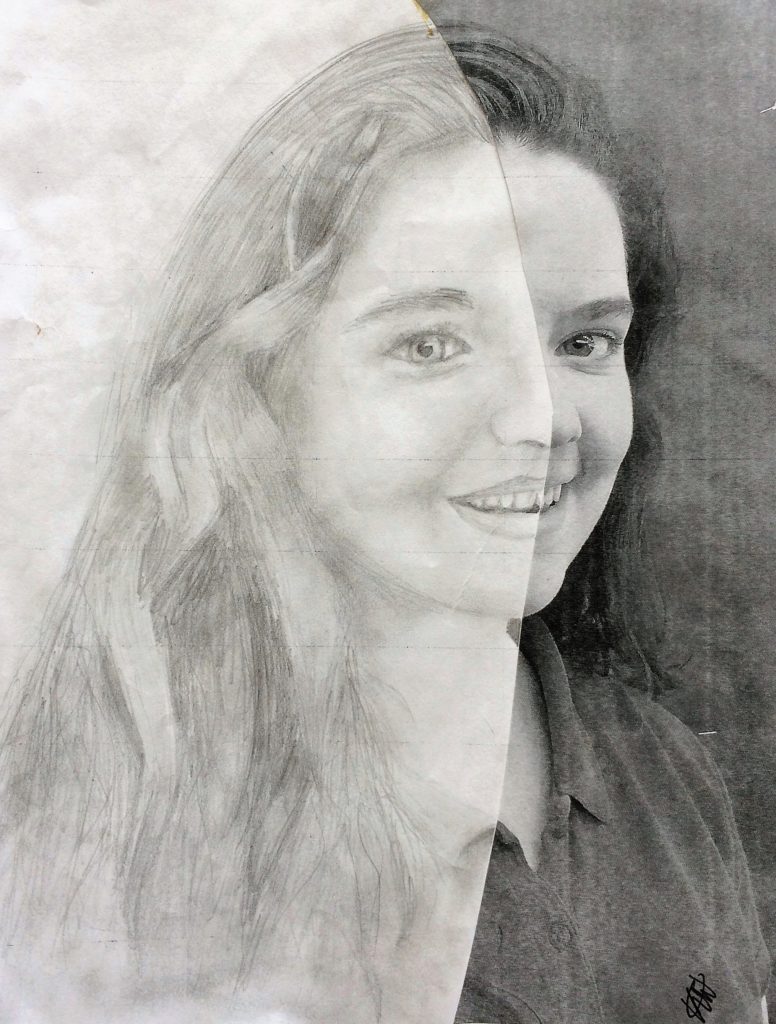
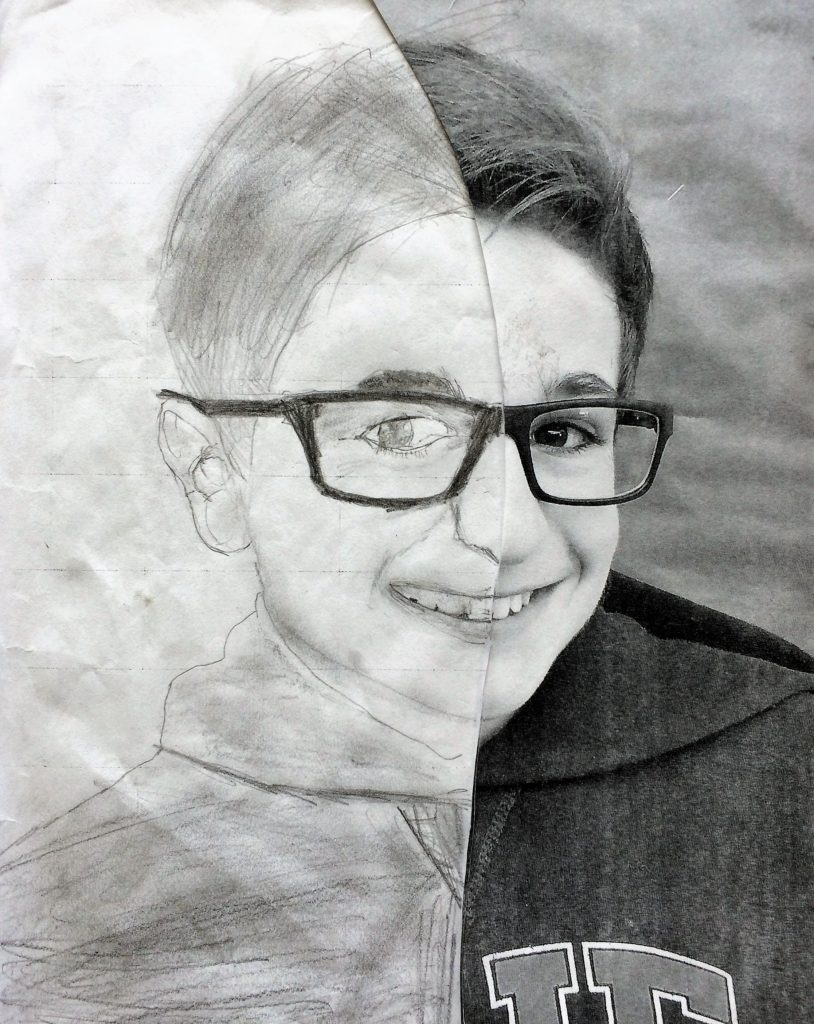
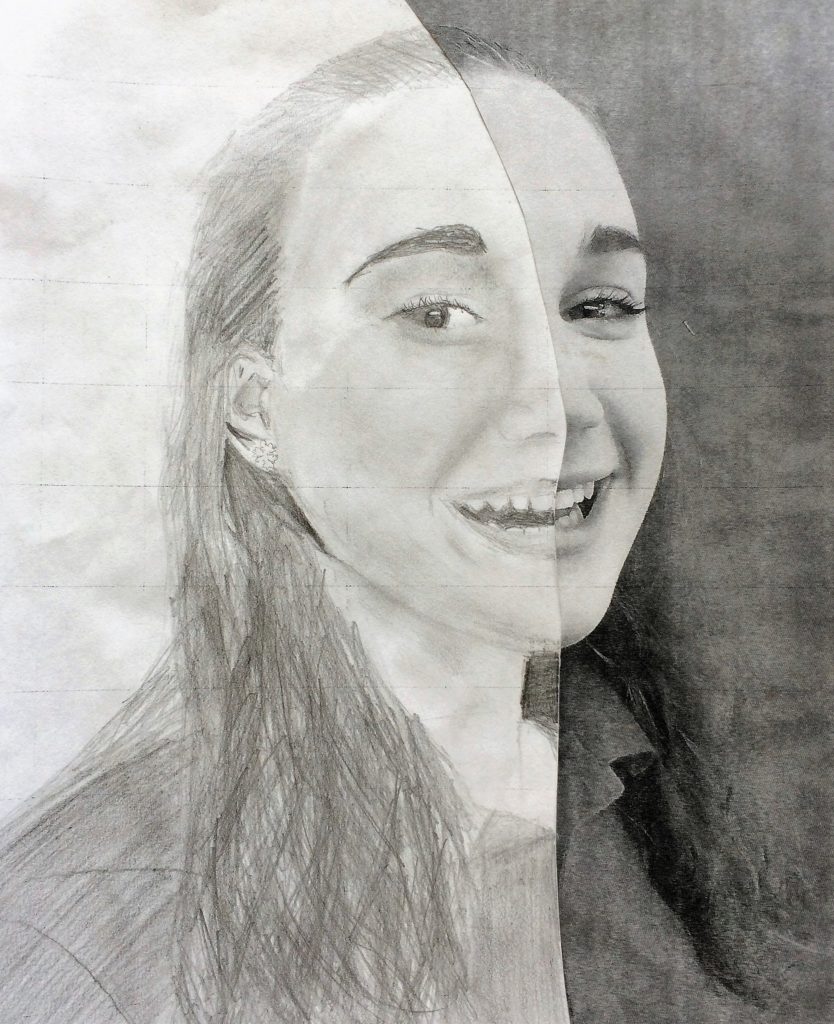
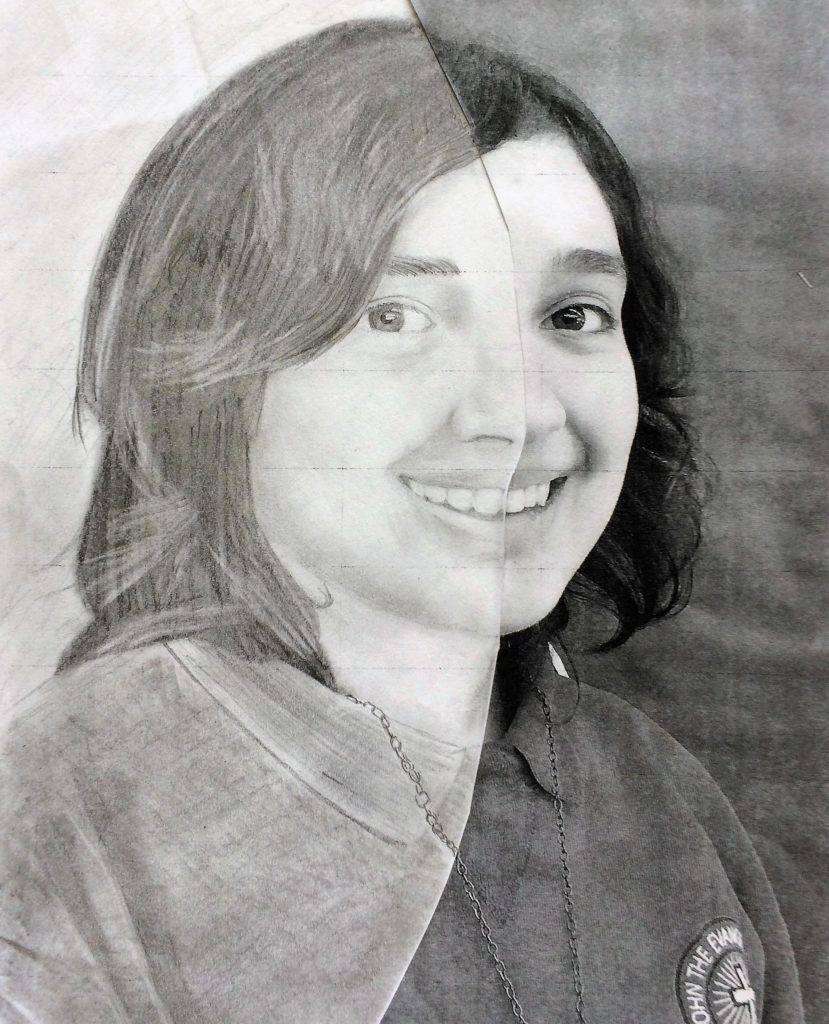

Thanks so much for sharing, I am going to try this with my 7th and 8th graders. While I have taught k-5 for many years this is my first year working k-8 so I am just developing my middle school curriculum more and students have requested realistic portrait drawing and learning to draw shadows so this lesson will be perfect. I appreciate all the links to resources.
Awesome! I hope that the lesson is helpful. Please let me know how else I can support you. Feel free to email me also leahnewtonart@gmail.com
I just wanted to say thank you so much for this site. I’ve always homeschooled my kids but decided to put my two oldest in online public school. They aren’t happy with art. It’s just been art history and theory. My youngest of the two wanted more. She’s currently making the Auqurium and loving it. She’s working on the sea life at the moment.