In this “I Am” Collage Art Lesson, students will create a unique art piece that combines symmetry, collage, resist drawing and painting, and things kids love. This project covers Common Core Standards for Language Arts and Science for grades K-2 which can be found at the end of this lesson.
Grade Level
Kindergarten, 1st, and 2nd – This lesson uses examples from a Kindergarten class.
Objective
In this “I Am” Collage Art Lesson, students will create a Mixed Media collage about themselves.
Time
7 – 30 min lessons
Materials
- Pencils
- 12×18 Watercolor paper – Canson XL Series Watercolor Textured Paper Pad for Paint, Pencil, Ink, Charcoal, Pastel, and Acrylic, Fold Over, 140 Pound, 12 x 18 Inch, 30 Sheets
- Brushes – Acrylic Paint Brush Set, 1 Packs / 10 pcs Nylon Hair Brushes for All Purpose Oil Watercolor Painting Artist Professional Kits
- Liquid Water Colors – Sargent Art 22-6010 10-Count 8-Ounce Watercolor Magic Set
- Or this mini version for homeschooling – Sargent Art 22-6210 10-Count 4-Ounce Watercolor Magic
- Kleenex for blotting paint
- White copy paper
- Crayons
- “Symmetry” worksheets links will be listed within the instructions
- Scissors
- Glue Stick – Elmer’s Glue Stick (E4062) (7 sticks)
“I Am” poem statements – example is given below
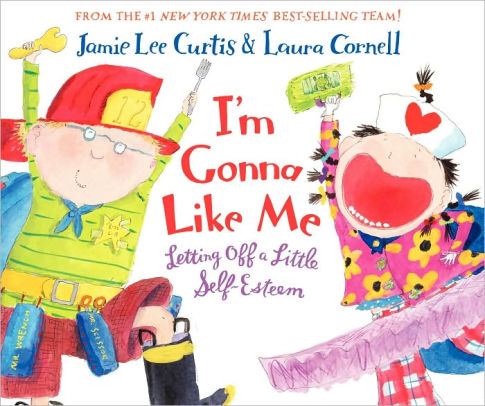
“I’m Gonna Like Me (Letting Off a Little Self-esteem),” by Jamie Lee Curtis
Inspiration/Artist
I was inspired by this site.
Instruction with Questions
Pre-Art
Photograph each child in head shot format. Add the photo onto a word document or the equivalent, and print it onto copy paper. (There may be excessive white paper due to the size of the child’s head.) This example is on a normal piece of white copy paper. (Choose text wrap in front of text so you can fill the entire bottom of the paper with the image.)
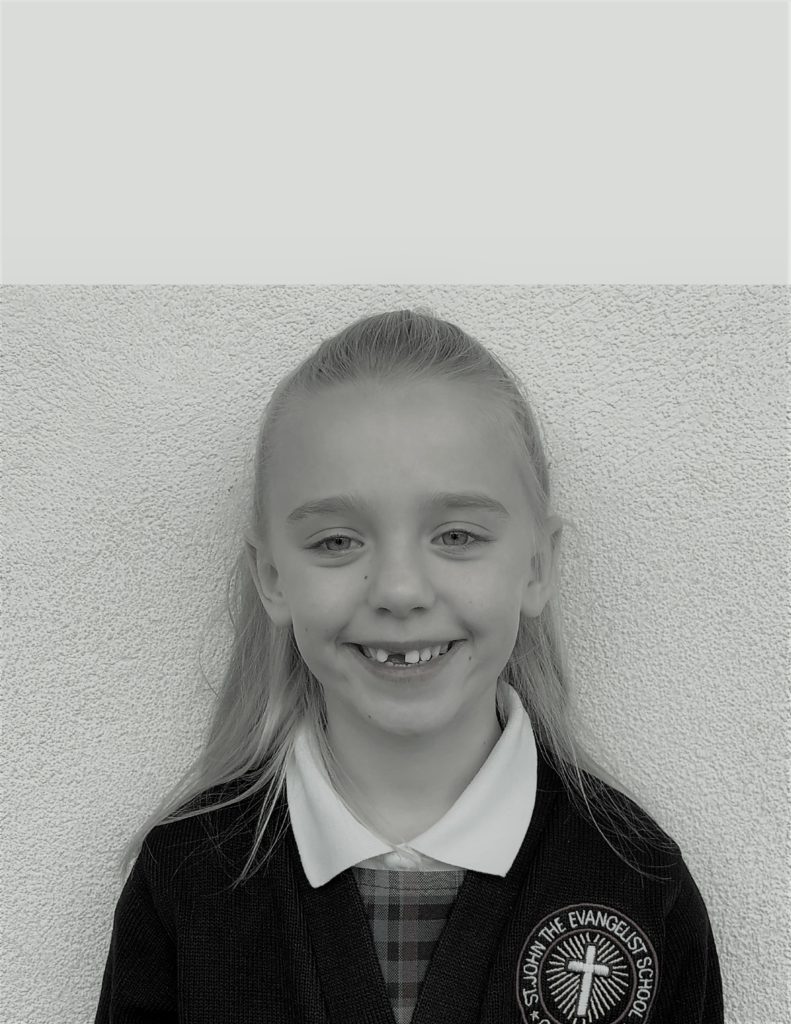
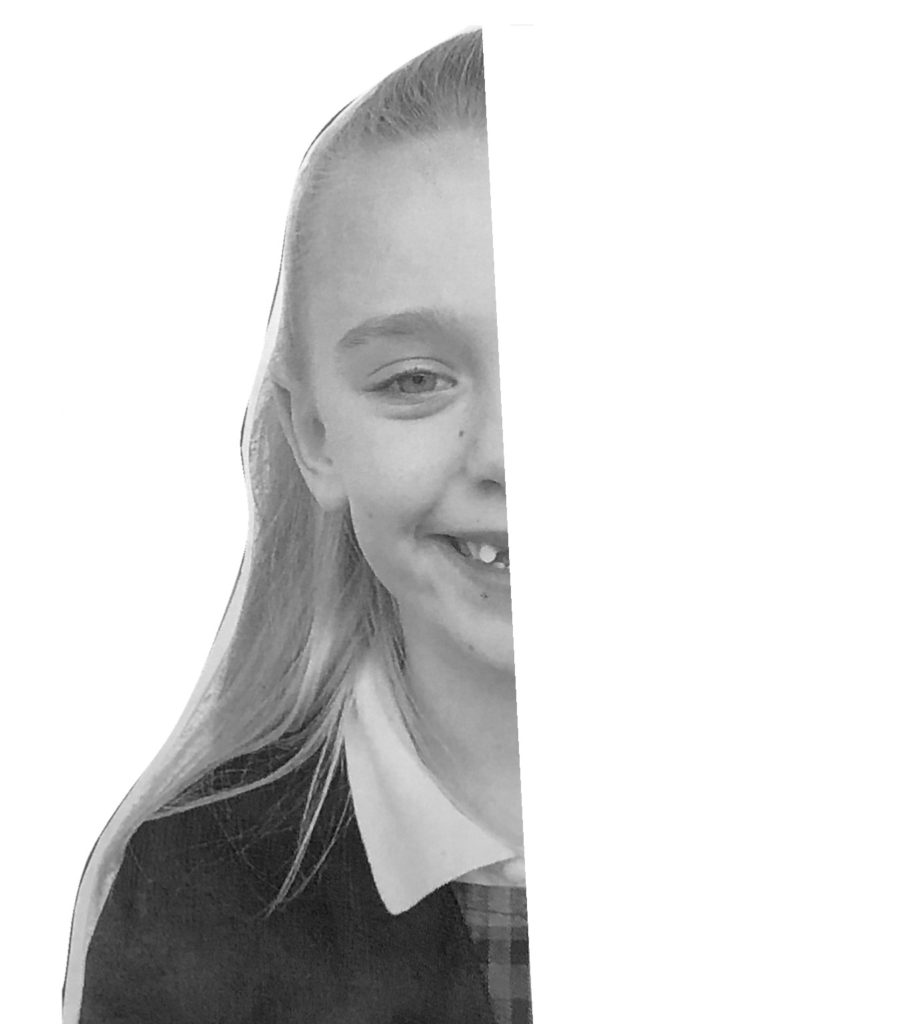
Cut out their portrait (shoulders and up), cut the photo in half and glue it to a 8×11 piece of copy paper. Deference is made for students who are left or right handed. Keep the other half of the photo for reference for the student. Note: I basically cut through the center of the nose.
Day 1
Lead students in a discussion overview about collage and mixed media artwork.
- Discuss what you think mixed media is?
Type mixed media collage onto Google images and show them examples on the overhead.
- What makes this type of artwork unique?
- Describe kinds of things can you glue onto a paper or canvas?
- How else can you do to add to the artwork that doesn’t involve glue? i.e. paint, draw, color etc.
Read the book, “I’m Gonna Like Me (Letting Off a Little Self-esteem),” by Jamie Lee Curtis.
Day 2
Review the previous lesson. Discuss all the things they like. (What kinds of things do you like? Ice cream, helping others, vacations etc.) These will be an amazing enhancement to the “I Am” Collage Art Lesson, since they further represent all of the things kids enjoy.
Students do a practice picture, drawing several of the things they love. This practice day is very important because they need to start thinking about the size of their items, how many items (Tell them 3-5 is great. Try to encourage them not to make a “scene”) and how to use different colored crayons.
It is so interesting how many children will pick up one color and everything ends up orange. Sometimes when this happens, I ask them to tell me about their picture. Ask them their favorite thing about their picture. What colors did they choose for their items? For instance, are people the same color as a house, the cat, and the airplane? They look at me blankly and then have a “light bulb moment” like they hadn’t actually considered that. This helps push their art forward and gives them a new perspective on their world and how you have the power to make it in your artwork.
Remind them to use a variety of crayon colors and that each object needs to be filled in with crayon. If you only draw the outline of the butterfly wings, you can see through them when you paint on them. Show an example of only outlining and actually filling in the space. Also, remind them about magic white crayons.
Day 3
Lead a discussion about symmetry.
- What things can you name that are symmetrical?
Students are invited to the white board to draw a symmetrical item. (shapes, letters, insects, animals, numbers etc.)
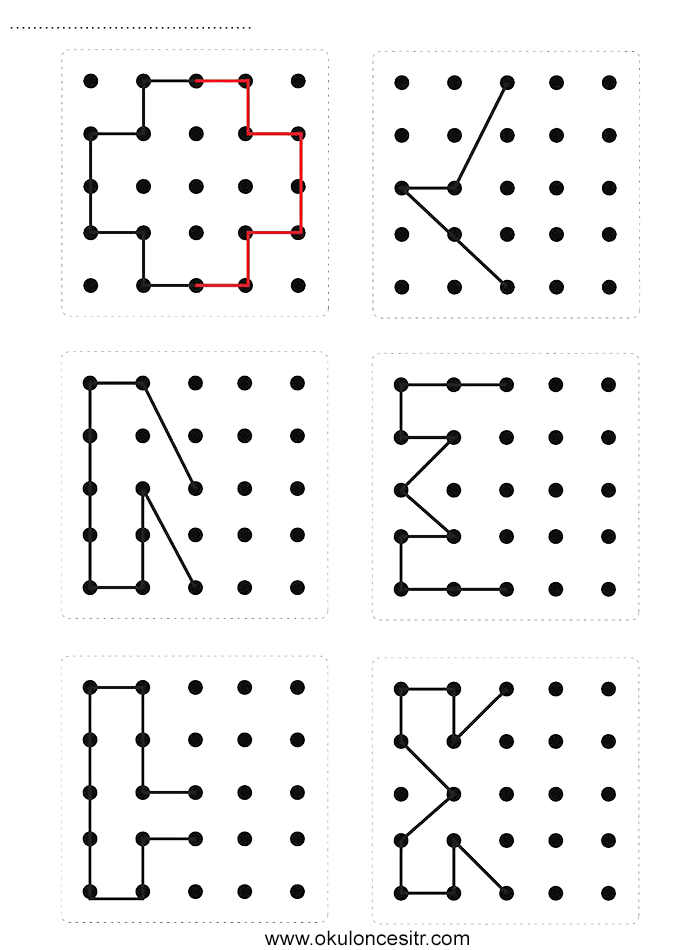
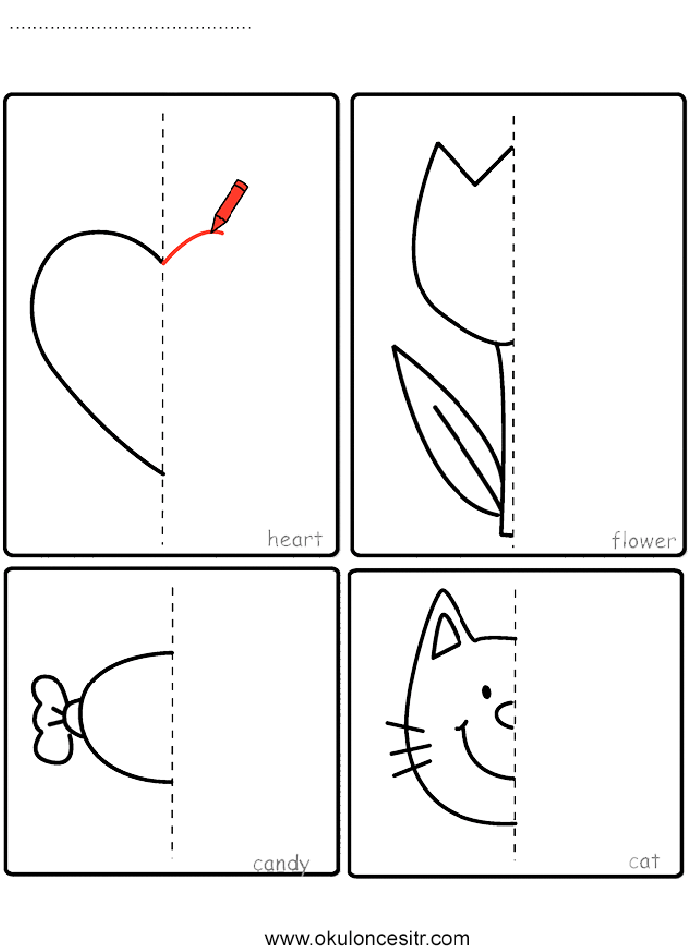
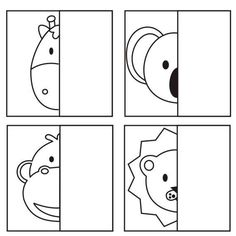
Next, they complete “symmetry worksheets.” Hold onto these at the end of the class period and use them later when you need an activity for students who finish early. There are four. This makes a great “back to front” two page stapled handout.
#1 – Symmetry Worksheet #1
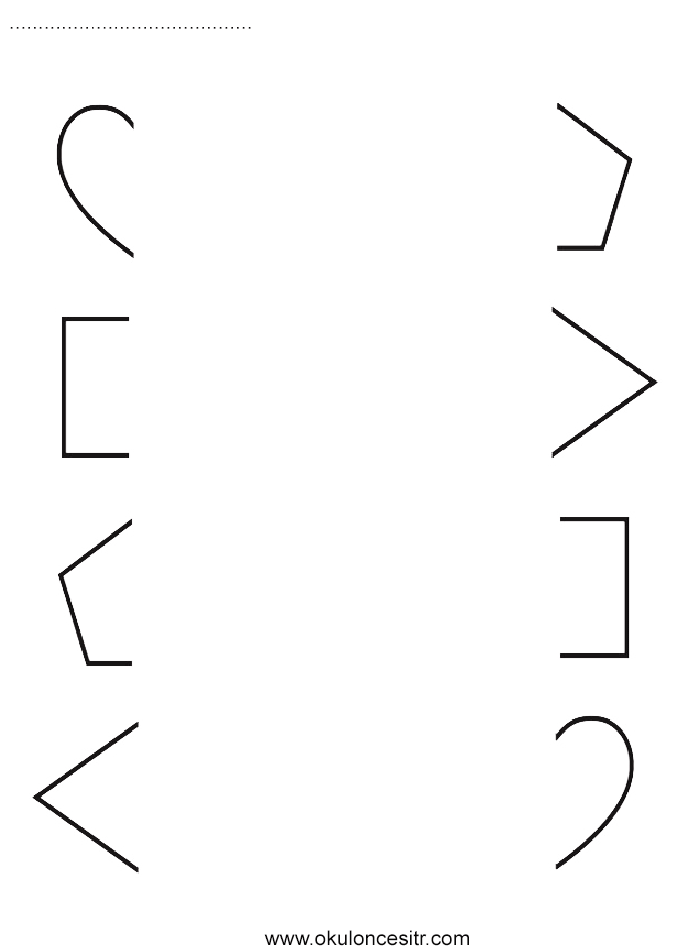
#2 – Symmetry Worksheet #2
#3 – Symmetry Worksheet #3
#4 – Symmetry Worksheet #4
Day 4
Two things happen on this day for the “I Am” Collage Art Lesson.
- Students continue the lesson on symmetry with handouts.
- During this time, each student is “privately” pulled aside and asked to “finish statements” from an “I Am” poem. It is very important that they do not overhear the other student’s answers otherwise they all copy one another.
- Try to prevent them from latching onto a theme…”I wonder about superheroes, also I hear batman, and I want to be a superhero.” Acknowledge their answer, but ask for another example. Sometimes this lesson brings out all kinds of things that I share with the classroom teacher or counselor as needed. It is like art therapy 🙂 .
- I usually have the poem starters all ready in my word document so I can just add their answers. Get them to avoid saying things like “nice.”
- Have “I am” in this twice. One time is for their name and the other time is for an open answer. Some prompts could be…I am six or – a kid with brown hair or – strong.
- Also lead them, “I see…hmmm…what do you see? What do you like to look at?” It doesn’t have to be something they are experiencing in that moment. They may say I see my cat sleeping on my bed. Puurfect. (See what I did there? 😉 )
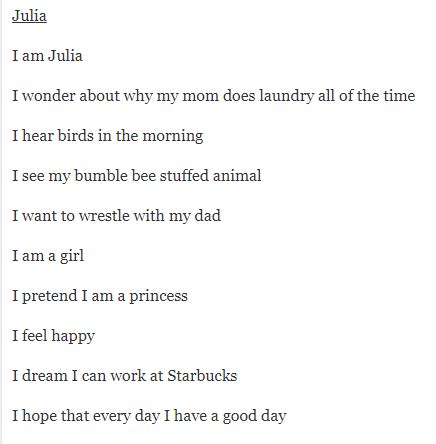
Type up their answers as they say them, and print them out.
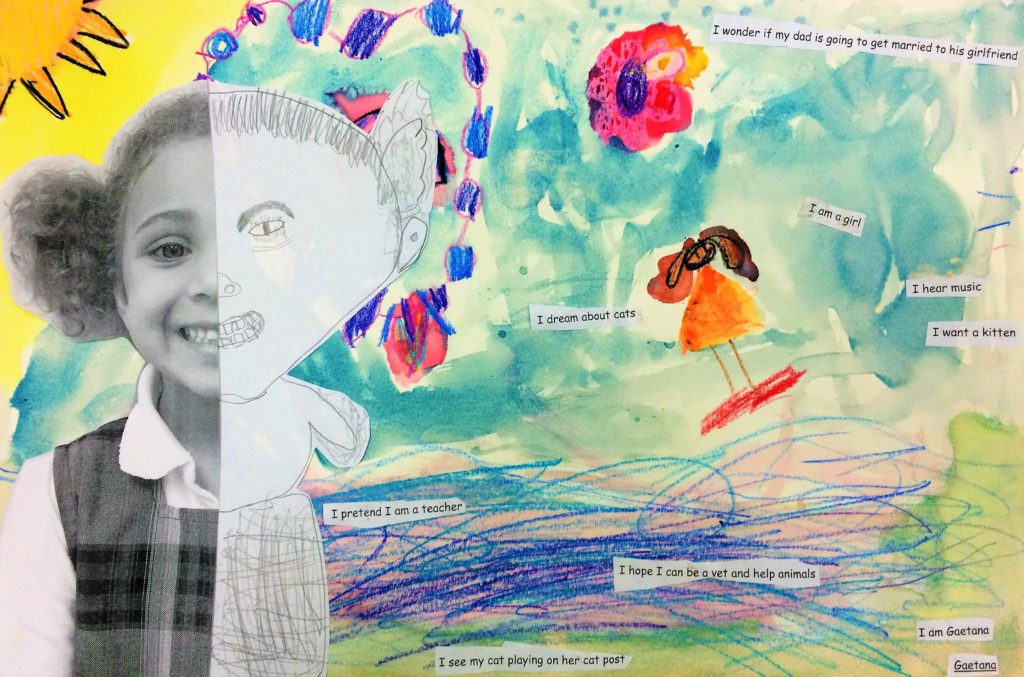
Example: This was an actual list from one of my darling students and mom said it was okay to share…I love her…especially what she wonders about…and dreams about…
Day 5
Students create their final favorite things pictures on 12×18 watercolor paper. Remind them to use a variety of crayon colors, and that each object needs to be filled in with crayon. If you only draw the outline of the butterfly wings, you can see through them when you paint on them. Show an example of only outlining and actually filling in the space. Also remind them about magic white crayons. Continue to pull students aside to collect their “I Am” Poem statements.
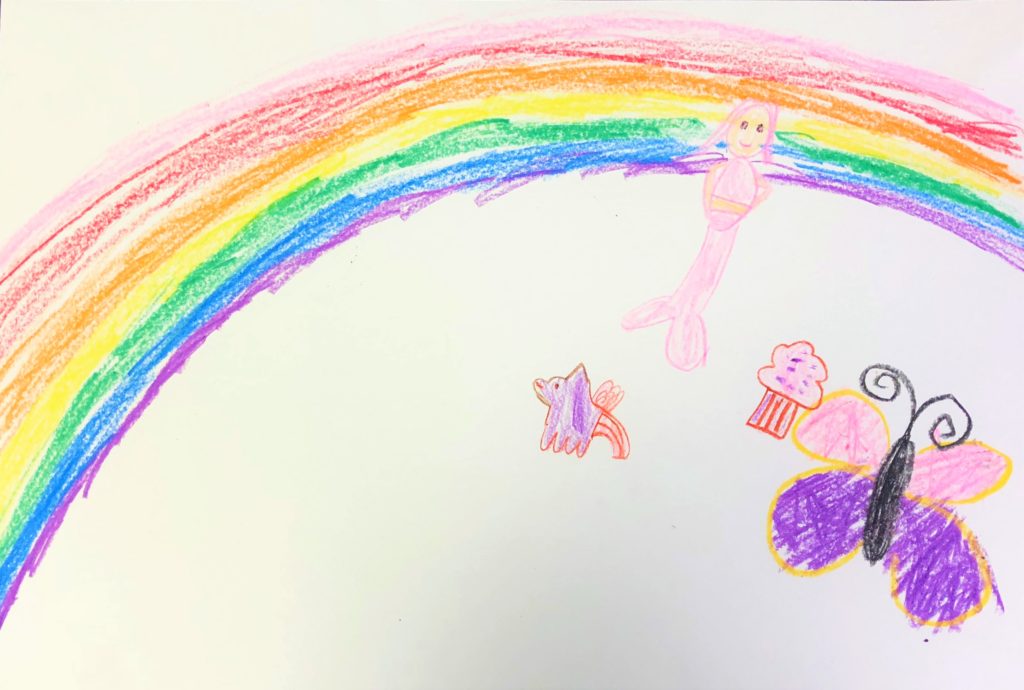
Day 6
Tell students they will be water coloring their “favorite things” picture. Demonstrate how to use pan watercolors. If students have already had this experience, steps are reviewed:
- Lots of water
- Entire page
- Brush to glide over the crayon since it will resist
- Tissue to blot and clean the color palette
And particular to this lesson:
- Making random areas colored with different colors.
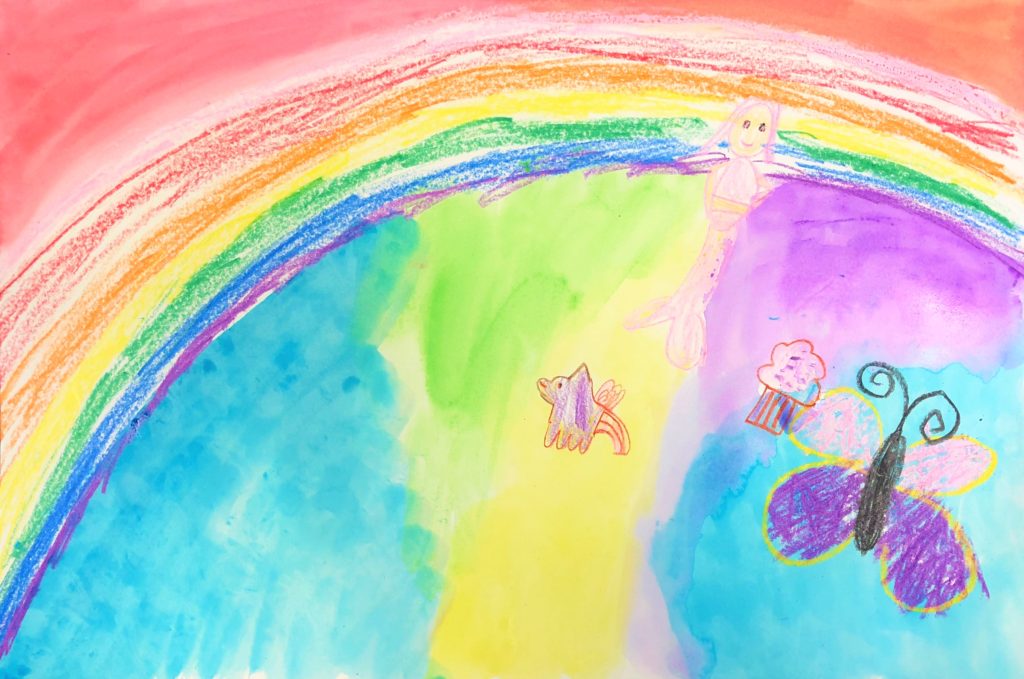
Day 7
Students continue symmetry pages while a few students are pulled aside at a time to draw “the other half of their own face.”
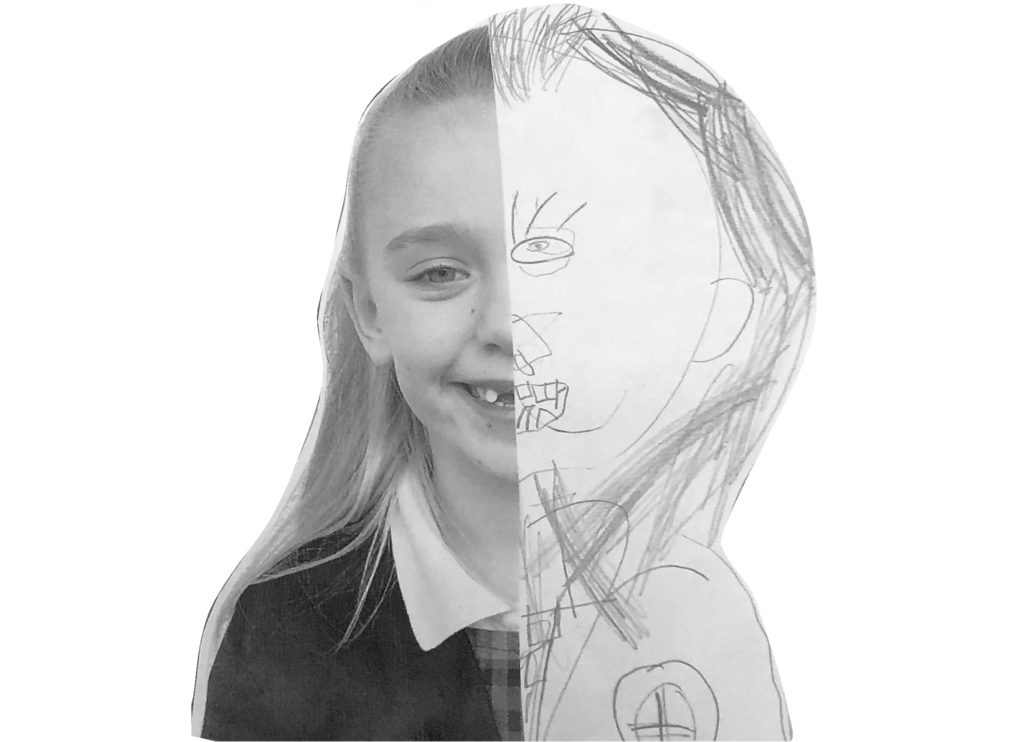
After students draw the other side of their face, cut it out of the new copy paper. This piece will be glued onto their final product.
Day 8
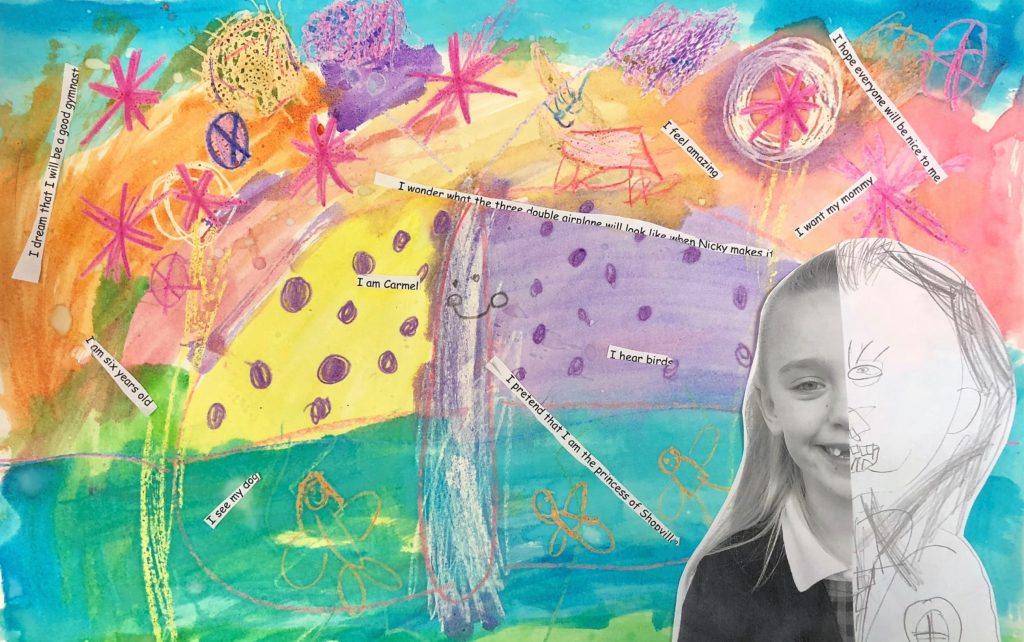
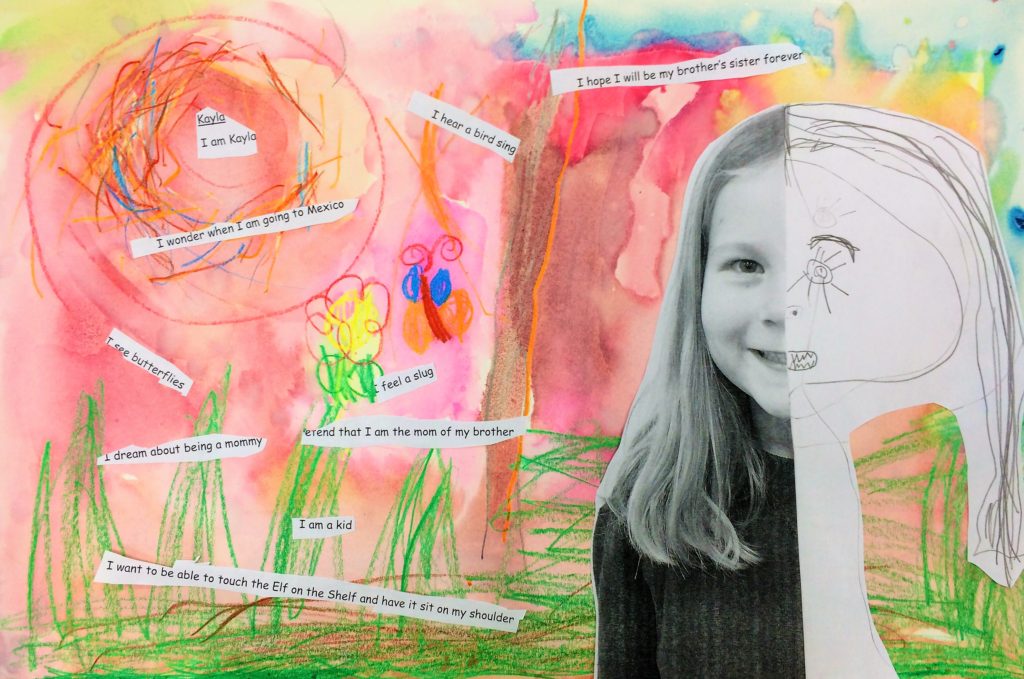
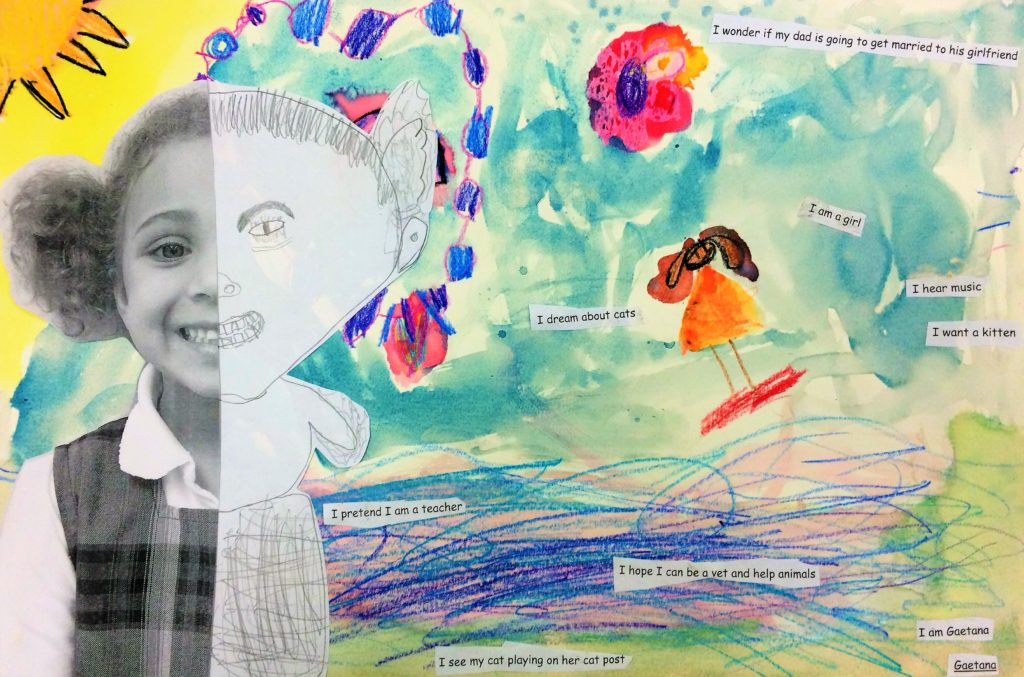
Glue their head/drawing to the bottom of their finished water colored picture. You will be the best one to judge which area of their art is showing and which part is okay to cover. This way you can manipulate if it is farther right or left or center.
Students assemble their collage by cutting out their statements and gluing them randomly onto their finished water colored picture. It is interesting to see “how” they decide to arrange their statements.
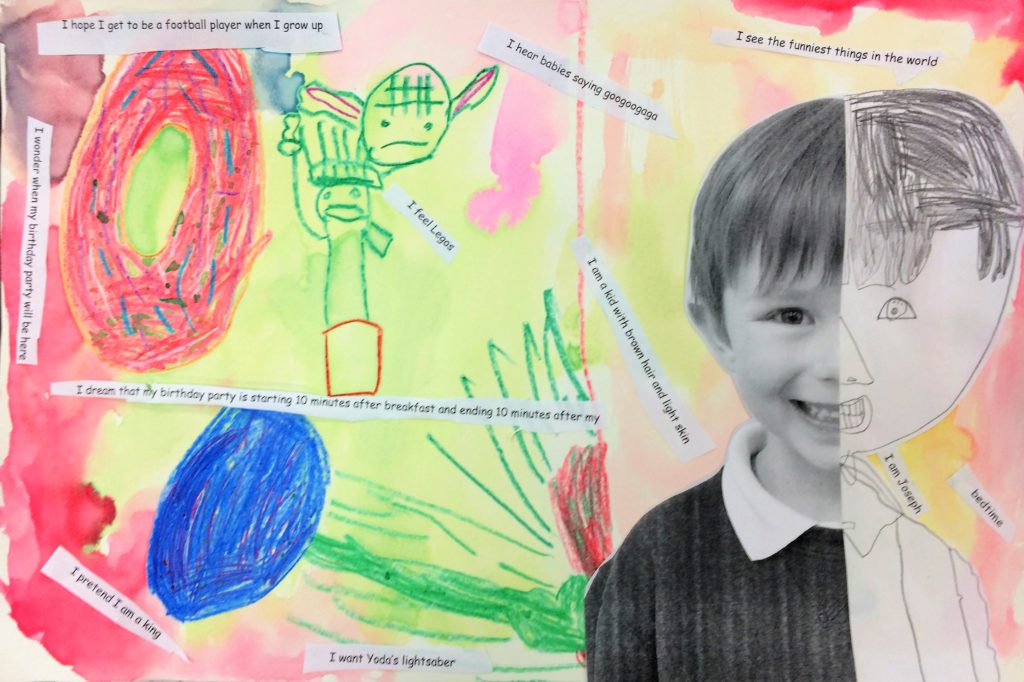
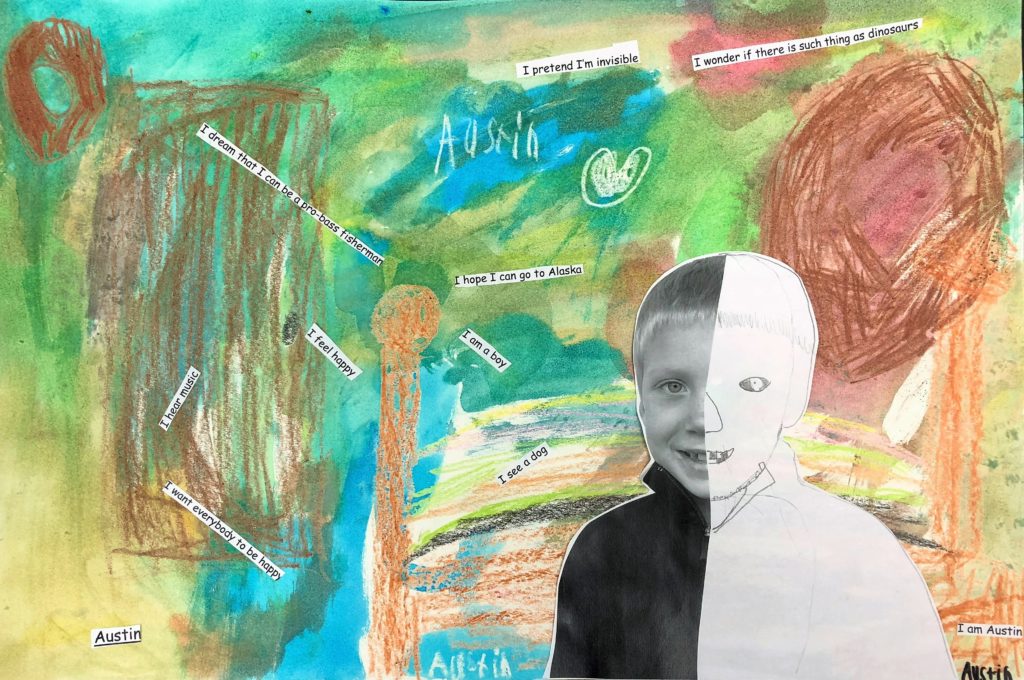
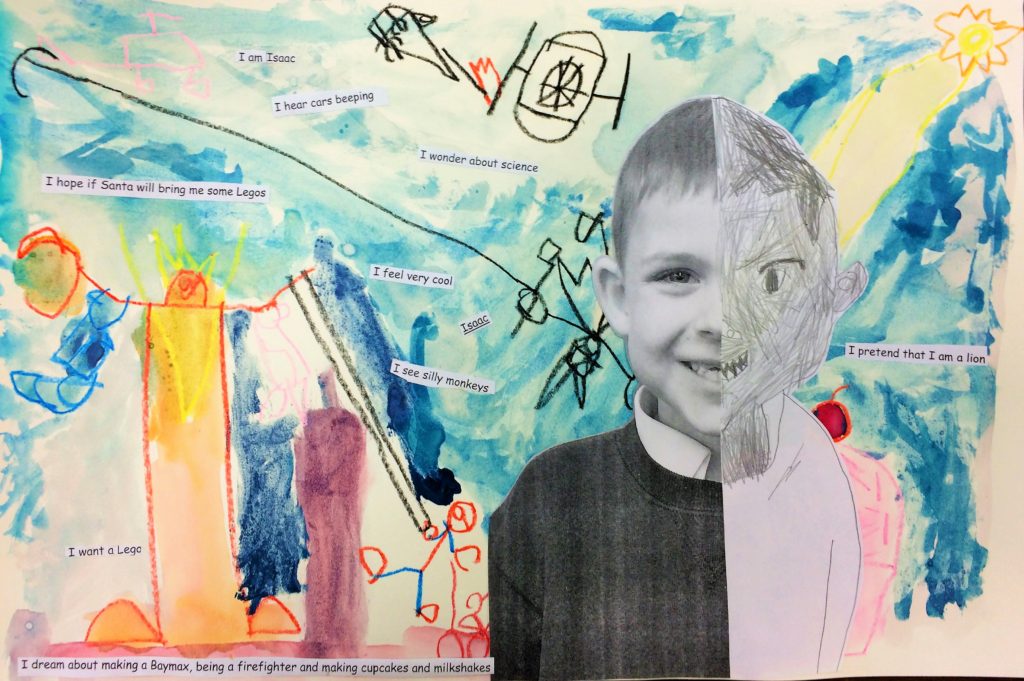
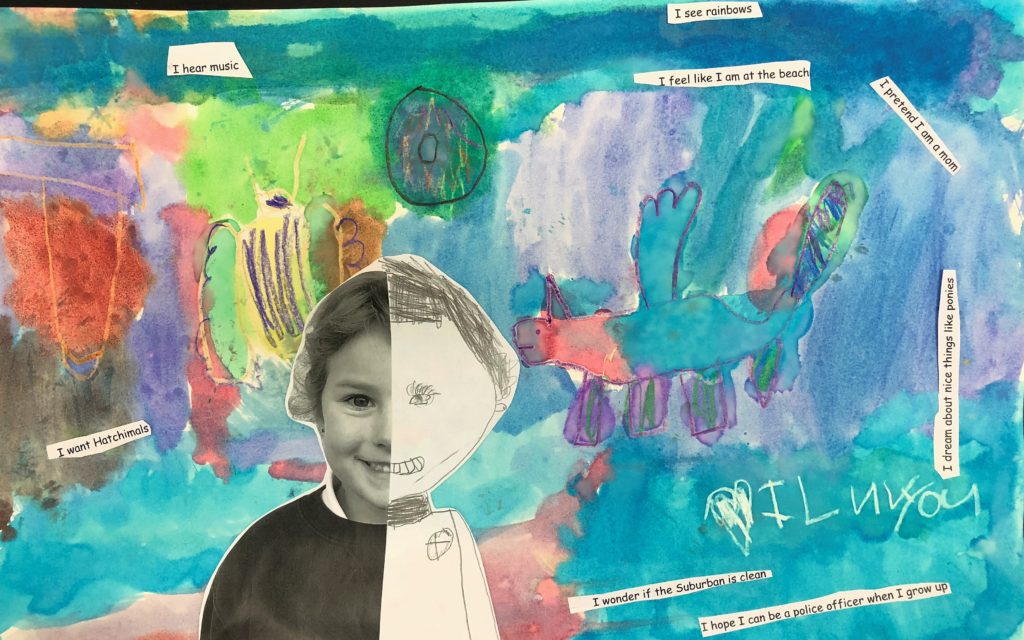
Here are some finished “I Am” Collage Art Lesson pieces!
Common Core Standards
K-2 – Language Arts
Children’s adventure stories, folktales, legends, fables, fantasy, realistic fiction, and myth Includes staged dialogue and brief familiar scenes. Includes nursery rhymes and the sub-genres of the narrative poem, limerick, and free verse poem Includes biographies and autobiographies.
Kindergarten – Science – Investigation and Experimentation
- Observe common objects by using the five senses.
- Communicate observations orally and through drawings.
1st Grade – Science – Investigation and Experimentation
4. Scientific progress is made by asking meaningful questions and conducting careful investigations.
a. Draw pictures that portray some features of the thing being described.
b. Record observations and data with pictures, numbers, or written statements.

Just want to say that my 1st and 2nd graders did this. Tons of fun with marvelous results. Will do it again.
Thank you for the great feedback!